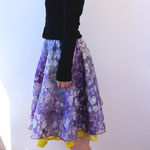
This lightweight flair skirt will make you want to go out in a merry mood. Made in Nishiwaki, Japan’s main production region of woven textiles, the jacquard fabric from the Scenes series has a print design on the surface which was applied in Kyoto. The soft and airy texture of the 100% cotton is quite delightful. The beauty of this fabric stands out especially when coordinated in a simple & casual style with a pair of sneakers and hoodie.
Fabric shown for this sample: EKXA-5300D/#2 C
Materials:
□ Fabric:110cm wide x 2m
□ Elastic tape: 65cm (2.5cm wide) – Adjust the length to your size.
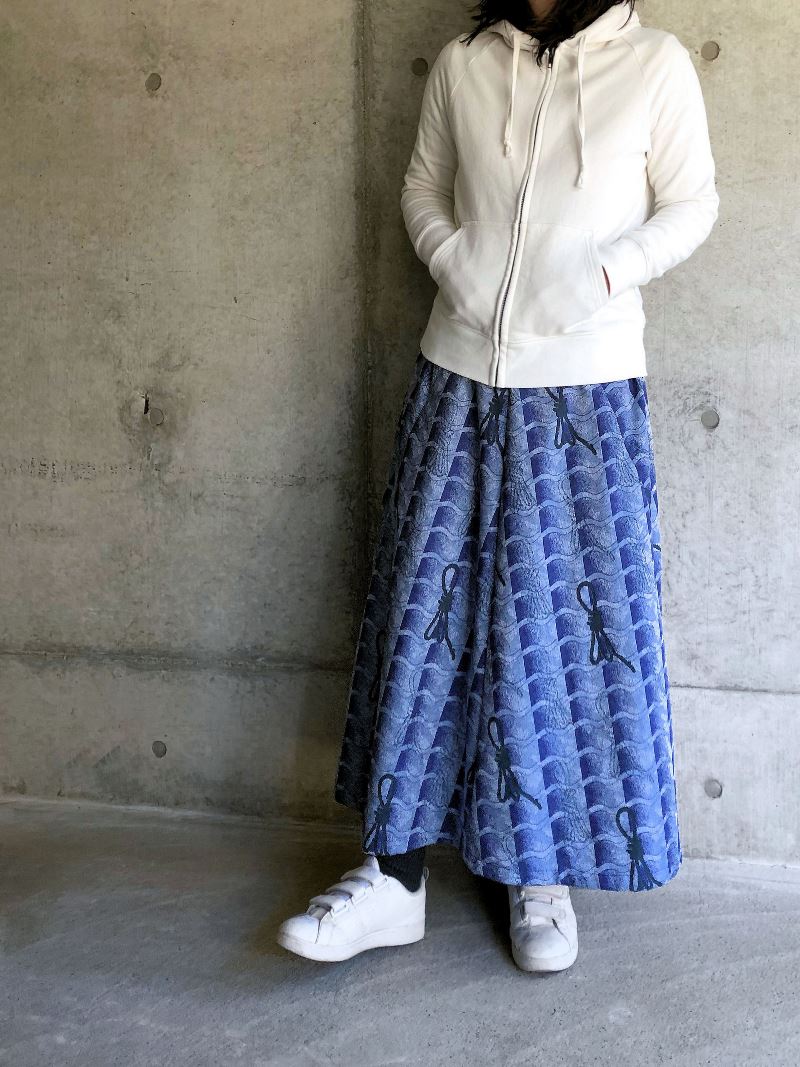
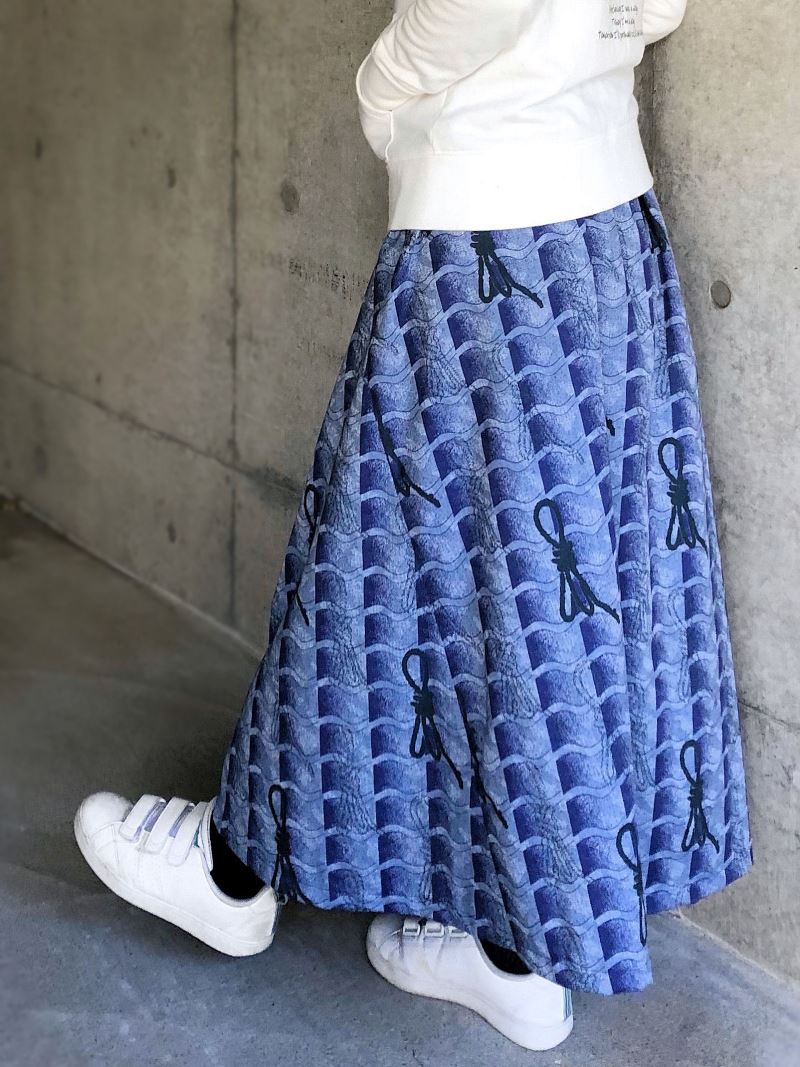
*All Rights Reserved. Please refrain from the unauthorized use of project photos.
We interviewed Anriko about her creation:
Kokka Fabric (KF): What did you think of the fabric you used for this project?
This 100% cotton fabric is very soft and gentle to your skin. It works well as a blouse or for a cute Japanese style kid’s summertime casual wear. The possibilities are endless.
KF: Can you tell us any special elements or ideas that you incorporated into this creation?
The stripe design in gradation is striking. While the base shape of this flair skirt is rather basic, depending on how you look at it, it creates a different impression as the stripes generate movement with different positions of the transitions and directions of the weave.
KF: What are some tips for making this skirt?
When piecing together the front skirts that are cut in a bias, please be careful not to over-stretch the fabric. When sewing the front and back skirts together, pay attention to the grain of the back skirt to avoid stretching.
KF: How should we incorporate this skirt into one’s styling?
The calm indigo color goes well with anything. Why not coordinate it with a top piece in a spring color for a refreshing look?
KF: Thank you very much, Anriko! Here are sewing instructions along with step by step photos from her. Enjoy crafting!
Instructions
1.
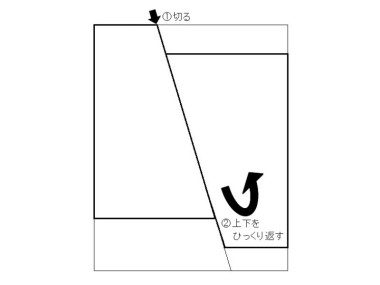
It is a challenge to make a large pattern. Let me give you some tips. Use a large piece of construction paper (normally available at a $1 store). One piece of paper should suffice. As shown, first draw a trapezoid and cut the paper at the diagonal edge. Align the top and bottom of the edge, secure and then draw the curved waist, hem and transition line.
2.
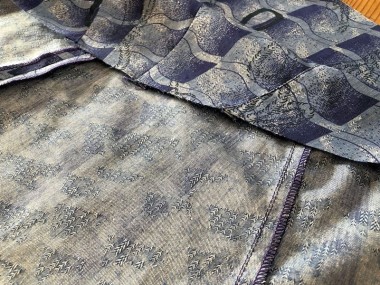
The skirt pieces are sewn together. Press the seam of the front center open. Press down the seam of the front and back to the back side. It is up to you to apply stitches or not. With stitches, the transitions stand out.
3.
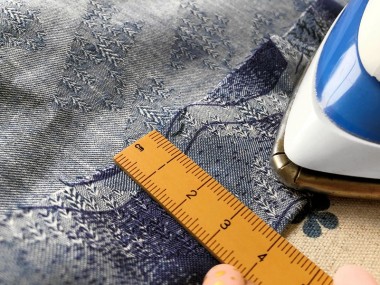
The hem is adjusted. First, fold 4cm, the seam measurement. As shown, use the tip of the iron to press only the folded portion. Given the length of the hem, it creates a natural gathering. Rather than pressing it with the iron, gently fold it and sew for a natural finish.
4.
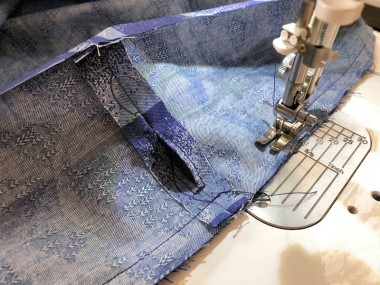
The skirt is pieced together with pre-sewn waist belt. The step after this is quite important. Before wrapping around the seam to sew, make sure to securely iron where the back of the belt and skirt meets. With this process, the stitches on the back will look consistent when sewn from the front side.
5.
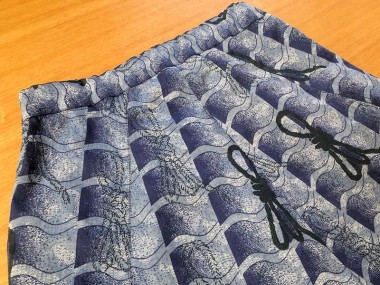
Put the elastic through the waist to finish. If you like, keep the elastic gathering minimum in the front skirt for a cleaner look and silhouette.


 Two-Way Skirt
 Reversible Skirt
 Gathered Skirt with Yoke