
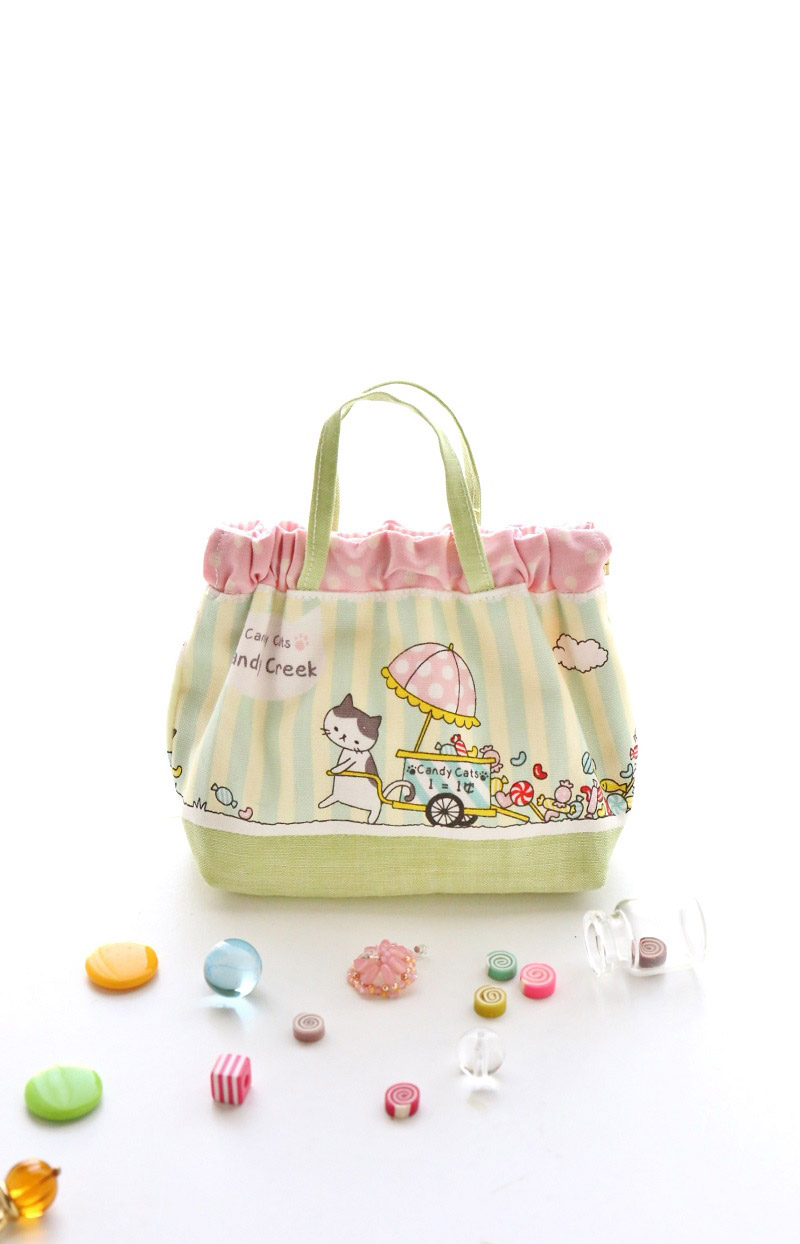
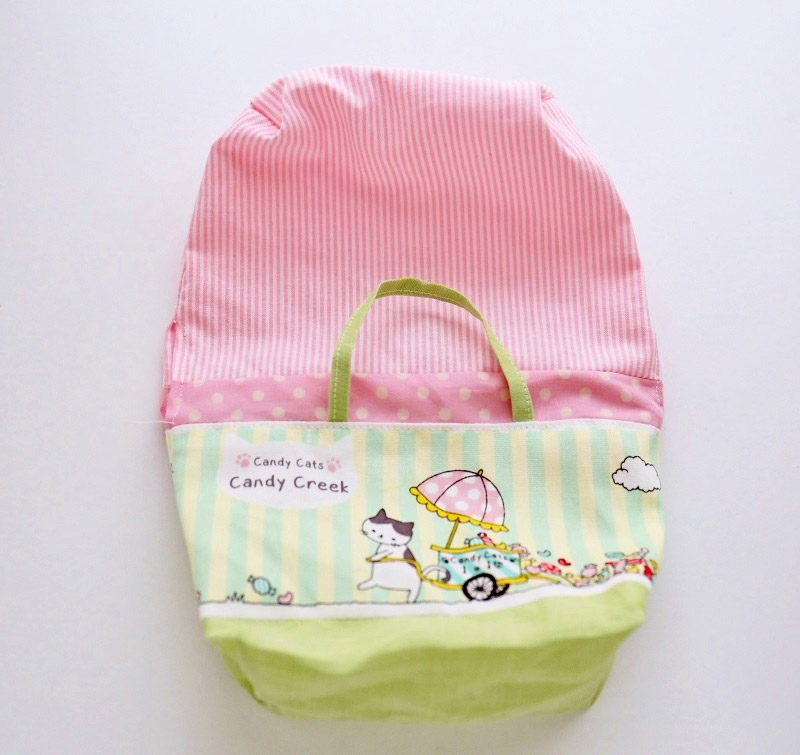
This is a petit-size pouch perfect for girls who are starting to get interested in carrying purses. A striped border fabric, Candy Creek, features a warm story of candy selling kitties, the tabby and the bicolor. Taking an idea from the artwork on the fabric, this pouch will be great as a candy case. The project is developed by an idea-filled fabric handcraft artist, Mioko Sugino.
Fabric shown for this sample:candy creek P38700-700 (D)
Materials:
□ Fabric (Opening fabric (polka dot print)): 20cm×10cm
(Side): 40cm×10cm
(Bottom, Handle (solid)): 30cm×20cm
(Lining fabric (stripe)): 20cm×40cm
□ Metal spring-loaded clasp: 12cm(l) x 1
We interviewed Mioko about her creation:
Kokka Fabric (KF): What did you think of the fabric you used for this project?
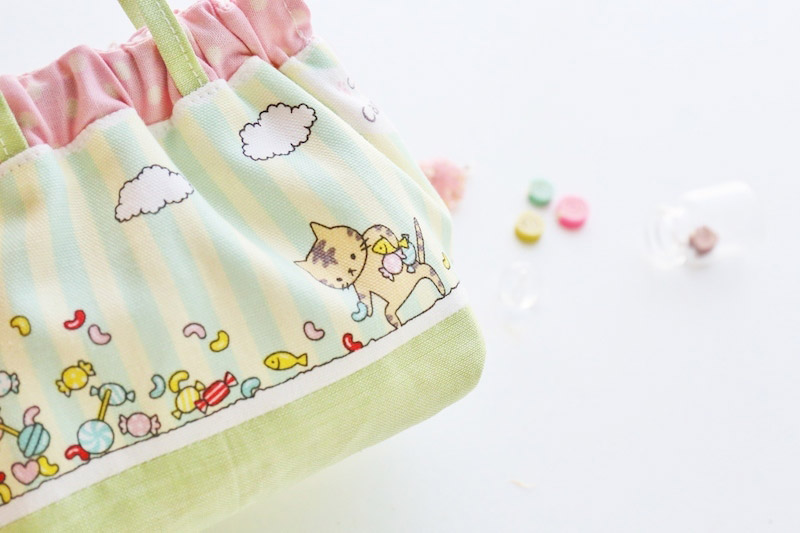
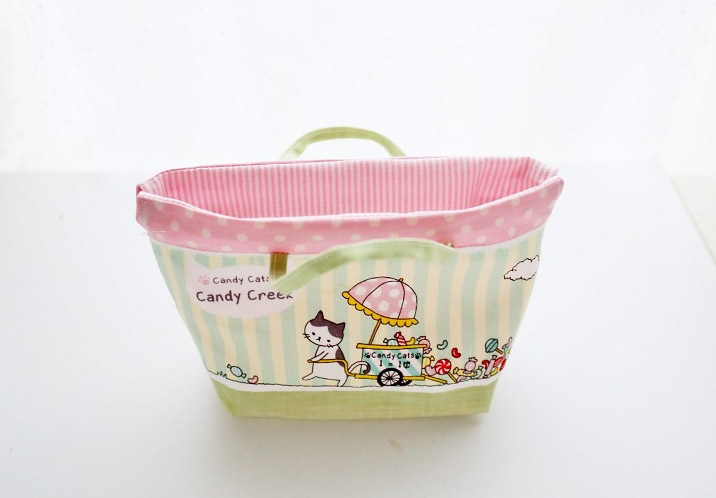
The colorful and cute motifs of candy and kitties are perfect for items for small children. The border design in a loop makes it look like a scene from a picture book. The fabric was cut in such a way that different scenes will appear on the front and back of the pouch.
KF: Can you tell us any special elements or ideas that you incorporated into this creation?
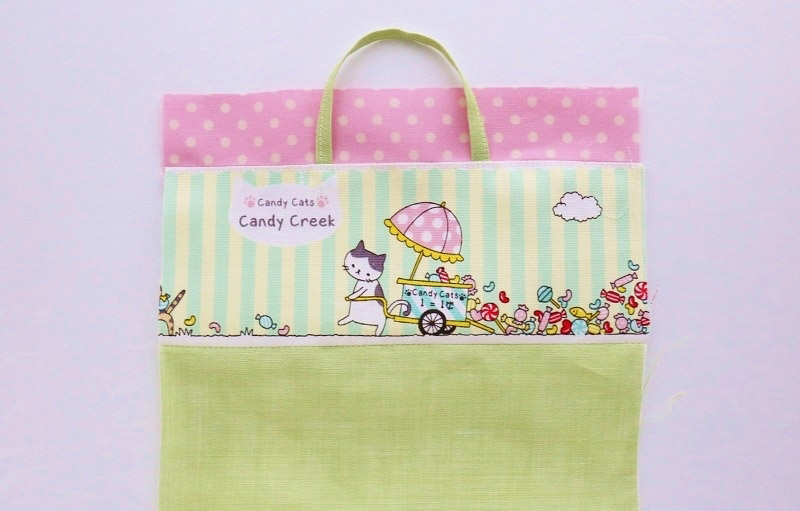
An easy to carry handle will also become a determining element when coordinating the colors.
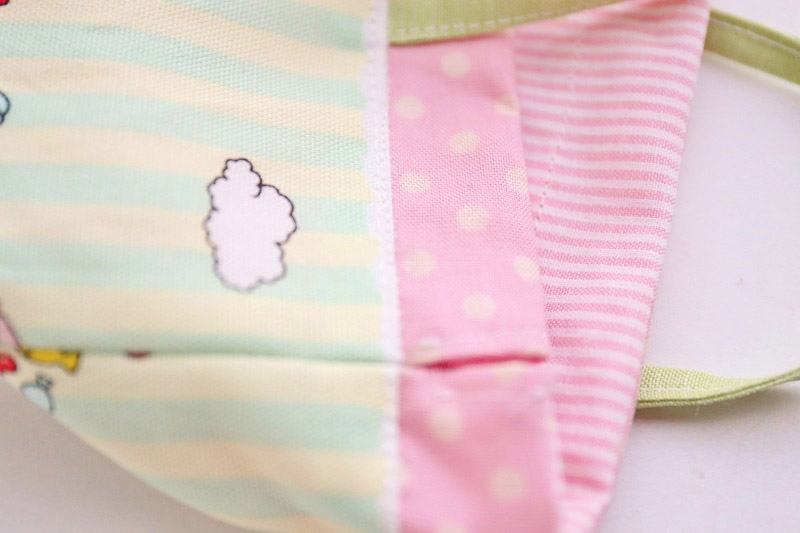
In order to show a pretty design, a different fabric is used for the top where the fabric is gathered.
KF: What are some tips for making this pouch?
You may find it slightly difficult to press down and sew the seam of the opening for the clasp as it is narrow. Try to sew it little by little.
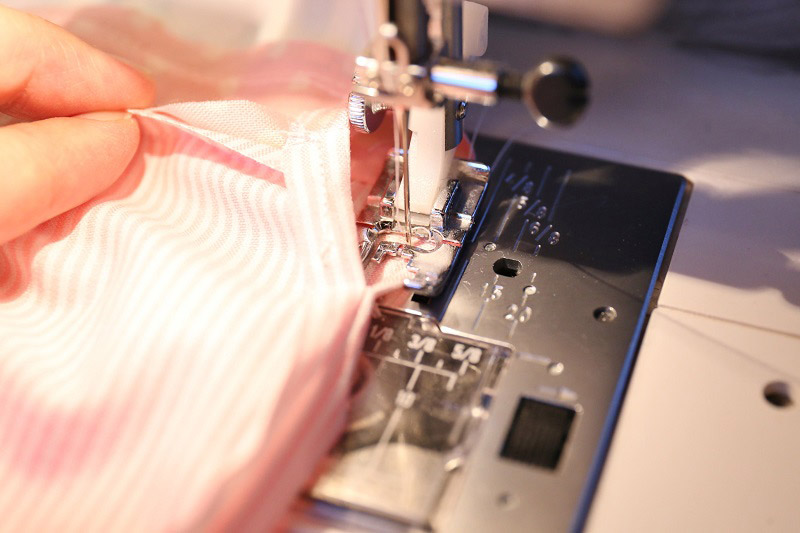
You may also sew by hand or substitute the stitch with craft adhesive tape.
KF: How should we use this pouch in everyday situations?
I find many small children favoring to carry purses when going out.
Carrying a bag filled with a favorite mascot and sweets will make your walk so much fun.
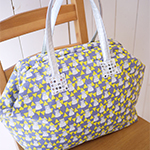
It will be stylish for moms to carry a matching pouch made in different fabrics.
KF: Thank you very much, Mioko! Here are sewing instructions along with step by step photos from her. Enjoy crafting!
Instructions
1.
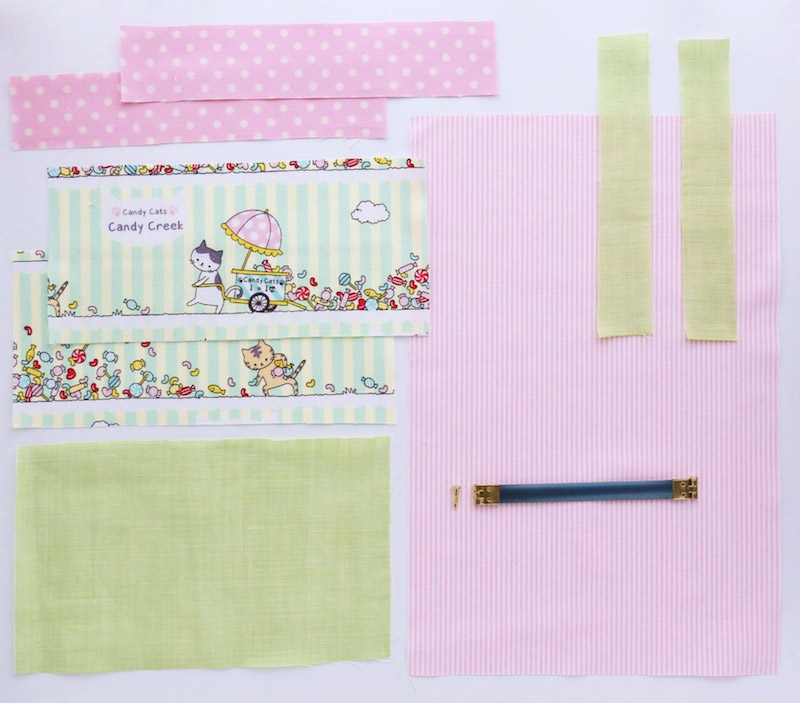
Prepare the materials.
2.

Fold the tape in four. Make it to 0.7cm wide. Sew to press the fabric.
3.
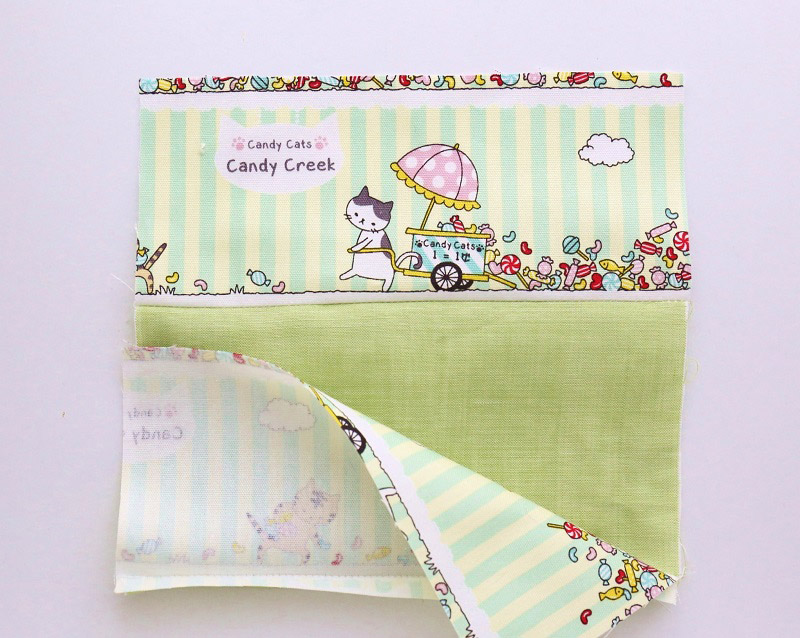
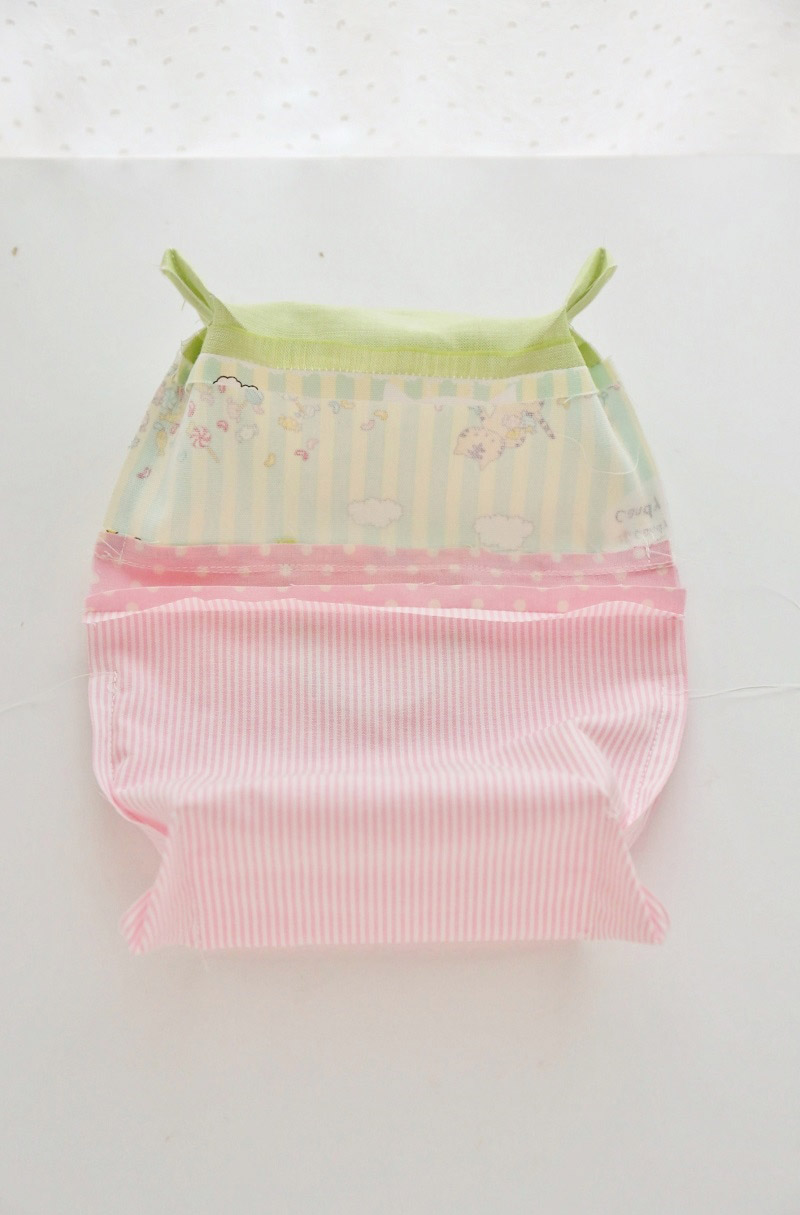
With the front sides facing each other, sew together the panel and bottom.
4.
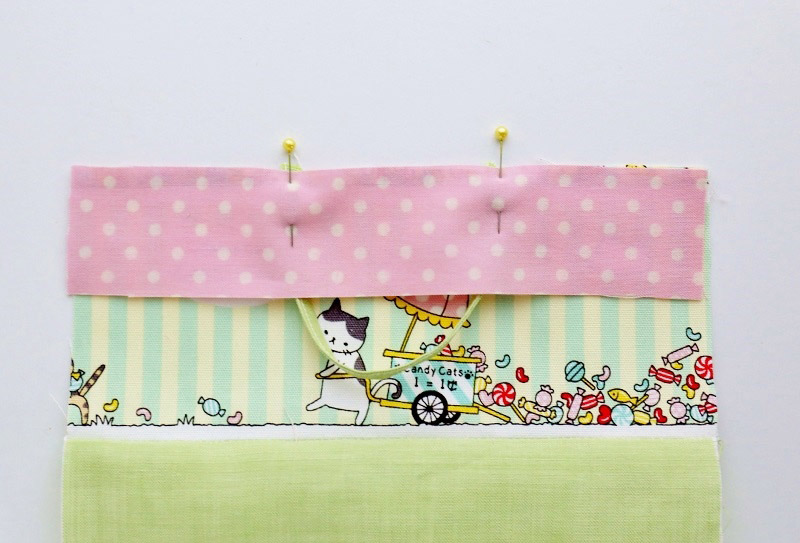
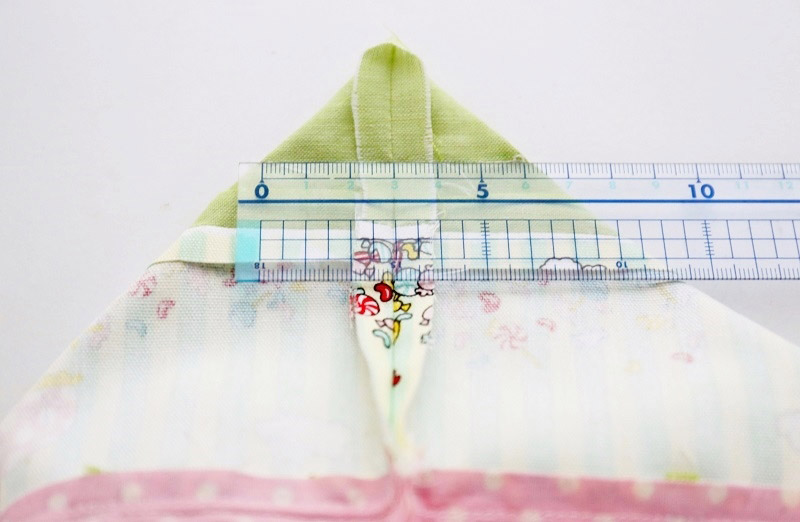
With the front sides facing each other, sew together the panel and opening fabric with the handle in-between.
5.

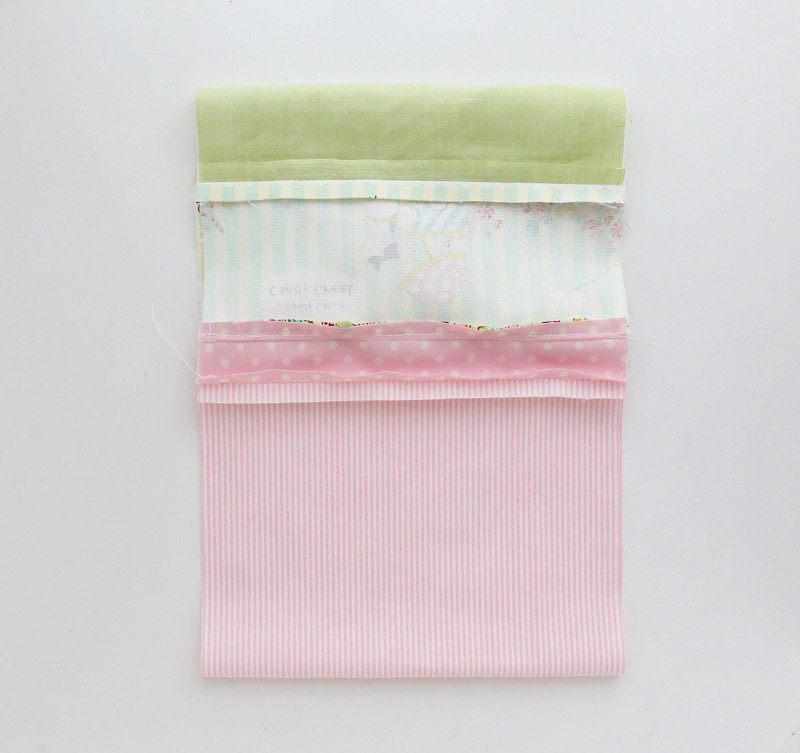
With the front sides facing each other, sew together the outer and lining fabrics. Sew the opening, avoiding the handles.
6.

Re-fold and align the opening. Sew the sides leaving an opening for the clasp.
7.
Align the center of the bottom and sides to make a triangle on the bottom corner. Sew the gusset. Make two on the outer bag, and two on the lining bag.
8.
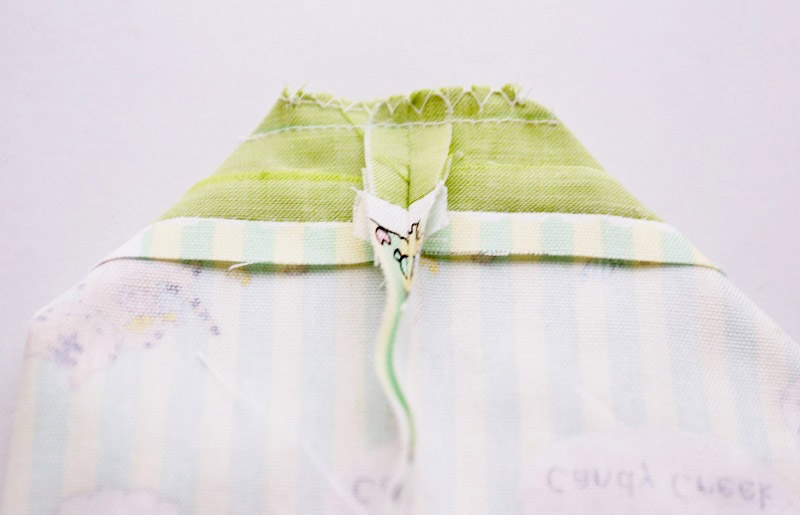
Cut off the excess seam. Run zigzag stitches.
9.
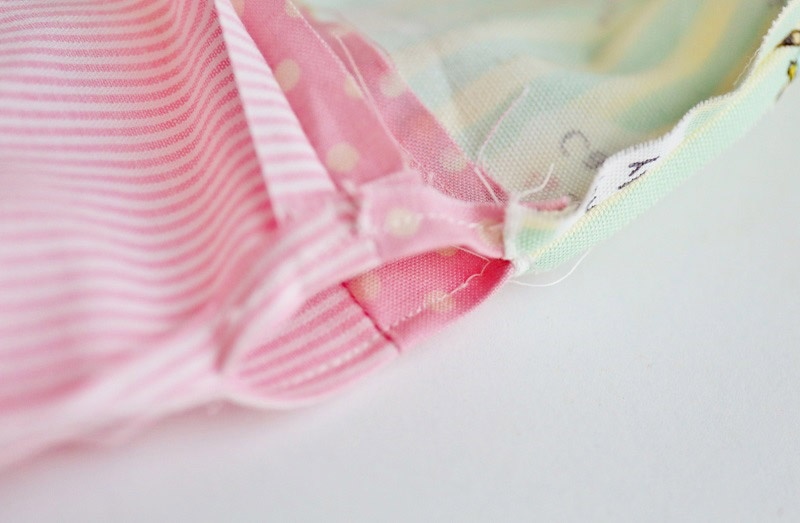
Finish the opening for the clasp. Press the side seam open and run stitches around the opening for the clasp.
10.
Turn it inside out using the opening.
11.
Put the lining bag inside.
12.
Run stitches at 2cm from the top opening.
13.

Insert the metal spring-loaded clasp. Secure it with the pin.

 Bag with an Aluminum Spring Clasp
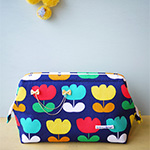 Pouch with a wired-clasp opening
 Small Shoulder Pouch with a Gathered Accent