
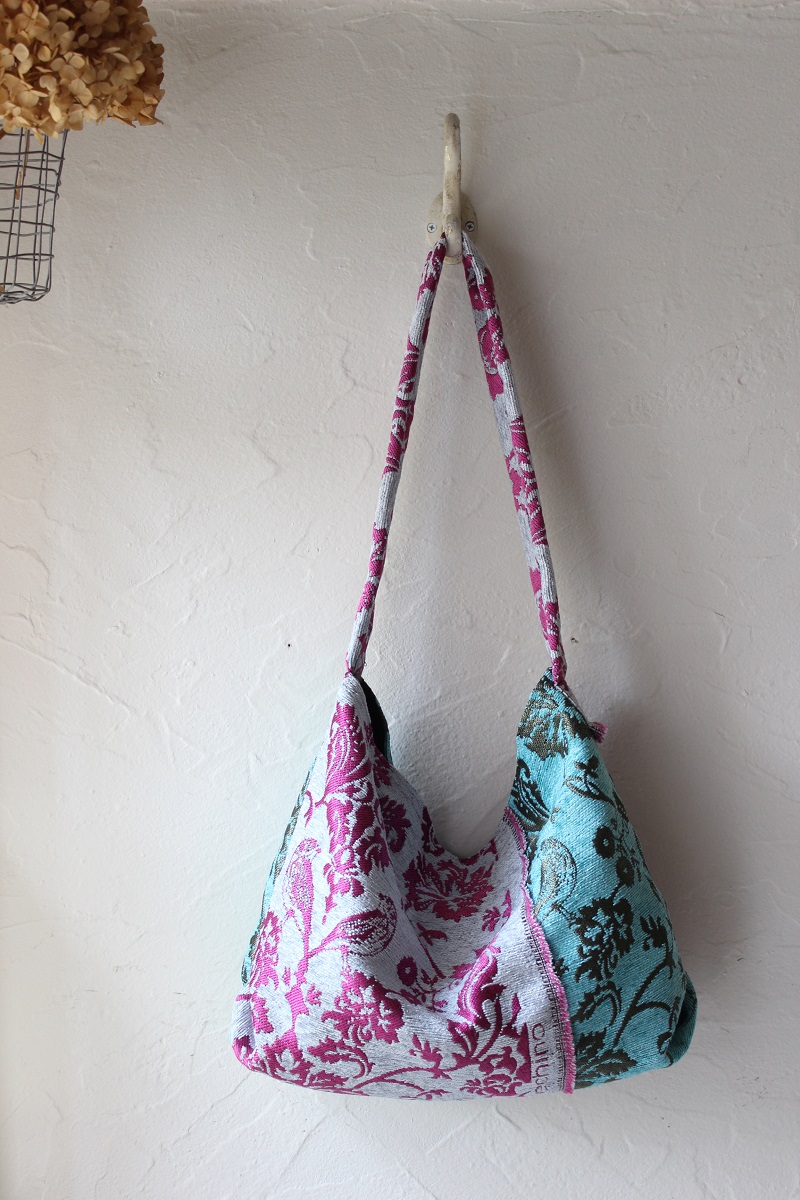
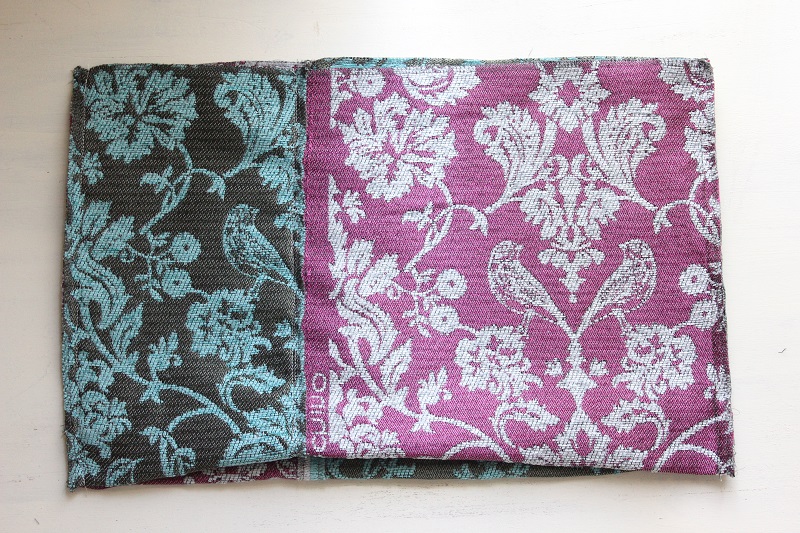
Yuki Inomata, a hand craft artist/popular blogger is introducing her creation of a shoulder bag featuring echino’s jacquard fabric. While “damask” has a classic design, it reflects echino-like elements with bird motifs. Using this special fabric, a unique piece of work with a bold combination of different colors was created.
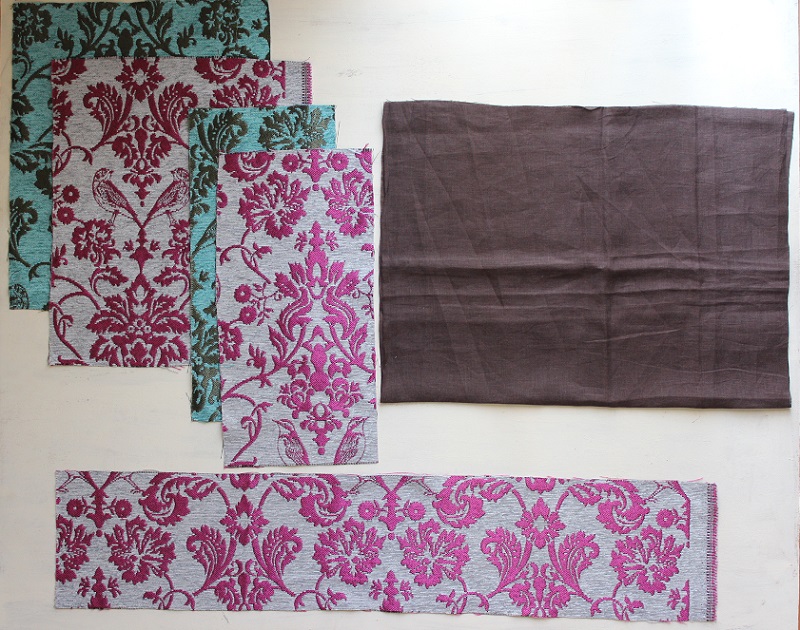
Fabric shown for this sample: echino damask JG96150-51 (A), (C)
Materials:
□ Fabric (Panel A, B Strap): 80cm×60cm
(Panel C, D): 50cm×40cm
(Lining fabric): 50cm×80cm
□ Magnetic Clasps (hook type): 1 pair (1.8cm diameter)
□ Patch fabric or interfacing: 10cmx10cm

We interviewed Yuki about her creation:
Kokka Fabric (KF): What did you think of the fabric you used for this project?
As this fabric has such an elegant feel, I gave a lot of thought as to what to create to make the best of its qualities. While you can utilize the fabric to its fullest in home décor pieces like a pillow case and curtain, I ventured to create a bag, making use of the design with a large surface.
KF: Can you tell us any special elements or ideas that you incorporated into this creation?
For seam treatment, you normally press the seam down to one side, but I tried a different method as this fabric is a jacquard knit with some thickness. I spent a lot of time thinking, “what item would be best to take advantage of the relaxed texture combined with this elegant fabric?” By piecing the same pattern in different colors, I ended up with a simple yet impactful bag.
KF:What are some tips for making this bag?
When sewing a knit fabric that is stretchable, a special thread called Resilon is used. For this project, I used a normal sewing thread. By maintaining the stitch size at 3mm, you will find it easy to sew.
When attaching straps toward the end of the process, you can create a fun and fanciful look by selecting different color threads for stitch lines to stand out.
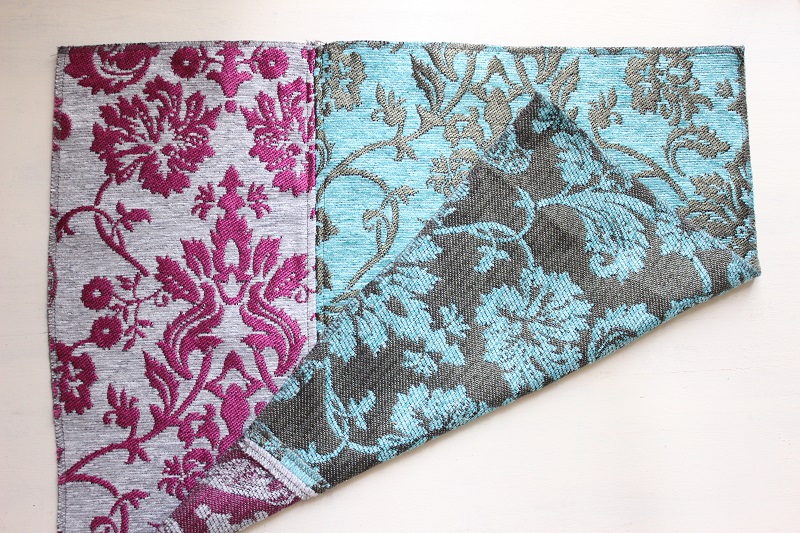
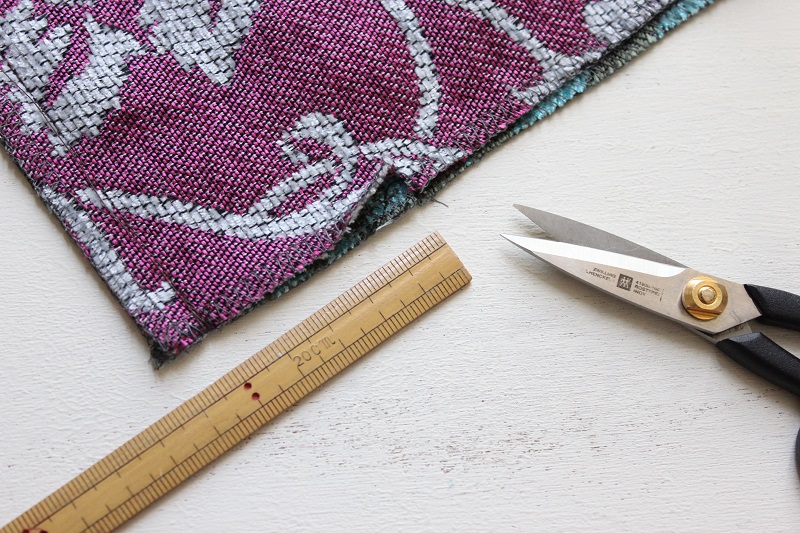
The edge of the fabric is normally cut off and thrown away. But I incorporated it in this piece, which I thought was playful and enjoyable. I encourage you to try it.
You may substitute by pressing the seam open like the back side treatment in lieu of using the edge of the fabric as the instructions indicate.
When using the fabric edge, allocating the seam needs a little technique. So I recommend that the back side be created first, and then decide the seam width by layering the fabric to be precise.
KF: How should we use this bag in everyday situations?
With a long shoulder strap, you can adjust it to the length you desire. You can make it a one-strap style right beneath the arm by tying it or turn it into a pochette with a long strap. Please adjust it to your liking.
This example sits right around the hipbone. Even with many items, it is easy to take things in and out, and it is designed to be kind to your shoulder.
KF:Thank you very much, Yuki! Here are sewing instructions along with step by step photos from her. Enjoy crafting!
Instructions
1.
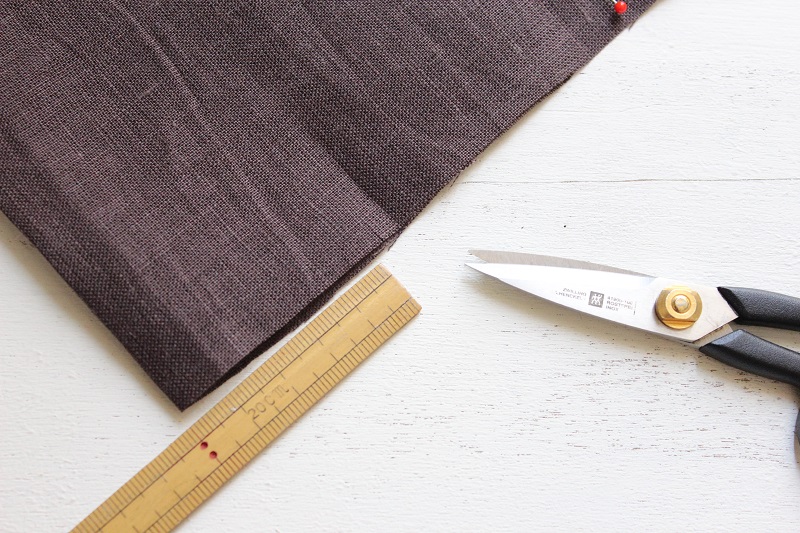
Cut the fabrics per the cutting layout.
2.
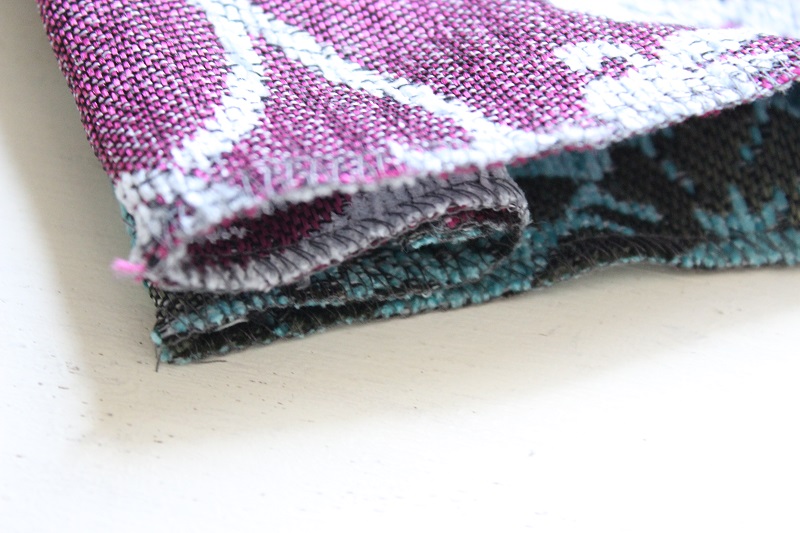
Piece together the fabrics for the back side. Press the seam open and run top stitches to press it down.
3.
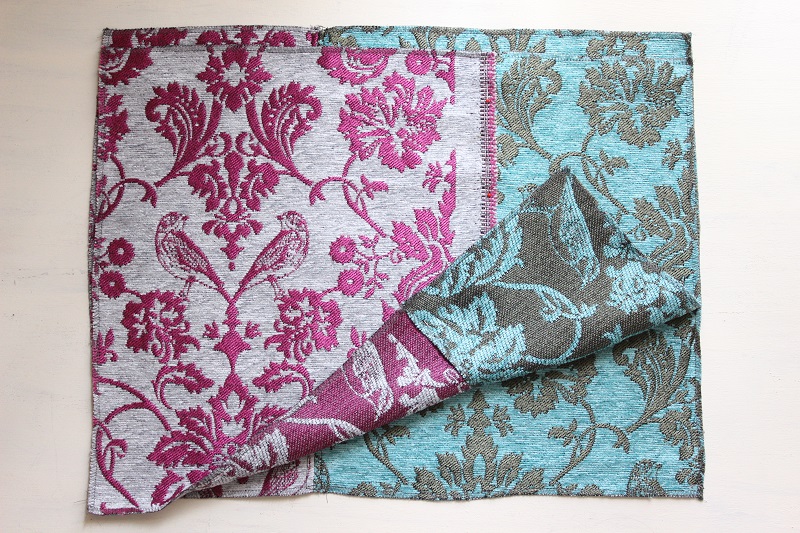
For the front, the edge of the fabric is used. Match the size of the front fabric with the fabric created in Step 2 and pin the front pieces together. Sew them together from the top to make it one piece.
4.
With the front sides facing each other, piece together the fabrics from Step 2 and 3 at the bottom. At 5cm from the bottom stitch line, create a notch (marking) on both sides.
5.
As shown, accordion-fold the fabric while taking care to place the notch at the bottom.
6.
Sew both sides from top to bottom. Turn it inside out.
7.
At 5cm from the fold line of the lining fabric, make a notch.
8.
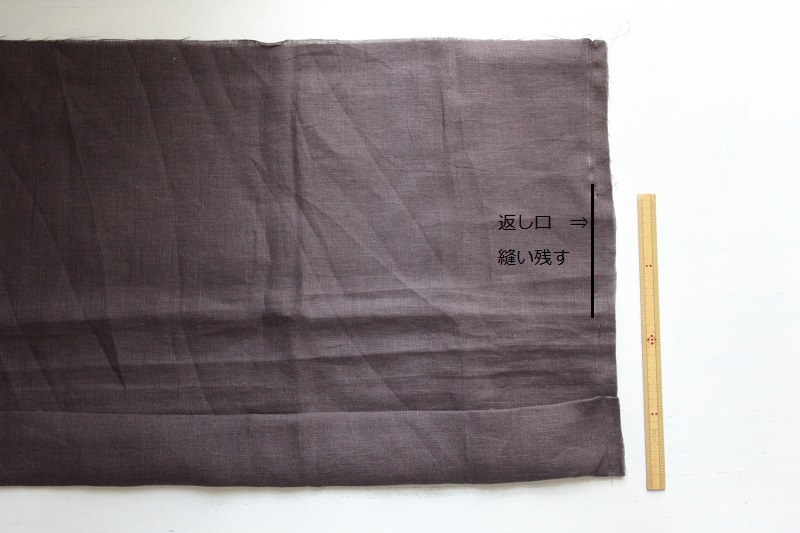
Fold the fabric so that the fold line will be placed at where the notch was made in Step 7. Sew both sides. Leave an opening for turning for 8cm on one side.
9.

Sew the straps. Fold the fabric as shown. Pin it from the top as if it is being wrapped. Run stitches in the center.
10.
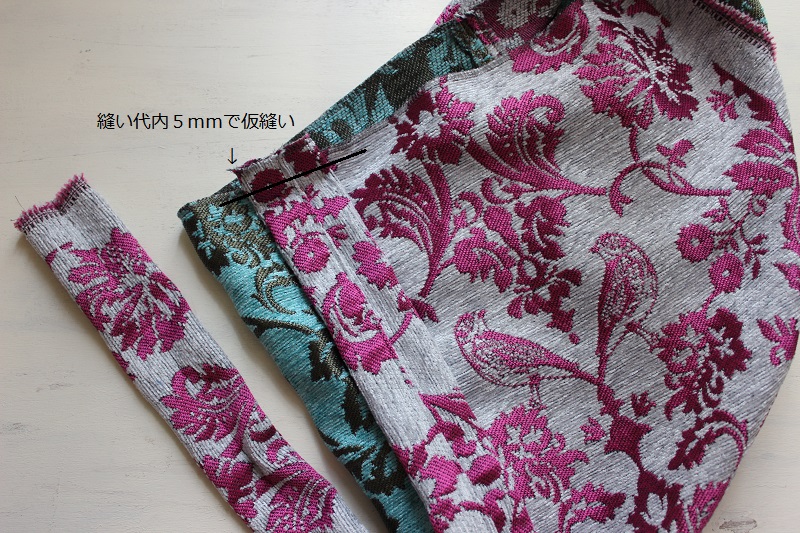
With the front sides facing each other, baste the strap at 5mm from the edge to one side of the outer bag.
11.
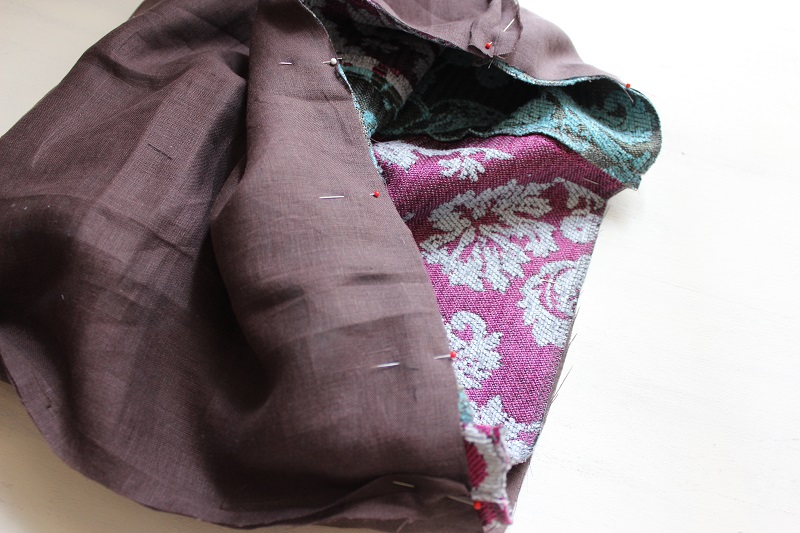
Place the outer bag into the lining bag with the front sides facing each other and sew around the top opening.
12.
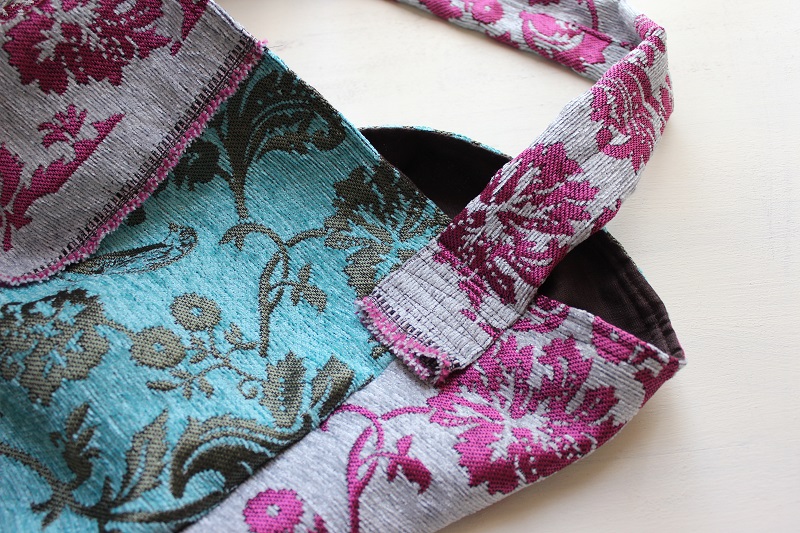
Turn it inside out using the opening, and run stitches two times around the top opening.
Attach the strap on the other side.
13.
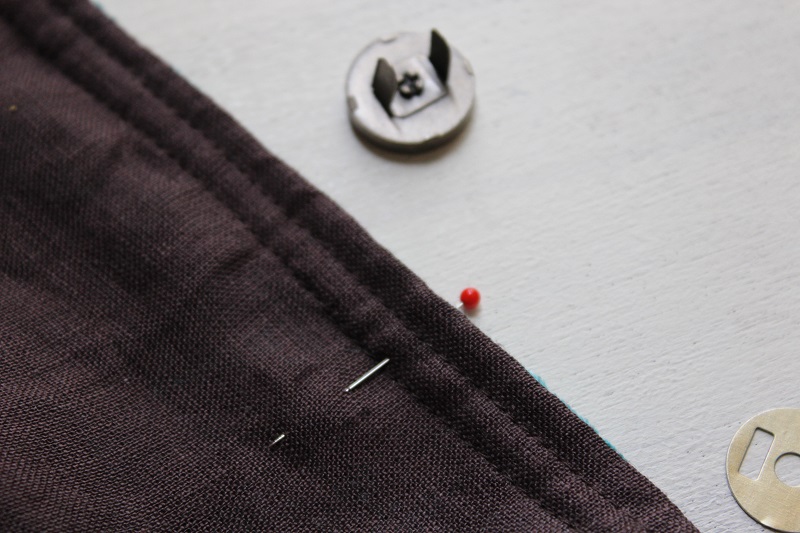
Mark where the magnetic clasp will be attached (about 2cm below the stitch line).
14.

Place your hand through the opening for turning to attach the magnetic clasp. You may want to use a patch. Close the opening for turning to finish.

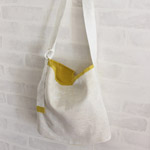 Shoulder Bag
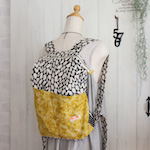 Backpack
 Lesson bag in kitten design fabric