
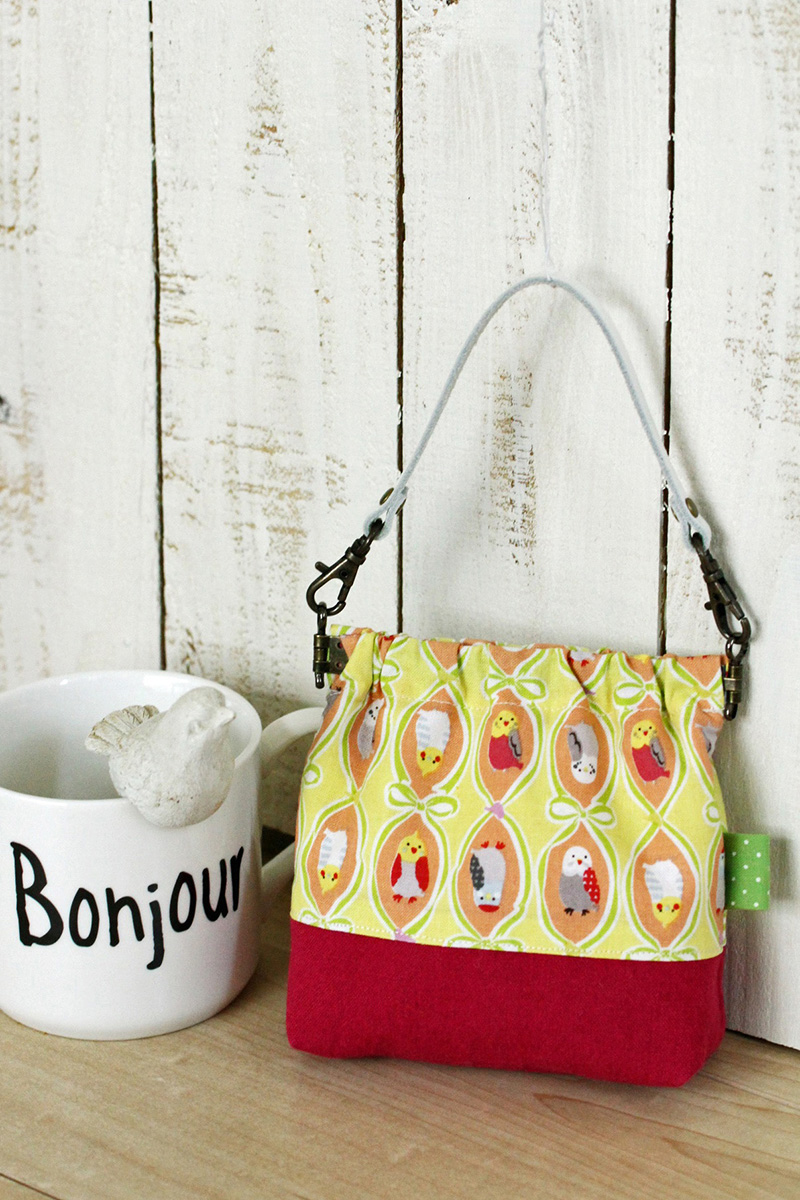
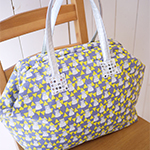
Today’s project is a small bag with a spring clasp made with a popular parakeet motif fabric. Aligned parakeets in different colors look lovely inside a small ribbon frame. This convenient cosmetic case can also be used as a bag-in-a-bag. A popular blogger by the name of Kanae Nakayama, aka Kana Kana, is here to introduce her creative idea.
Fabric shown for this sample:P36100-100 (C)
Materials:
□ Fabric (Outer panel): 40cm×20cm
(Bottom fabric (solid color)): 20cm×20cm
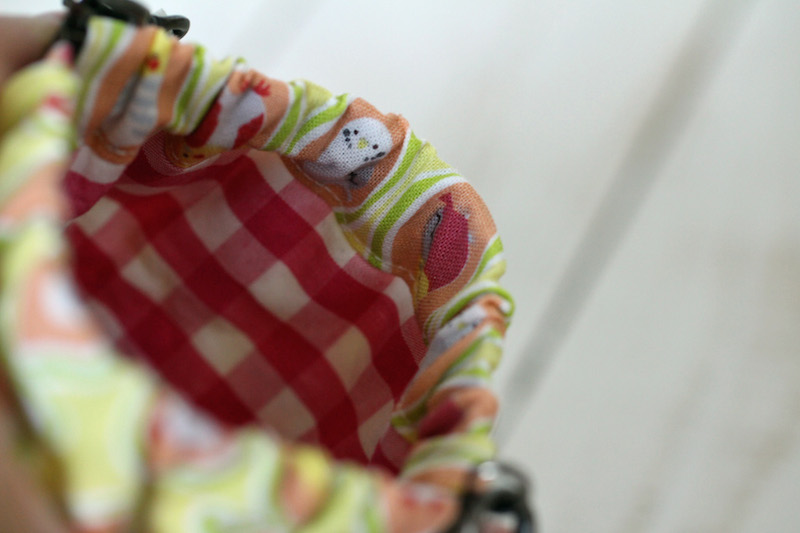
(Lining fabric (Gingham check)): 20cm×30cm
(Tab(Polka dot print)): 10cm×10cm
□ Fusible quilt batting 20cm×30cm
□ Handle with a metal clasp: 1 piece (23cm long)
□ Spring clasp with a pin: One piece (12cm (l) x 1cm (w)
We interviewed Kanae about her creation:
Kokka Fabric (KF): What did you think of the fabric you used for this project?
The expression of each parakeet is so adorable!
What makes it cuter is that each of them is drawn inside the ribbon.
With this fancy design, I thought small items for children would be nice to make.
Kokka KF: Can you tell us any special elements or ideas that you incorporated into this creation?
The overall color tone is soft with an impressive use of red and dark pink here and there.
So I combined it with a similar color fabric.
The color of the tag was matched with the chartreuse color ribbon.
The opening with a spring clasp makes it easy to get things in and out.
With the handle, you can also carry it as a small purse.
KF: What are some tips for making this case?
When sewing the sides, make sure to match the fabrics where they transition so that you can achieve a clean finish.
Where it transitions, sew it first for about 2cm, then sew all the way from the top to bottom to keep it aligned.
KF: How should we use this case in everyday situations?
The handle is detachable and can be hooked on the bag’s handle.
I first made this case when my daughter was in the sixth grade so that she could take it as a wallet for her school trip. She was also carrying it on her outing to a festival as an accessory to her yukata (cotton kimono) and it looked lovely.
KF: Thank you very much, Kanae! Here are sewing instructions along with step by step photos from her. Enjoy crafting!
Instructions
1.
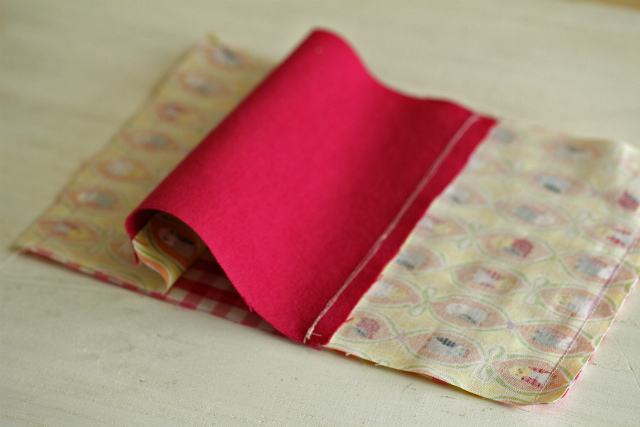
With front sides facing each other, sew outer fabrics (three pieces) and lining fabric (with quilt batting adhered) at the top opening. Since the outer fabric is longer, use the edge to align the fabric.
2.
Fold it again to make sure that the fabric is perfectly aligned where it transitions.
3.
Place the tag (fabric folded in half, loop side inside) in-between the fabrics.
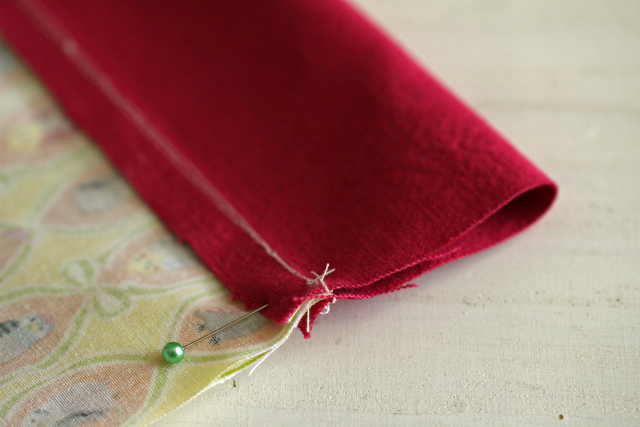
4.
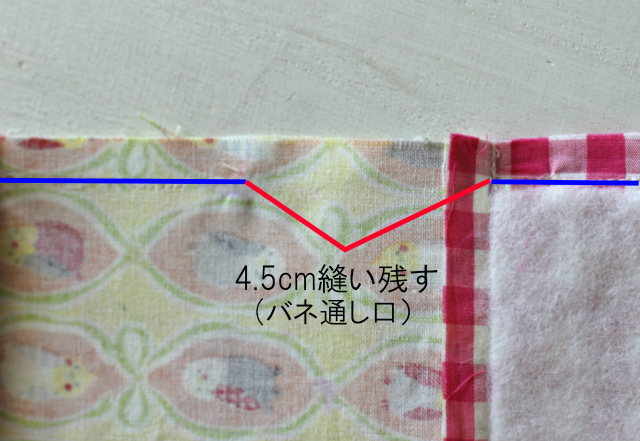
Sew both sides. Leave 4.5cm open where the spring clasp will be put through.
Sew four corners of gusset on the outer and lining fabrics. Turn it inside out using the opening for spring.
5.
Align the fabrics for the opening for spring clasp (both sides), securely iron and sew all the way around.
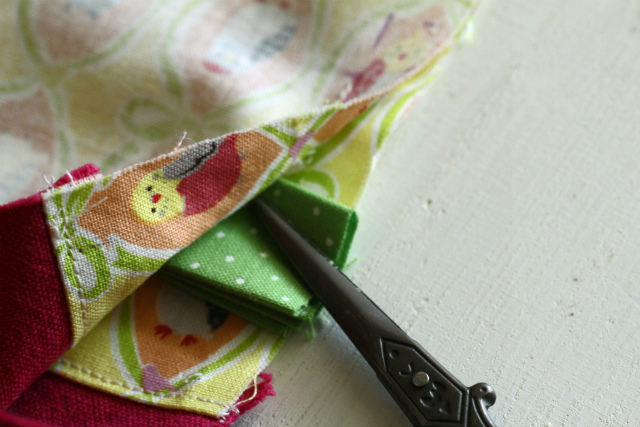
6.
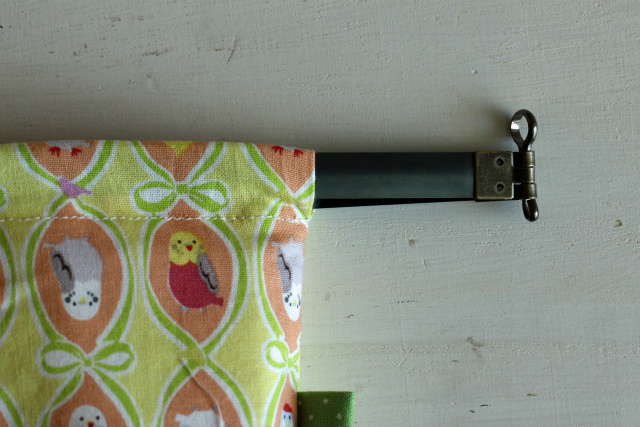
Put through the spring clasp. When pulling the tip, use a stiletto to hold the fabric at the opening to avoid the clasp from getting stuck.
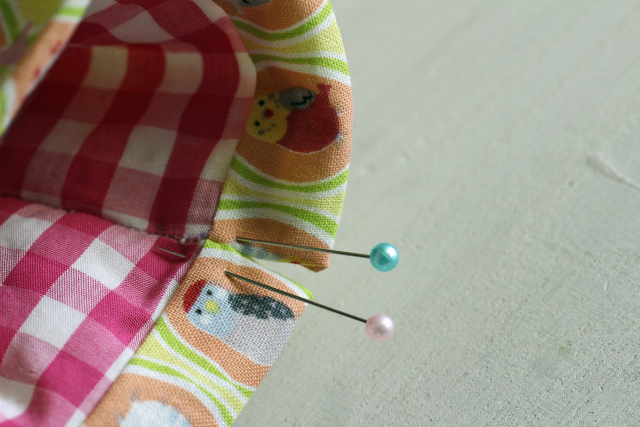
7.
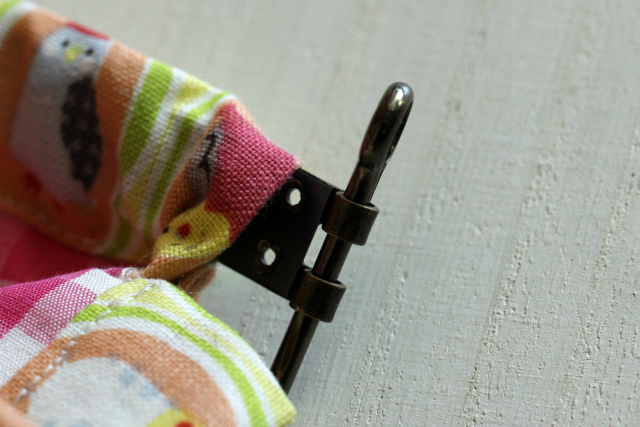
When one side is put through, place a pin to hold it. Once both sides are through, close the tip with a pin. Using a nipper, make a round edge to secure the pin’s end.

 Bag with an Aluminum Spring Clasp
 Eyeglass case made with echino glass design fabric
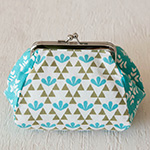 Small case with metal clasps in the GARDEN fabric