
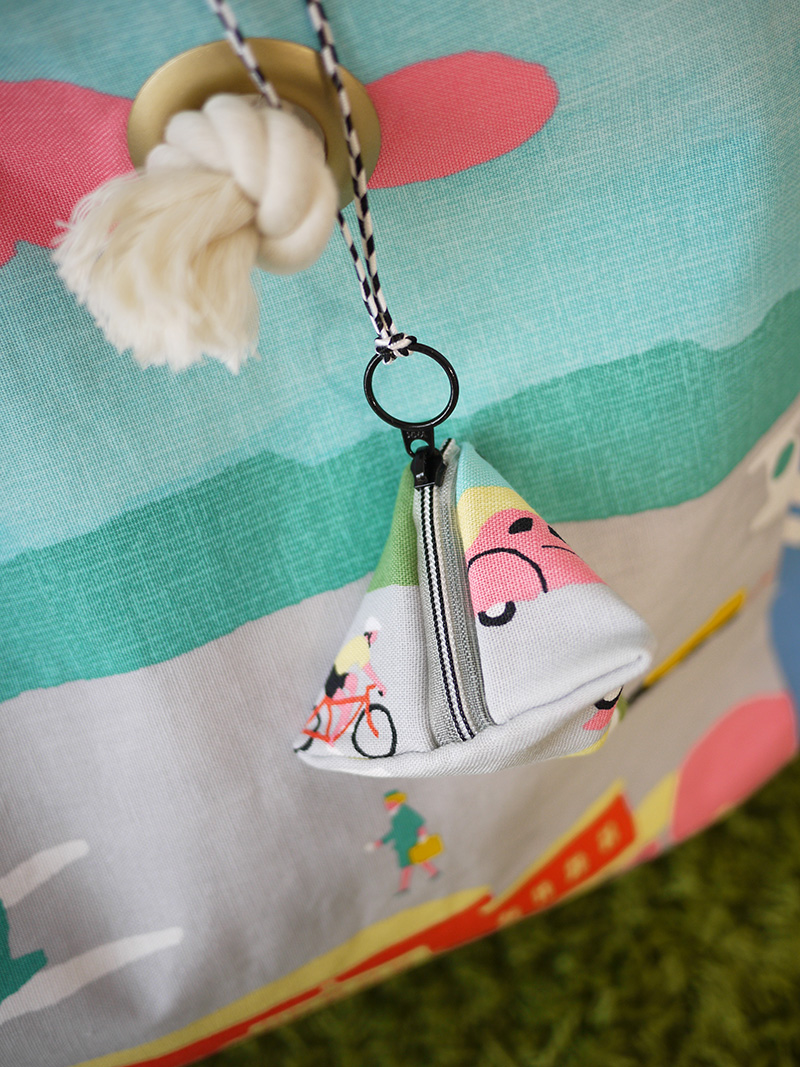
Mini pouch 7cm (each side)
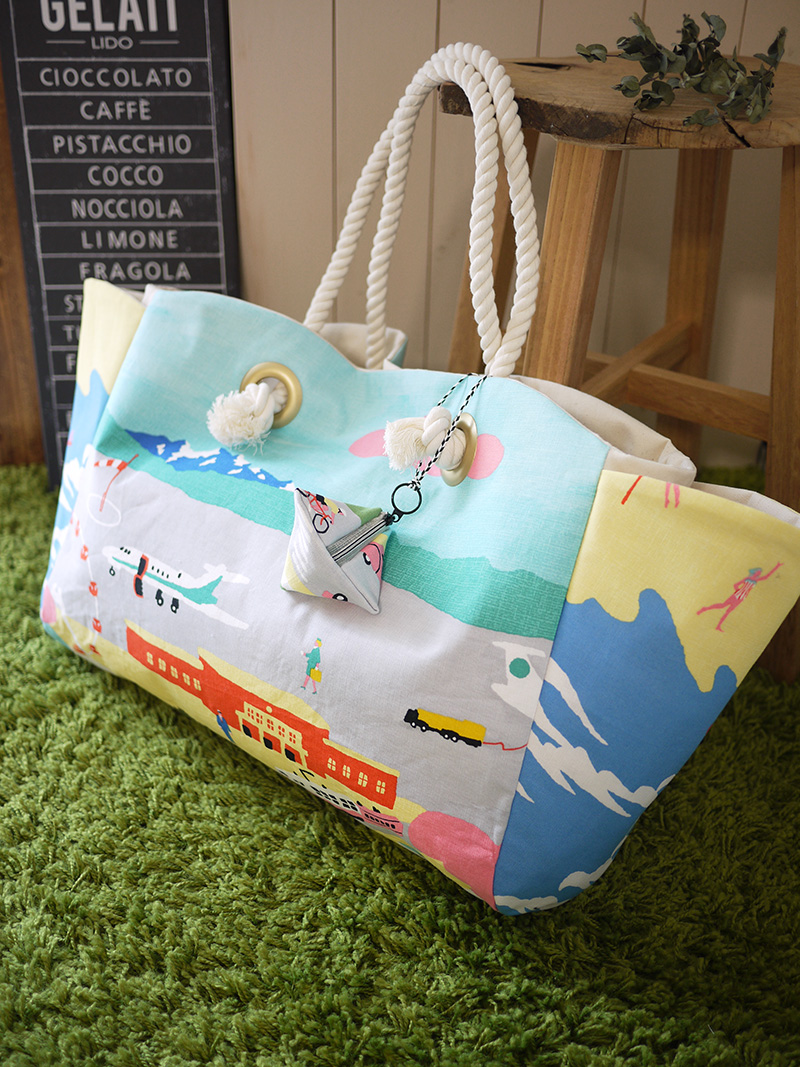
The featured project in Törten’s CINEMA is a large tote bag that will be useful for a weekend trip. “Like a piece of painting, this fabric is fun just looking at it. While using a large surface of the fabric, I also came up with the idea to use a remnant, making a matching mini pouch.” (by Yui Tamaki, designer) A tiny triangle pouch is a great item to make when left with a remnant. Learn the process so that you can make it next time you have extra remnant.
Fabric shown for this sample: Törten CINEMA JG49200-1 (A)
Materials:
□ Fabric (Bag outer panel, pocket outer fabric, pouch main fabric): 110cm wide × 100cm
(Bag gusset outer fabric, lining fabric) (#11 Canvas): 92cm wide × 110cm
□ Fusible interfacing (thick): 50cmx100cm
□ Rope: 160cm (1.5cm diameter)
□ Code: 0.3cm wide x 30cm
□ Magnetic clasps (hook type): 1 pair (1.8cm diameter)
□ Plastic eyelets: 4 pairs (5cm outer diameter, 2.5cm inner diameter)
□ Zipper 1 piece (10cm)
We interviewed Yui about her creation:
Kokka Fabric (KF): What did you think of the fabric you used for this project?
Like a piece of painting, this fabric is fun just looking at it. As it is named CINEMA, the feel of the design inspired me to make a large bag that is suitable for a weekend trip.
While using a large surface of the fabric, I also came up with a cute idea to use a remnant, making a matching mini pouch.
KF: Can you tell us any special elements or ideas that you incorporated into this creation?
Roomy side pockets can easily fit a picnic blanket or a pair of flip flops. This bag is also perfect as a diaper bag. As for a mini pouch, it is useful as a coin purse, pill case or carrying accessories.
KF:What are some tips for making this bag?
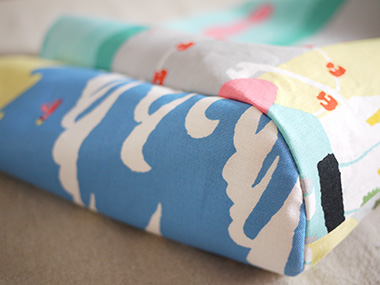
You may find it difficult to sew together the gusset and the main bag along the bottom curve. If you pin it well or baste it beforehand and sew slowly, then you will be fine. This creates a bag with a cute form on the side. Even if you are not good at sewing a curve, I encourage you to try it.
KF:How should we use this bag in everyday situations?
It is perfect to take when going to the beach or to the park. It goes well with a simple and casual style coordination.
KF:Thank you very much, Yui! Here are sewing instructions along with step by step photos from her. Enjoy crafting!
Instructions
1.
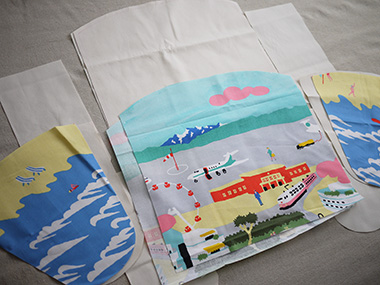
Prepare each part of the bag. Add 1cm seam when cutting the fabric.
For the outer fabric, cut each piece for front and back. Do not fold the fabric to make a loop as the design on one side will appear upside down. With the front sides facing each other, piece together the fabrics at the bottom. Adhere a thick fusible interfacing on the outer fabric.
2.
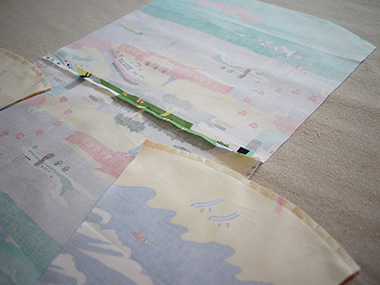
With the front sides facing each other, sew together the pocket fabrics at the opening. Cut a slit on the seam.
3.

Turn over the pocket. Align the shape using an iron. Lay it over the gusset fabric (outer fabric) and baste it.
4.5
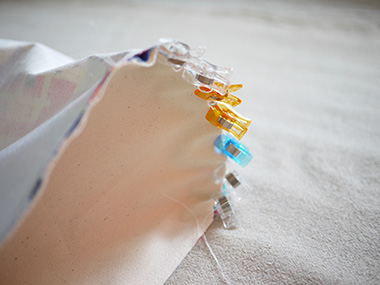
Make the outer bag. With the front sides facing each other, sew together the main outer fabric and gusset fabric with the basted pocket.
Along the curve, align the markings and pin it or put a clip closely for easier stitching. If necessary, baste it before sewing by machine.
6.
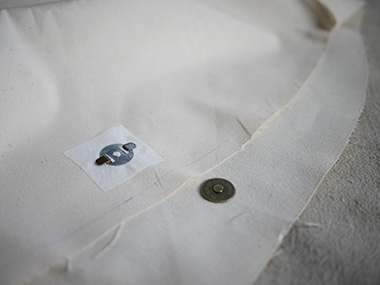
Like the outer bag, with the front sides facing each other, sew together the gusset fabric and main fabric. Attach the magnetic clasp.
7.
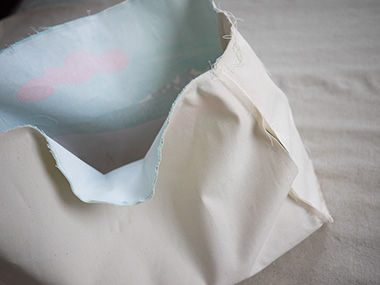
With the front sides facing each other, sew together the outer bag and lining bag at the top opening.
8.
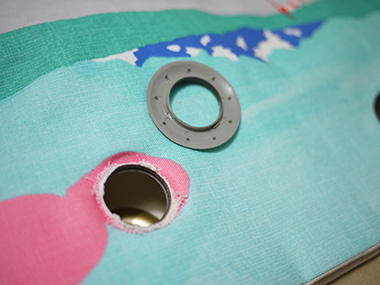
Make a hole for the handle rope. Attach the plastic eyelets.
9.
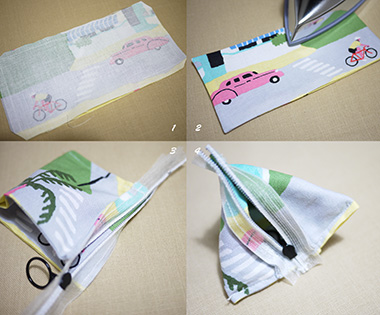
Make a mini pouch.
1. With the front sides facing each other, sew together the 5×10cm remnants (edges are left cut) leaving a 4-cm opening.
2. Turn it inside out. With the front sides facing each other, attach a zipper (on the short side edges).
3. With the front sides facing each other, sew together the top side.
4. With the front sides facing each other, sew together the bottom side, bringing the zipper to the center and leave it open.
5. Cut off the excess zipper and secure the edge with stitches.
6. Turn it inside out and attach the cord.

 Mini purse with a drawstring bag
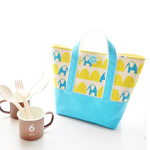 Elephant Mini Tote
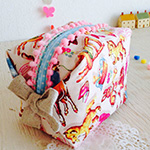 Caramel Pouch