
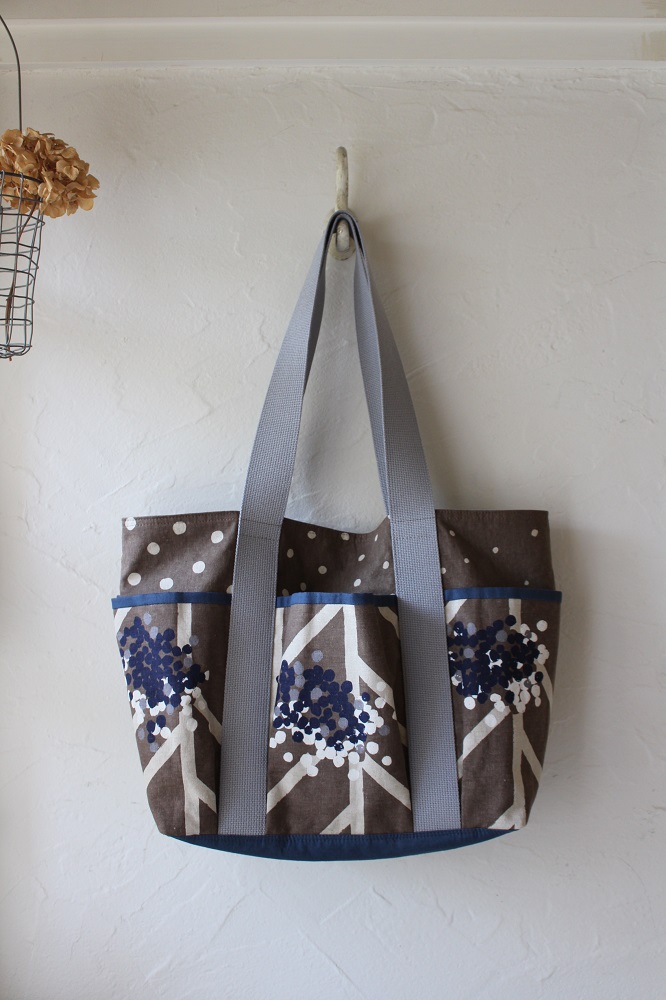
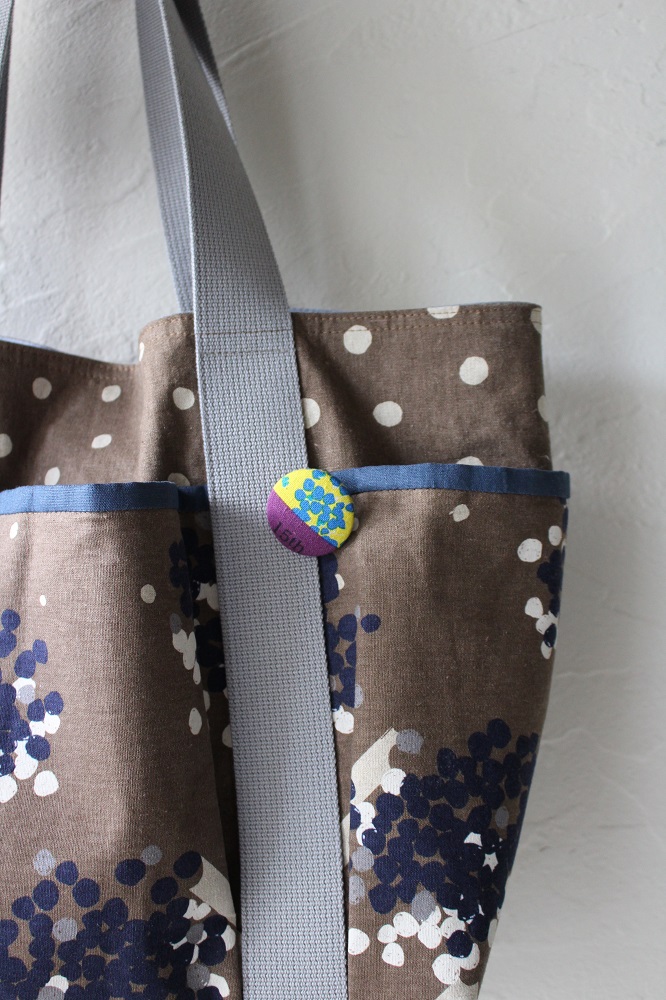
A collection of large flowers beautifully covers the outer pocket of this tote bag. The opening of the outer pocket is accented by folding back the solid dark blue-grey echino fabric used for the lining. The outer pockets around the bag are useful for sorting small items. The fabric used is a new pattern [nabana] from the series commemorating echino’s 15th anniversary. It depicts a landscape pattern of large blooming flowers growing upright.
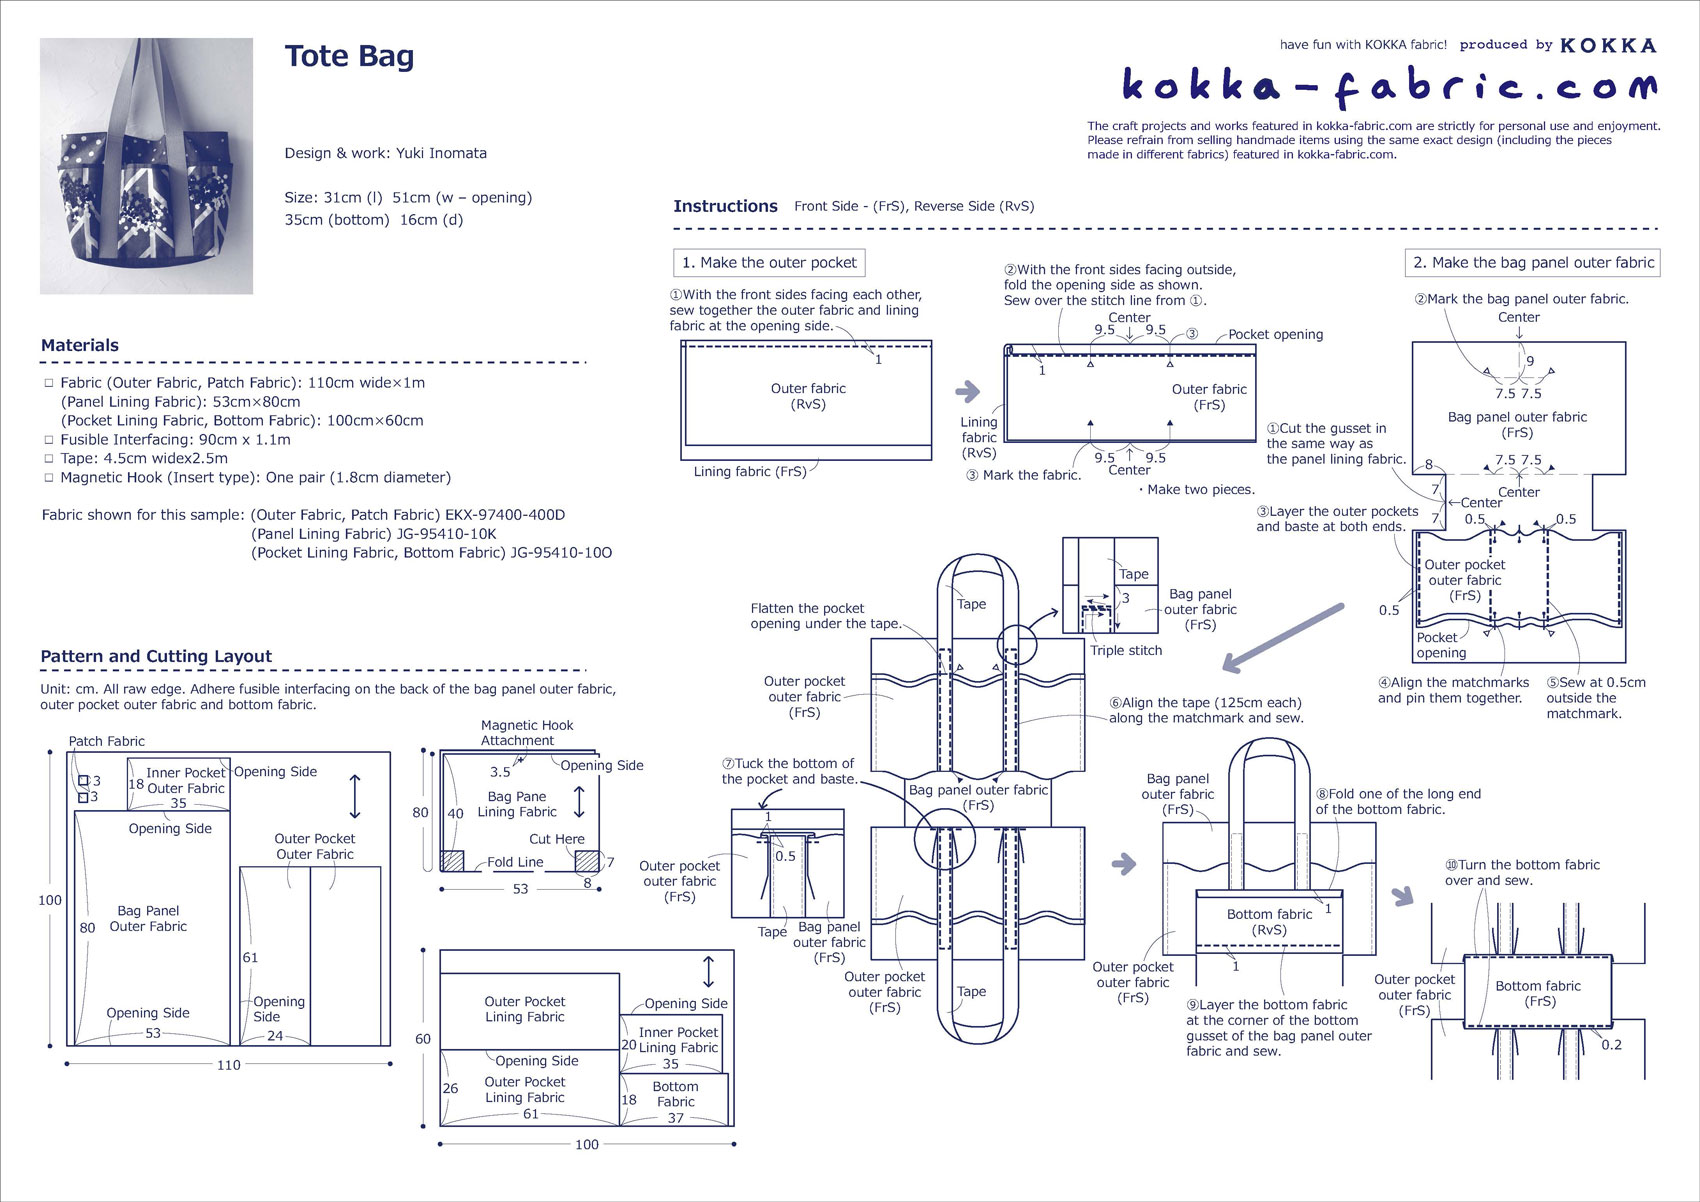
Fabric shown for this sample:(Outer Fabric, Patch Fabric) EKX-97400-400D
(Panel Lining Fabric) JG-95410-10K
(Pocket Lining Fabric, Bottom Fabric) JG-95410-10O
Materials:
□ Fabric (Outer Fabric, Patch Fabric): 110cm wide×1m
(Panel Lining Fabric): 53cm×80cm
(Pocket Lining Fabric, Bottom Fabric): 100cm×60cm
□ Fusible Interfacing: 90cm x 1.1m
□ Tape: 4.5cm widex2.5m
□ Magnetic Hook (Insert type): One pair (1.8cm diameter)
Size: 31cm (l) 51cm (w – opening) 35cm (bottom) 16cm (d)
We interviewed Yuki about her creation:
Kokka Fabric (KF): What did you think of the fabric you used for this project?
The pattern and colors were seasonal, so I was excited to create a piece that would be perfect for the season. While the pattern is large, I designed it so that I could make the most of all the elements. I am glad that the finished bag has a feel of a story behind it.
KF: Can you tell us any special elements or ideas that you incorporated into this creation?
This time, I tried to tailor it like it was a canvas, a material which is usually avoided for household sewing machines. For this reason, I tried to make it look the same as when making it with canvas, though I have not usually applied interfacing to canvas fabric. By adding tucks to the outer pocket to create more room, it generated a lively look for the pattern, making the bag more stylish than expected.
KF: What are some tips for making this bag?
It is possible to finish without applying fusible interlining, but if you want to create some structure, as in this case, it is recommended to utilize the interfacing. This bag with tucked pockets, if the matchmarks are misplaced, the entire shape will be misaligned. Be sure to check the position of the first mark before proceeding. The process is basically the same even if the width of the handle changes. If the width is too wide, please change the width of the handles you prepare. Since this article is posted for the winter season, I made the shoulder a little longer to match a winter coat. If you want to make it in summer with a different fabric, shorten the handles by 5cm to fit your body and make it easier to carry. You will enjoy making this bag more if you imagine how you will use it in each season. I hope you will enjoy choosing fabrics when the seasons change!
KF: How should we incorporate this bag into one’s styling?
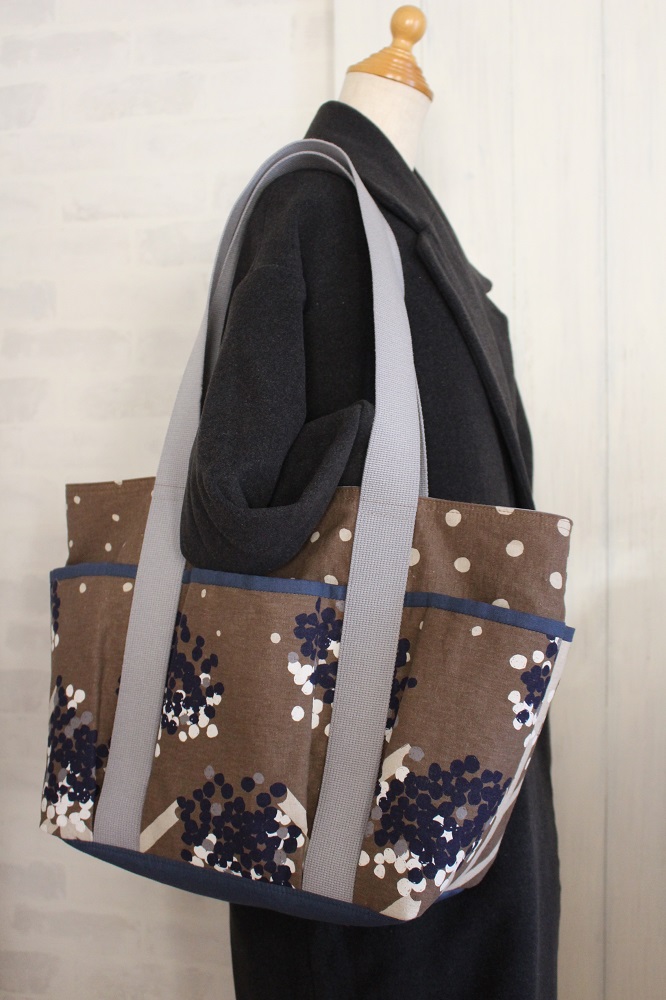
This time, since the article is published in winter, I dared to match it with a seasonal brown color from the selection of kokka’s fabric, which is usually characterized by its pop and bright patterns. This is a large open tote that is convenient for shopping, traveling, and family visits. It also has a lot of outside pockets for sorting small items when you have more luggage on your trip. Of course, it also works great as an eco-friendly bag! I hope you will find it useful for different purposes.
KF: Thank you very much, Yuki! Here are sewing instructions along with step by step photos from her. Enjoy crafting!
Instructions
1.
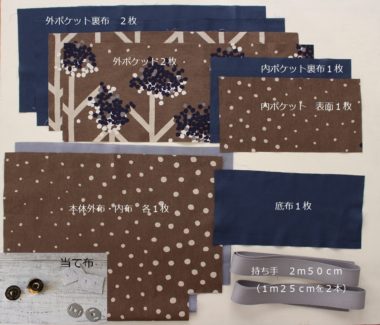
Here is the list of materials used for the piece. Put a medium weight fusible interfacing on the back of the outer pocket outer fabric and bottom fabric.
2.
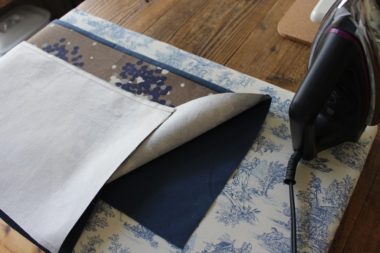
With the front sides facing each other, layer the outer pockets, and sew. (sewn at 1cm as shown) Wrap the seam allowance with the lining fabric and iron to crease.
3.
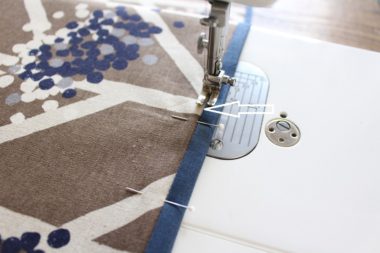
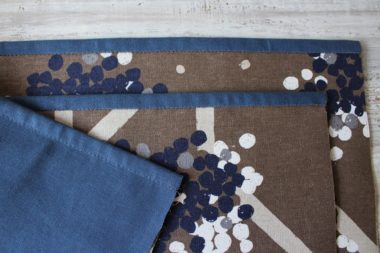
Stich over the seam line. If this is too difficult, sew at the edges (make two sets of outer pockets).
4.
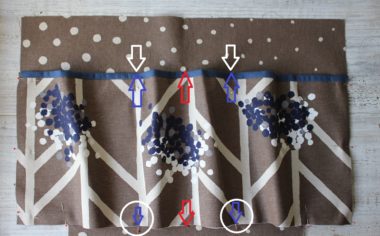
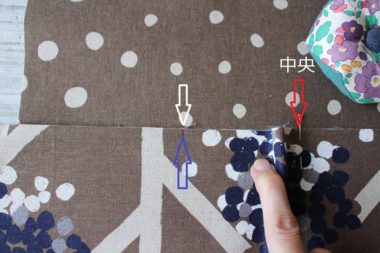
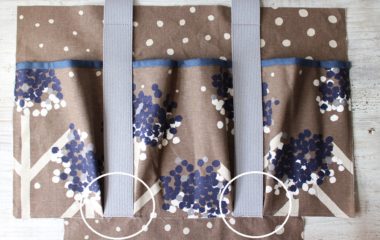
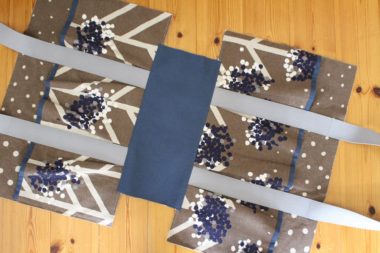
The outer pocket made in step 3 is placed over the bag panel in the center. Mark the top, bottom, and both sides of the pocket, then align the tuck marks (blue arrows) on the outer pocket with the white arrows on the bag panel, and piece together with pins. The photo below is a zoomed-in image.
5.
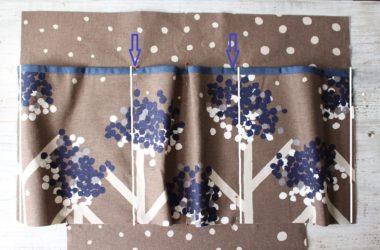
Baste both sides at 5mm. Baste the matchmark at 5mm away from the marked area to the outside (the blue arrow is the location of the tuck).
6.
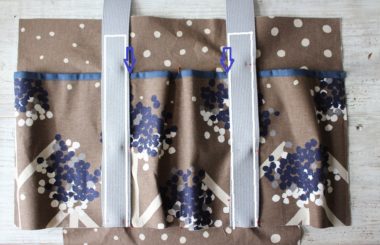
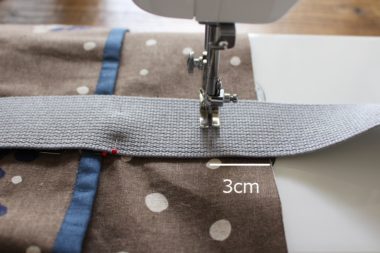
Baste the handle with a pin and sew at 3cm from the edge (do a triple stitch).
7.
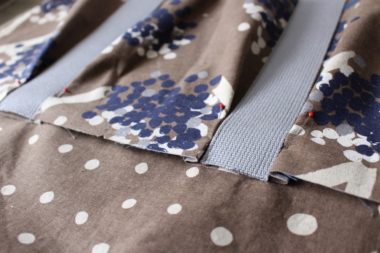
After basting the tuck with a pin to the handle as shown in the image, temporarily baste the bottom of the outer pocket at 5mm from the edge.
8.
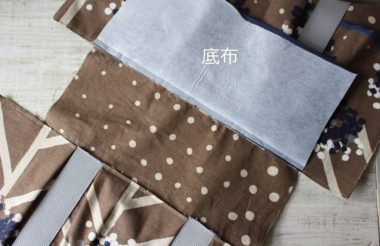
With the front sides facing each other, overlap the bottom fabric with the bottom of the outer pocket, and sew at 1cm. Iron the seam allowance on the other side to make a crease.
9.
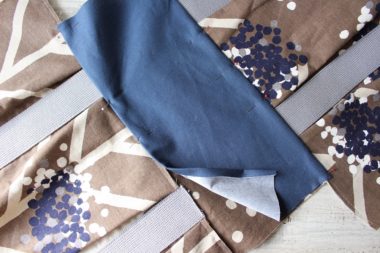
Turn it over and sew the edge.
10.
The outer fabric is complete.
11.
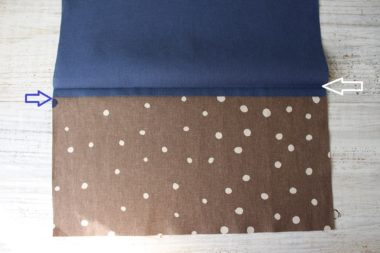
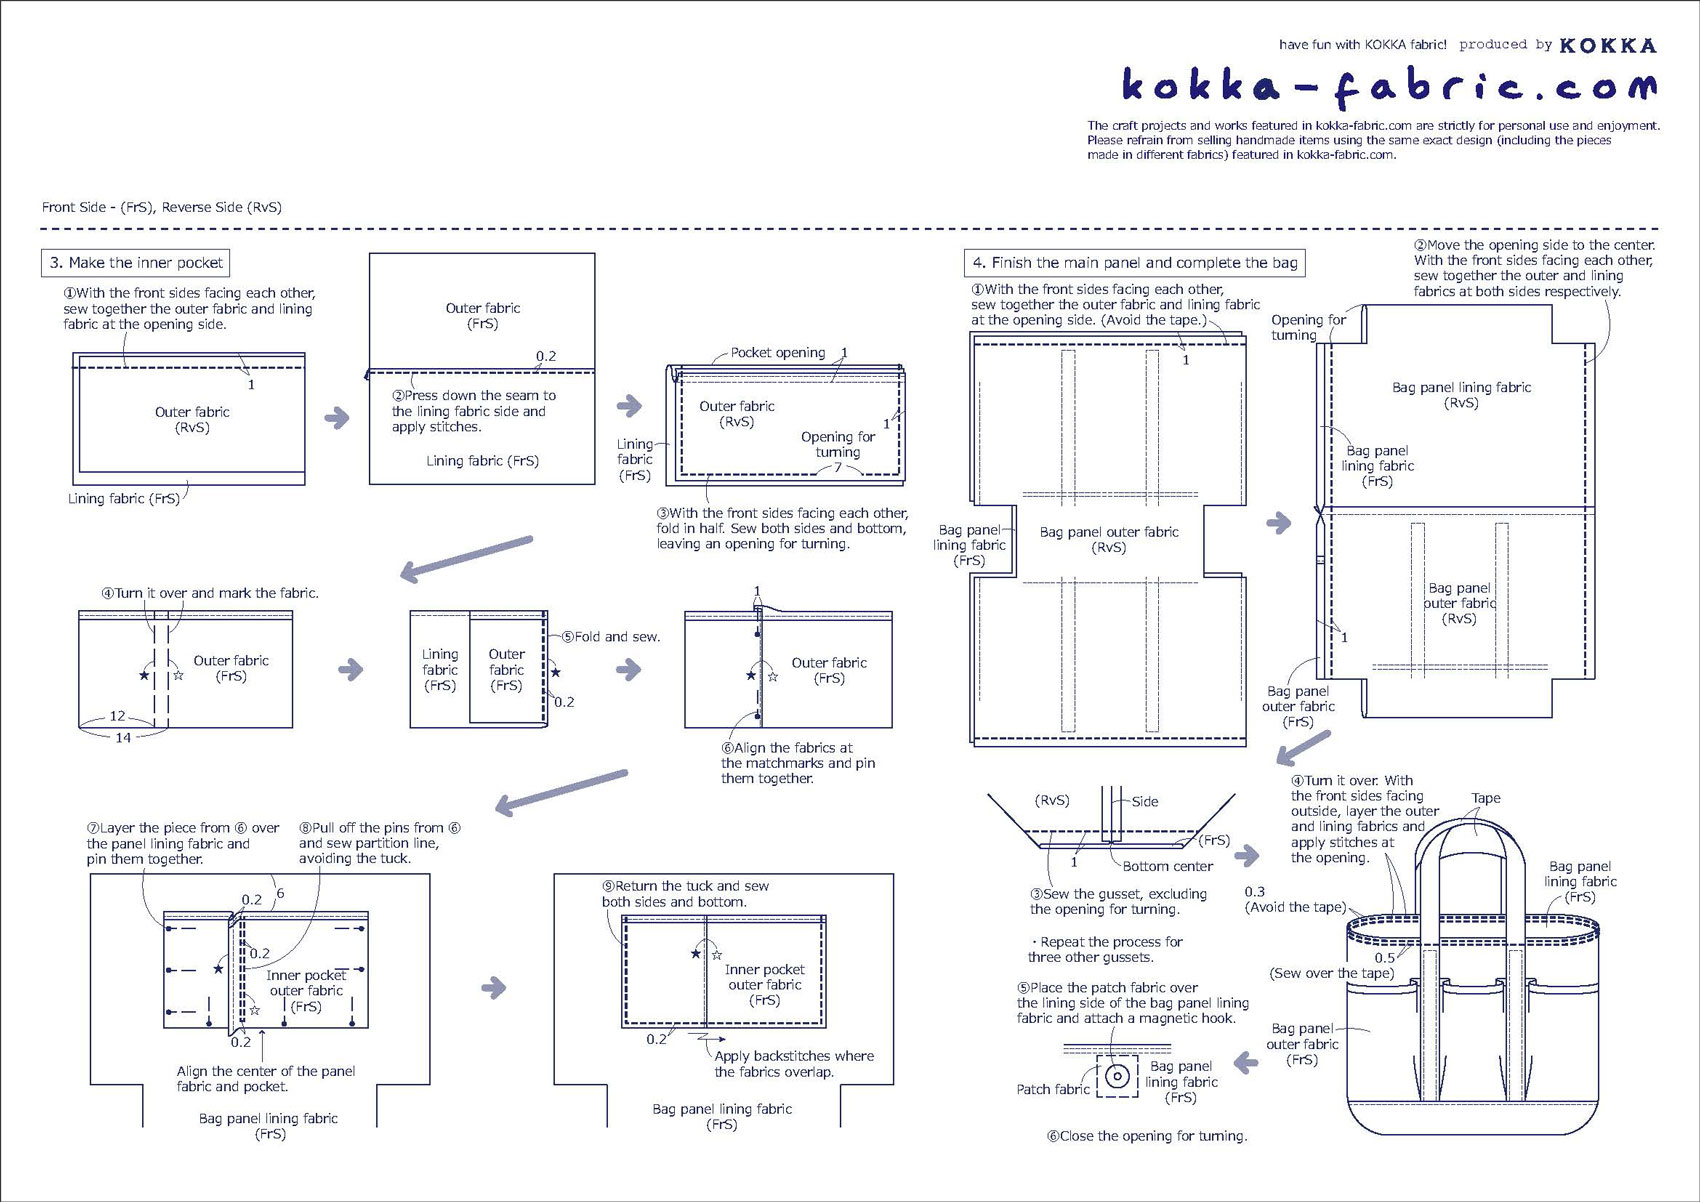
Make an inner pocket. As in Step 2, sew at 1cm from the top edge, and sew the edge where the seam allowance looks wrapped (blue arrow). The white arrow indicates the line that is wrapped with the lining fabric when layered with the front sides facing each other. Iron to creases in advance.
12.

Sew around the perimeter, leaving an opening for turning.
13.
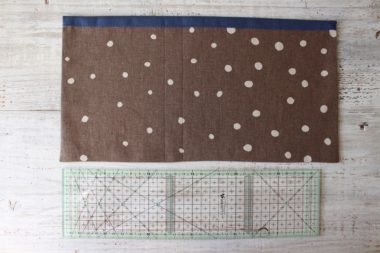
Stich lines to divide the inner pocket. As shown in the image, draw a line at 12cm and 14cm from the edge with a pen that will erase naturally. Be careful not to use a permanent marker or ball point pen.
Be careful not to write with a pen that cannot be erased later, such as a ballpoint pen.
14.

With the front sides facing each other, layer the outer and lining fabric, and sew at 1 cm from the top and bottom edges respectively.
15.
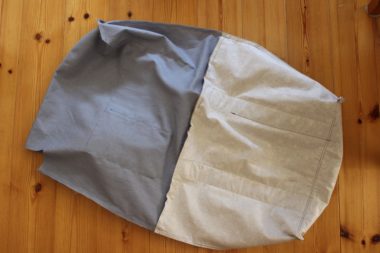
With the front sides facing each other, overlap the outer fabric and lining fabric and sew at 1cm on both sides, and sew at 1cm on the bottom, leaving one portion on the lining bag. The bottom portion that is unsewn becomes the opening for turning.
16.
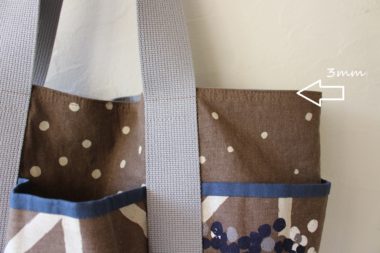
Turn the bag over and sew at 3mm from the top opening of the bag, then sew the second line at 5mm parallel to the first stitch line. Sew together the handle at the same time.
17.

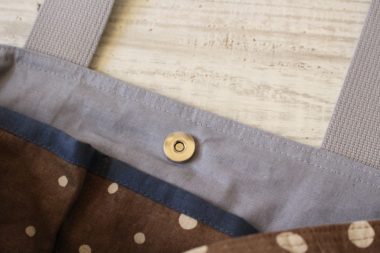
Put your hand through the opening for turning and attach the magnet, then close the opening to finish.
◎Sewing Instructions (PDF format / A4 size)

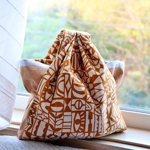 Tucked Handle Bag Sewing Instructions
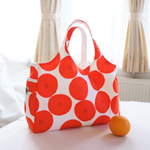 Tote Bag with Side Pockets -Sewing Instructions
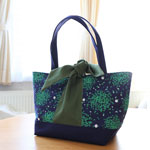 Ribbon Tote Bag -Sewing Instructions