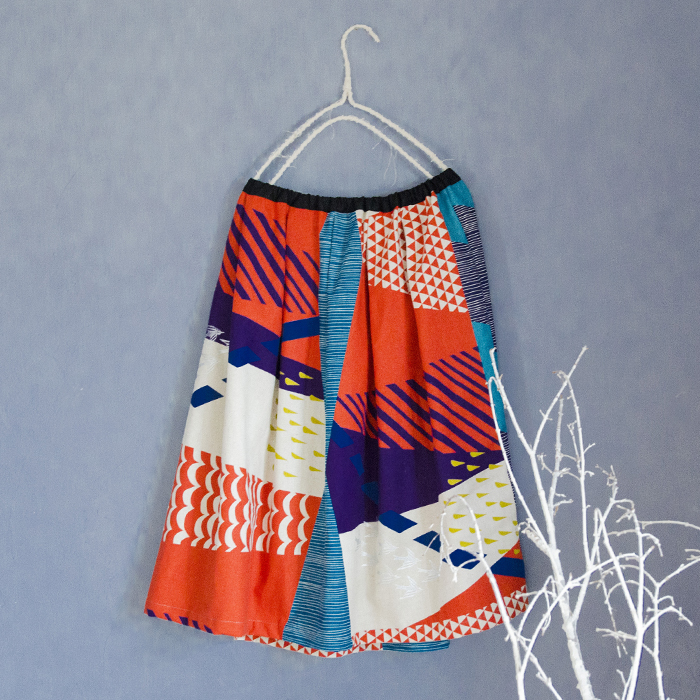
This skirt is made with the wandervogel fabric from echino’s 2016 collection. While tactfully featuring the graphical motif, a touch of softness is added by tucking the waistline. The skirt’s glamorous design stands out when combined with a single color top. It creates a very impressive fashion statement!
Fabric shown for this sample: echino wandervogel JG96400-400 (A)
Materials:
□ Fabric: 110cm wide x 140cm
□ Fabric (Black): 110cm x 10cm
□ Elastic tape (15mm wide): about 57cm
We interviewed Yuka about her creation:
Kokka Fabric (KF): What did you think of the fabric you used for this project?
The biggest charm of this fabric is a beautiful pattern with an impact. The moment I saw it, I decided to make a skirt.
KF:Can you tell us any special elements or ideas that you incorporated into this creation?
I tried to incorporate the fabric’s good thickness and gathering. It is not a see-through fabric, so it was perfect for tucking. The width of the tuck is coordinated in such a way to make the process easy. The fabric’s bold design helps the tuck look beautiful at this width.
KF:What are some tips for making this skirt?
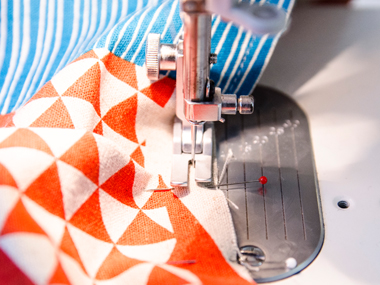
Baste the tucks first. This will make the following process much easier.
KF:How should we wear this skirt in everyday situations?
I hope you will coordinate it with this season’s trendy top, a turtleneck shirt. It goes well with a pair of boots and fur, allowing you to enjoy it as the fall and winter wardrobe.
KF:Thank you very much, Yuka! Here are sewing instructions along with step by step photos from her. Enjoy crafting!
Instructions
1.
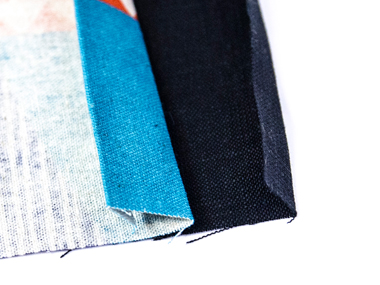
First, fold the skirt’s hem and one edge of the belt using an iron.
2.
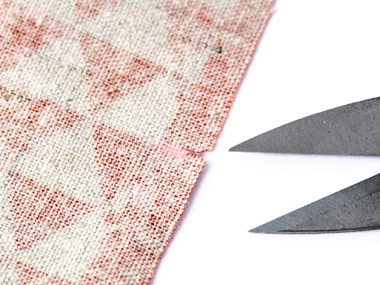
Cut a slit on the tuck locations. (or you can just mark the location)
4.
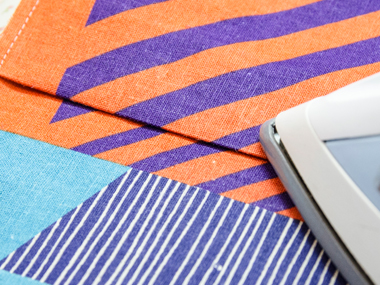
Lightly press the tucks using an iron.
5.
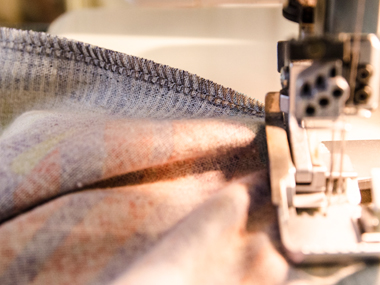
Sew the sides. Finish with zigzag stitches.
6.
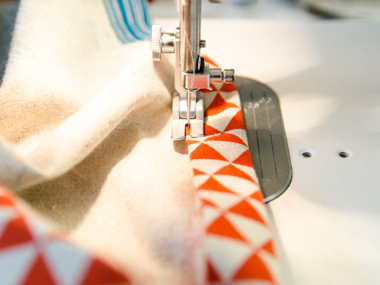
Double fold the hem of the skirt. Stitch all the way around.
7.

Align the edge of the belt. Sew it together, leaving an opening for the elastic tape. Press the seam open using an iron.
8.

Sew together the skirt (reverse side) and belt (front side).
9.

Turn the fabric from #8 inside out. Finish the belt with stitches.



 Cotton Sateen Kid’s Skirt
 Tunic Dress
  Wrap Skirt