
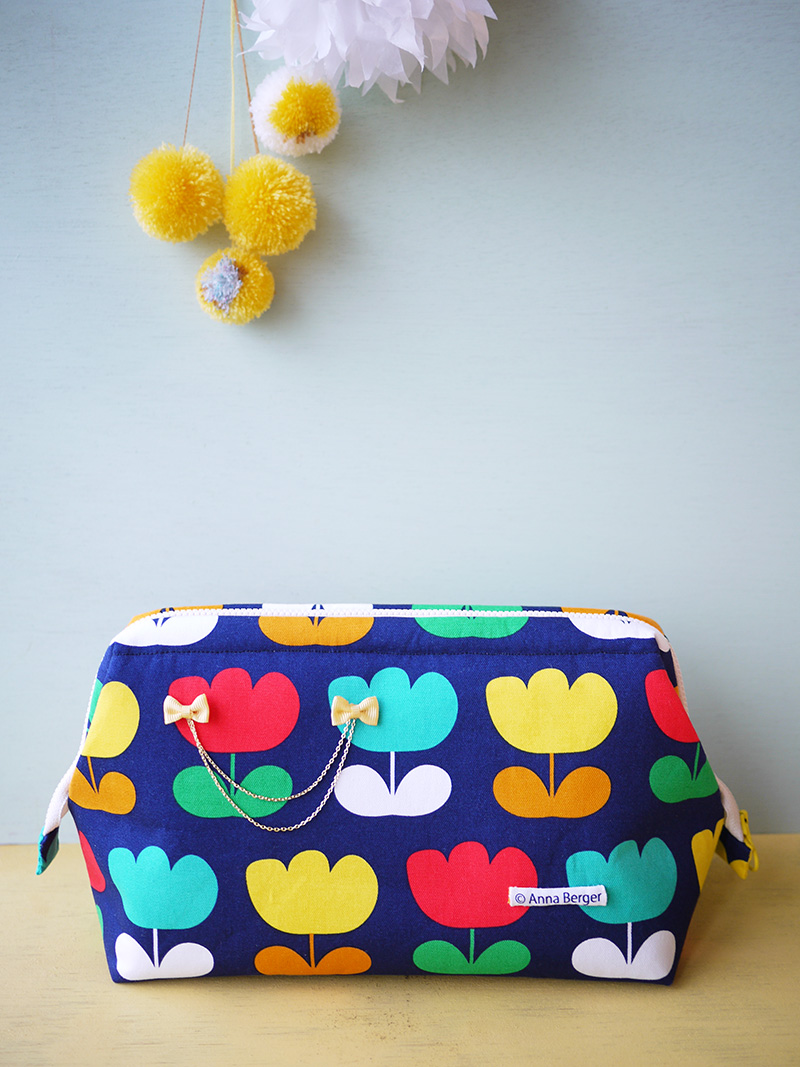
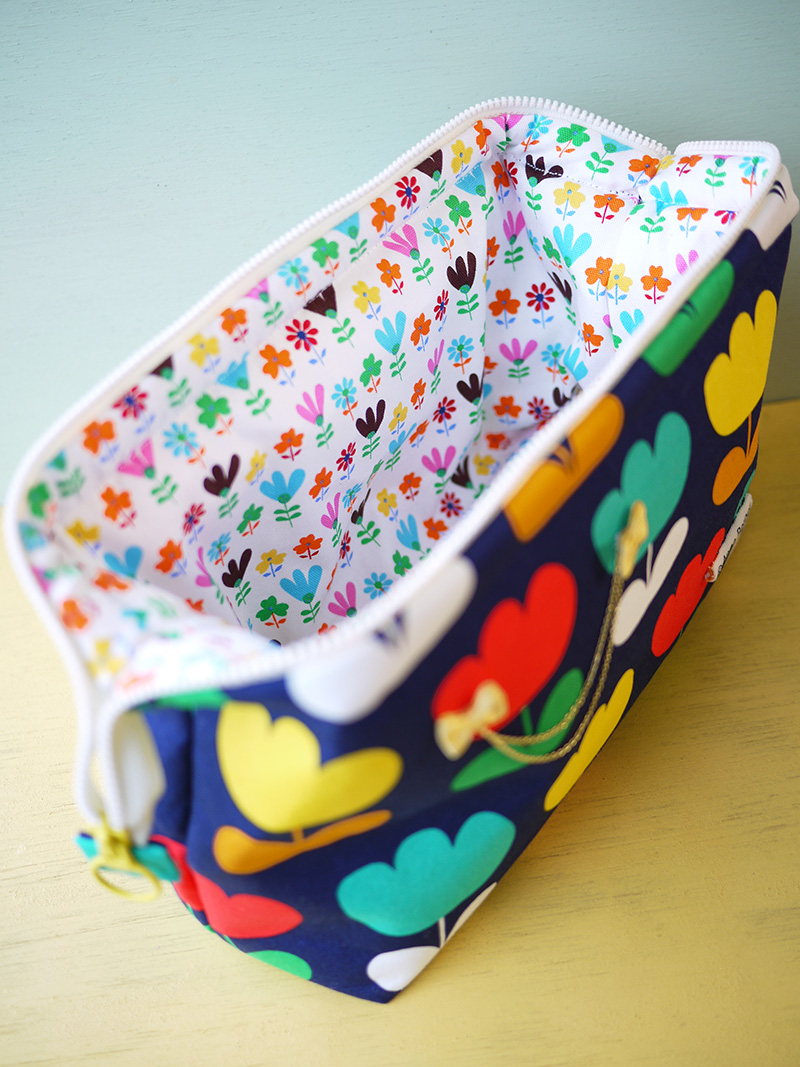
As seen many times as samples in kokka fabric’s textile story column photos, today’s project is a pouch with a wired-clasp opening. Convenient with its wide-open top, this pouch is rapidly increasing in popularity. Yui Tamaki, who is well known for her lovely hand crafted items, has come up with this pouch using Anna Berger’s colorful fabric. A chain and ribbon add a nice accent to the pouch.
Fabric shown for this sample: Anna Berger JG48500-3(A) (Outer fabric)、JG48500-1(A)(Lining fabric)
Materials:
□ Fabric (Outer fabric, Tab): 80cm×30cm
(Lining fabric): 80cm × 30cm
□ Thick fusible interfacing: 80 x 30cm
□ Quilt batting: 80 × 30cm
□ Zipper: One piece (50cm long)
□ Metal wired clasp: One pair (5cm long x 24cm wide)
□ Embellishment of your choice (Ribbon, Chain, Tag)
![]()
We interviewed Yui about her creation:
Kokka Fabric (KF): What did you think of the fabric you used for this project?
The clear and large flower design is so impressive that I decided to make a simple and big pouch that features the design to its fullest extent.
KF: Can you tell us any special elements or ideas that you incorporated into this creation?
As the wired top opens wide, it is very convenient and easy to get things in and out. Using a lighter color fabric for the lining helps make it easier to see and identify items inside. The gold chain embellishment makes this look mature yet lovely. Even the edge of the fabric is not wasted. It is repurposed as a decorative tag.
KF: What are some tips for making this pouch?
You can achieve a clean finish by using the interfacing. With only straight line stitching, it is an easy project and makes you want to create more and more.
KF: How should we use this pouch in everyday situations?
With a wide-open top, the pouch stands on its own, so you may find it handy to carry sewing supplies or for cosmetics. This lovely pouch is perfect for travelling, too.
KF: Thank you very much, Yui! Here are sewing instructions along with step by step photos from her. Enjoy crafting!
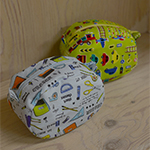
 Puppy Pouch
 Caramel Pouch
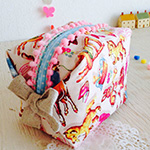 Caramel Pouch

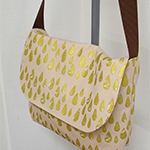 Shoulder Bag
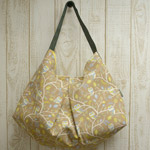 Shoulder Bag
 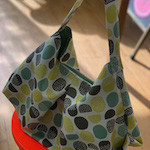 Shoulder Bag
 Round Pouch
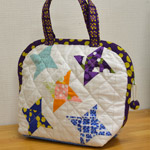 Five Star Bag made of machine pieced patchwork
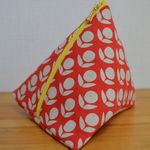 Triangle Pouch
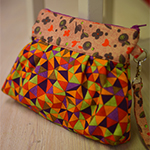 Pleated Pouch
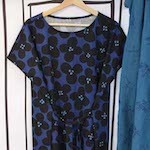 A Line Dress (with ribbon)
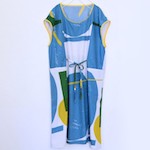 Tunic Style Dress
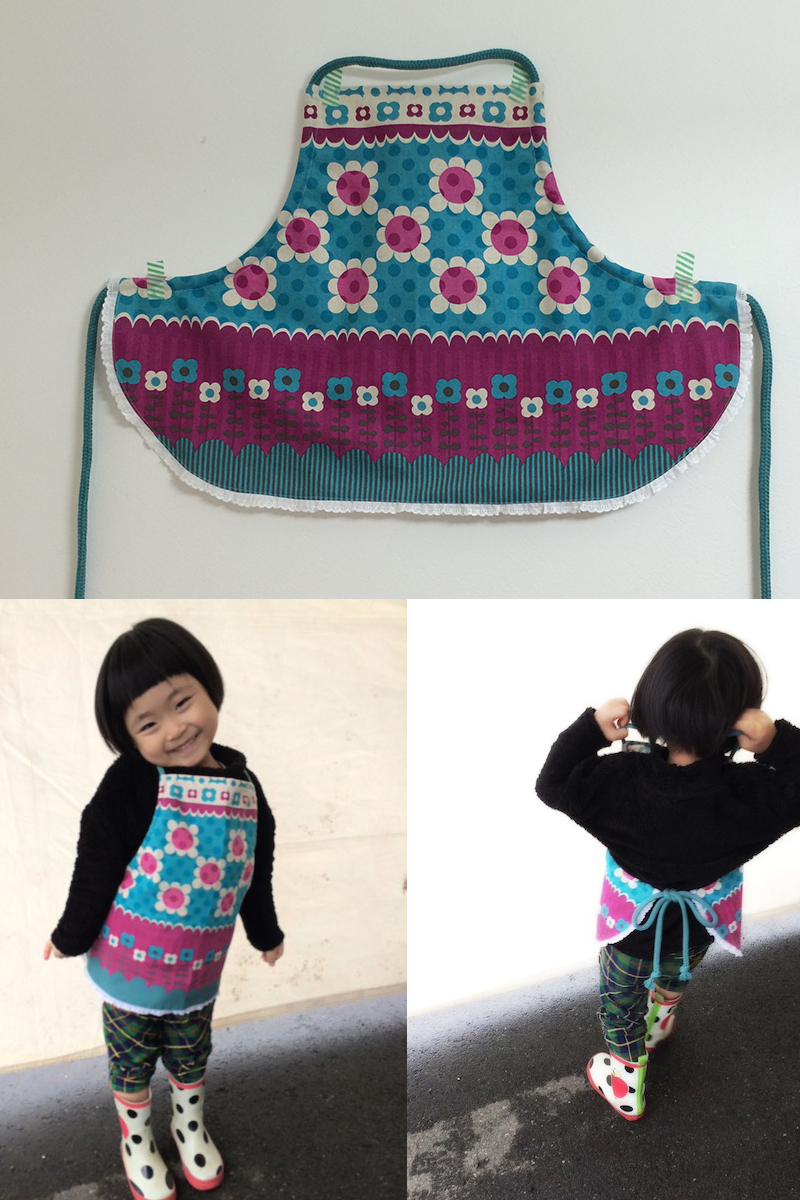
 Smock Apron
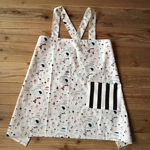 Café Style Kid’s Apron
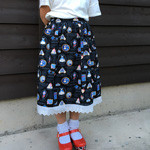 Princess Skirt