
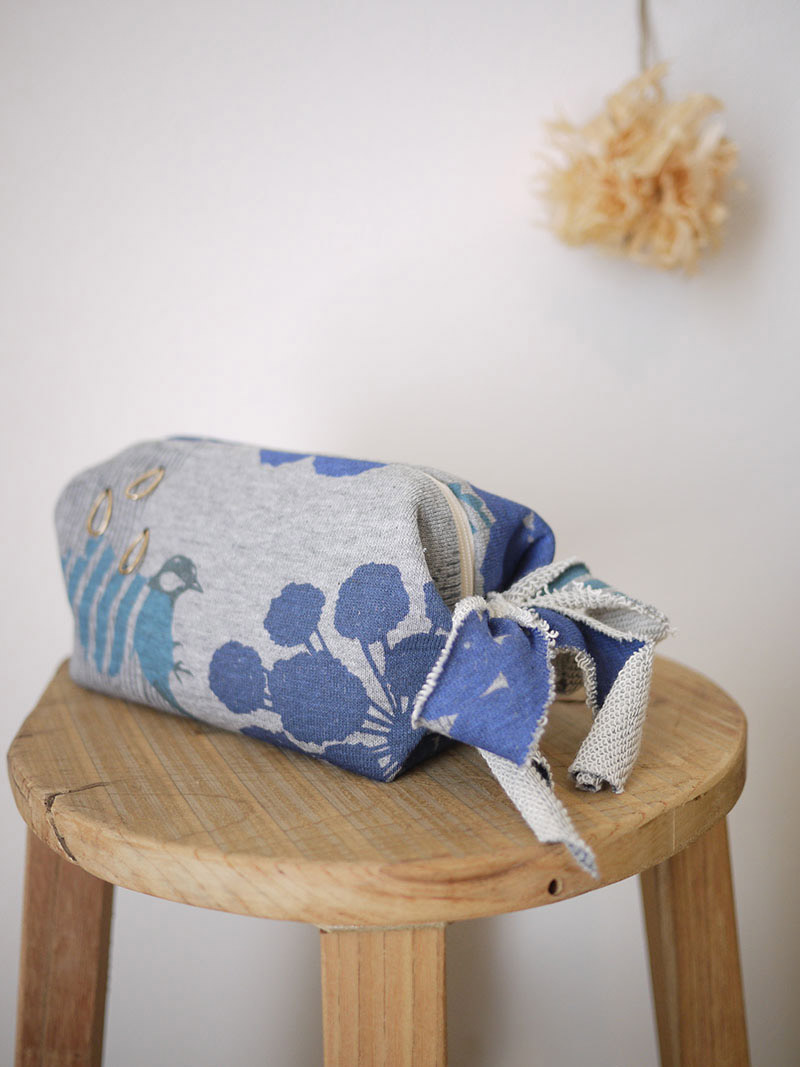
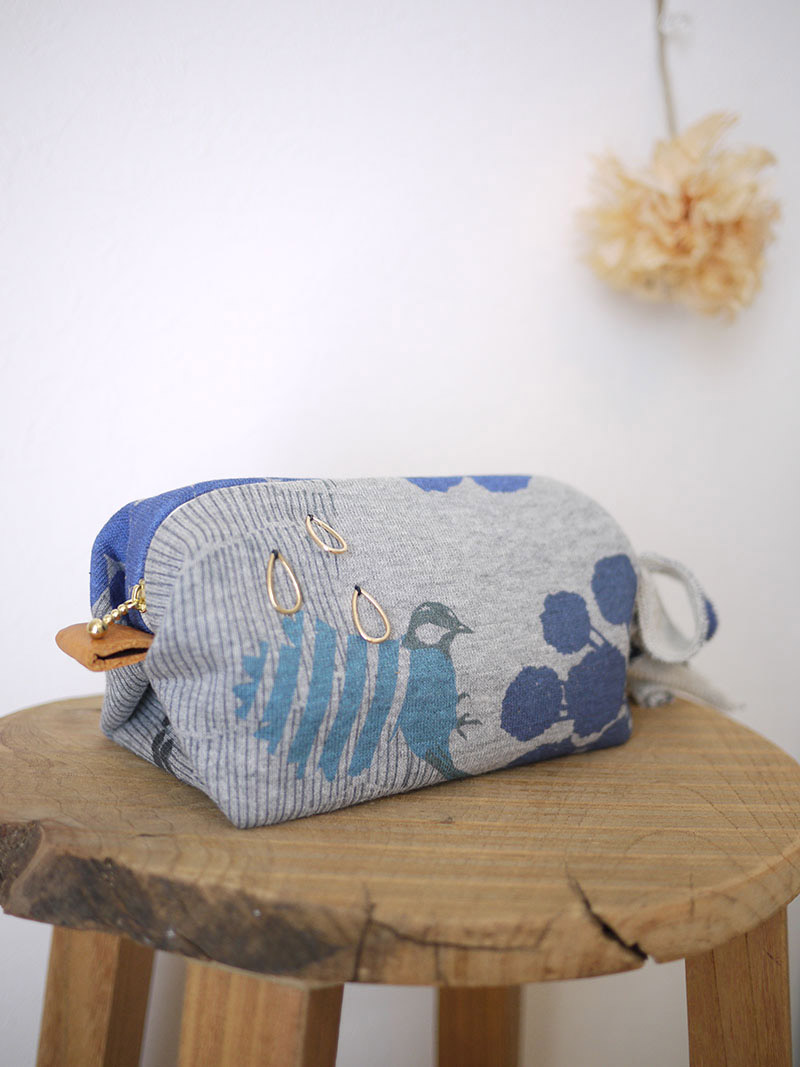
The echino’s knit fabric is turned into a caramel pouch (caramel wrapper shaped small case), a popular small item among hand crafters. A large ribbon attached to the zipper adds a little cuteness. This small versatile pouch is great to carry pens as well as cosmetics.
Fabric shown for this sample:echino joy JG96600—602 (B)
Materials:
□ Fabric (Main outer fabric, Ribbon): 70cm×40cm
(Main lining fabric (#11 Canvas)): 30cm×40cm
□ Leather: (tab) 6cm x 2.5cm
□ Zipper: One piece (24cm long)
□ Double fold bias binding tape: 30cm (2.5cm wide)
□ Teardrop shaped embellishment: Three pieces (2cm long)
We interviewed Yui about her creation:
Kokka Fabric (KF): What did you think of the fabric you used for this project?
A soft and comfortable knit is tasteful in a mature color tone. I came up with a caramel pouch in order to utilize its softness. The ribbon adds a nice stylish accent without being too cute.
KF: Can you tell us any special elements or ideas that you incorporated into this creation?
It is convenient and comes in a perfect size for carrying cosmetics and pens and pencils. The fabric’s pattern and color reminded me of rain, so I used a teardrop shaped embellishment. The gold parts and leather give glamour, while the cut off ribbon adds a slight roughness.
KF: What are some tips for making this pouch?
When folding the fabric, make sure that it is in alignment. When sewing near the zipper pull, please sew slowly one stitch after another by manually moving the pulley.
KF: How should we use this pouch in everyday situations?
Whether carrying a lot of pens or cosmetics, it is a convenient pouch. It will make a great gift.
KF: Thank you very much, Yui! Here are sewing instructions along with step by step photos from her. Enjoy crafting!
Instructions
1.
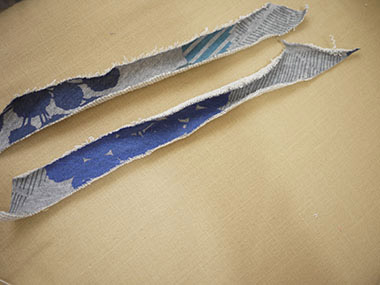
Prepare the materials – Outer and Lining fabric x 1 each, knit strip (cut in a bias) x 2, leather tag.
2.

With the front sides facing each other, sew together the outer and lining fabrics with a zipper in-between.
3.

Turn it inside out and align the shape. Baste the leather tag and knit fabric cut in a bias.
4.
Turn it over so that the lining fabric is on the outside. Align the zipper and bottom center and fold as shown.
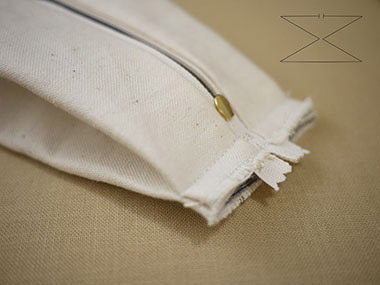
5.
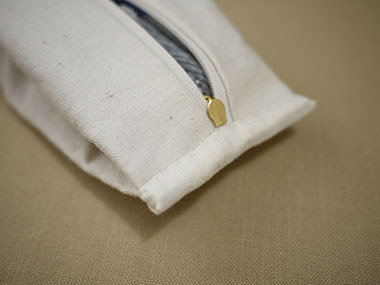
Cut off the seam slightly. Wrap it with the cotton tape and sew it to cover the seam.
6.

Turn it inside out and attach the embellishments to finish.

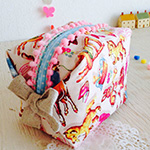 Caramel Pouch
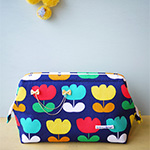 Pouch with a wired-clasp opening
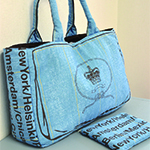 Bag and Pouch Set Made with only 1.2m of Fabric