
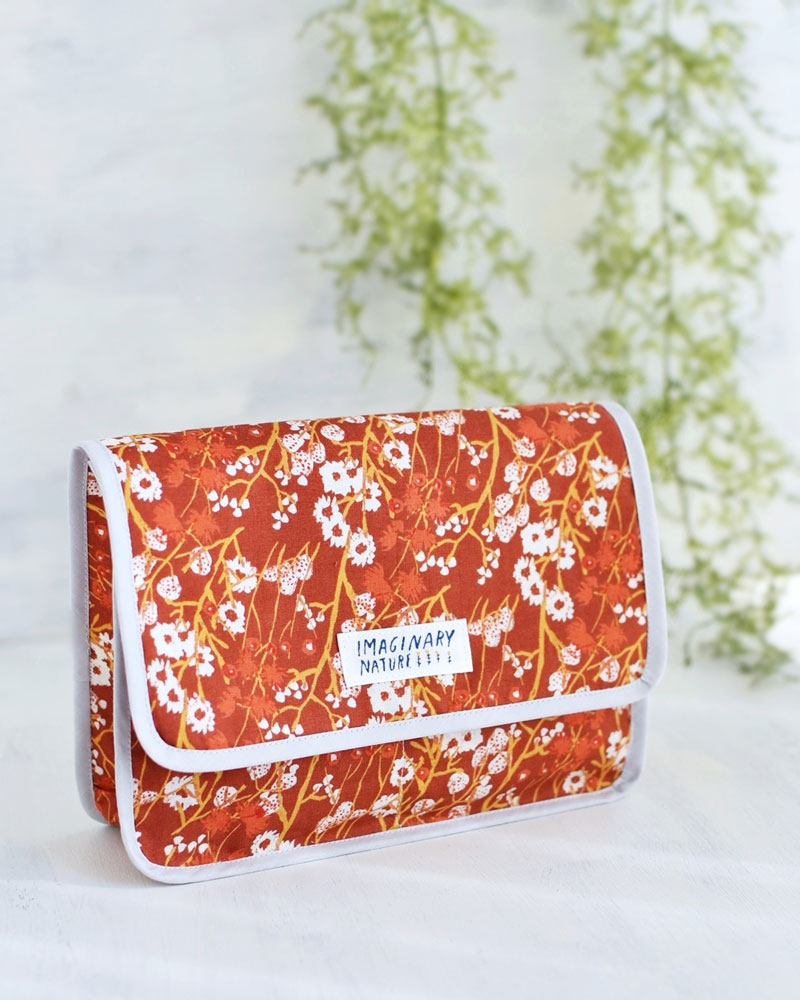
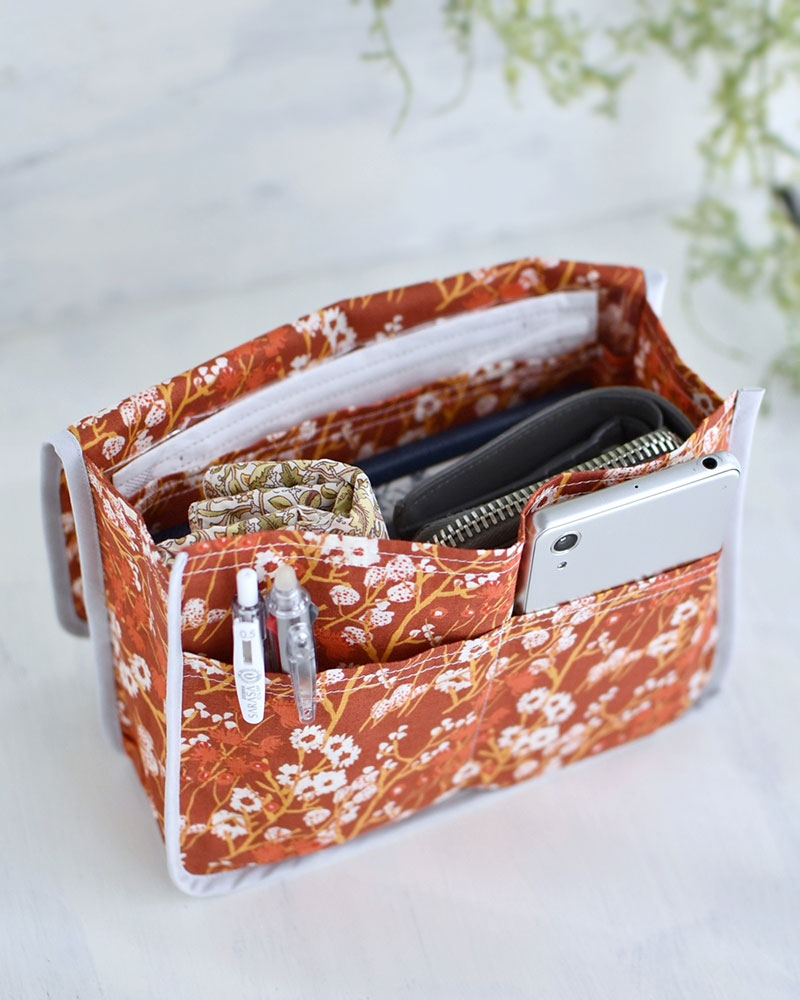
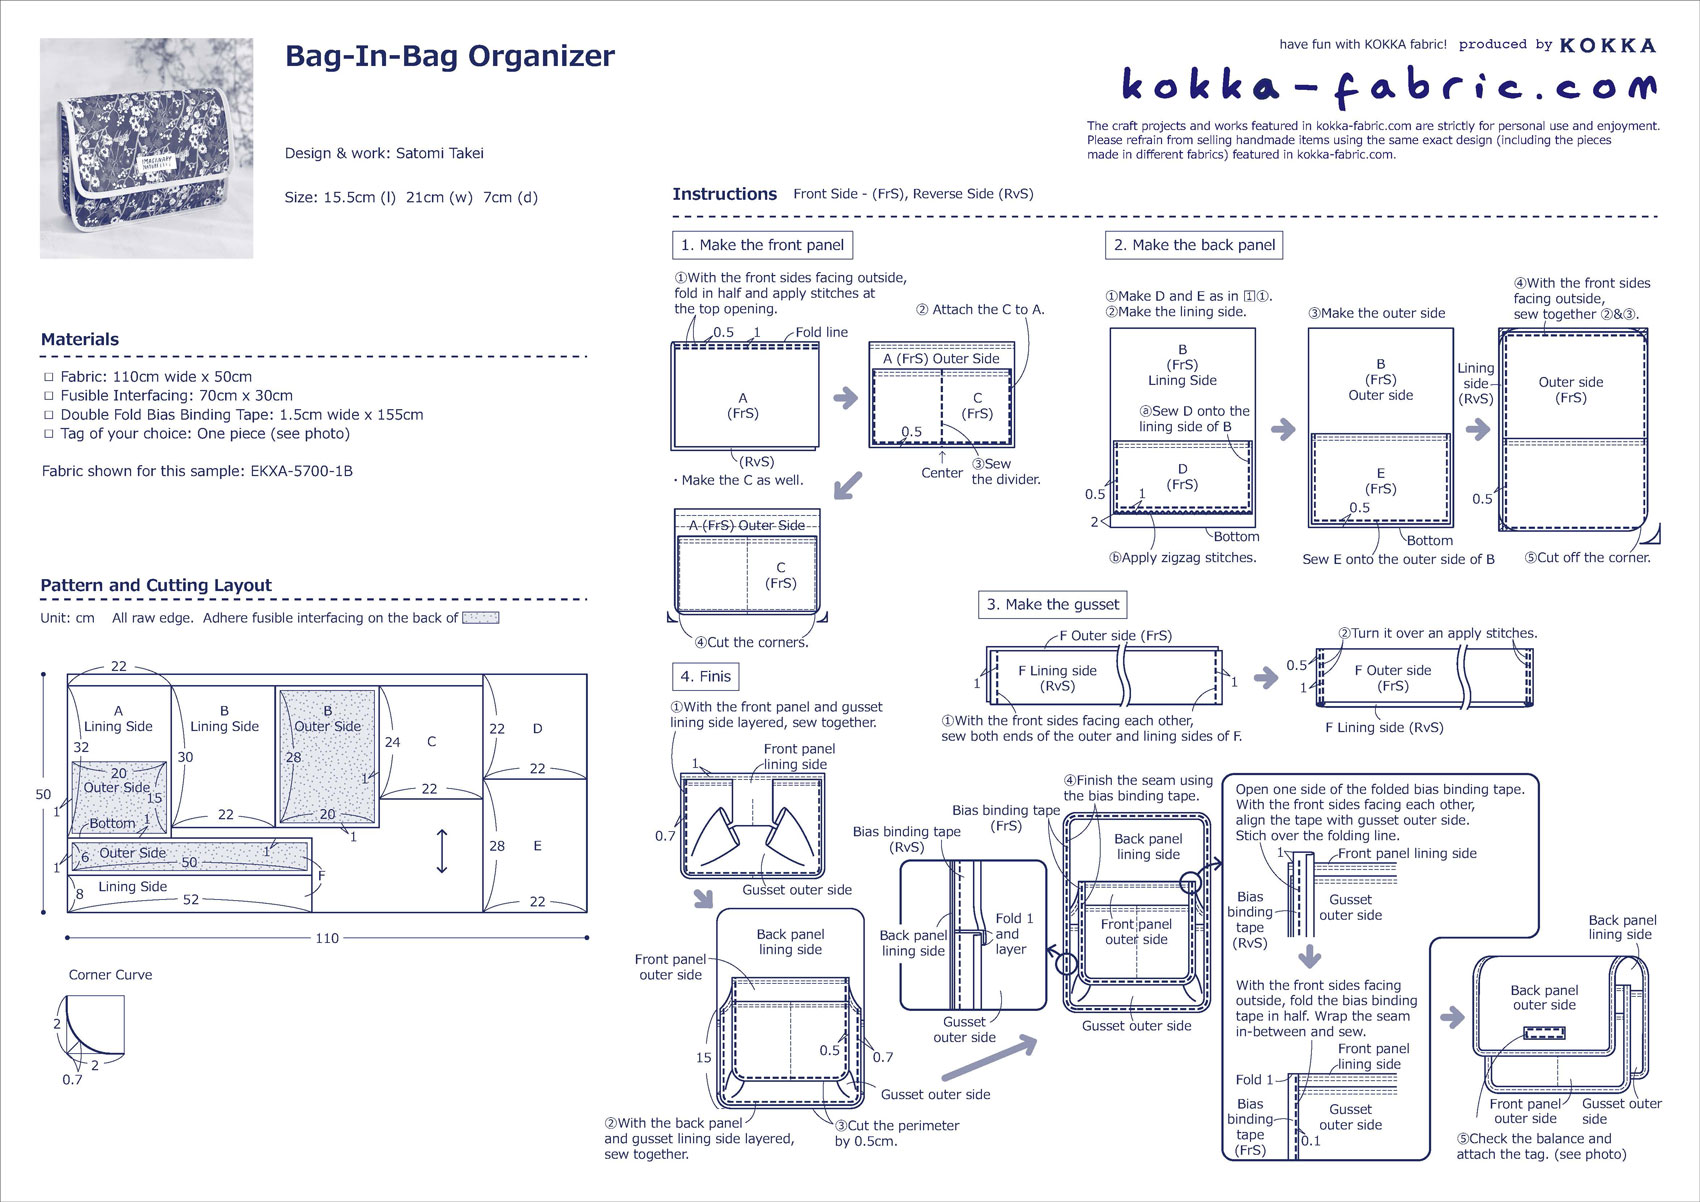
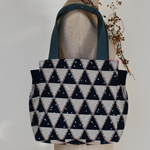
This is a bag-in-bag to keep small items such as cell phones, lip balms, hand cream, etc. neatly organized. The featured material is [Layered floral], a fabric designed by egg press, an American printing studio that produces paper items. The nostalgic colors of the hand-drawn style floral design are striking, and the overlapping color changes are interesting, creating a lovely fluffy look. The thin compass fabric is also suitable for clothes making.
Fabric shown for this sample:EKXA-5700-1B
Materials:
□ Fabric: 110cm wide x 50cm
□ Fusible Interfacing: 70cm x 30cm
□ Double Fold Bias Binding Tape: 1.5cm wide x 155cm
□ Tag of your choice: One piece (see photo)
Size:15.5cm (l) 21cm (w) 7cm (d)
We interviewed Satomi about her creation:
Kokka Fabric (KF): What did you think of the fabric you used for this project?
The warm red color was so striking that I made it into a fabric accessory that you can keep small items neatly organized in a simple bag.
KF: Can you tell us any special elements or ideas that you incorporated into this creation?
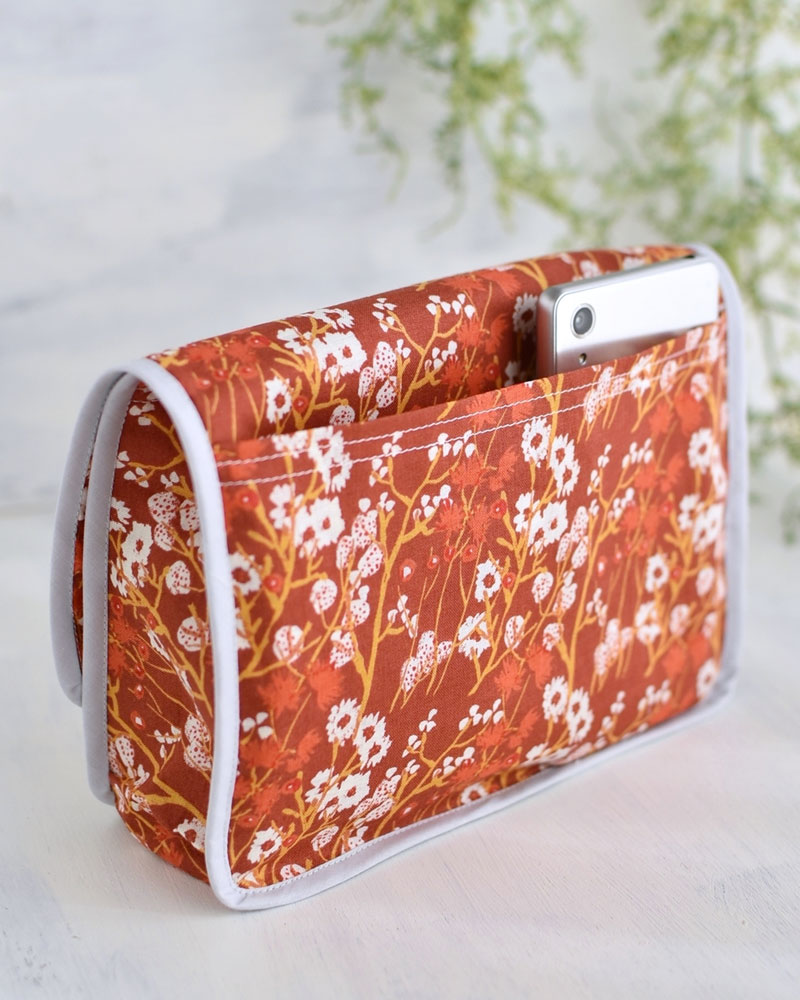
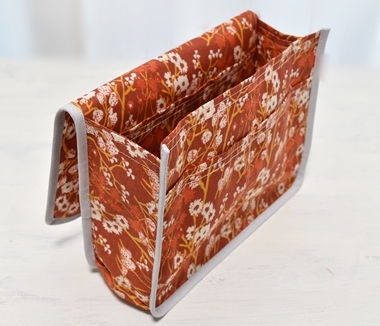
It is designed to stand on its own, with piping and flaps to keep things from popping out.
KF: What are some tips for making this?
Since there is a lot of piecing together, regular or thin fabric is easier to pipe than thick fabric. If you want to make it stand on its own, use a thicker interfacing. Feel free to change the pocket dividers according to the size of the items you want to put inside.
KF: How should we use this bag in everyday situations?
Bag-in-bags are a great way to keep small items neatly organized in a large or simple bag. What is nice about handmade bags is that you can freely create pockets for pens, spare masks, lipstick, hand cream, and other items that you use all the time. Enjoy your winter handicraft time by making your own size bag-in-bag with various fabrics.
KF: Thank you very much, Satomi! Here are sewing instructions along with step by step photos from her. Enjoy crafting!
Instructions
1.
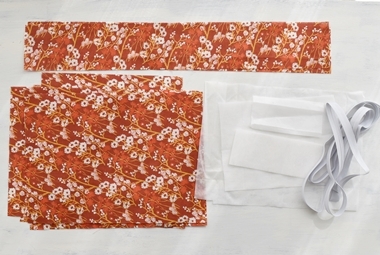
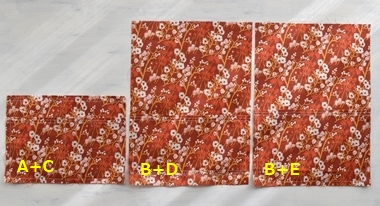
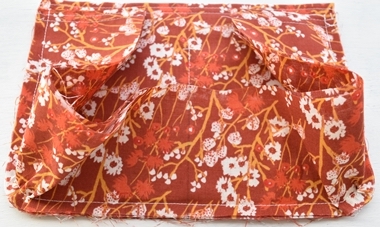
Cut the fabrics and prepare materials.
2.

Adhere fusible interfacing on the back of A (Front Panel), B (Back Panel), F (Side Gusset x 1).
※ Place only half of A.
3.

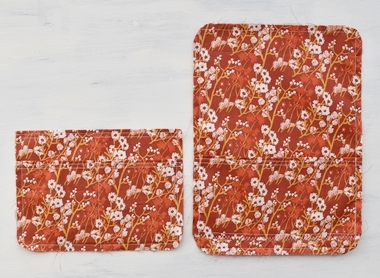
Fold four pieces, A (Front Panel), C (Front Pocket), D (Back Lining Pocket), E (Back Outer Pocket), in half, and apply two lines of stitches (1cm, 0.5cm) at the top opening.
4.
Sew together the pocket and panel pieces (0.5cm seam allowance). Sew the pocket divider on C. ※ Place D at 2cm from the bottom of B. Apply zigzag stitches on the bottom of the pocket to avoid fraying.
5.
With the front sides facing outside, layer B together. As shown, Round the corners of A (bottom at two places) and B (four corners).
6.
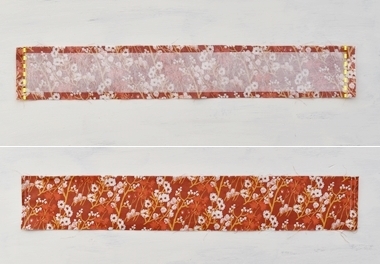
With the front sides facing each other, sew together the F (side gusset) at the right and left as shown. Turn it over and iron the pieces. Apply two lines of stitches (1cm, 0.5cm) both on the right and left.
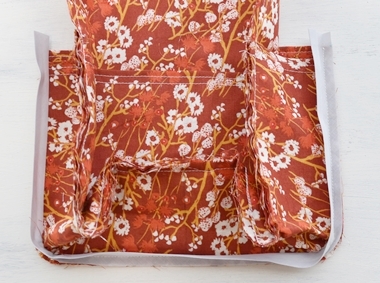
7.
Piece together the side gusset and front panel. The gusset extends by 1cm at the top opening.
8.
When sewing the bottom corner, do it slowly. Sew together the back panel and side gusset (0.7cm seam allowance) as well. ※ Try not to be too nervous about sewing the curved corners. It is ok to have some tucks on the side gusset as shown.
9.
Cut off the seam to keep the width to 0.5cm and attach the bias binding tape.
10.
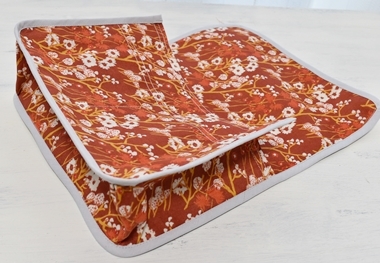
The bias binding tape is sewn cleanly on the front and back and piping is complete.
11.
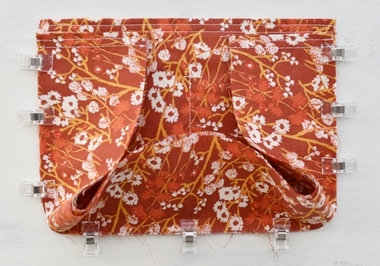
Finished! (Flap is open)
12.
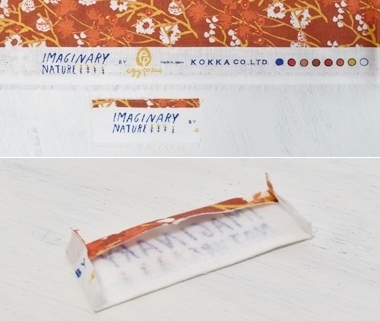
Since the printed fabric logo was attractive, I made it into a tag. ※ Seam allowance is 0.5cm. Adhere fusible interfacing on the back to make it look like a professionally made piece.
13.
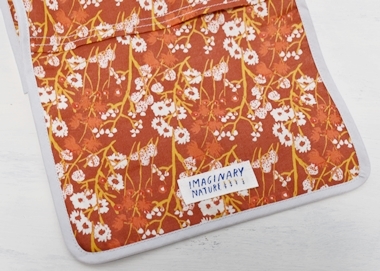
Attach the tag to your desired spot to finish!
◎Sewing Instructions (PDF format / A4 size)

 Square Bag with Gusset – Sewing Instructions
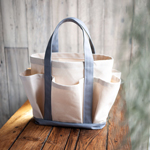 Carpenter Tool Tote Bag in #9.5 Canvas – Sewing Instructions
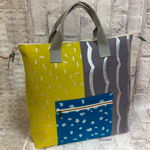 Backpack Sewing Instructions