
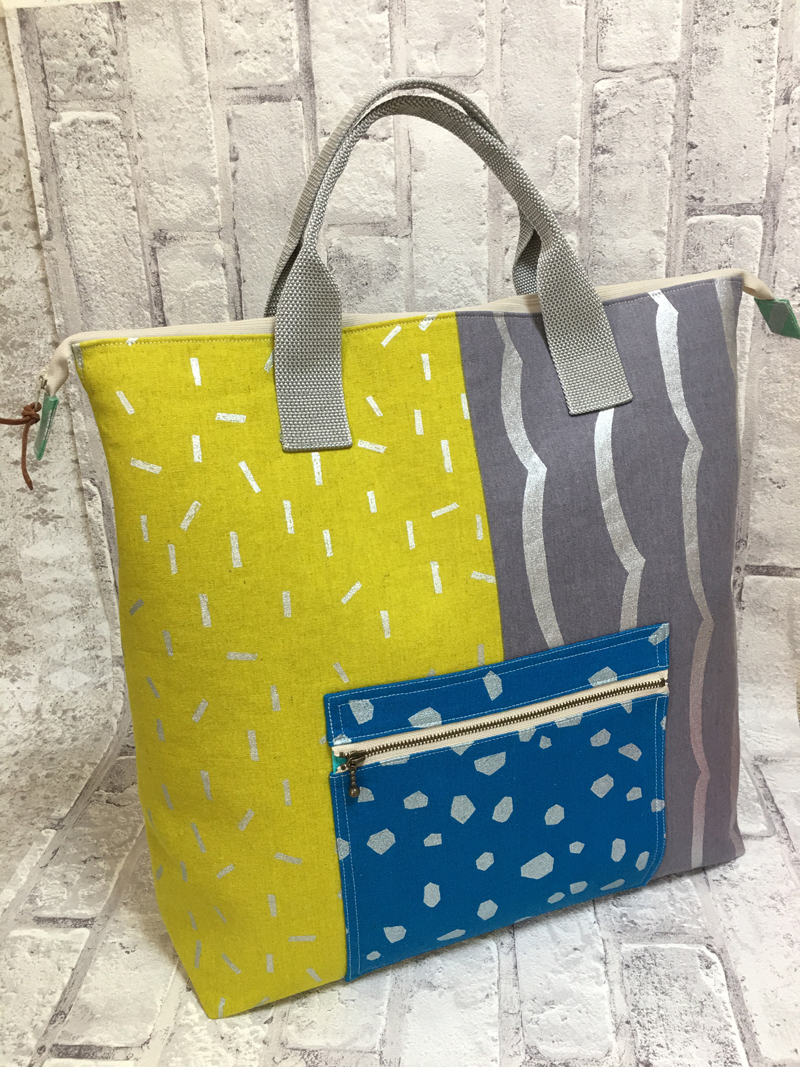
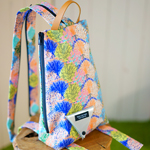
This backpack features a design called “pattern,” a fabric from the echino’s second brand, nico series. With four different designs in one fabric, you can create interesting color tones and appearances depending on where you cut it. The challenges of making pockets and adding zippers and straps are worthwhile especially because it gives you such joy when you complete the project!
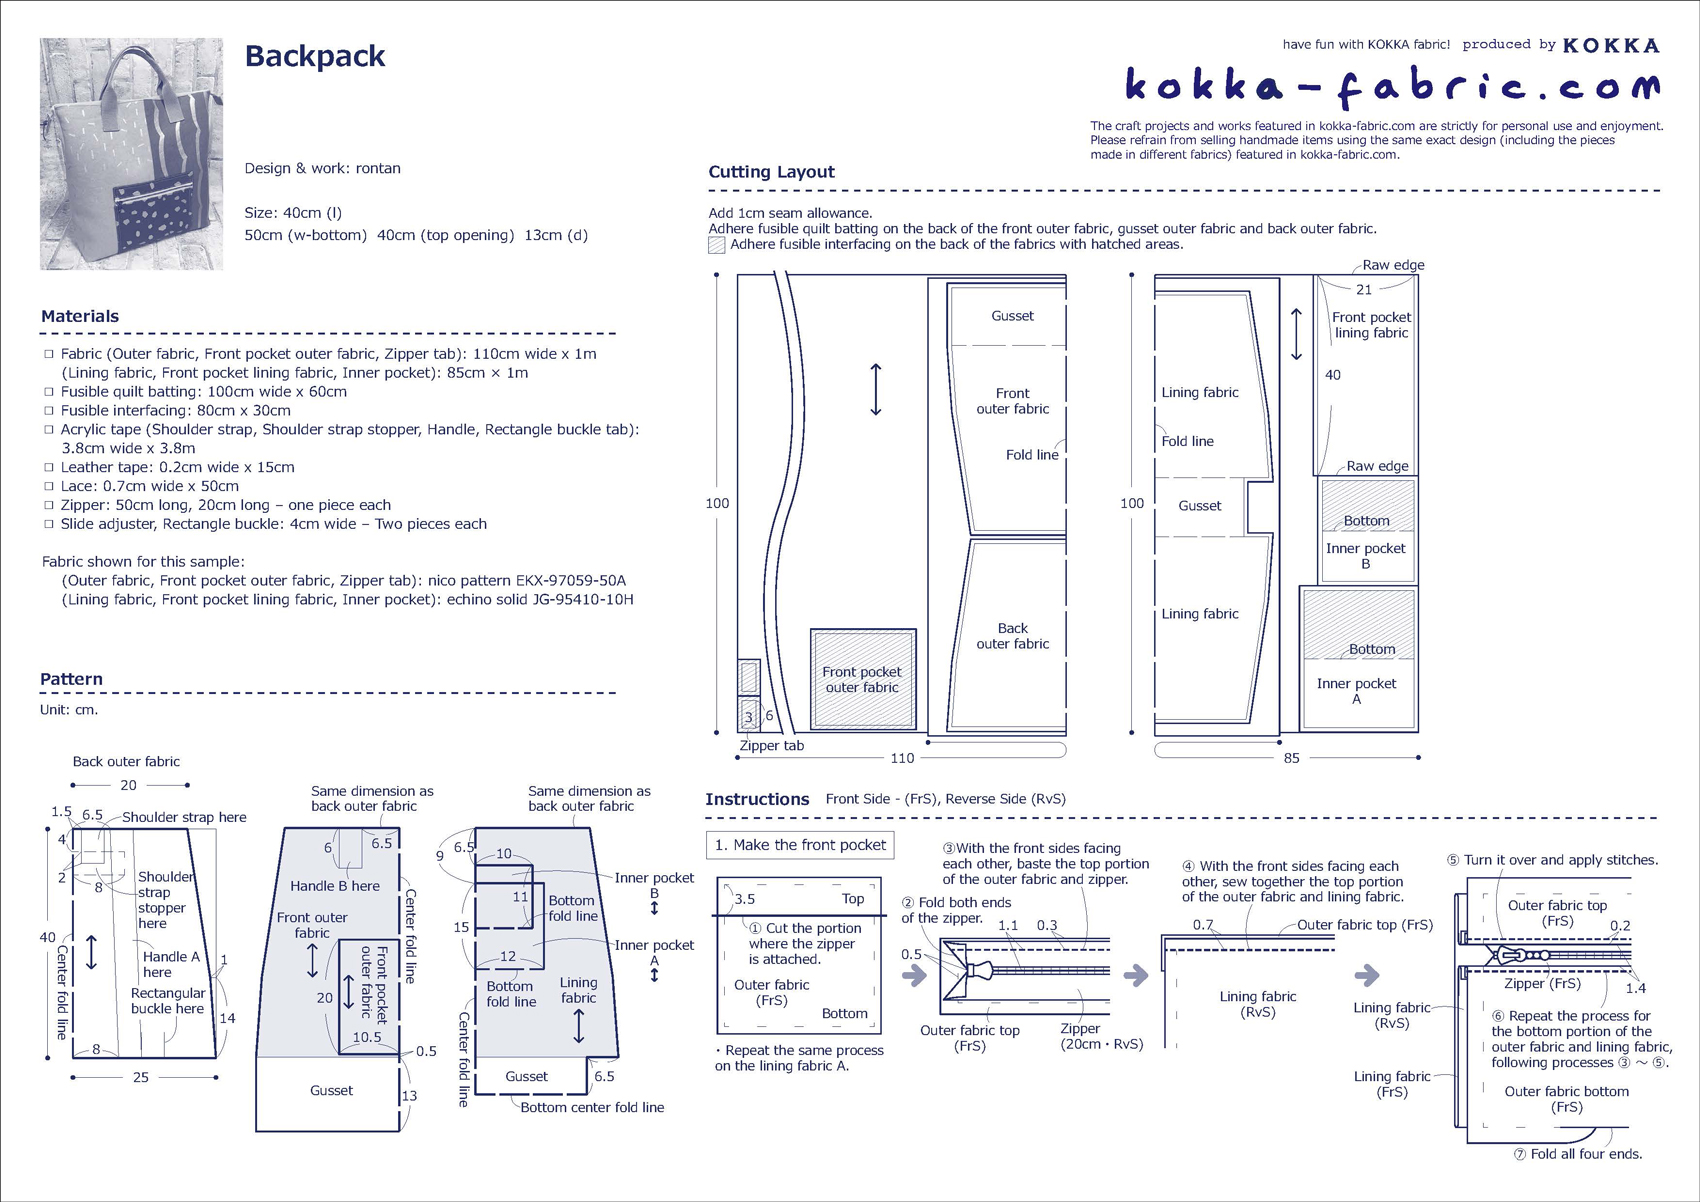
Fabric shown for this sample: (Outer fabric, Front pocket outer fabric, Zipper tab): nico pattern EKX-97059-50A
(Lining fabric, Front pocket lining fabric, Inner pocket): echino solid JG-95410-10H
Materials:
□ Fabric (Outer fabric, Front pocket outer fabric, Zipper tab): 110cm wide x 1m
(Lining fabric, Front pocket lining fabric, Inner pocket): 85cm × 1m
□ Fusible quilt batting: 100cm wide x 60cm
□ Fusible interfacing: 80cm x 30cm
□ Acrylic tape (Shoulder strap, Shoulder strap stopper, Handle, Rectangle buckle tab): 3.8cm wide x 3.8m
□ Leather tape: 0.2cm wide x 15cm
□ Lace: 0.7cm wide x 50cm
□ Zipper: 50cm long, 20cm long – one piece each
□ Slide adjuster, Rectangle buckle): 4cm wide – Two pieces each
Size: 40cm (l) 50cm (w-bottom) 40cm (top opening) 13cm (d)
We interviewed rontan about her creation:
Kokka Fabric (KF): What did you think of the fabric you used for this project?
The bold silver print is really stylish against four different colors. I wanted to feature this bold design and decided to make a large-size backpack.
KF: Can you tell us any special elements or ideas that you incorporated into this creation?
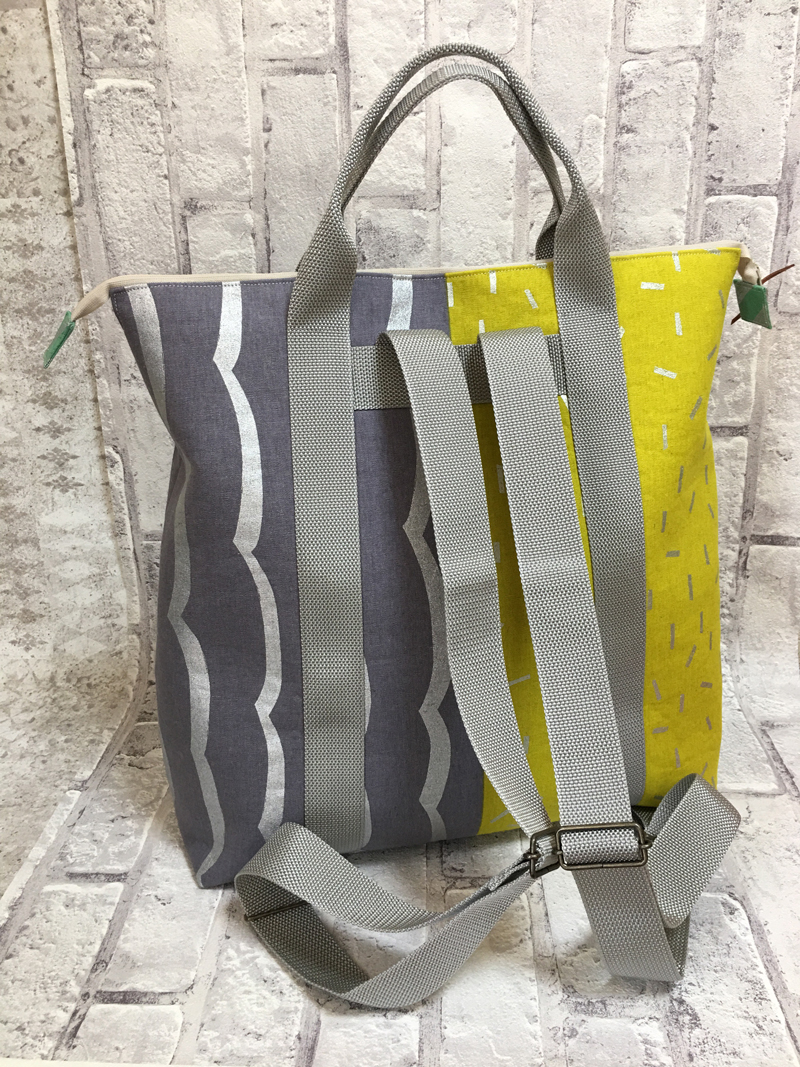
This two-way bag can be utilized for your travels, too. The type of shoulder straps used and well-placed locations will keep them on your shoulders. The handles of the tote are placed carefully so that the weight will distribute evenly.
KF: What are some tips for making this bag?
While you may find the project challenging because of its size, it is not too difficult with straight stitching. The key is to mark the stitch positions with erasable pens and use an iron to keep the fabrics aligned. Everyone should try making this as you will get such satisfaction when you complete making a bag that is original to you.
KF: How should we use this bag in everyday situations?
It is a large bag, however the fabric bag is light and easy to carry. It can also be handy as a lesson bag.
KF: Thank you very much, rontan! Here are sewing instructions along with step by step photos from her. Enjoy crafting!
1.
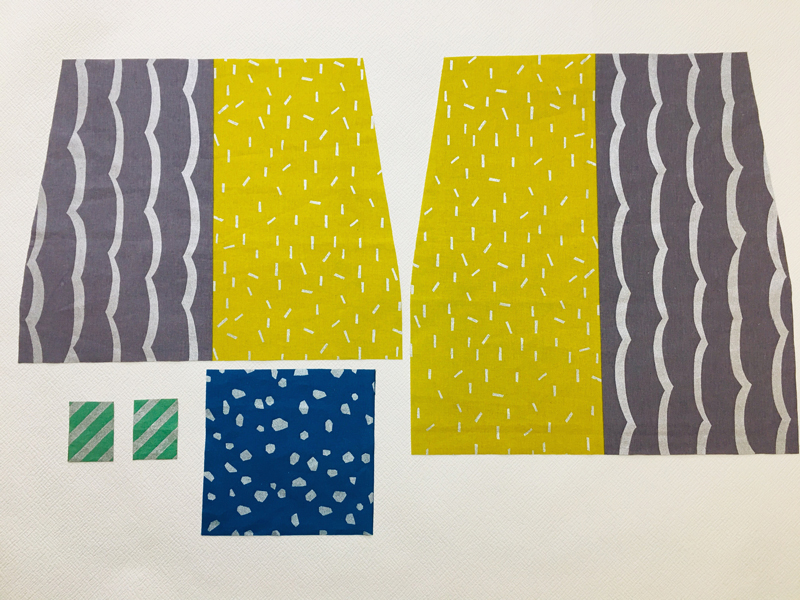
Cut the outer fabric.
2.

Cut the lining fabric.
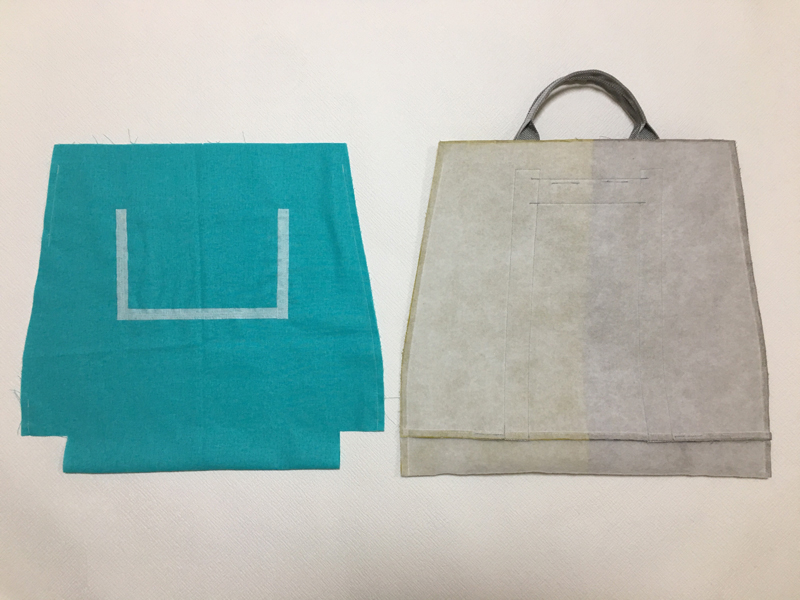
3.
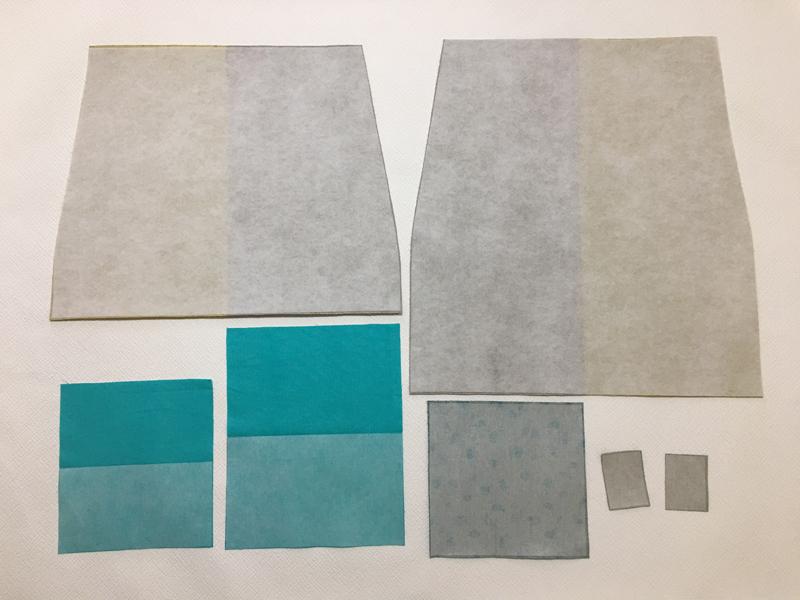
Adhere fusible quilt batting on the back of the outer fabric. Adhere fusible interfacing on the back of the pocket and tab.
Adhere fusible interfacing on half of the lining inner pocket fabric. (Cut the interfacing slightly smaller than the size of the fabric.)
4.
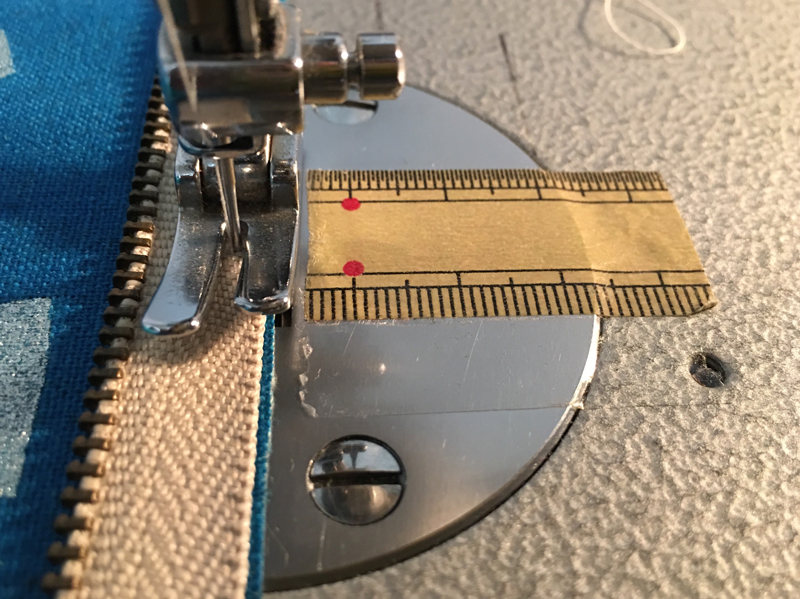
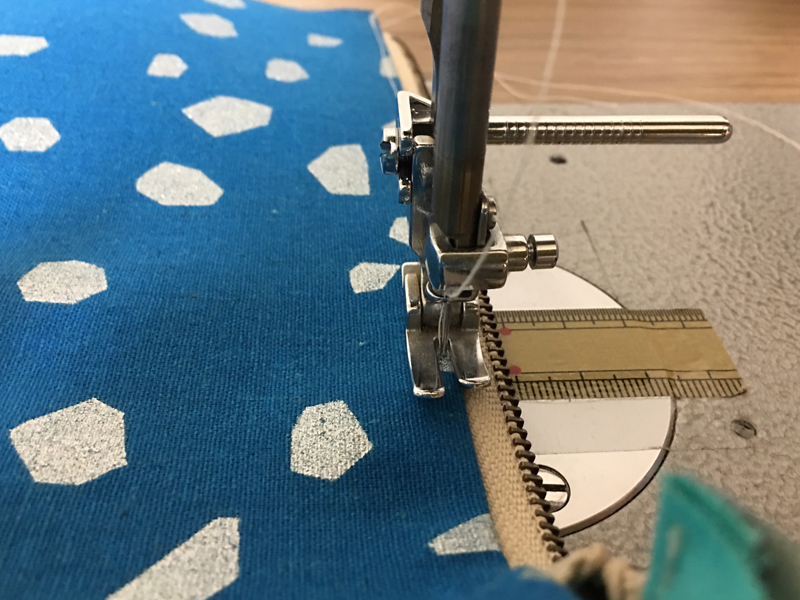
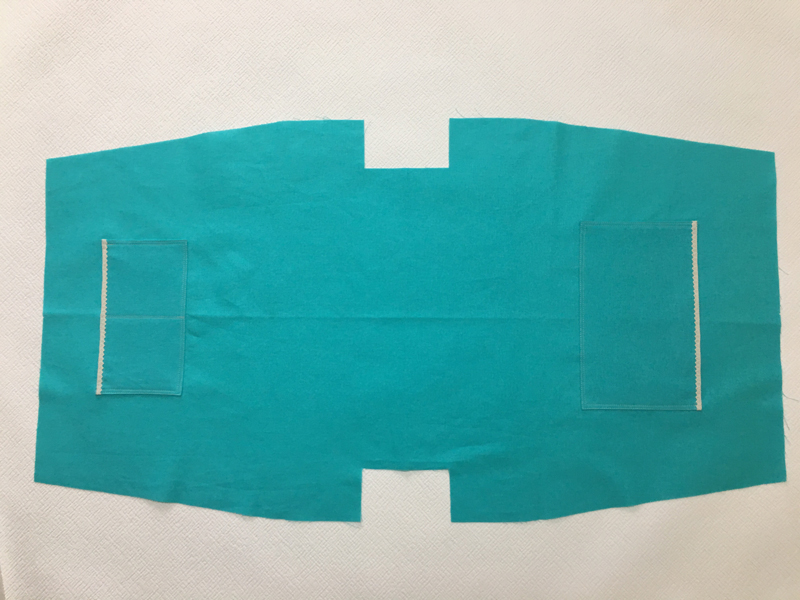
Cut the portion of the front pocket outer fabric where the zipper is attached. Attach the 20cm zipper.
With the front sides facing each other, baste the outer fabric and zipper. With the front sides facing each other, sew together the outer fabric/zipper piece with the lining fabric.
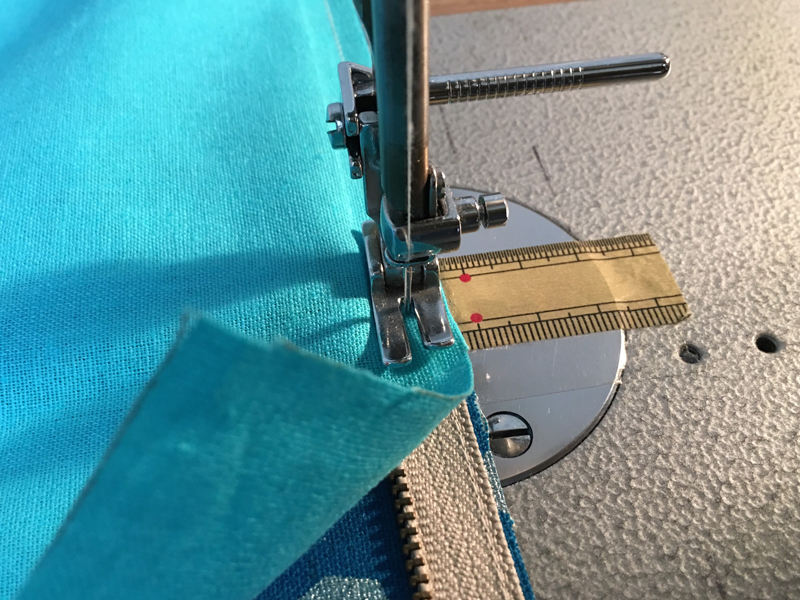
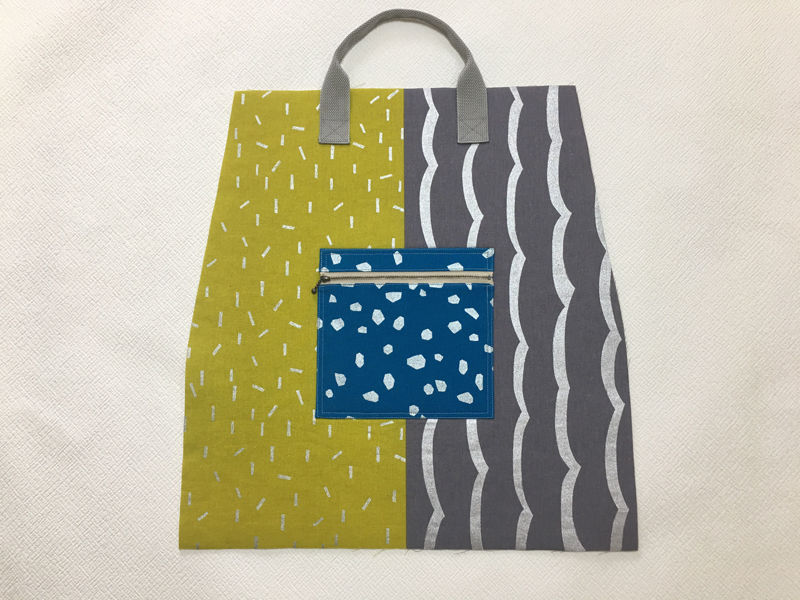
5.
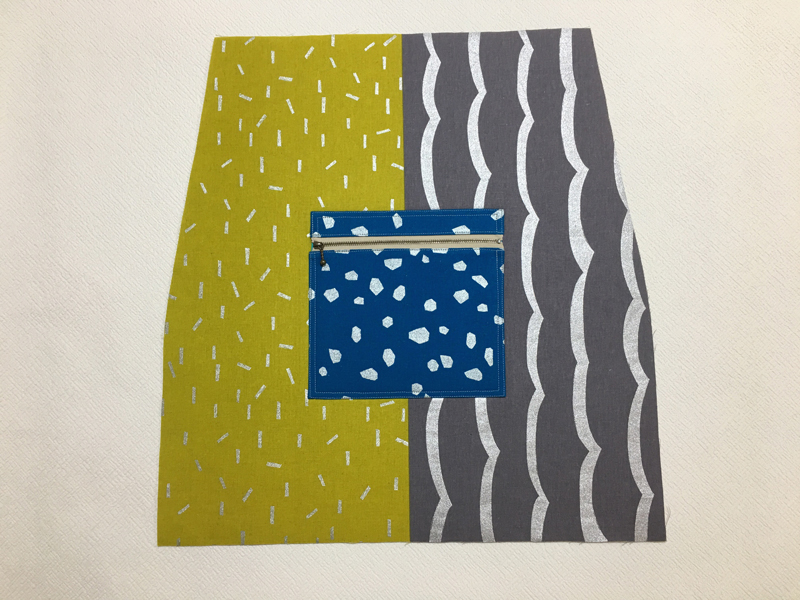
Turn it over and apply topstitches. Fold in the seam of the outer perimeter. Align the shape and attach it to the front of the bag panel using double stitching.
6.

Cut the acrylic tape.
Shoulder strap: 90cm – two pieces
Handle A: 113cm Handle B:45cm
Shoulder strap stopper: 16cm
For Rectangular buckle: 10cm – two pieces
7.
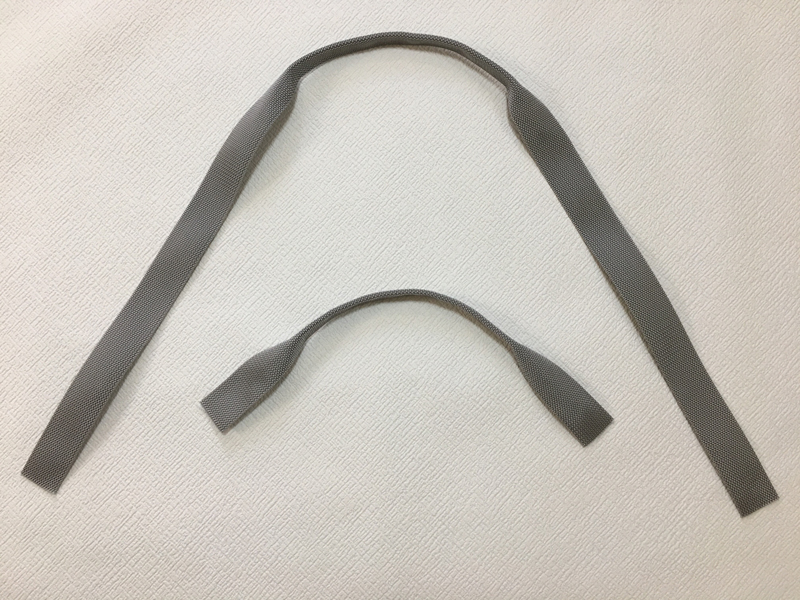
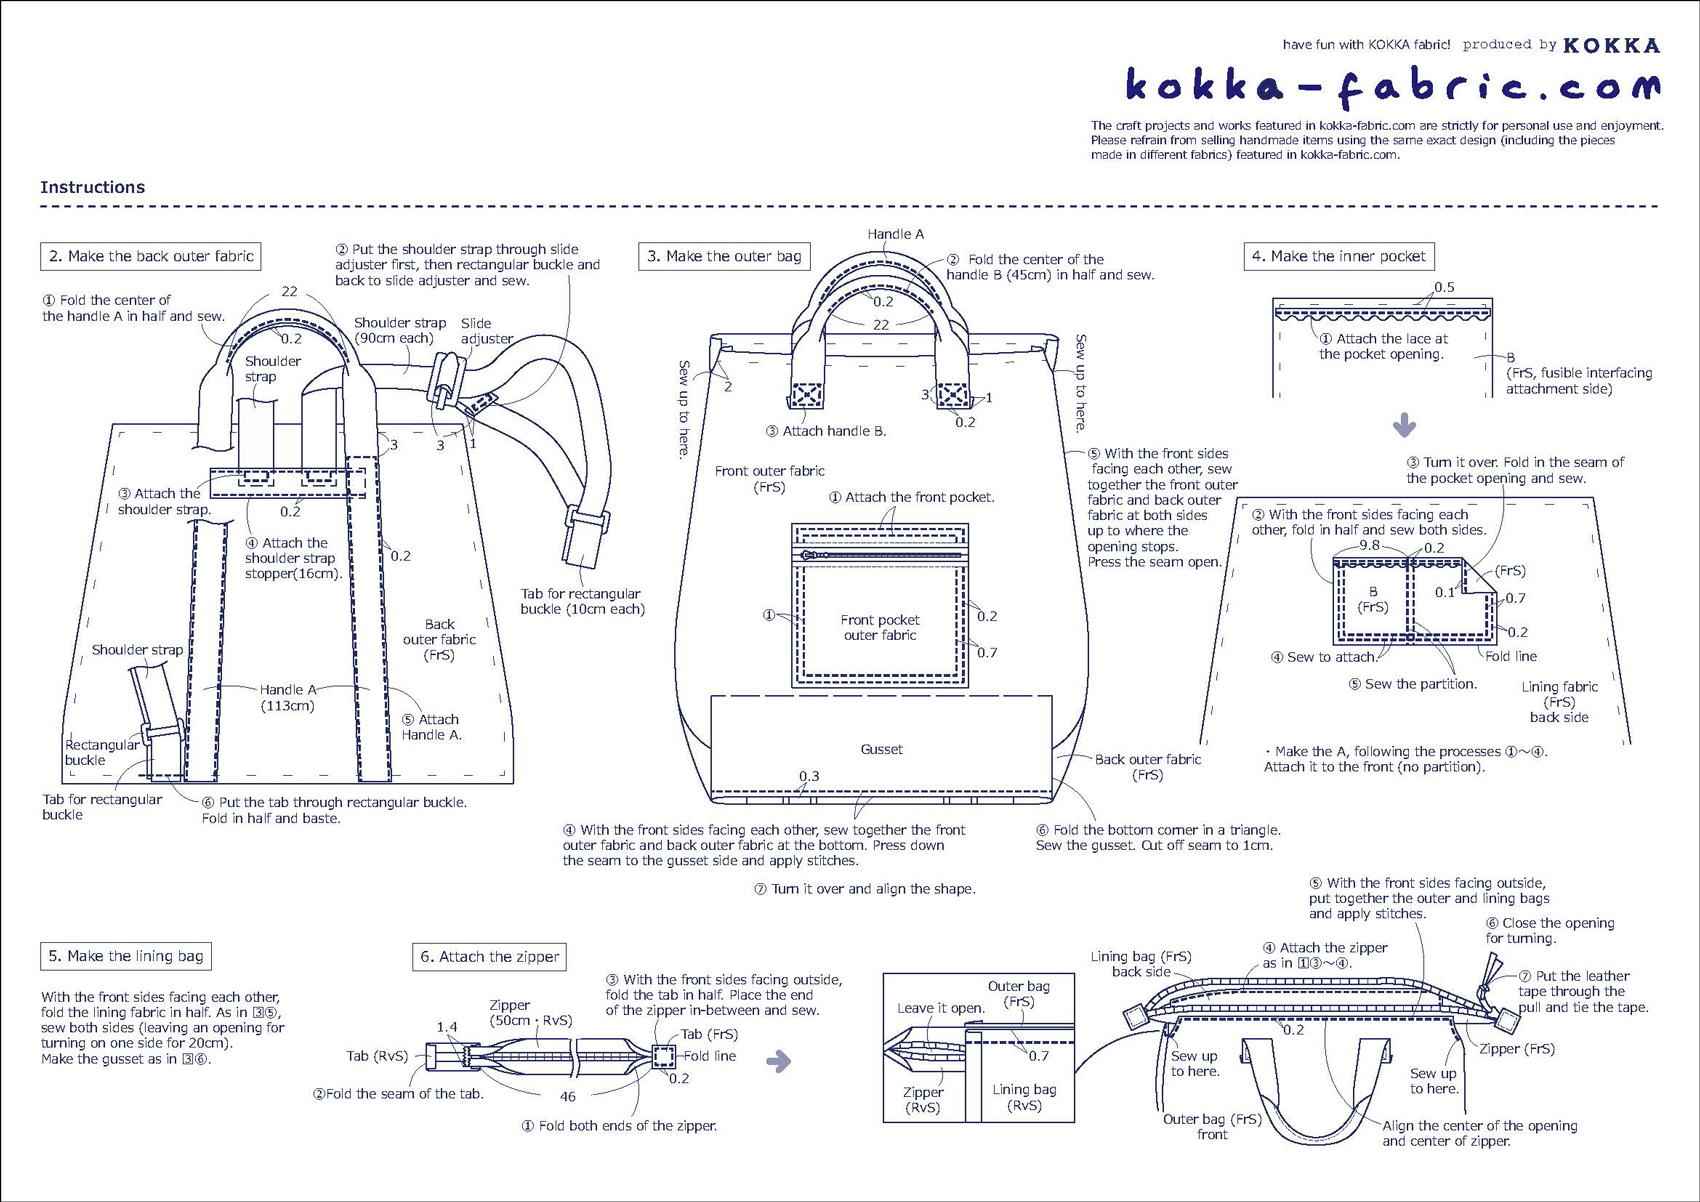
Fold and sew the center of the handle A and handle B respectively.
8.
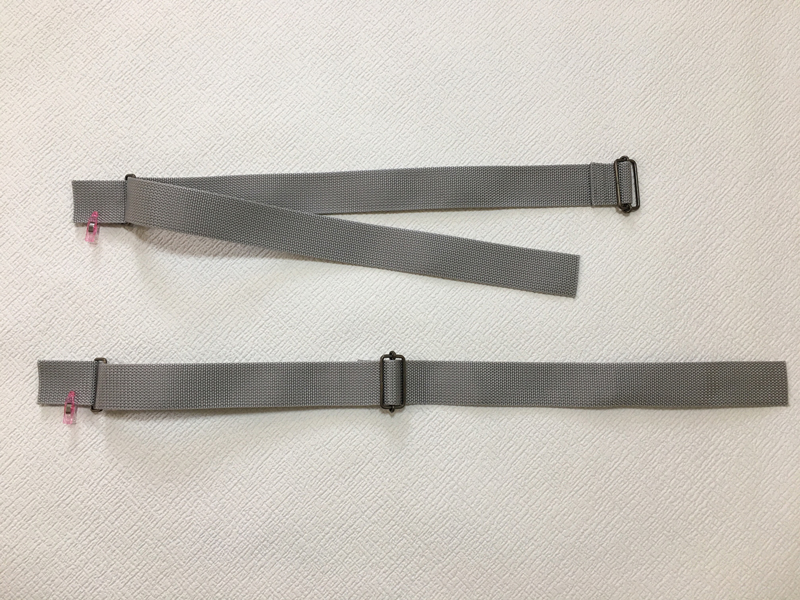
Attach the slide adjuster to the shoulder strap. Place the rectangular buckle, put the strap through the slide adjuster and baste it to the back outer fabric.
9.
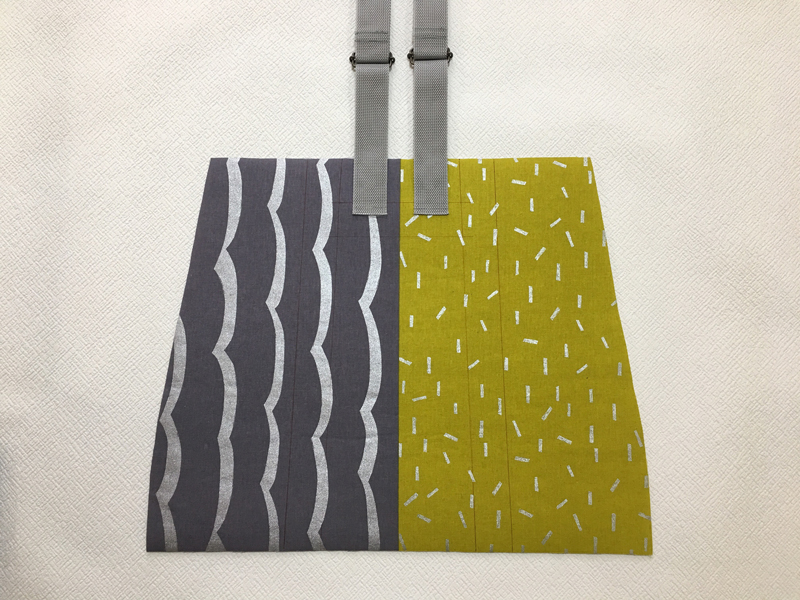
After attaching the shoulder strap to the back outer fabric, attach the shoulder strap stopper.
10.

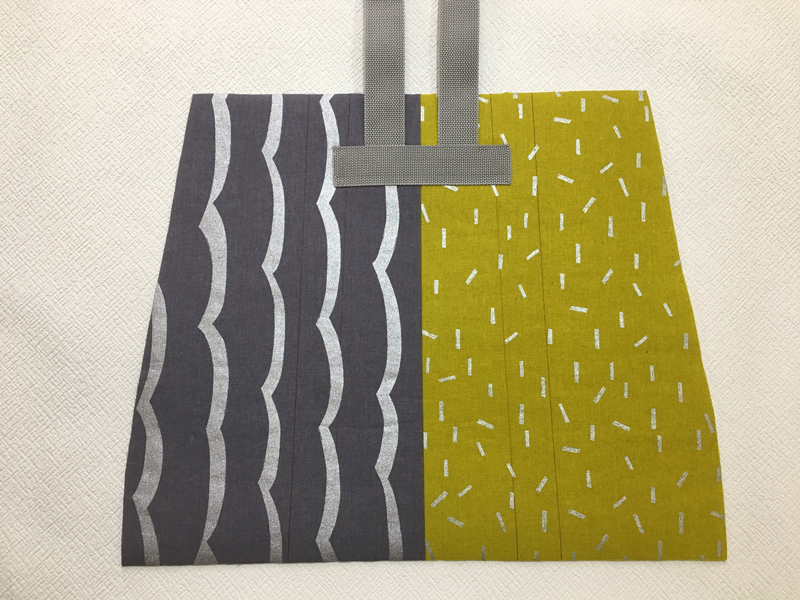
Attach the handle A.
11.
Attach the handle B.
12.
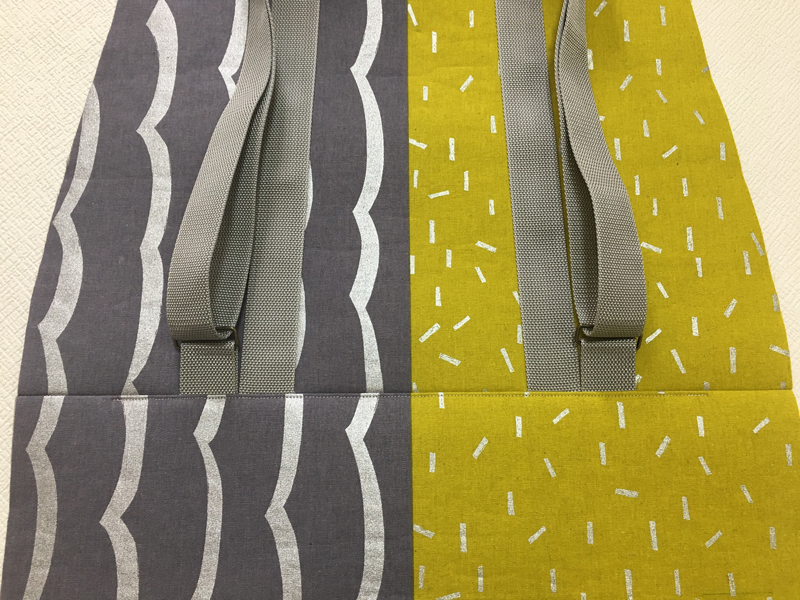
With the front sides facing each other, sew together the front outer fabric and back outer fabric at the bottom. Press down the seam to the gusset side and apply stitches.
13.
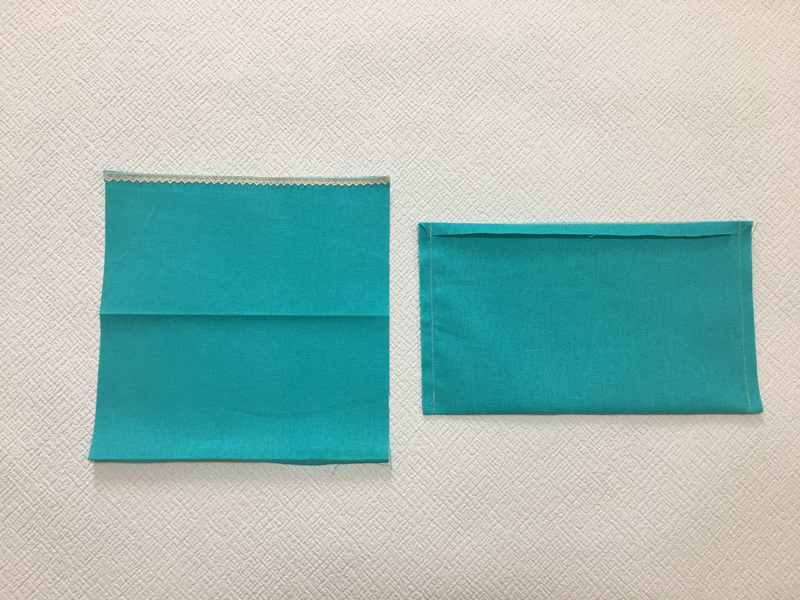
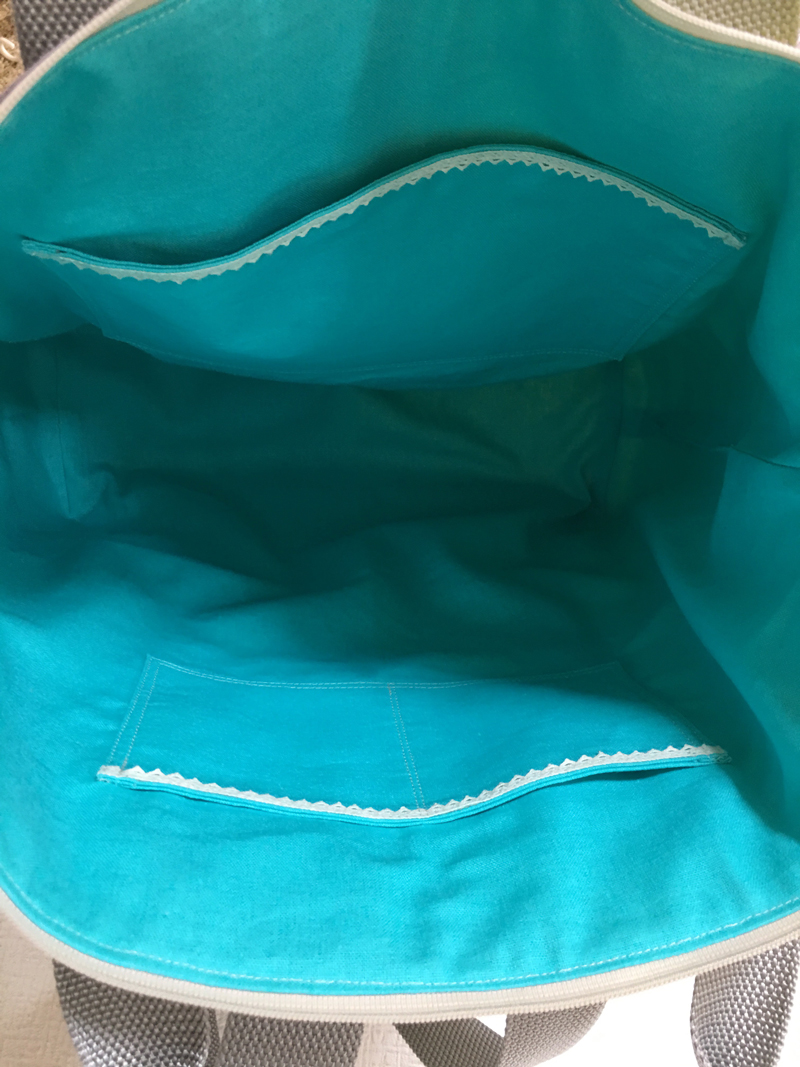
Make the inner pocket. Attach the lace at the pocket opening. With the front sides facing each other, fold in half and sew both sides.
14.
Attach it to the lining fabric (front side).
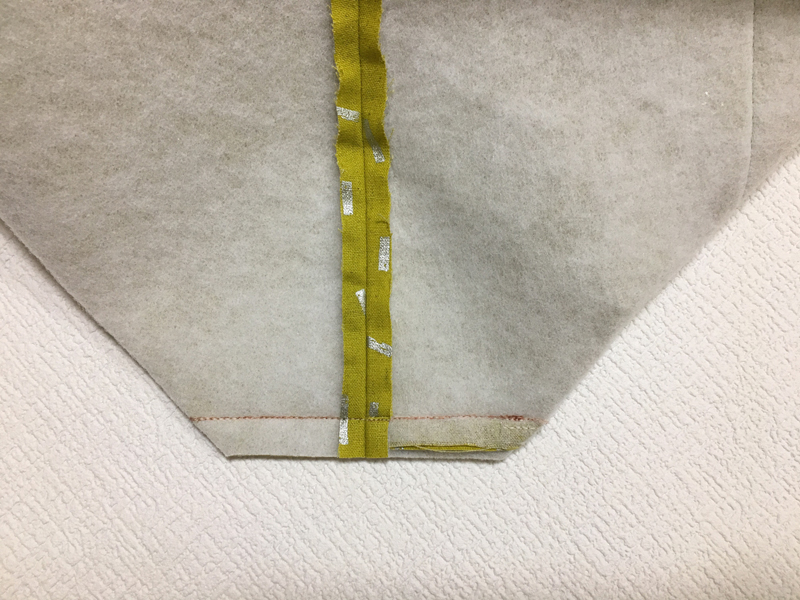
15.
Sew both sides of the outer fabric and lining fabric from the bottom up to where the opening stops. Press the seam open. Leave an opening on one side of the lining fabric for 20cm.
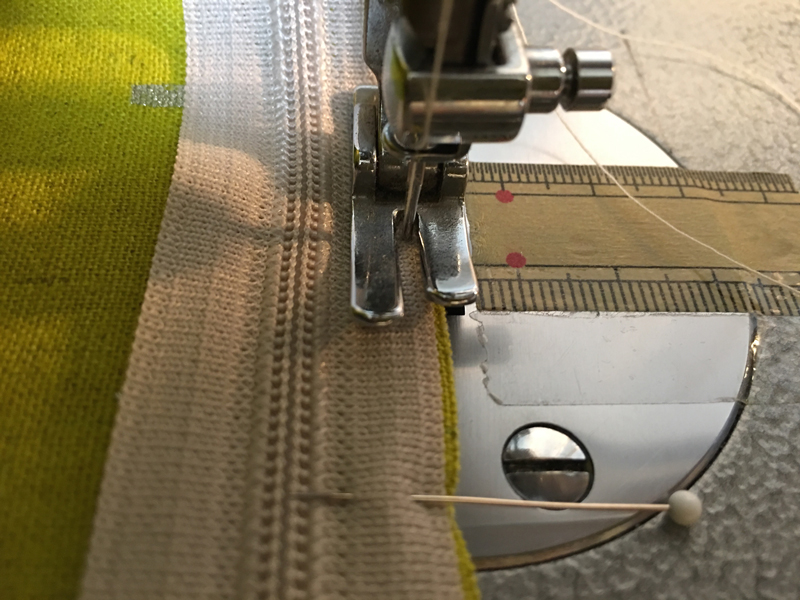
16.
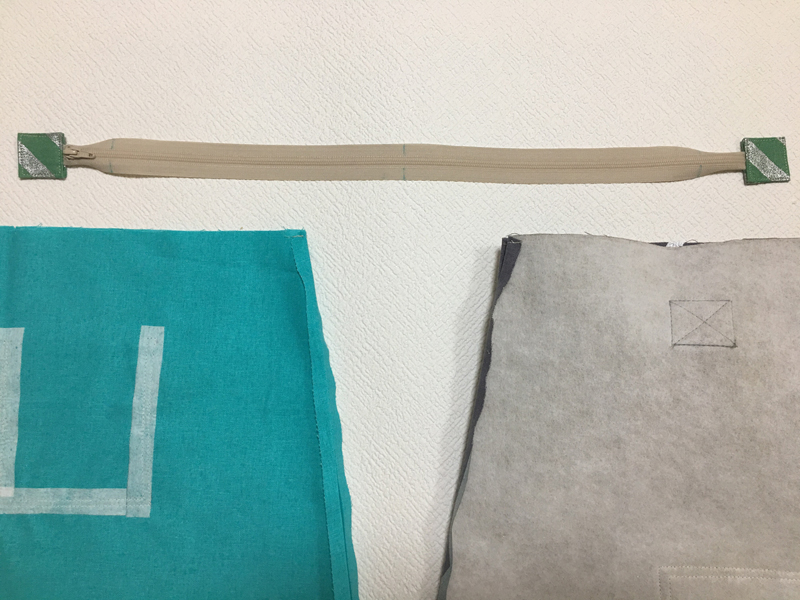
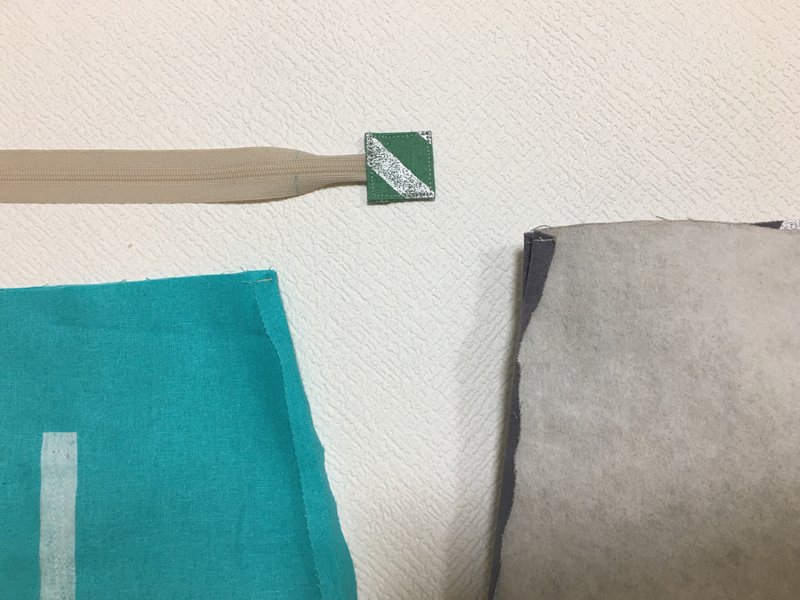
Fold the side end of the outer bag and lining bag at the top for 1cm. Apply stitches to secure at 0.3cm from the edge. This way, it is easier to attach the zipper. Attach the tab on both ends of the zipper.
17.
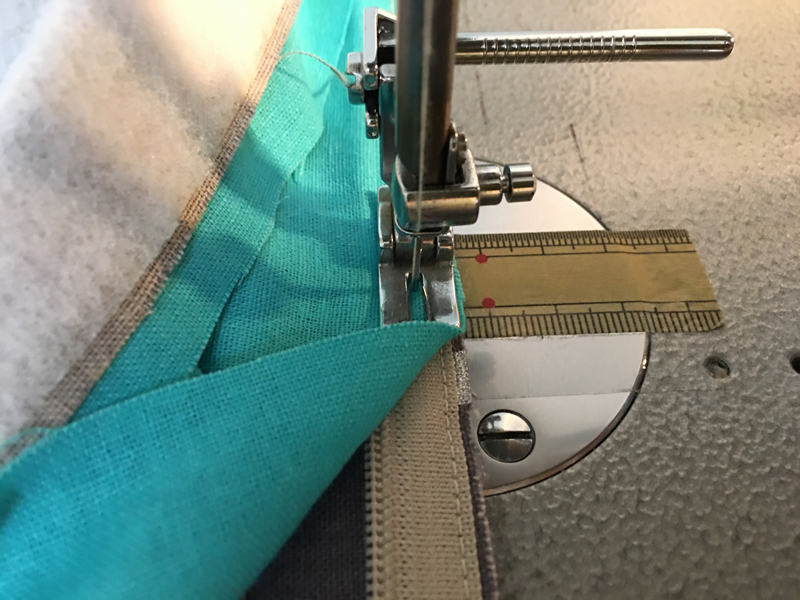
Attach the zipper.
18.
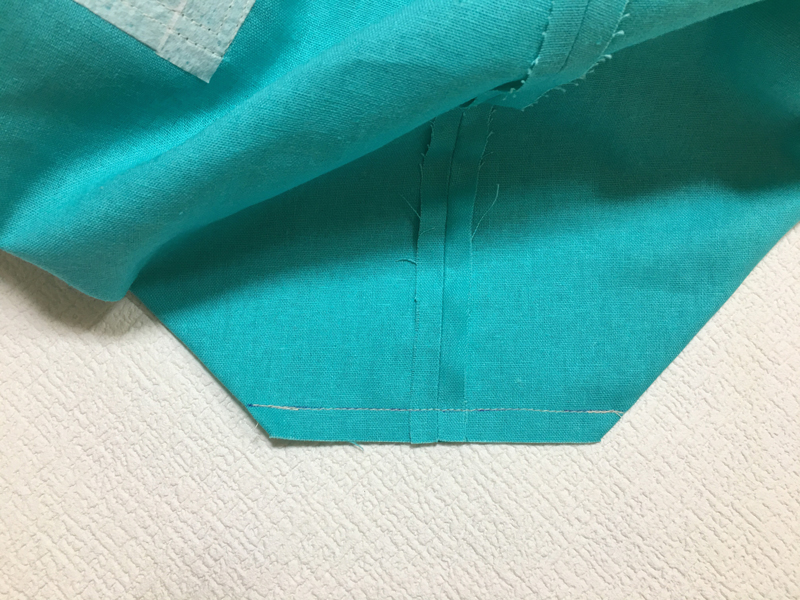
Sew the gusset on both outer and lining bags. Cut off the seam to 1cm.
◎Sewing Instructions (PDF format / A4 size)

 Two-Way Cross-Body Bag – Sewing Instructions
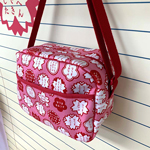 School Bag Sewing Instructions
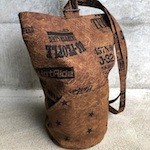 Round Bottom Backpack