

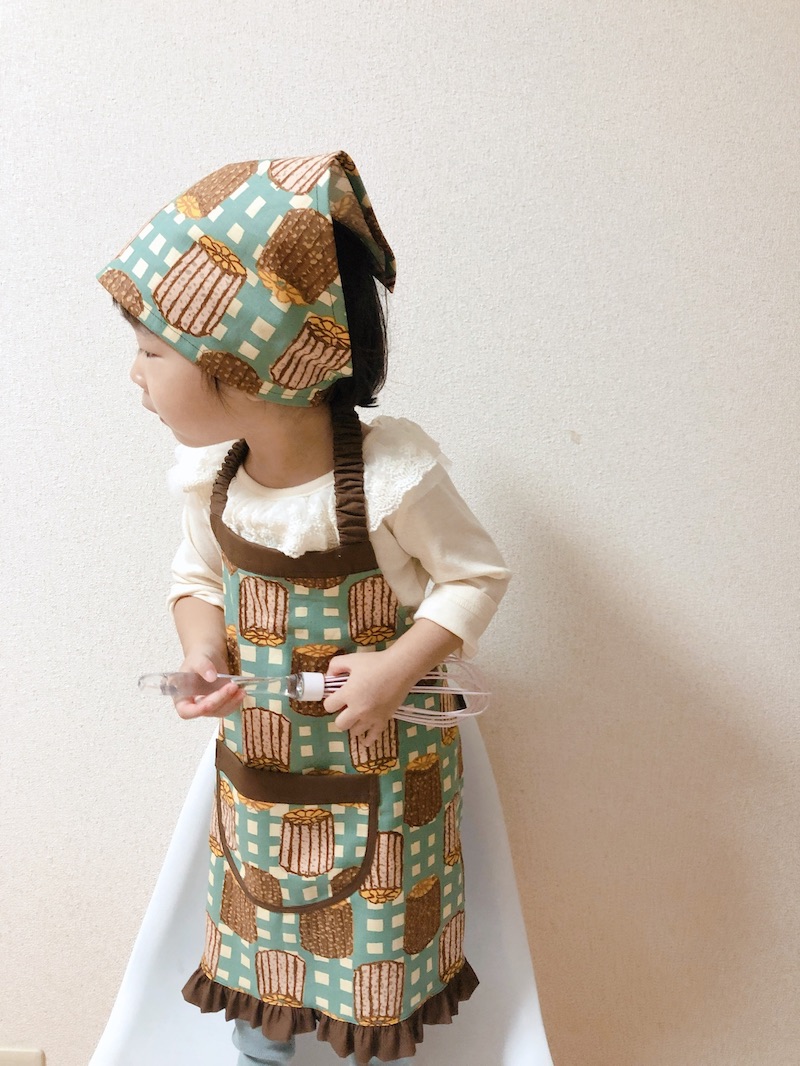
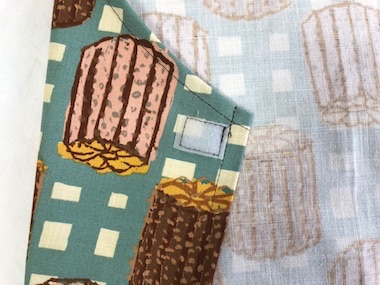
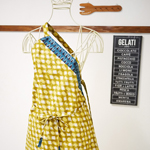
The featured fabric filled with delicious looking canelé is from the OYATSU series. The solid brown fabric used for the apron strap, pocket and frills on the hem accentuates the design even more. The use of elastic tape and Velcro will help kids putting the apron on themselves. Let’s also make a head scarf with the matching fabric!
Fabric shown for this sample:(Apron main panel, Pocket, Head Scarf main panel)OYATSU EKX-5005-2A
Materials:
□ Fabric (Apron main panel, Pocket, Head Scarf main panel):110cm wide x 50cm
(Apron edge fabric, opening fabric, frill, strap, bias binding strap, Head scarf strap):
100cm x 40cm
□ Fusible interfacing: 30cm x 30cm
□ Elastic Tape: 2cm wide x 61cm
□ Velcro: 2.5cm wide x 1.8cm
Size: For kids with 90~110cm height Apron Front center length 49cm Head Scarf about 50cm (head circumference)
We interviewed Naomi about her creation:
Kokka Fabric (KF): What did you think of the fabric you used for this project?
The canelé design is absolutely unique and cute! Plus, the color tone is quite stylish. Even with the moderate thickness, this substantial fabric was easy to sew.
KF: Can you tell us any special elements or ideas that you incorporated into this creation?
I used elastic tape for the neck strap and both elastic tape and Velcro for waist strap so that a little child can wear it easily on their own. When you open the Velcro, it opens flat, making it easy for ironing. In terms of design, the use of the solid fabric is the accent. It helps to enhance the pretty pattern. With a chic pastry chef in mind, I also added a large pocket and frills on the hem.
KF: What are some tips for making this apron?
Though the process has many steps including color transition details and frills, it is worth the challenge as the finished apron is absolutely cute! If you find attaching the Velcro time-consuming, you may just place the ends in-between and sew together.
KF: How should we use this apron in everyday situations?
The design is simple and can be made for boys without the frills on the hem.
KF: Thank you very much, Naomi! Here are sewing instructions along with step by step photos from her. Enjoy crafting!
1.
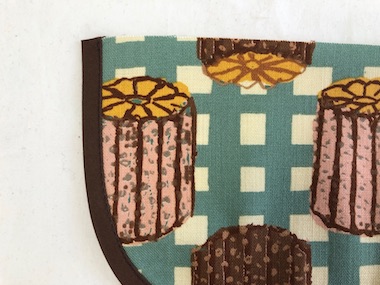
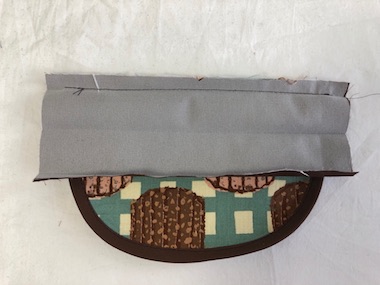

Make the pocket and attach it to the apron main panel.
2.
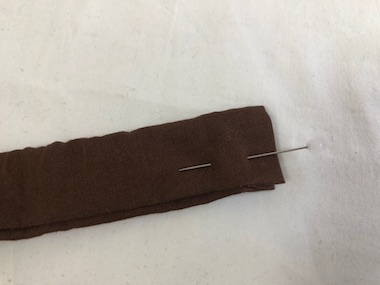

Make the waist strap (Strap A). Attach the hook side of the Velcro to the end.
3.

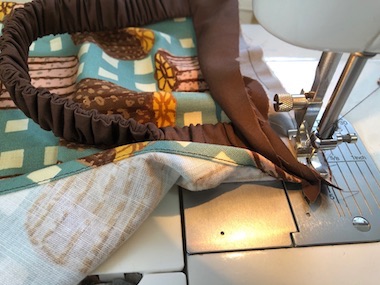
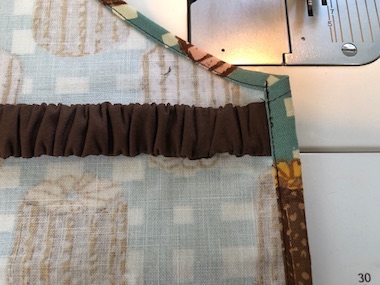
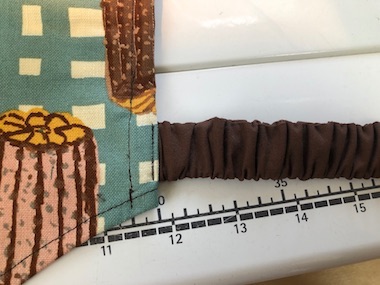
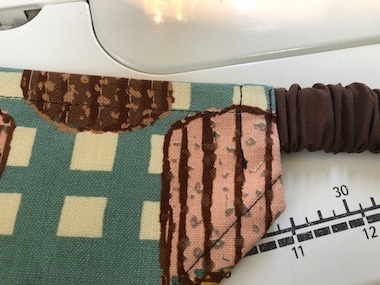
Make the frill and attach it to the hem of the apron main panel.
4.
Fold the arm opening in three and sew.
5.

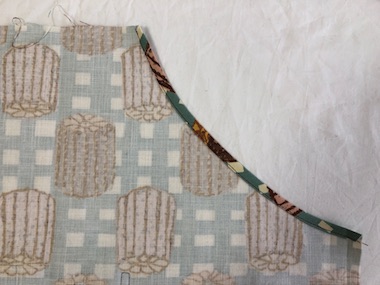
Place the neck strap (strap B) in-between the edge fabric and sew. (Be careful not to twist the neck strap!) With the front sides facing each other, sew together the apron panel fabric and edge fabric.
6.
Fold the sides in three and sew. On the right-hand side, place the waist strap (strap A) in-between and sew.
7.
Attach the loop side of the Velcro on the front left-hand side of the apron panel.
Head Scarf – Sewing Instructions
1.
Fold the edges all the way around in three and iron.
2.
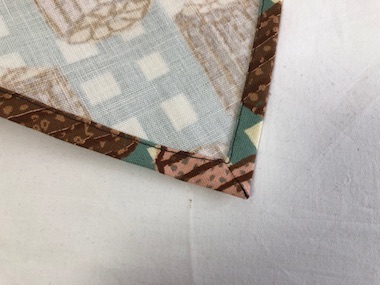
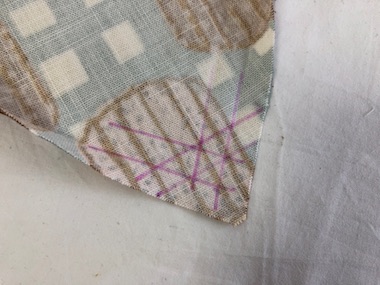
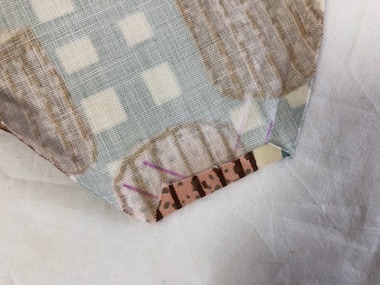
Sew all the way around. Finish with mitered corner at the tip of the triangle.
3.
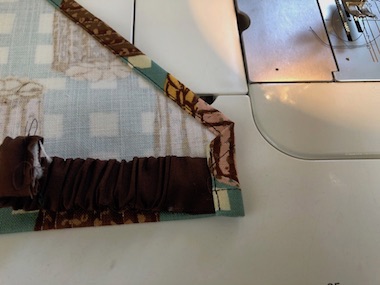

Make the elastic strap. Place it in-between both sides of the scarf and sew.

◎Sewing Instructions (PDF format / A4 size)

 Single Shoulder Strap Apron – Sewing Instructions
 School Bag Sewing Instructions
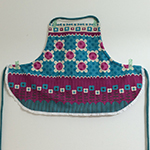 KID’S Apron