
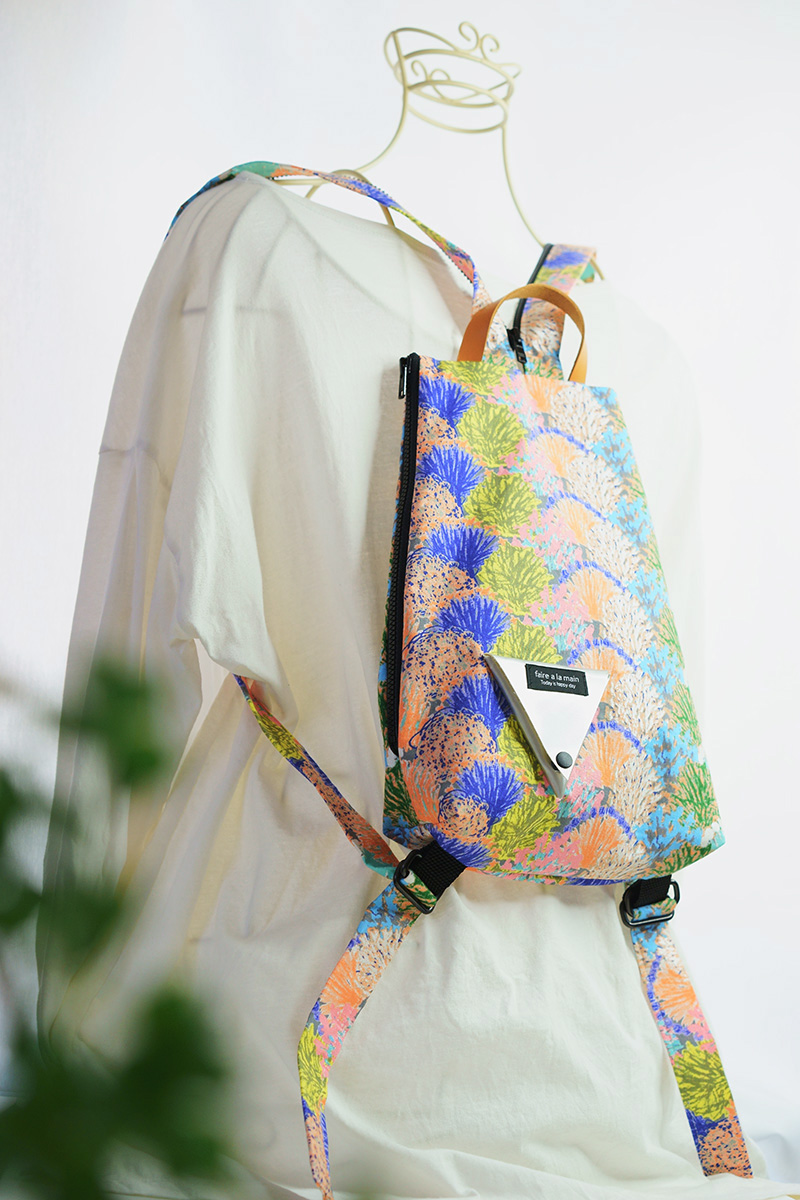

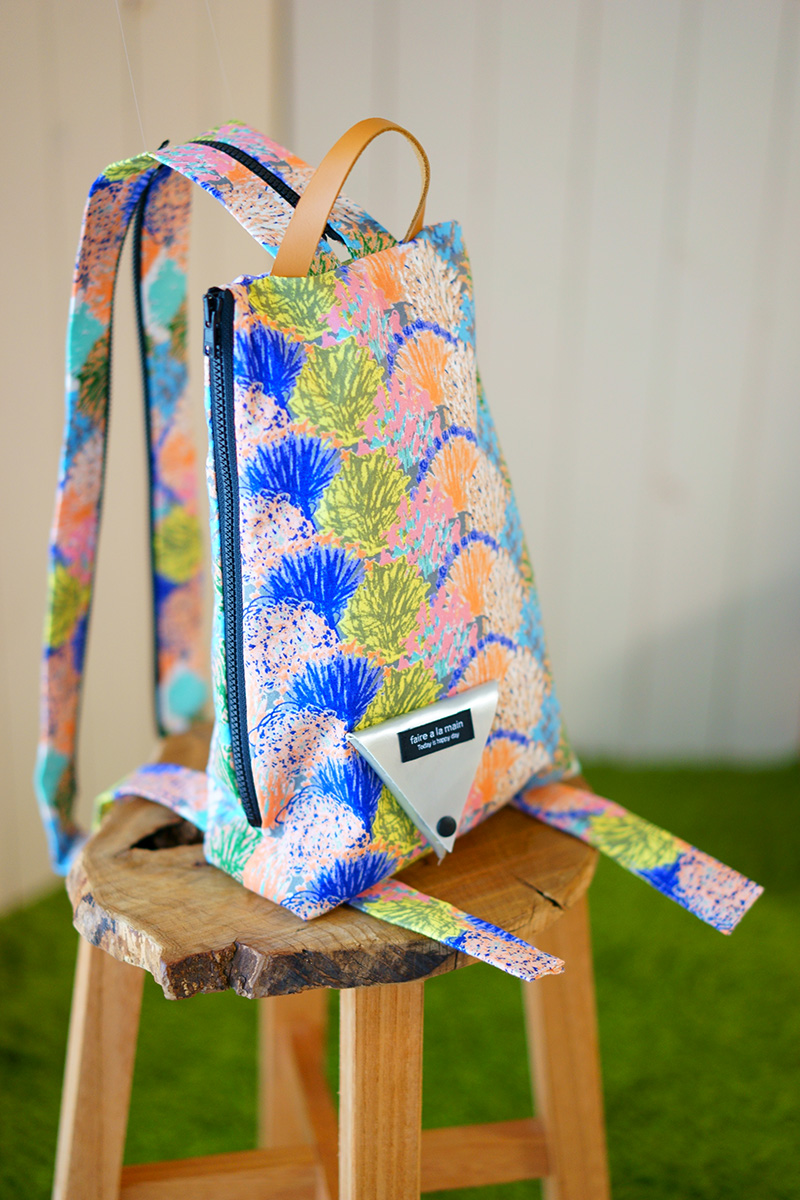
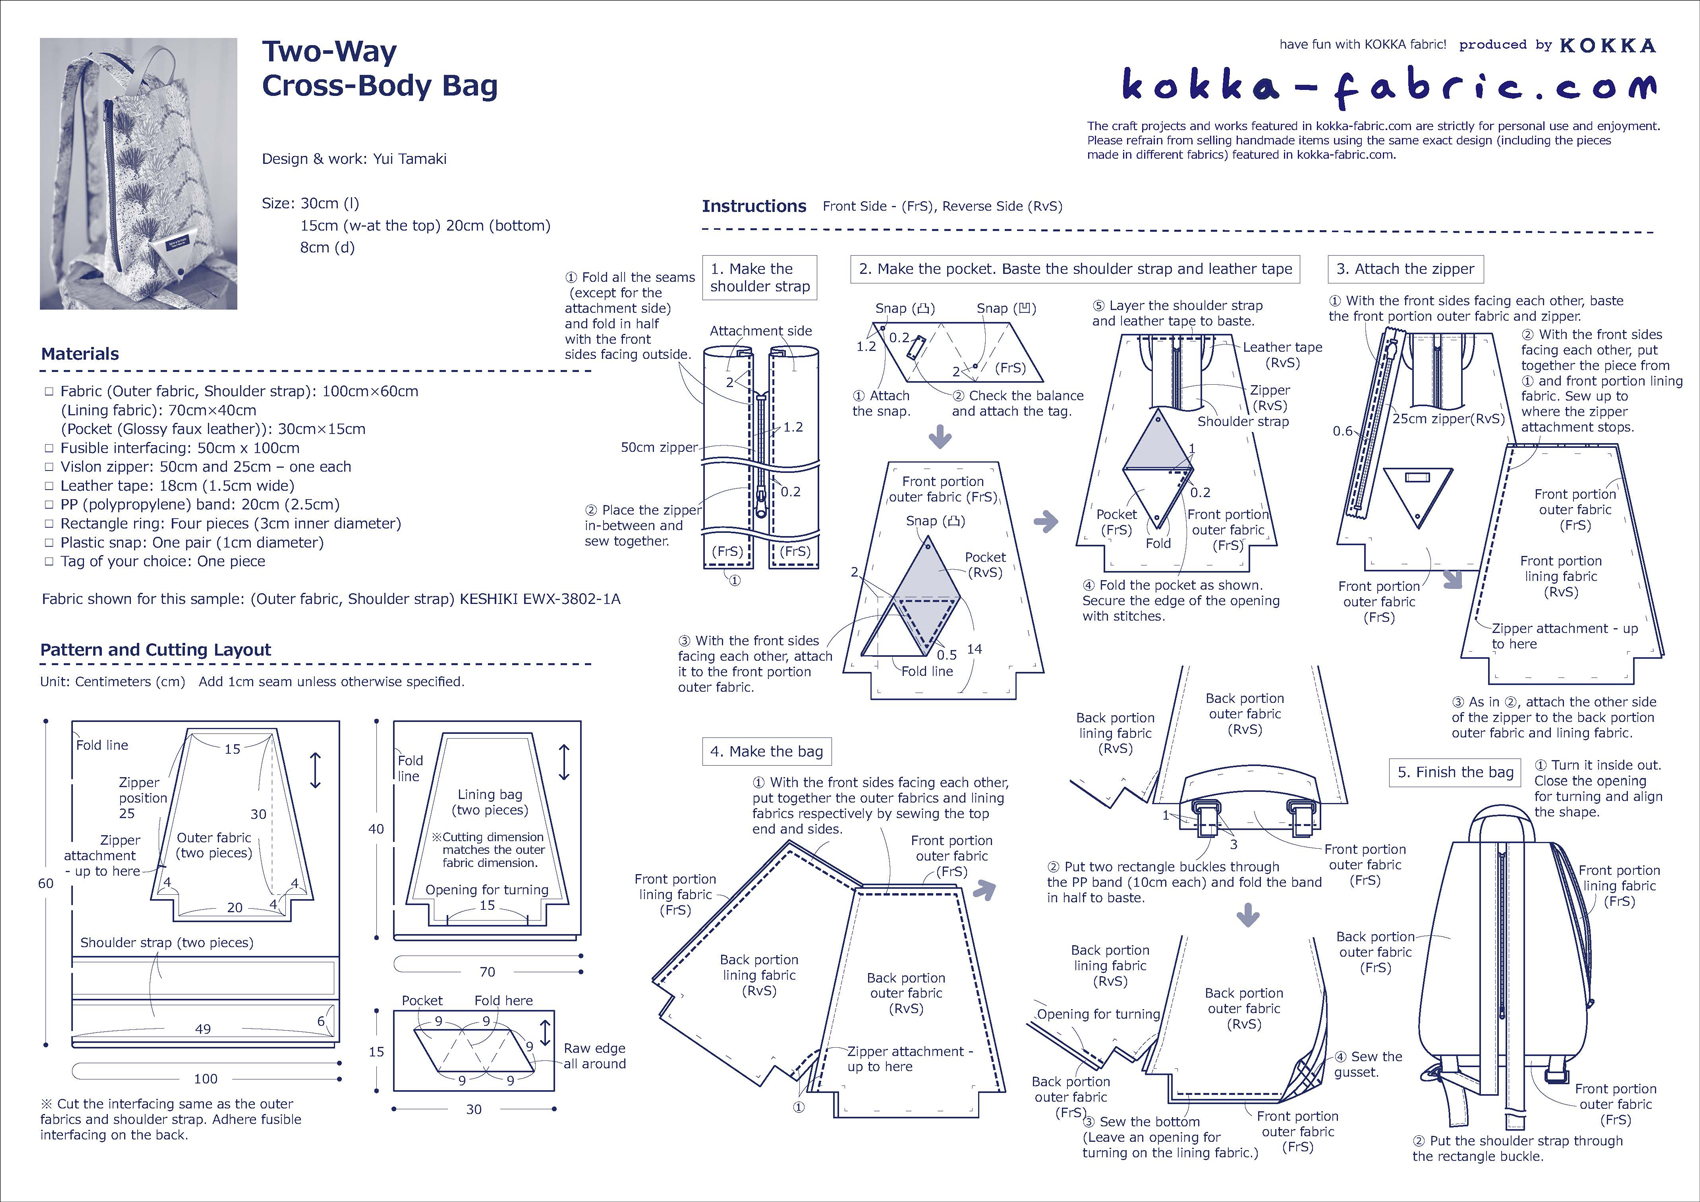
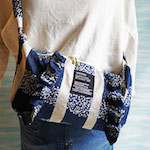
This two-way bag, with a zipper on the shoulder strap, turns into a backpack when the zipper is opened, and it becomes a cross-body bag when zipper is closed. The featured fabric is from the KESHIKI’s Tsutsuji garden. The KESHIKI was created with the concept “A fabric that decorates everyday living like a landscape painting.” It’s an impressive fabric with bursting bright color tones.
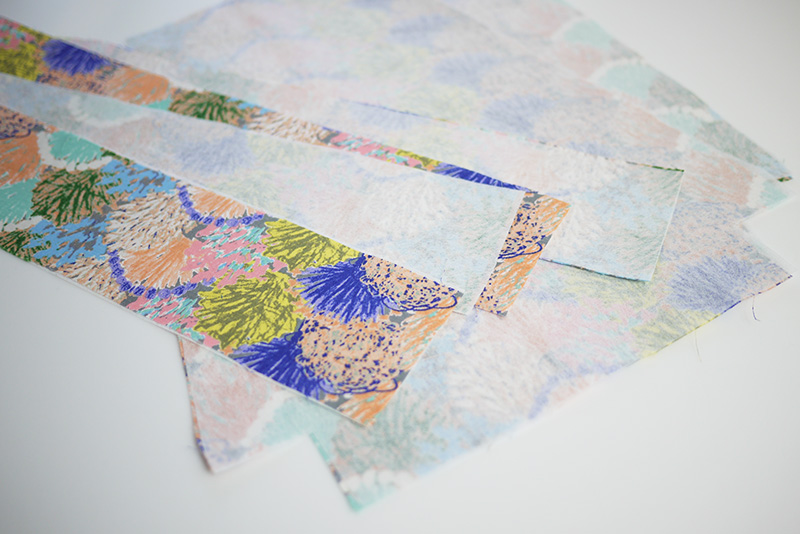
Fabric shown for this sample:(Outer fabric, Shoulder strap)KESHIKI EWX-3802-1A
Materials:
□ Fabric (Outer fabric, Shoulder strap): 100cm×60cm
(Lining fabric): 70cm×40cm
(Pocket (Glossy faux leather)): 30cm×15cm
□ Fusible interfacing: 50cm x 100cm
□ Vislon zipper: 50cm and 25cm – one each
□ Leather tape: 18cm (1.5cm wide)
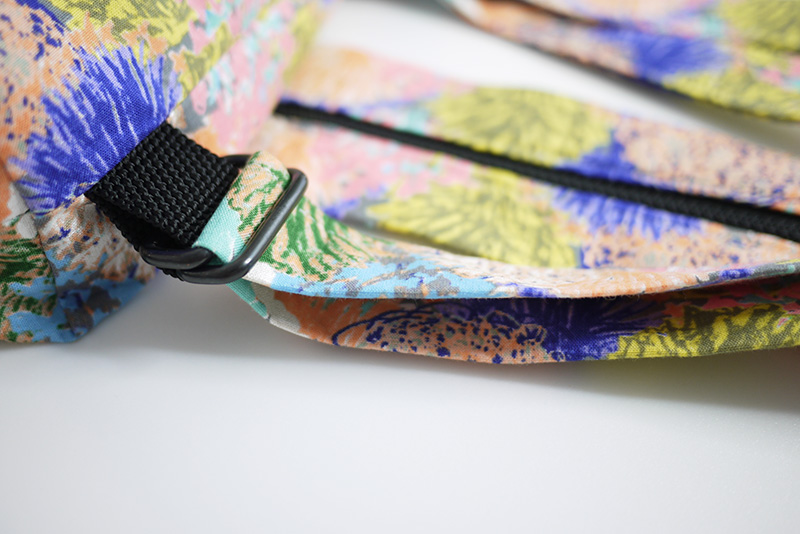
□ PP (polypropylene) band: 20cm (2.5cm)
□ Rectangle ring: Four pieces (3cm inner diameter)
□ Plastic snap: One pair (1cm diameter)
□ Tag of your choice: One piece
size30cm(l) 15cm (w-at the top) 20cm (bottom) 8cm (d)
We interviewed Yui about her creation:
Kokka Fabric (KF): What did you think of the fabric you used for this project?
I love these color tones and I was so excited to think about what to make! This stylish fabric is perfect for both clothing and fashion accessories. So I decided to make a backpack with handles all in the same fabric.
KF: Can you tell us any special elements or ideas that you incorporated into this creation?
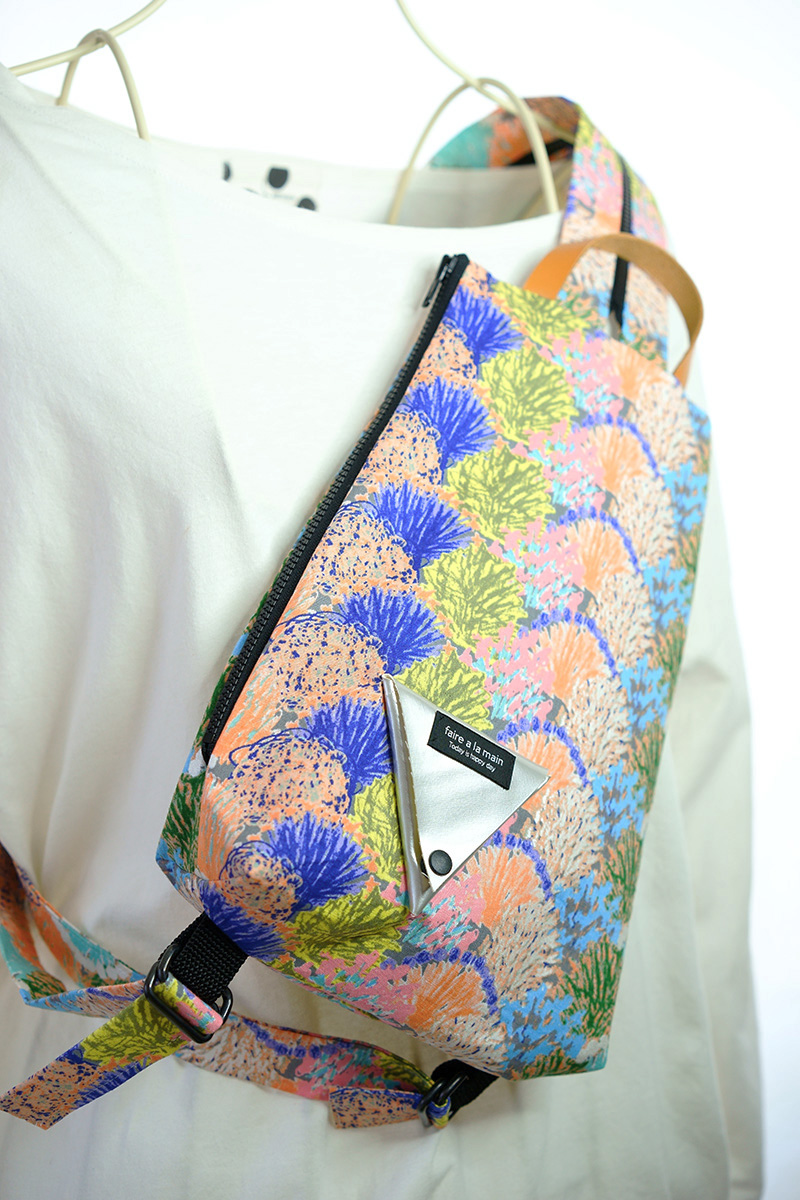
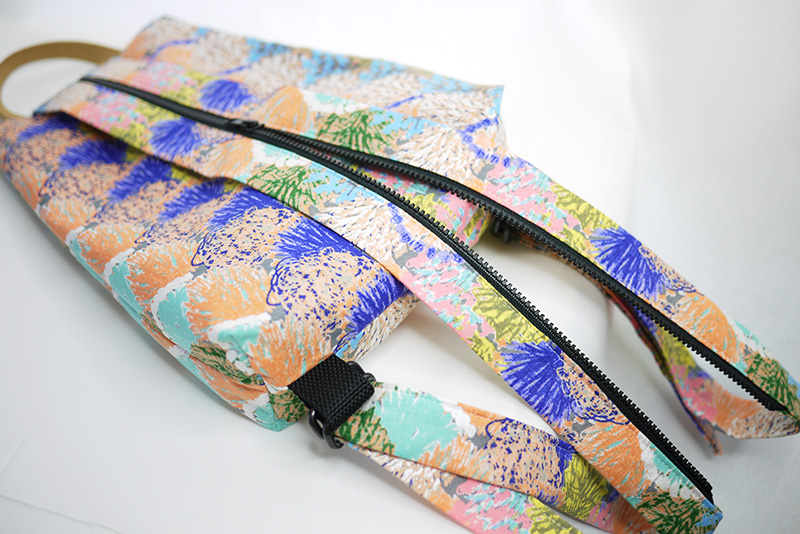
Since I like the cross-body bag, I came up with a design that can be used as a cross-body bag as well as a backpack. For convenience and to make a statement, a crude looking black Vislon zipper is used. When carrying it as a backpack and looking at it from the front, you notice a cute handle, which I like.
To match the glitter tone of the fabric, a glossy faux leather pocket fabric is selected.
KF: What are some tips for making this bag?
There are two zippers that need to be attached. It does not have to be placed in the exact location indicated in the pattern. If zipper attachment is not your strength, then allow for enough seam and comfortably attach it where the machine needle will not interfere.
KF: How should we use this bag in everyday situations?
The addition of the zipper, plastic snaps and glossy faux leather turns this bag’s look slightly sporty, making it a perfect companion for a T-shirt wearing everyday wardrobe. Why not make it personal by choosing the zipper and parts in your favorite colors?
KF: Thank you very much, Yui! Here are sewing instructions along with step by step photos from her. Enjoy crafting!
Instructions
1.
Adhere fusible interfacing on the outer fabrics and shoulder strap.
2.
Fold the long end of the shoulder strap to the reverse side. Fold the short end of the bottom side (opposite to the side that is attached to the bag) for 1cm as well. Make another piece.
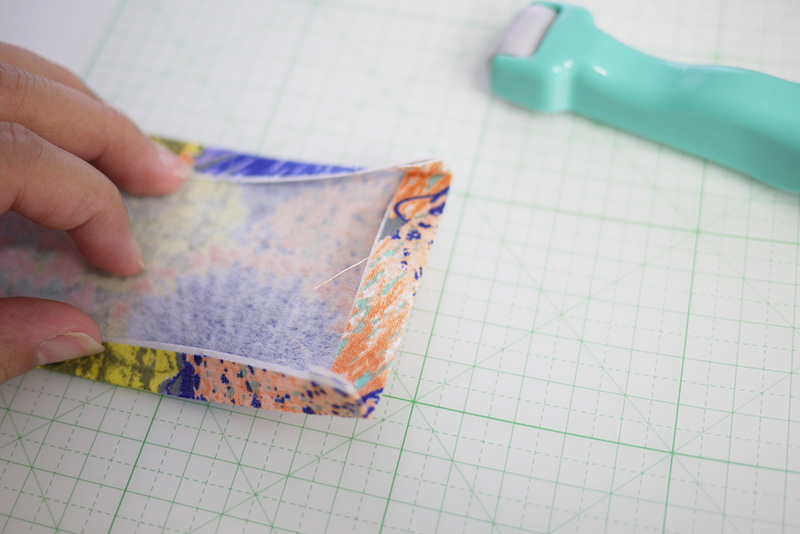
3.
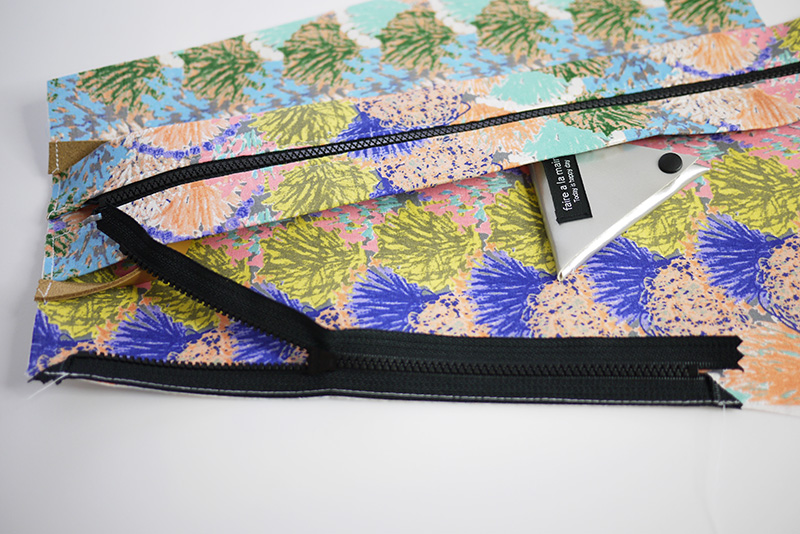
With the front sides facing outside, fold the shoulder strap in half and place the 50cm zipper in-between to sew together. Zipper should be placed at 2cm from the top. Fold the end of the zipper to the lining fabric side.
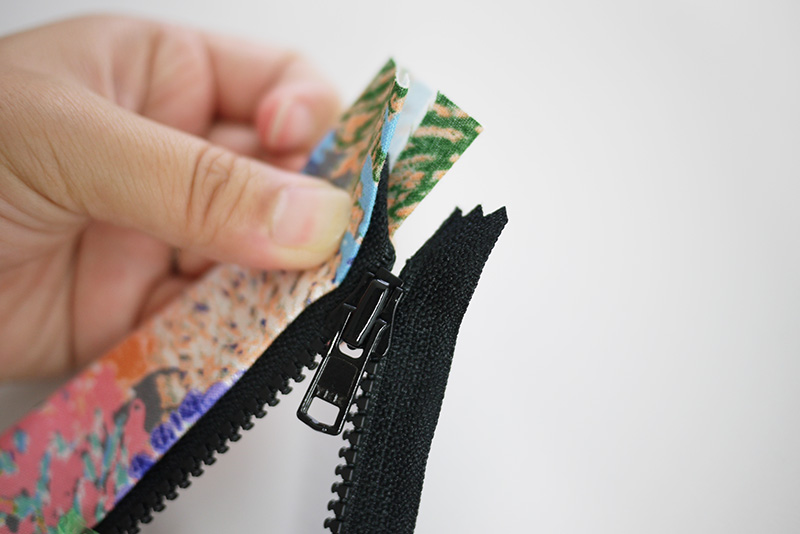
4.
Place the other side of the zipper on the other shoulder strap and sew together.
5.
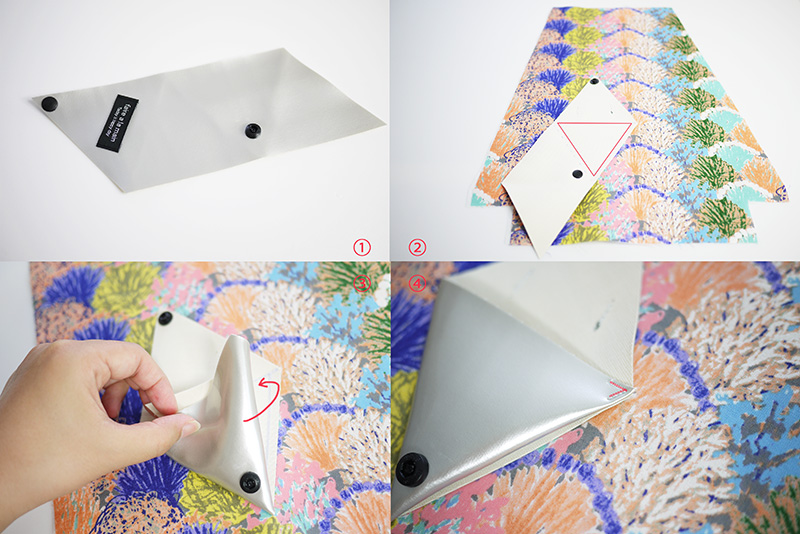
Make the pocket. Attach the decorative tag and plastic snap. Sew only one portion of ▽ to the main panel. (To reinforce the snap, use the adhesive.) Wrap the unsewn portion inside and sew the corner to close.
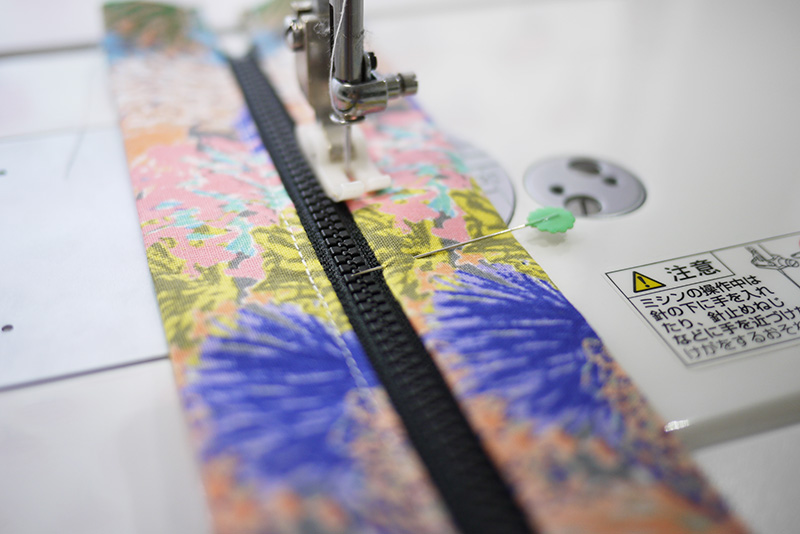
6.
With the front sides facing each other, baste the shoulder strap and handle (leather tape) to the outer front fabric. Also, baste 25cm zipper with the front sides facing each other.
7.
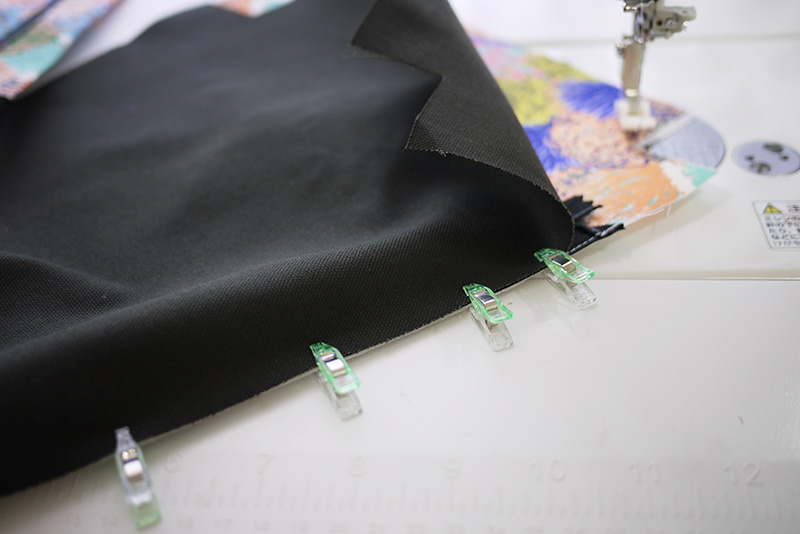
With the front sides facing each other, put together the lining front fabrics with the zipper in-between. The other side of the zipper should be sewn together with the back side outer fabric and lining fabric.
8.
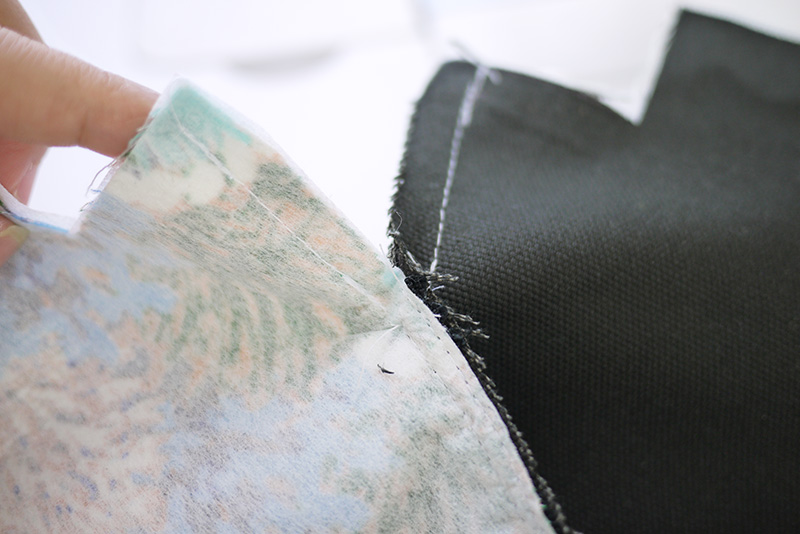
With the front sides facing each other, put together the outer fabrics and lining fabrics respectively by sewing the top end and sides. On the side, sew together the bottom portion below zipper attachment position.
9.
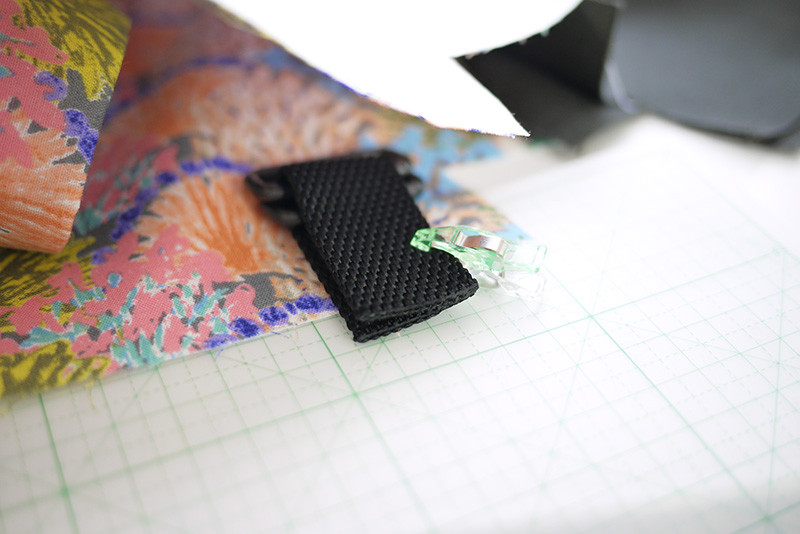
Put two rectangle buckles through the PP band and fold the band in half. Baste it at the bottom of the front portion’s outer fabric.
10.
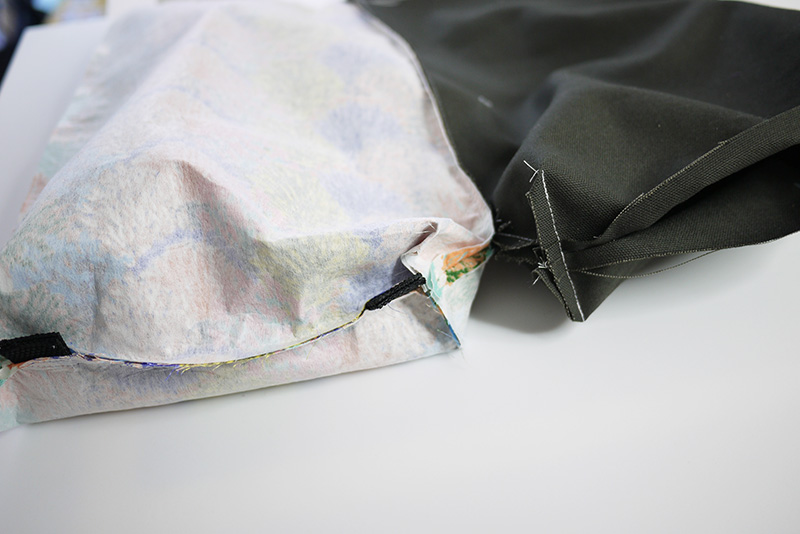
Sew together the bottom and gusset. (Leave an opening for turning on the lining fabric.)
11.
Turn it inside out and close the opening. Insert the end of the shoulder strap through rectangle buckle to finish.
12.
When the zipper on the shoulder strap is closed, it becomes a cross-body bag. When opened, the bag turns into a backpack.
◎Sewing Instructions (PDF format / A4 size)

 Perfect for Everyday Use – Sewing Instructions for Shoulder Bag Frills
 Backpack Sewing Instructions
 Backpack