

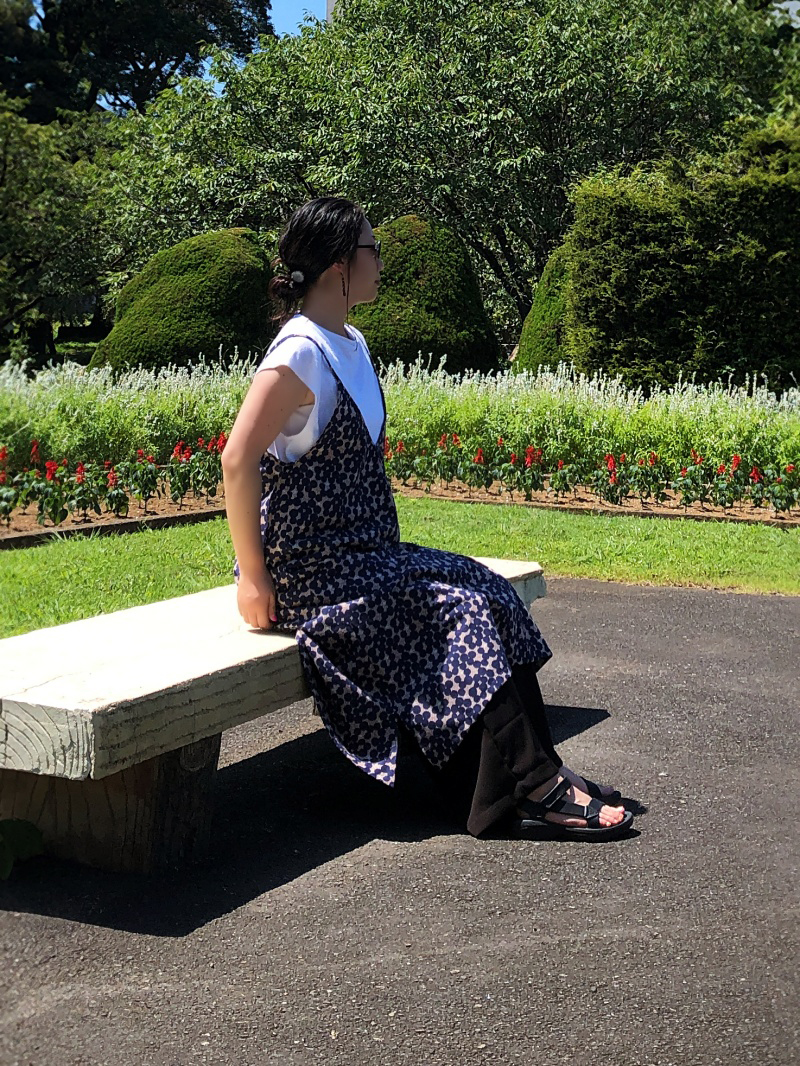
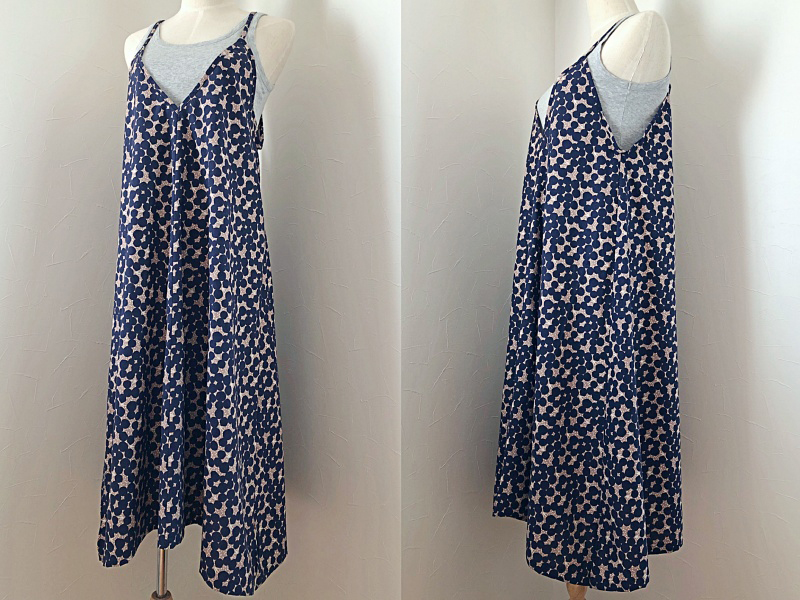
echino’s cotton linen sheeting fabric, bubble is turned into a camisole dress. Comprised of a series of bubbles design all throughout the fabric, you don’t have to worry about matching the patterns when cutting the fabric. The dress can be enjoyed in every season by combining it with different tops and bottoms. For summer with a T-shirt underneath, and for fall with a knit top and a pair of boots.
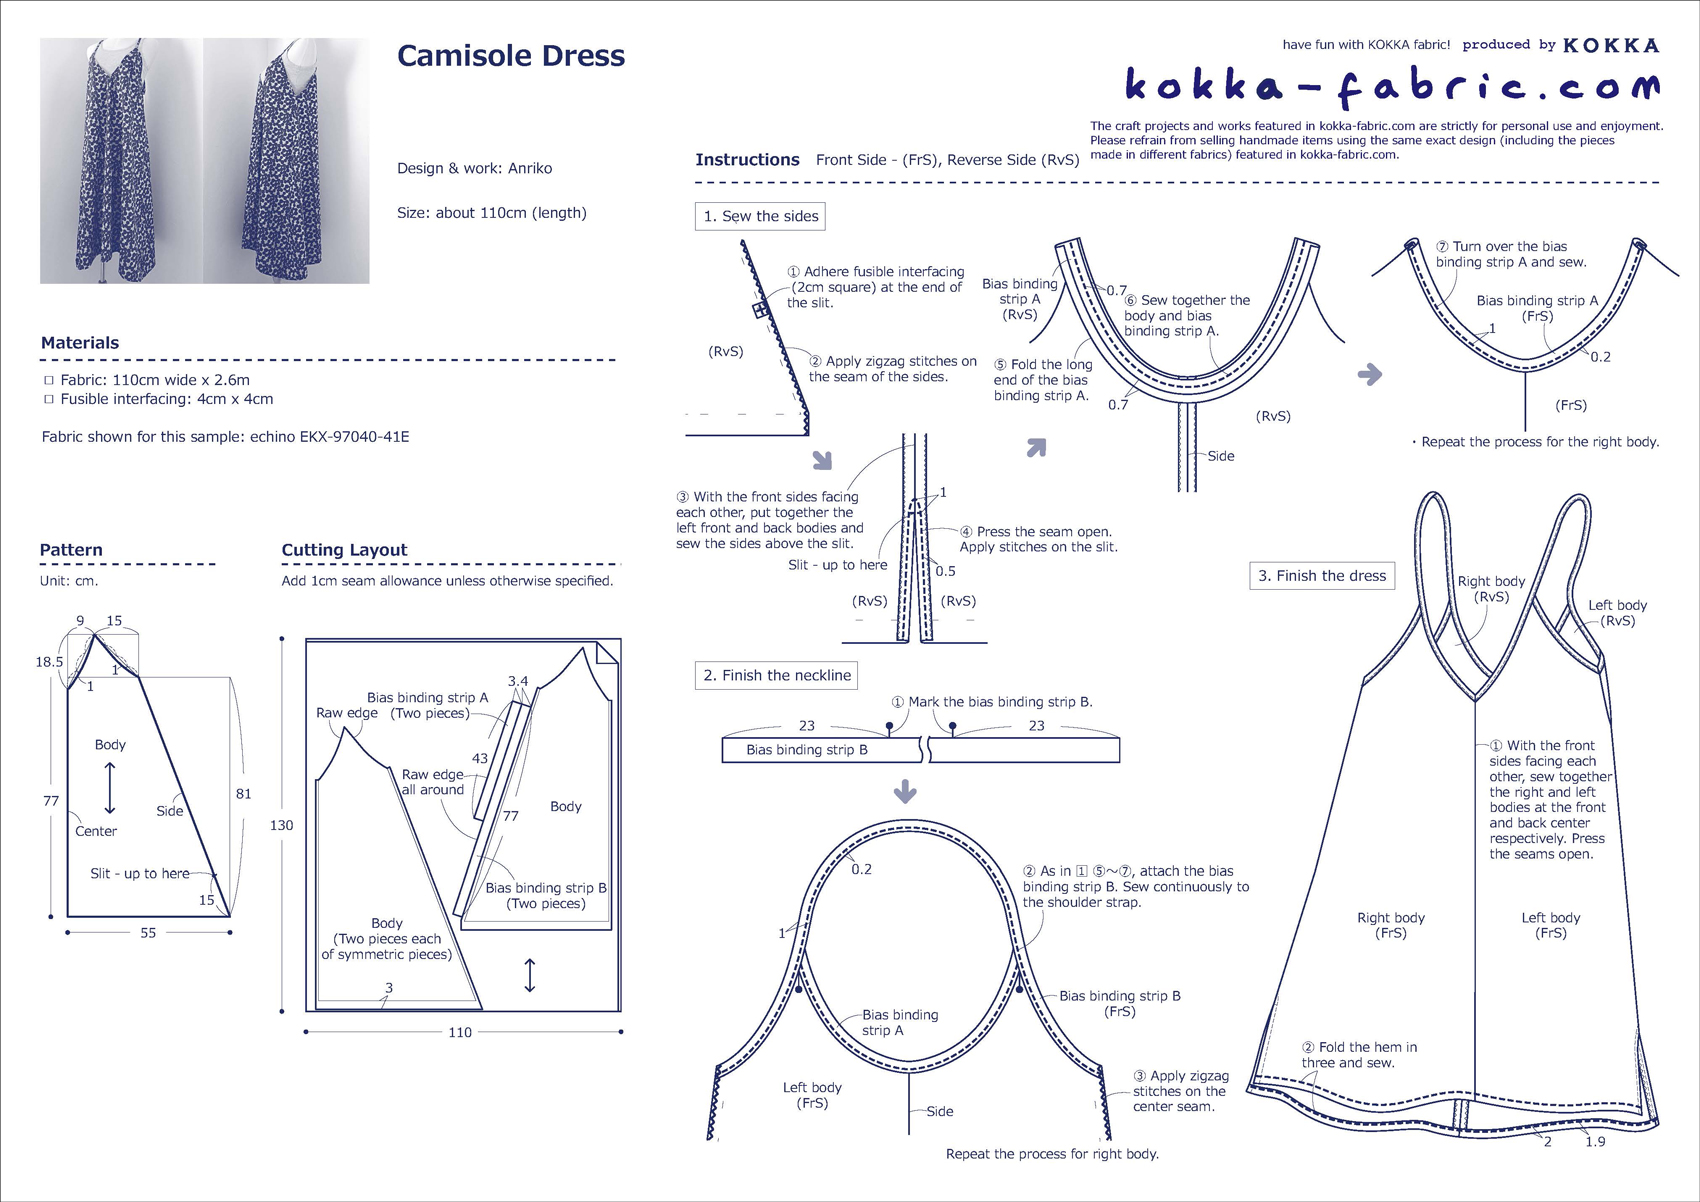
Fabric shown for this sample:echino EKX-97040-41E
Materials:
□ Fabric: 110cm wide x 2.6m
□ Fusible interfacing: 4cm x 4cm
Size: about 110cm (length)
We interviewed Anriko about her creation:
Kokka Fabric (KF): What did you think of the fabric you used for this project?
While the pattern seems like random dots, it creates a look of large blocks when seen from a distance. The silhouette with ample flair and lower opening on the side will accentuate the pattern.
KF: Can you tell us any special elements or ideas that you incorporated into this creation?
Cotton linen sheeting can be enjoyed in every season. Depending on the items you choose, it can be enjoyed throughout the year. The long shoulder strap and collar and armhole with a wide opening make it easy for you to choose the inner layers.
KF: What are some tips for making this dress?
t requires a lot of process using the bias binding tapes. If you are not good at it, try to attach the front side with a sewing machine and finish it with blind hand stitching on the other side. If you are familiar with the process, you can cut the center fabric as one piece with a fold line and finish the V-shaped front.
KF: How should we incorporate this skirt into one’s styling?
In the picture, you see a styling with a pair of wide leg knit pants. Even if you don’t go for a layered look, it would also look cute with a maxi skirt or leggings. In the fall, why not enjoy it with a knit top inside and a pair of tights and boots?
KF: Thank you very much, Anriko! Here are sewing instructions along with step by step photos from her. Enjoy crafting!
Instructions
1.
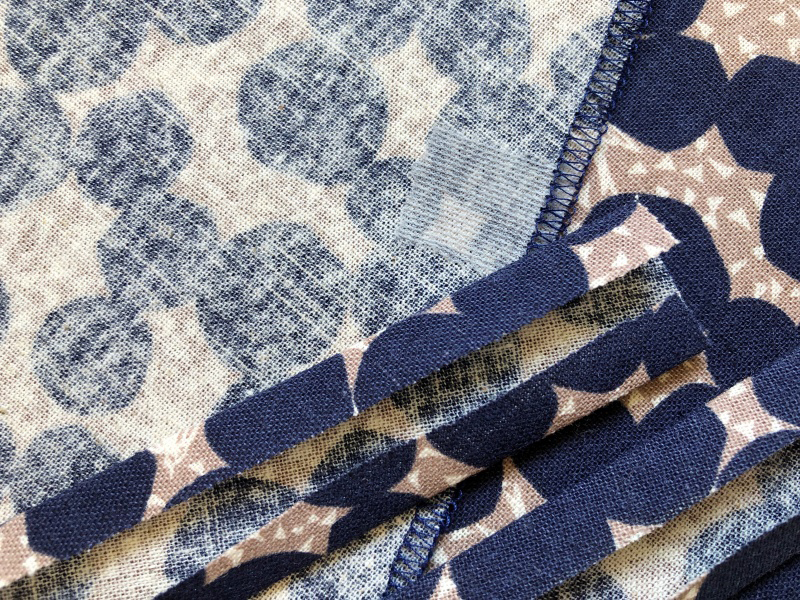
Start with the sides and piece together the center later. Fold the bias binding tape at 7mm. Adhere the fusible interfacing in the location where the slit stops. Apply zigzag stitches on the sides. Piece together the front and back and make the slit.
2.

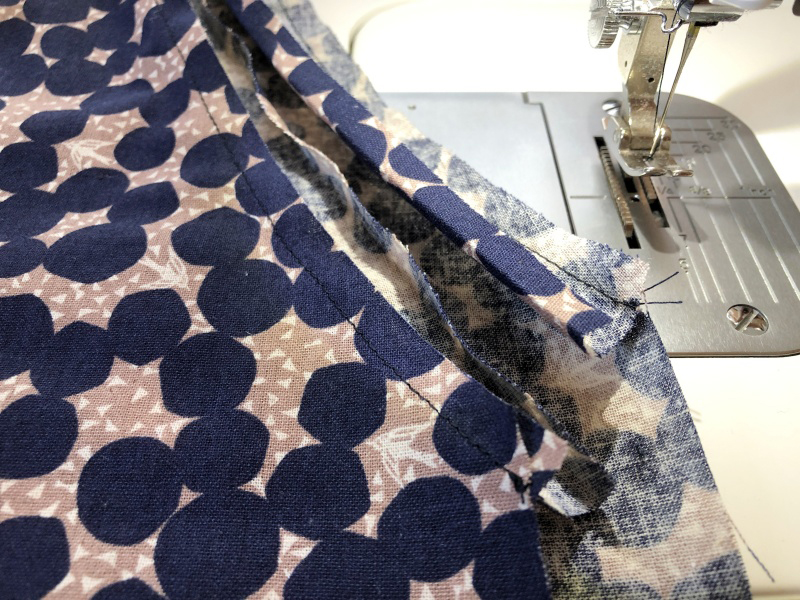
Since the curve of the armhole is not too tight, the front and back are pieced together and finished with the bias binding tape to make it look smooth under the arm.
3.
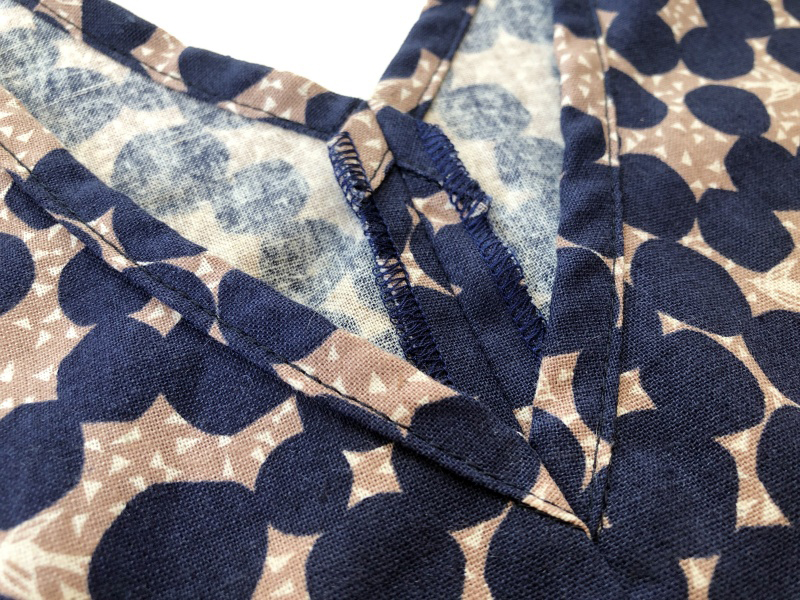
Using the shoulder strap, the neckline is finished together. When using a sewing machine, it is best to start from the backside as shown in the picture. After this process, apply stitches from the front to the neckline, and continue on to the shoulder strap to finish.
4.
Once the shoulder straps are attached, apply zigzag stitches in the center and piece together. When doing this, make sure to align the sides, bias binding tape and body for a clean finish.
5.
Fold the hem in three and apply stitches to finish. One of the reasons why the sides are lower is because it is difficult to sew the wide flair. If you like, you may add a curve towards the side only for the portion of the flair.
◎Sewing Instructions (PDF format / A4 size)

 Cache Coeur Wraparound Dress
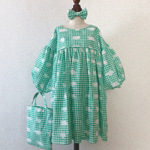 Handmade Kids Clothing – Fluffy Bunny Dress – Sewing Instructions
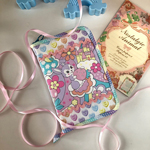 Multi-Purpose Case – Sewing Instructions