
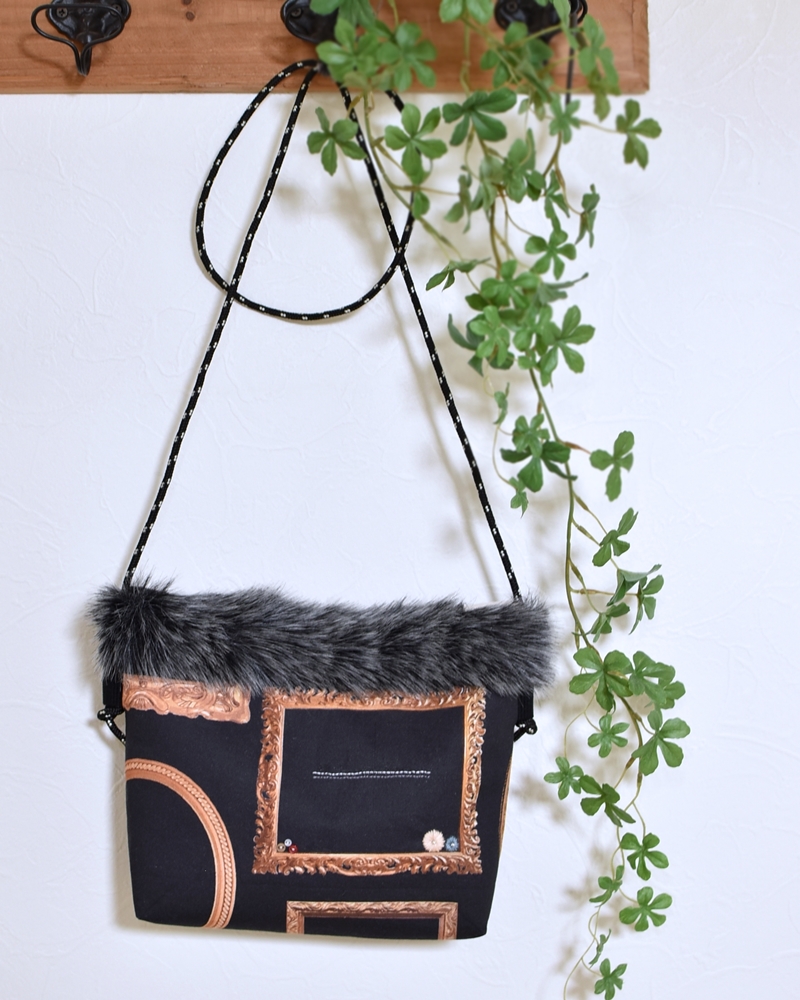
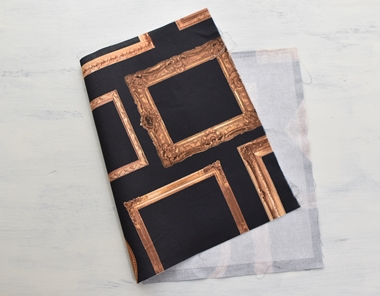
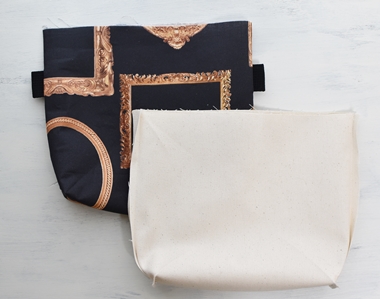
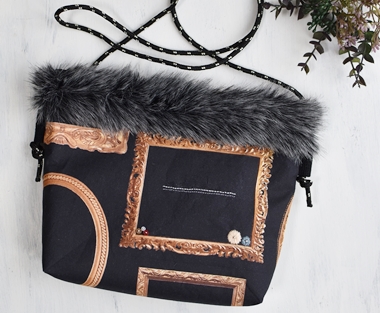
A crossbody bag, which is often thought as a casual fashion item, is now turned into a feminine accessory with the addition of a cozy fur embellishment. From the Reminiscence series, frame, a 100% cotton sheeting with inkjet print is featured.
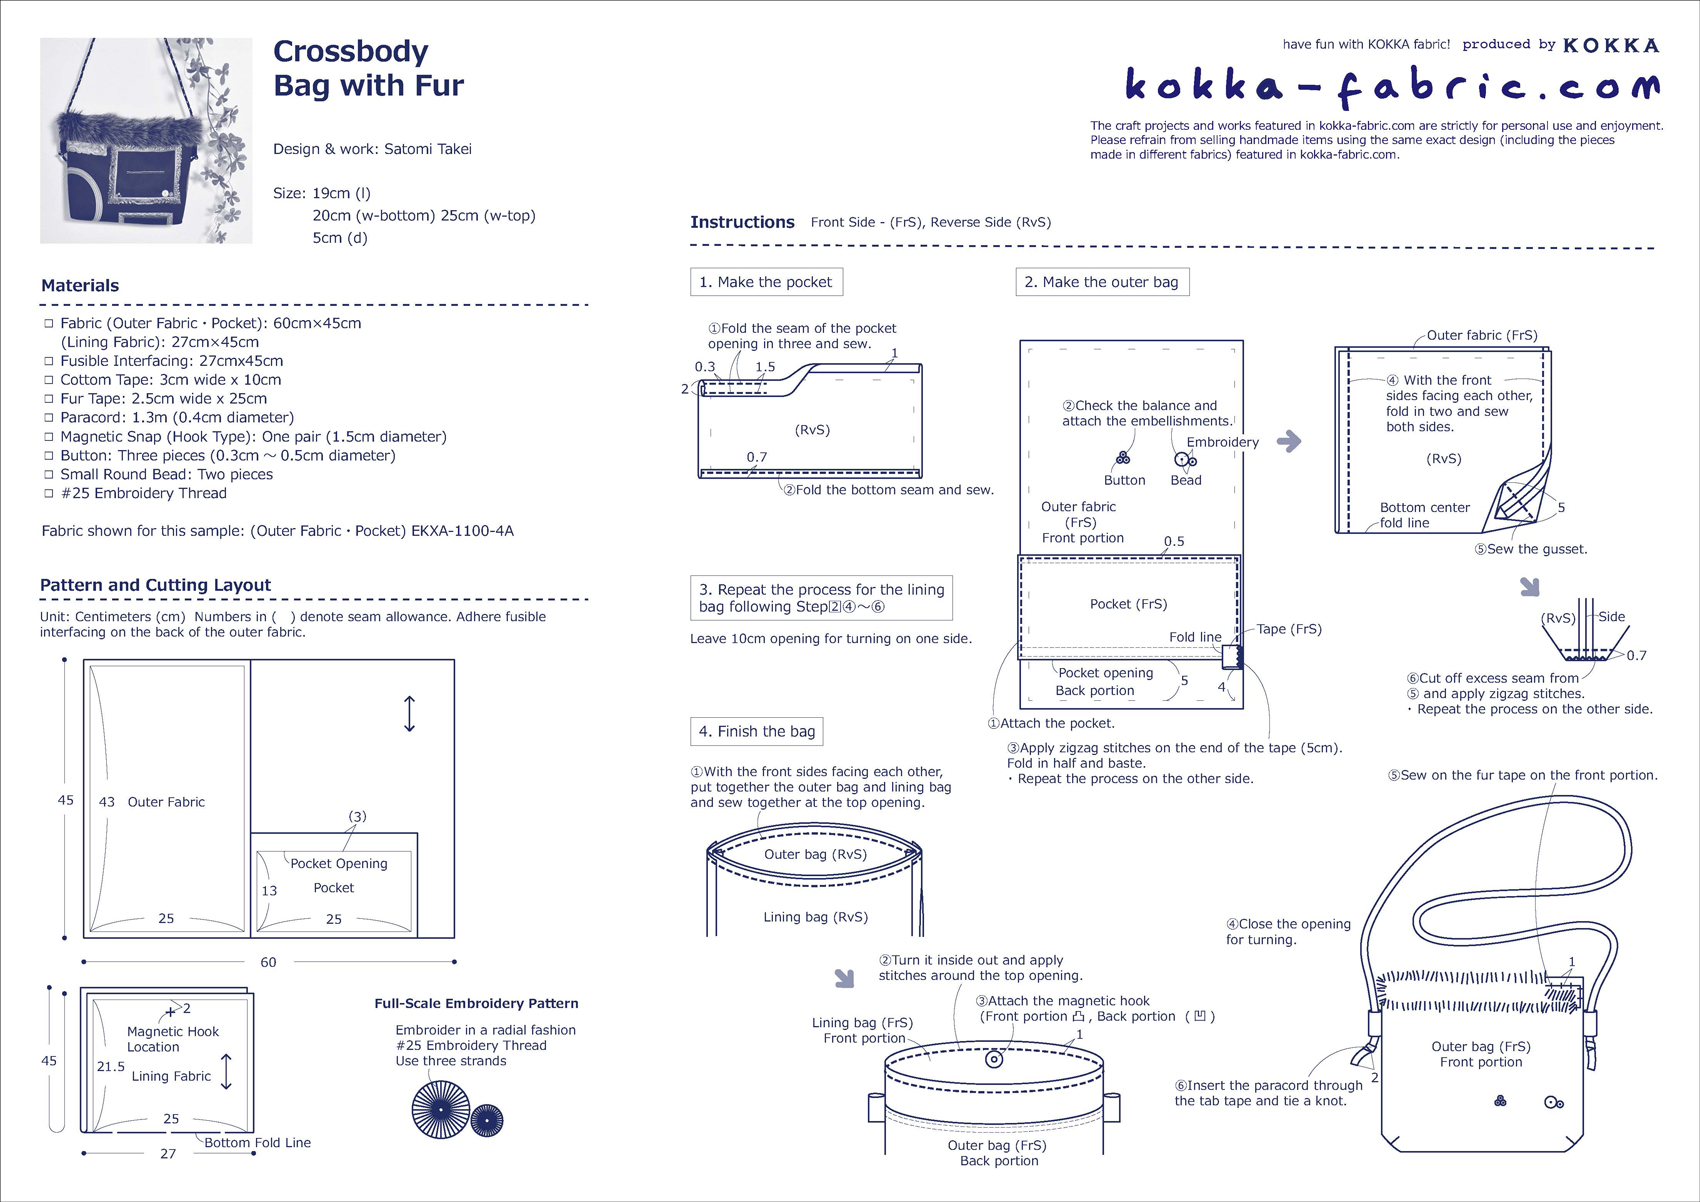
Fabric shown for this sample:(Outer Fabric・Pocket) EKXA-1100-4A
Materials:
□ Fabric (Outer Fabric・Pocket): 60cm×45cm
(Lining Fabric): 27cm×45cm
□ Fusible Interfacing: 27cmx45cm
□ Cottom Tape: 3cm wide x 10cm
□ Fur Tape: 2.5cm wide x 25cm
□ Paracord: 1.3m (0.4cm diameter)
□ Magnetic Snap (Hook Type): One pair (1.5cm diameter)
□ Button: Three pieces (0.3cm~0.5cm diameter)
□ Small Round Bead: Two pieces
□ #25 Embroidery Thread
Size: 19cm (l) 20cm (w-bottom) 25cm (w-top) 5cm (d)
We interviewed Satomi about her creation:
Kokka Fabric (KF): What did you think of the fabric you used for this project?
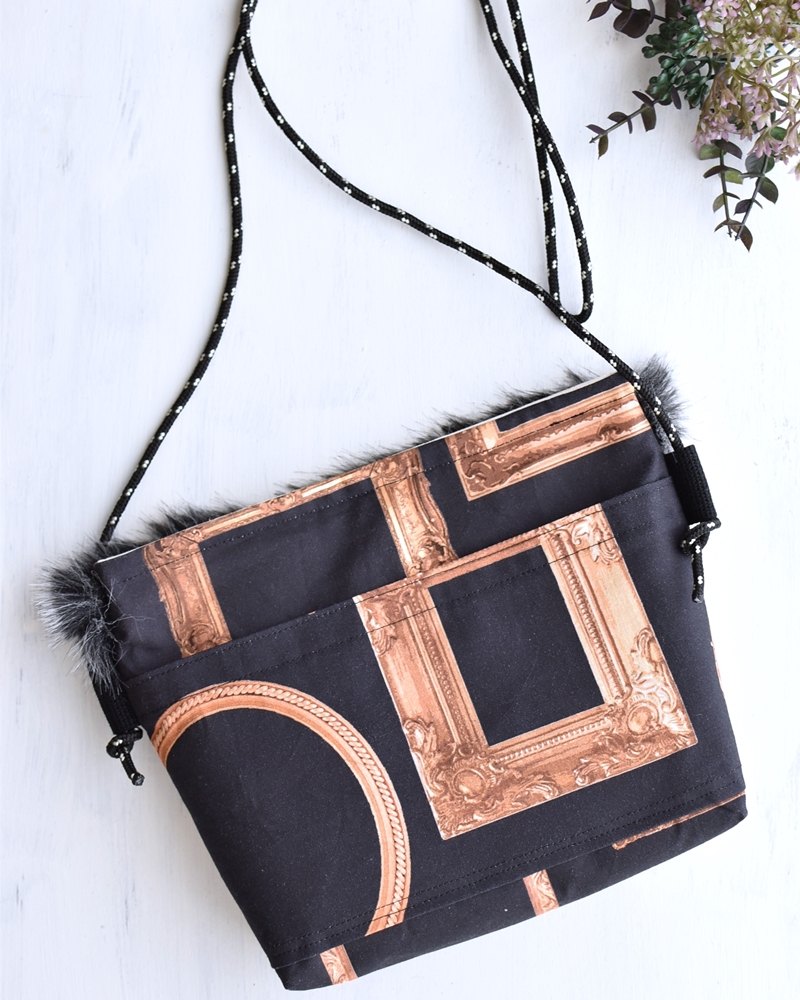
I had fun choosing which square and round stylish antique frames to incorporate when cutting the fabric. The unique design allows you to be creative within the frame, so I featured embroidery and buttons.

KF: Can you tell us any special elements or ideas that you incorporated into this creation?
Minimum essentials for going out, like a cell phone, wallet and reusable bag can be taken in and out easily with a magnetic button closure. The fur creates a feminine feel to a typically casual looking bag♪
KF: What are some tips for making this bag?
Loops made with thicker cotton tape make it secure in terms of holding the knotted Paracord. Where the tape is applied, it creates an extra layer. Please sew slowly to avoid the needle breaking. In lieu of the cotton material, you may use a leather tape. No rules for the width of the fur tape. Please choose the width you like♪
KF: How should we incorporate this bag into one’s styling?
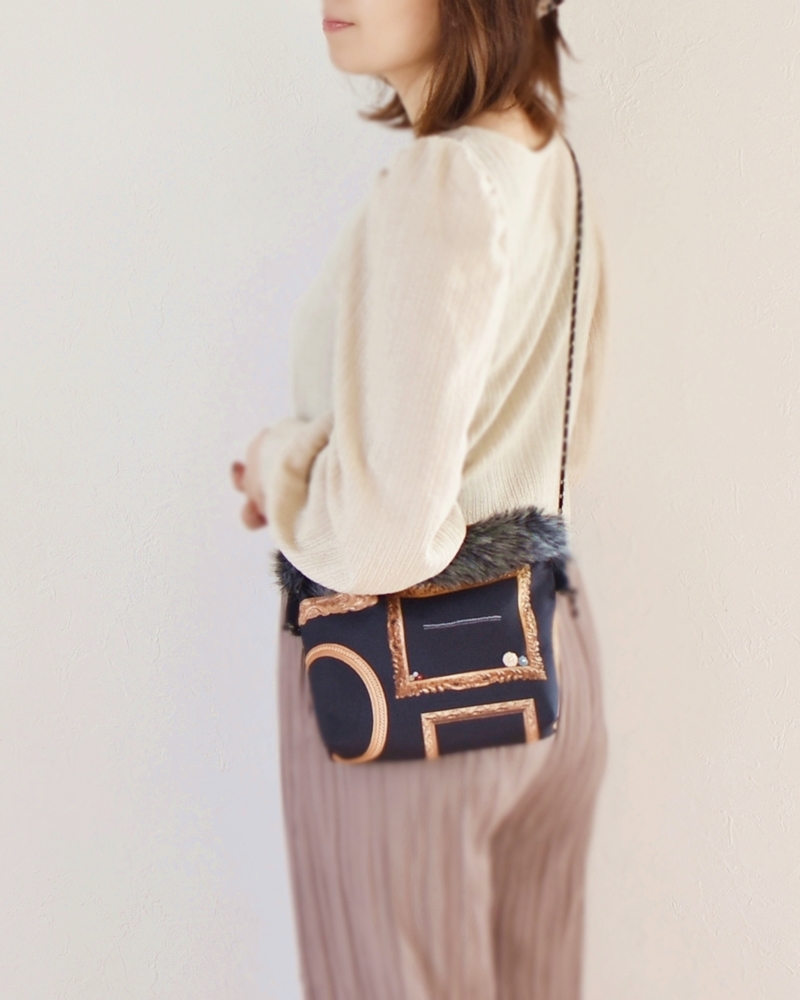
The crossbody bag is really convenient for a quick shopping trip on a bike or for a walk around the neighborhood. It’s a bag for young and old. Enjoy making it in your own way by using different fabrics and cords!
KF: Thank you very much, Satomi! Here are sewing instructions along with step by step photos from her. Enjoy crafting!
Instructions
1.
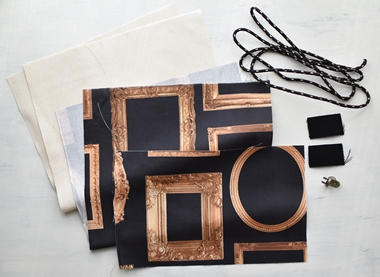
Cut the fabrics and prepare the materials.
※ The cotton tape tends to fray. Apply zigzag stitches on the end.
2.
For a solid look, please add a fusible interfacing on the outer fabric.
※If adding embroidery inside the frame, please do so during this step.
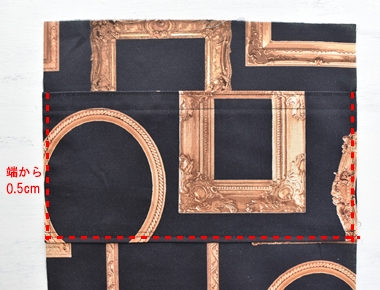
3.

Fold the opening side of the back pocket in three (1cm and 2cm). Fold the bottom side for 1cm. Iron the fold and apply stitches in three locations as shown in red.
4.
Attach the back pocket at 6cm from the top end of the outer fabric.
5.
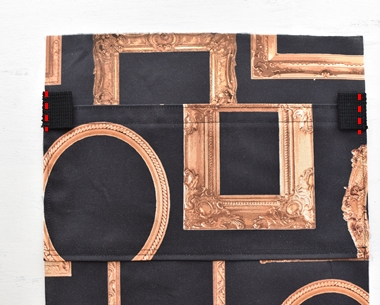
Fold the cotton tape (cut to 5cm) in half. Baste it at 5cm from the top end as shown.
6.
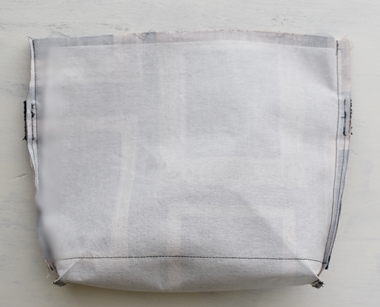
With the front sides facing each other, fold the outer fabric in half and sew both sides. Sew the bottom with 5cm gusset.
※ Cut the excess gusset to leave 7mm seam. Apply zigzag stitches for a clean finish.
7.
Repeat the same process for the lining bag.
※ Don’t forget to leave and opening for turning (10cm) in the lining bag!
8.
With the front sides facing each other, layer the outer bag and lining bag. Sew together the bags at the top opening.
※ Press the seam open for a clean shape.
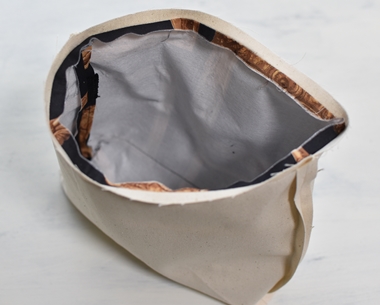
9.

Turn the bag inside out using the opening for turning. Apply stitches all the way around at 1cm from the top edge. Attach a magnetic button on the lining bag. When using the insert type button, mark the hole location with the washer. Using a stiletto and pair of scissors, make a tiny insertion hole.
※Insert your hand through the opening for turning to work on the reverse side.
10.
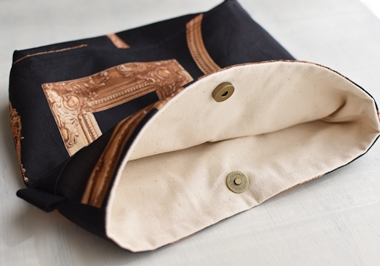
Magnetic button (凹凸) is now attached.
11.
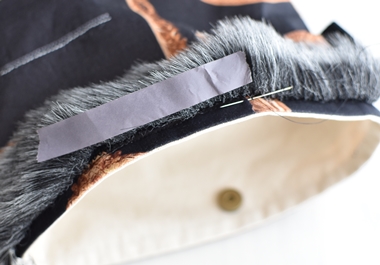
Sew the fur tape onto the bag using rough stitches.
As shown, use a masking tape to hold the fur for easy hand stitching.
12.
Close the opening for turning. Insert the cord through the cotton tape loop and adjust the length of the strap. Finished!!
◎Sewing Instructions (PDF format / A4 size)

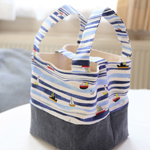 Square Bag in Marine Motif Fabric – Sewing Instructions
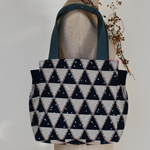 Square Bag with Gusset – Sewing Instructions
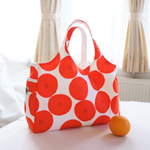 Tote Bag with Side Pockets -Sewing Instructions