FREE SEWING TUTORIALS
Gauze Dress – Sewing Instructions
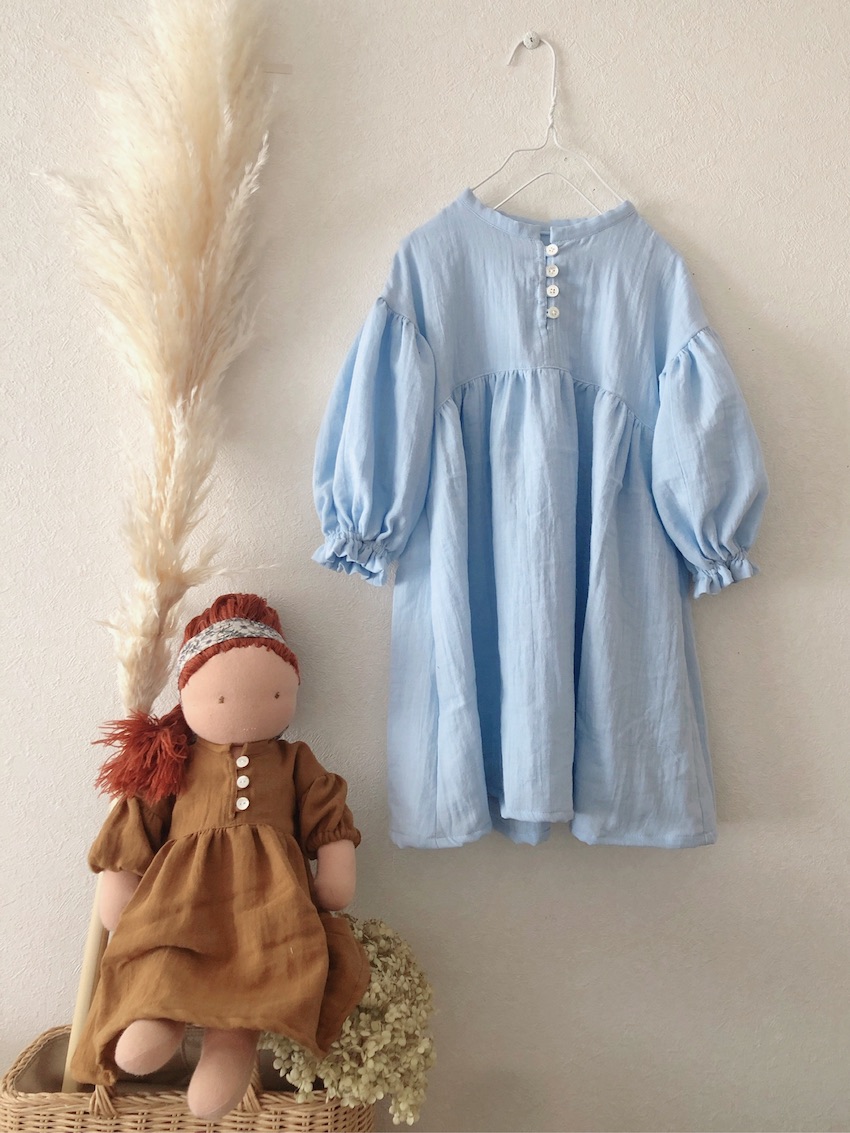
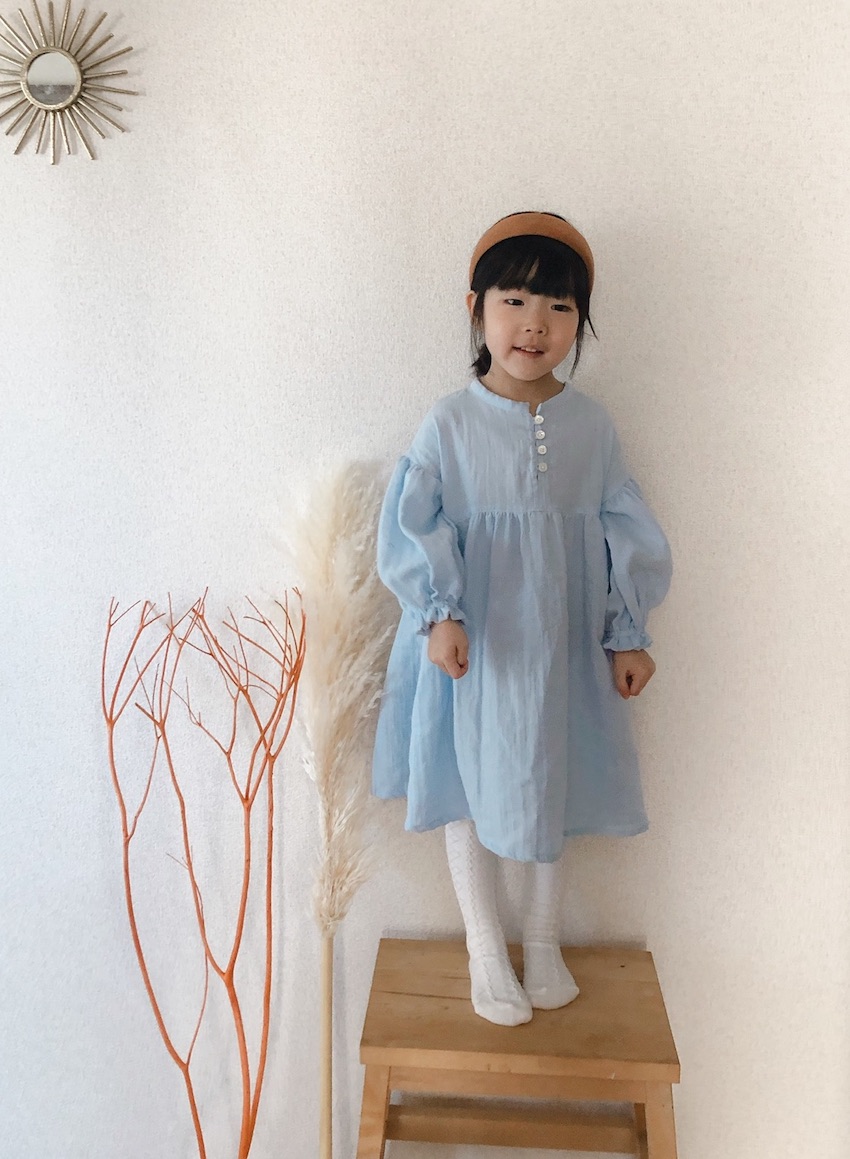
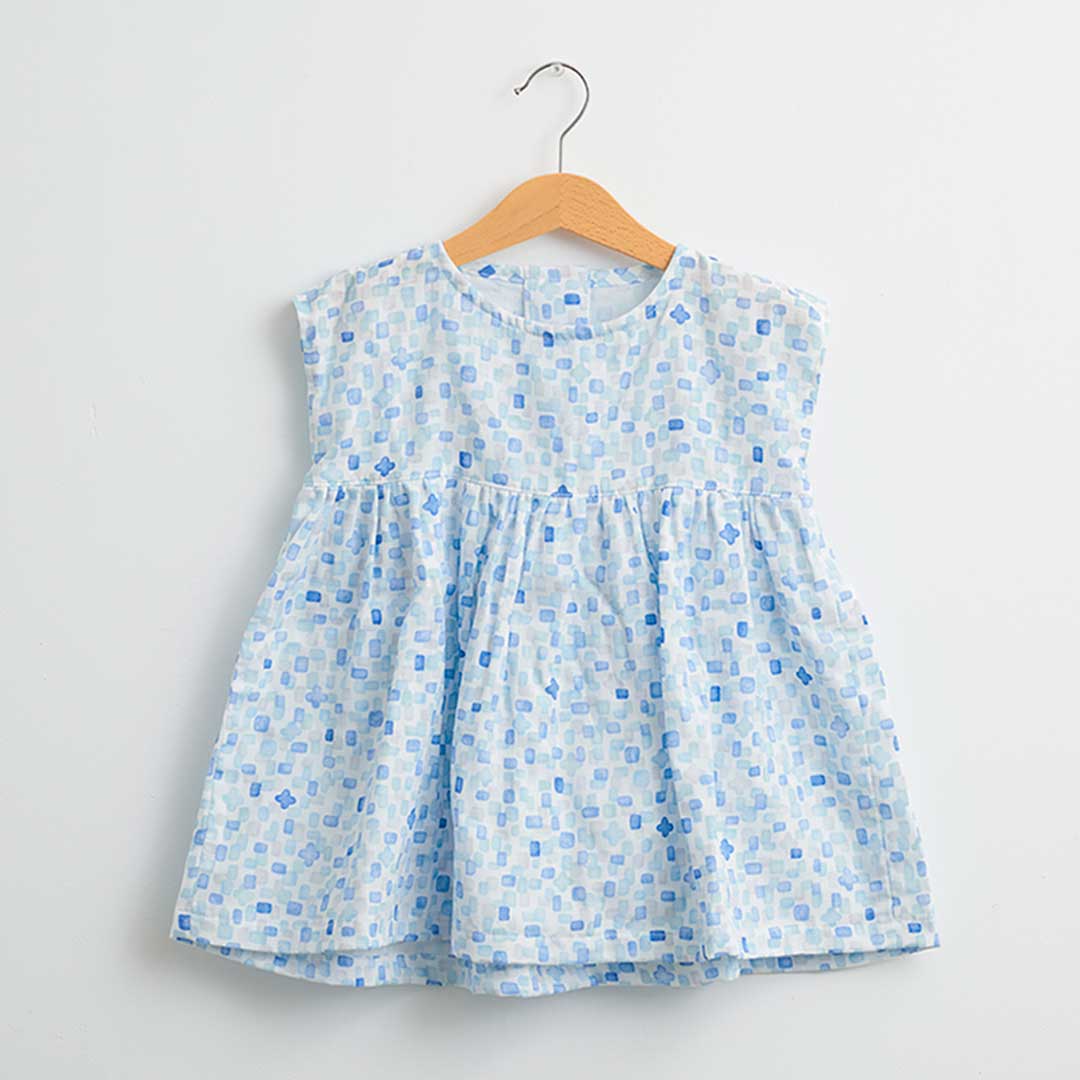
Reminding you of the color tones seen in the movie Frozen, this kid’s dress features the grayish blue fabric from the Nuno To Mono series. The triple-washed double gauze material has a fluffy texture. From gentle shades to bright hues, the fabric comes in a total of 21 colors. The doll in the picture is also wearing a dress made with a Nuno To Mono series fabric.
Fabric shown for this sample:Nuno To Mono YK-500-1N
Materials:
□ Fabric: 108cm wide x 1.4m
□ Elastic Tape: 30cm (4-5mm wide, Braid 6 cord)
□ Button: Four pieces (11.5mm diameter)
Size: For 100cm height Back length 58.5cm
We interviewed Naomi about her creation:
Kokka Fabric (KF): What did you think of the fabric you used for this project?
It is fluffy and very soft! I thought that it has a very fine surface texture which would make a great tailored piece. The colors stand out, and this time I made a dress with my daughter’s favorite light blue. I really would like to make more in other colors.
KF: Can you tell us any special elements or ideas that you incorporated into this creation?
It is a dress with gathering that makes use of the fabric’s fluffy texture. I think that the front buttons and the stand-up collar create a stylish look. It feels
KF: What are some tips for making this dress?
Because the front part and the collar are eye-catching, please sew these areas as carefully as possible. It is easy to sew if you keep the crease firmly with an iron.
KF: How should we incorporate this dress into one’s styling?
It is cute even as a blouse with a shorter length. Please make it in your child’s favorite color♪
KF: Thank you very much, Naomi! Here are sewing instructions along with step by step photos from her. Enjoy crafting!
ガーゼワンピースの作り方
1.
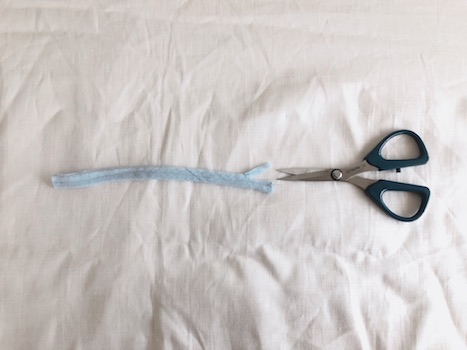
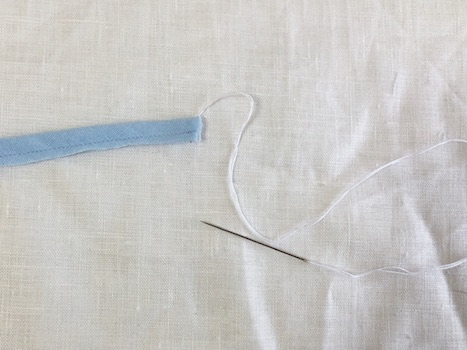
Make the loops for button closure. (6cm x four pieces)
2.
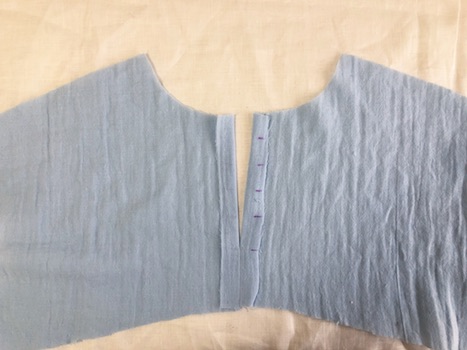
Sew together the center of the front bodies up to the opening.
3.
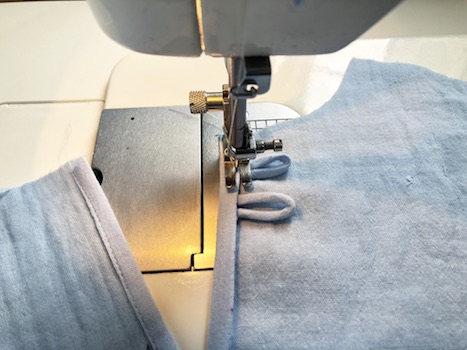
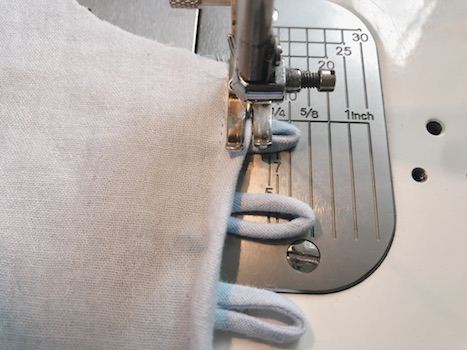
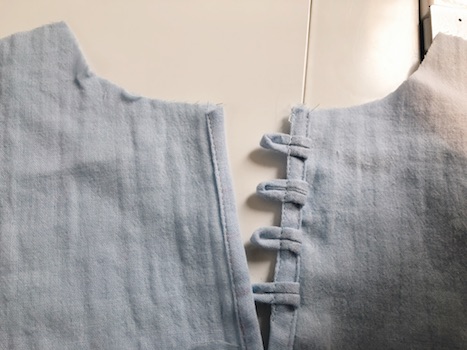
Fold the unsewn portion of the center front body in three. Place the button loop into the fold and sew. Pull up the loop and sew the edges to secure.
4.
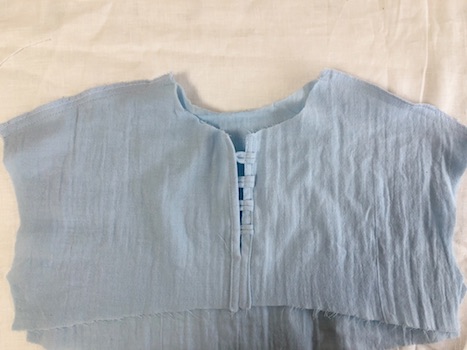
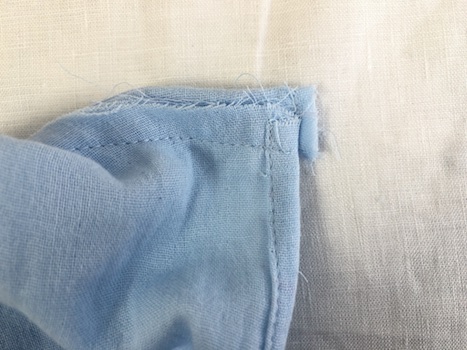
With the front sides facing each other, sew together the front and back bodies at the shoulder.Apply zigzag stitches on the seam and press it down to the back side.
5.
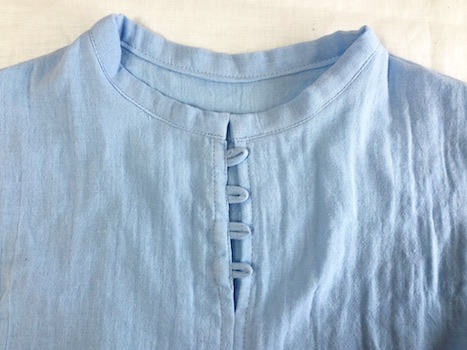
Attach the collar.
6.
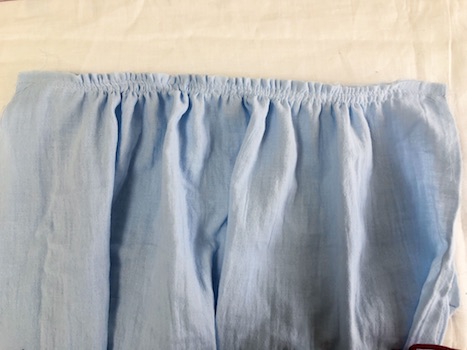
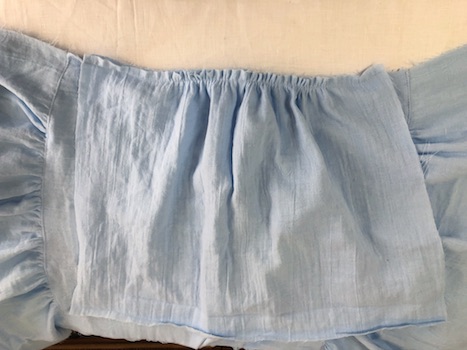
Apply rough stitches on the front and back skirts and gather the fabric. Sew together the body and skirt. Apply zigzag stitches on the seam and press down the seam to the body side Apply top stitches from the front side. Apply rough stitches on the sleeve cup and gather the fabric. Fold and iron the cuff.
7.
Attach the sleeves to the body.
8.
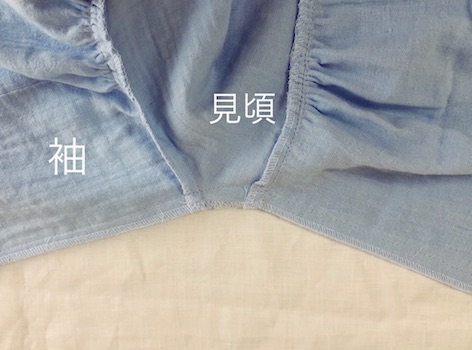
Sew together the sides, starting from the cuff to the hem. Apply zigzag stitches on the seam. Sew the cuff, leaving an opening for the elastic tape. Insert the elastic through the opening and close the opening. Fold the hem in three and sew. Attach the buttons to finish.
◎Sewing Instructions

◎Sewing Instructions (PDF format / A4 size)