Today’s project is a headdress made with mosaic from the JUBILEE collection. Stained glass-like translucent color tones of this fabric are so pretty. Familiar to this craft & sewing column, Anri has returned with her creation.
Fabric shown for this sample:JUBILEE JG44000-3 (C)
Materials:
□ Fabric: 60cm×70cm
□ Elastic tape: 10cm (2cm width)
We interviewed Anri about her creation:
Kokka Fabric (KF): What did you think of the fabric you used for this project?
Anri: It is a thin #60 lawn fabric that has many beautiful colors! It instantly reminded me of a scarf, and I wanted to create something to wear over your head. Though it is a thin fabric, with slight tension, it is manageable. Even for a project with complicated details, it is an easy to sew fabric.
KF: Can you tell us any special elements or ideas that you incorporated into this creation?
Anri: Rather than folding, a gathering technique is used to determine the width. A natural pleated detail accentuates the top. Its style is not edgy nor cutesy. I tried to make it versatile so that you can wear it every day.
KF: What are some tips for making this headdress?
Anri: The size is free, though you can change it by adjusting the length of the elastic tape for about ±0.5〜1cm.
KF: How should we use this headdress in everyday situations?
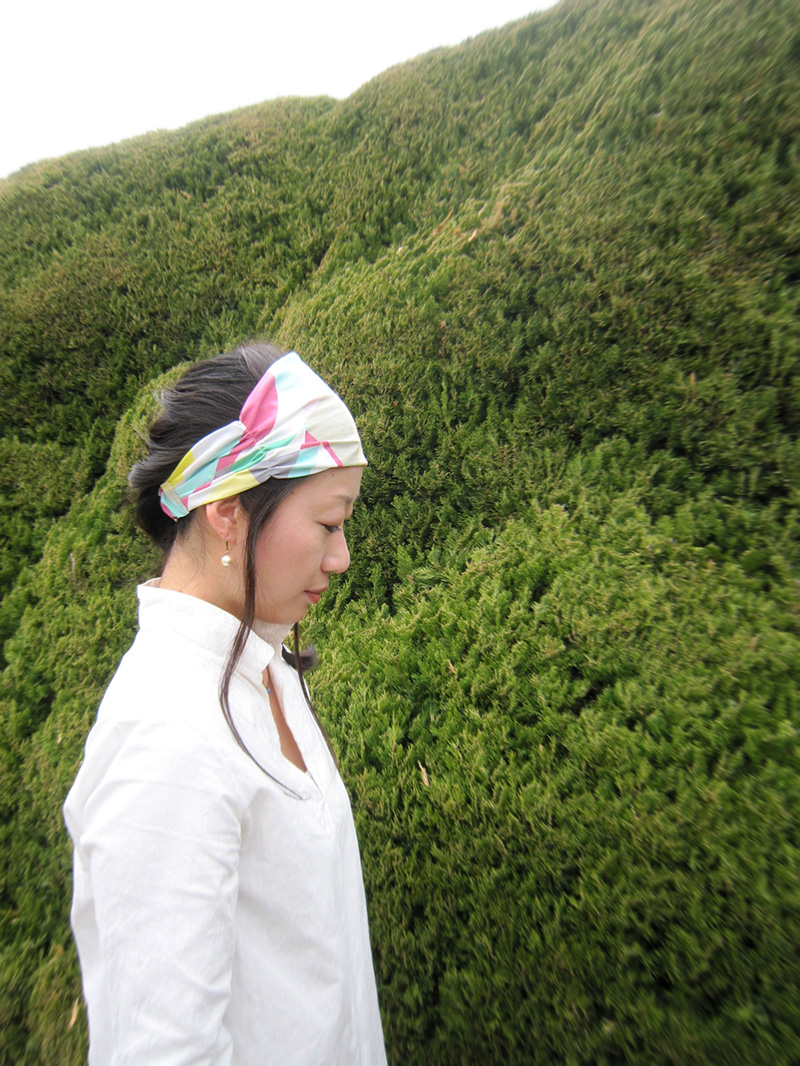
Anri: In the photo, loosely braided hair is incorporated into the headdress. You may just tie your hair with it, or you can wear it with your updo. You may casually wear it with your bob or short style hair and transform to a stylish look. A perfect hair accessory for busy housewives in the morning.
KF: Thank you very much, Anri! Here are sewing instructions along with step by step photos from her. Enjoy crafting!
How to make headdress
1.
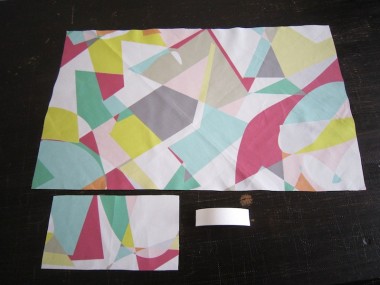
When cutting the fabric, pay attention to the design layout. The pattern in the center will stand out the most as it will appear on your forehead. So please choose the pattern that you like.
2.
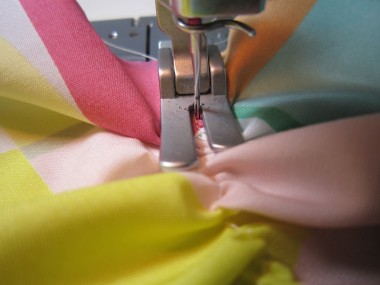
To secure the width, make a gathering. When stitching over the gathering to secure, make sure to stitch as close as possible to the stitch lines that were used to initially make the gathering. By doing this, the stitch holes, after you pull the gathering, the thread will not stand out. Please be careful not to stitch over the gathering thread.
3.
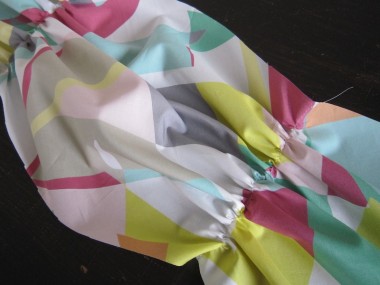
Gathering size can be flexible, though you may want to have more gathering in the center. With front/outer sides facing with each other, sew together to make a tube and turn it inside out.
4.
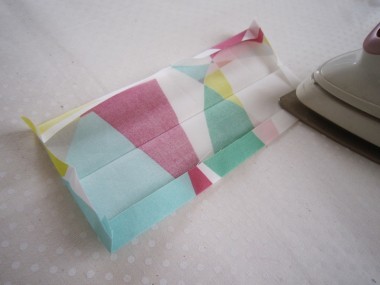
Using an iron, press the finish line on the fabric in order to cover the elastic tape.
5.
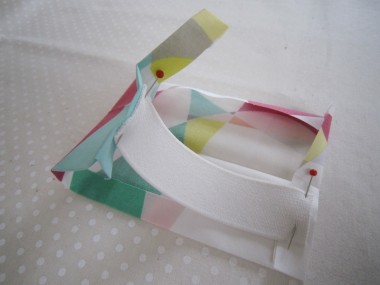
Attach the elastic tape. As you sew, you need to pull the elastic tight. Make sure to secure the end with pins. You may skip this process, however securing the tape will make the following steps easier.
6.
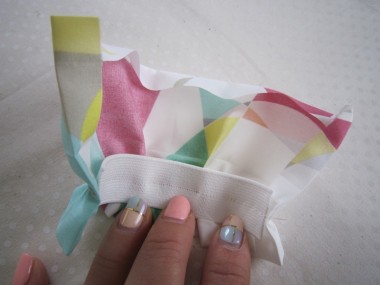
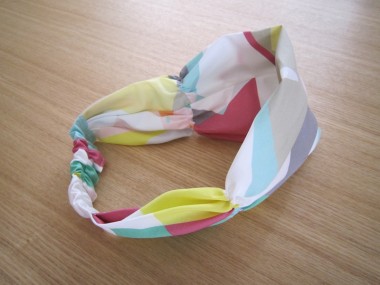
The elastic is attached now. It shrinks quite a bit. The ironing in Step 4 will be helpful in the following steps.
7.
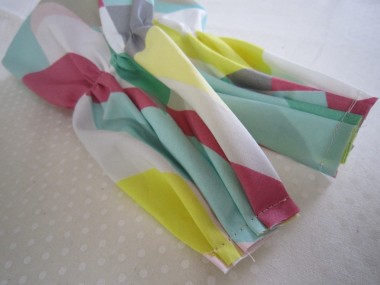
Shrink the edge of the main part to the width of the elastic. It does not need to be exact. Though the fabric is thin, try to make the thickness even. Fold it as in the picture.
8.
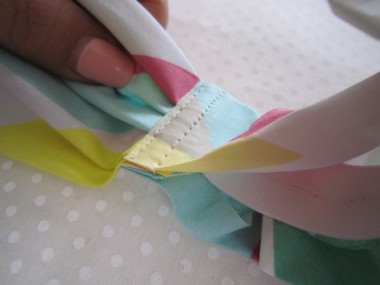
Sew all the parts together and make a loop. Overlap the end for 1cm and sew together. To secure the edge of the elastic inside, run a stitch at 7mm inward.
9.
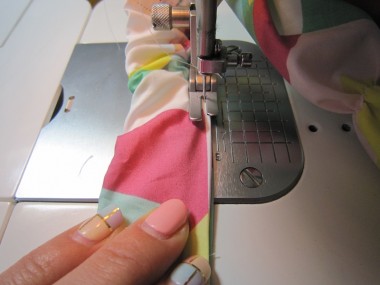
Lastly, run stitches at the edge to close as you pull the elastic.


 Rose corsage in a double gauze fabric
 Gathered “Cashe coeur” Bag
 Garden Apron