
Today’s project is a garden apron using Colorful Bouquet, a gorgeous print fabric full of colorful flowers. Known for her works with stylish taste, a popular craft artist, Anri is here again. With this apron, your gardening moments under sunshine will be a lot of fun!
Fabric shown for this sample:Real Flower P29300-300 (B)
Materials:
□ Fabric: 80cm (110cm width)
□ Interfacing: 10cm (110cm width)
□ Adhesive tape: 50cm (1cm width)
□ Twilled cotton tape: 1.5m (3cm width)

We interviewed Anri about her creation:
Kokka Fabric (KF): What did you think of the fabric you used for this project?
Anri: It is an oxford fabric with the right thickness, suitable for both clothing and everyday items. It has a very realistic flower print! Initially I thought of using it for a pocket or use it as a main portion with a pocket in a different fabric. Since the colors on the fabric are so vibrant and beautiful, I decided to use it boldly, covering the entire apron.
KF: Can you tell us any special elements or ideas that you incorporated into this creation?
Anri: Though I thought of making it more casual by adding a different piece of fabric, the edge of the fabric was left as-is, making the piece more western. When looking at it from the back, the line in unbleached color of the base fabric accentuates the look.
KF: What are some tips for making this apron?
Anri: The pattern is large and vivid, yet it is repeated quietly with small intervals. So I did not think matching the patterns was necessary. What is important for a fabric with large patterns is to select the appropriate color threads. Since the sewing requires many top stitches, uneven stitch lines stand out where motif colors are different from the thread.
KF: How should we wear this apron? Can you share a coordination advice?
Anri: I added a loop to hold a pair of garden scissors. This is something that I, as a gardener, have always wanted while gardening. The loop is also useful as a pen hook. Be creative and place it for other convenient purposes as well.
KF: Thank you very much, Anri! Here are sewing instructions along with step by step photos from her. Enjoy crafting!
How to make Garden Apron
1.

Since aprons are frequently washed, the pleats are secured with stitches. For that reason, the hem will be sewn first, unlike other projects where you sew the hem last.
2.
Make the pockets. When sewing the pocket opening, sew all the way to the end, not just on the seam. When seen from the front, the stitch will look seamless, continuing from the stitches on the pocket.
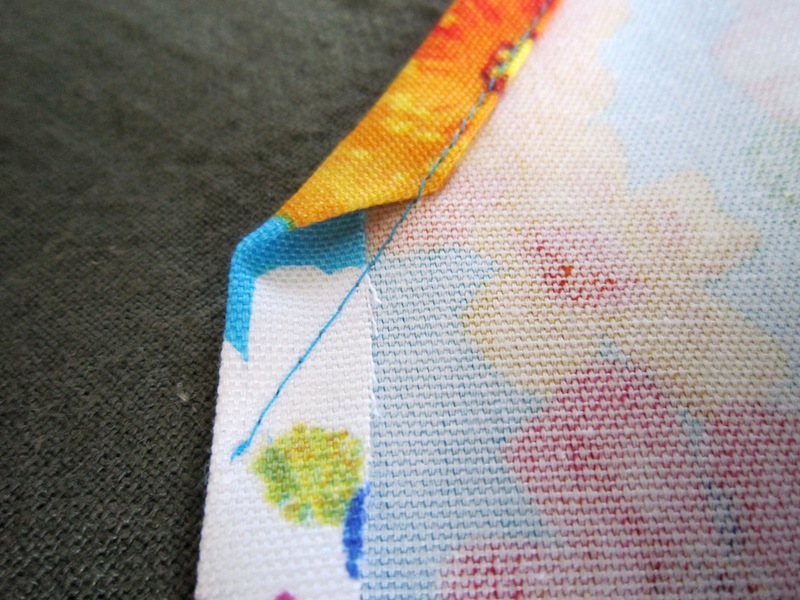
3.
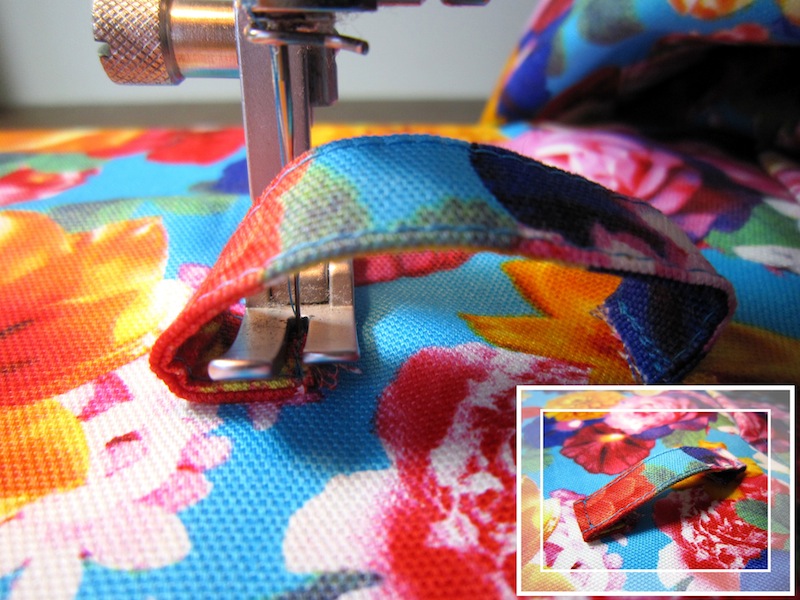
Add the loop. It may be slightly difficult to sew, and secure the loop’s edge first as shown. By doing this, the finish will look clean, and they won’t get caught when wearing the apron.
4.
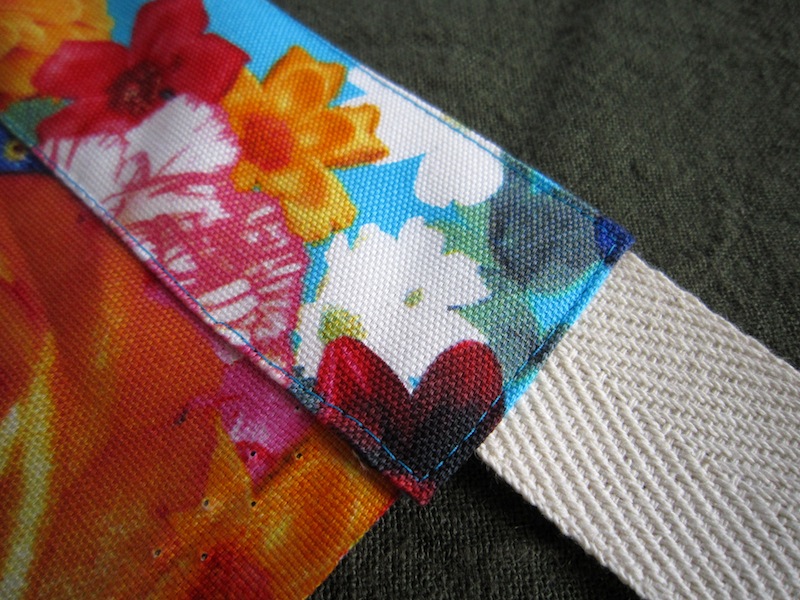
The belt is now sewn to the main fabric. You may attach it all at once. Let me share how I did it.
Align the reverse side of the main fabric and the front/outer side of the belt inside. Run stitches slightly inside the score line of the seam. Flip the belt over. Pin it and run stitches on the front/outer side of the belt. Just like the piping, this method prevents the lining to be unaligned.
5.
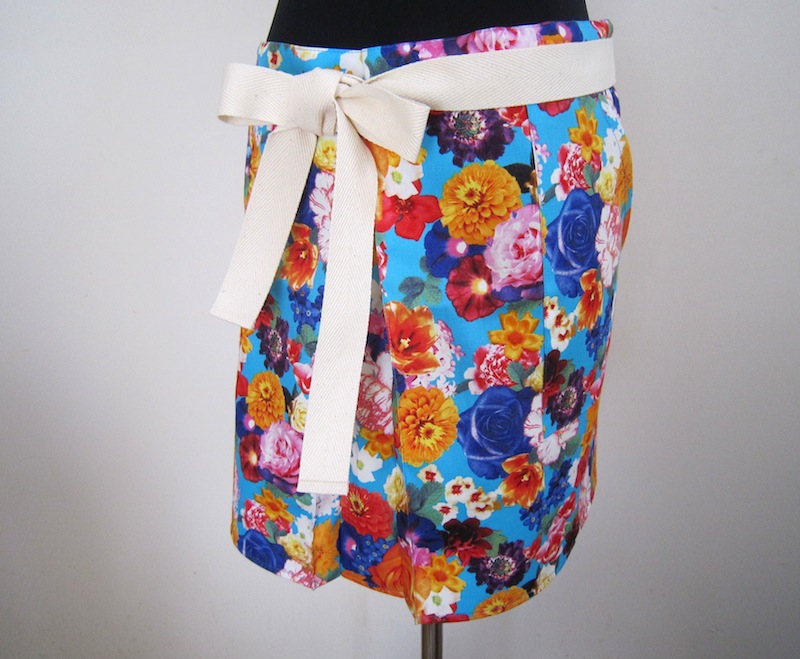
Voila! With the pleats, the rectangular shapes naturally opens up, without limiting your movement.

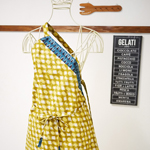 Single Shoulder Strap Apron – Sewing Instructions
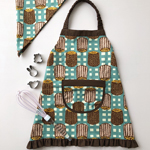 Kid’s Apron and Head Scarf Sewing Instructions
 Gathered Skirt for Kids – Sewing Instructions