
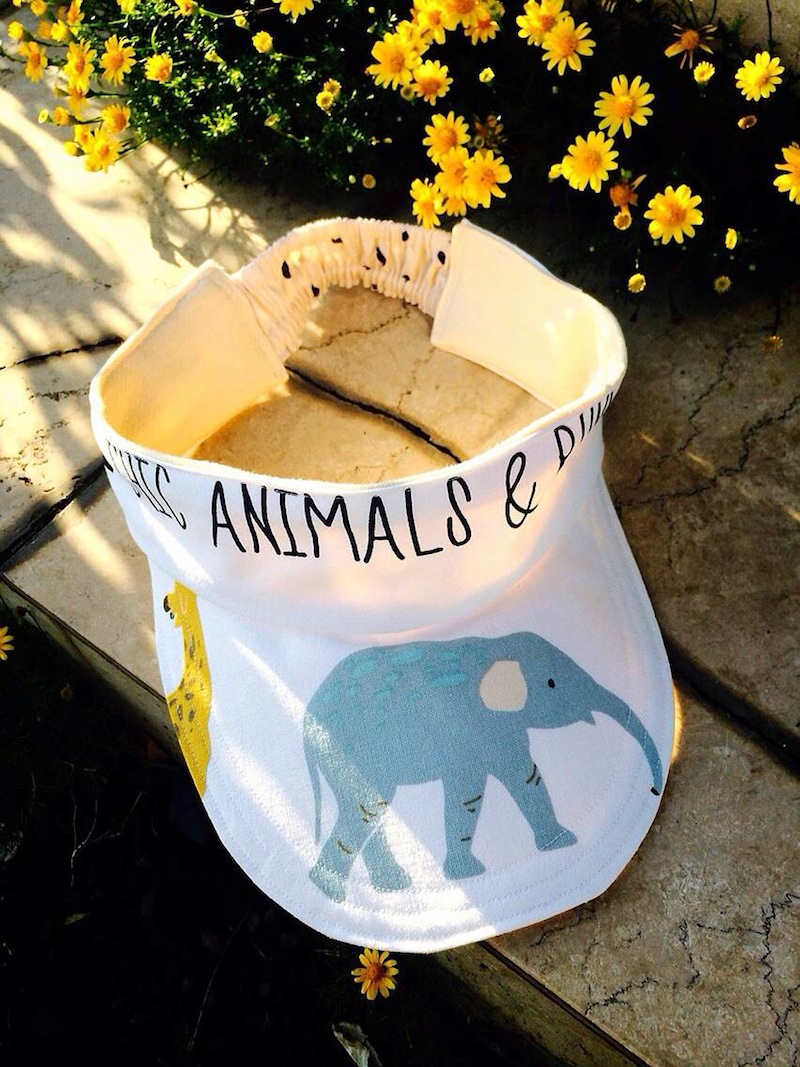
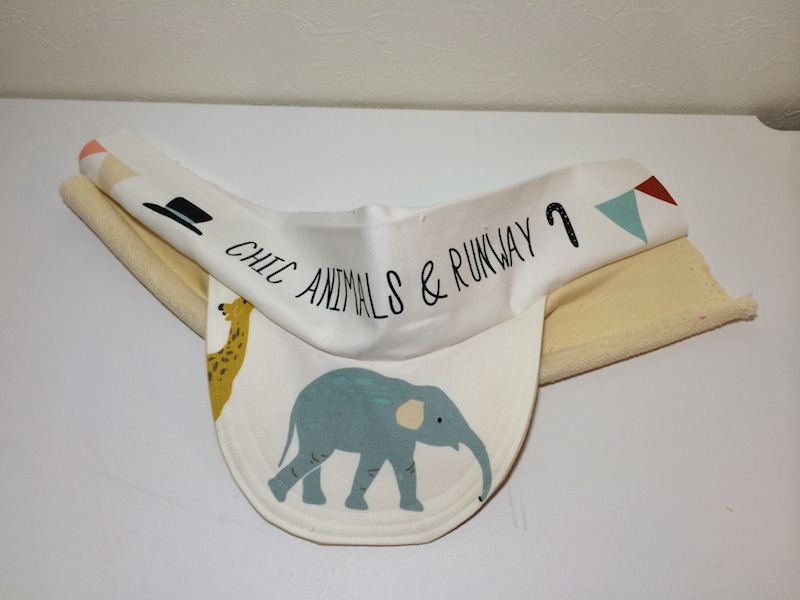
A joyful fashion show featuring animals is a theme of the Animal Runway series of fabric. Today’s project, a sun visor, uses an elephant motif from this fun fabric. The design features English letters right on the back band. Our regular craft artist, Masumi Saito, aka sinafuku, has returned.
Fabric shown for this sample:animal runway HFG-102 (1A)
Materials:
□ Fabric: (Outer fabric) 30cm×50cm
(Lining fabric –knit) 50cm×30cm
(Fabric for threading elastic tape) 20cm×10cm
□ Interfacing: 30cm×30cm
□ Elastic tape: 30cm(1cm width)
We interviewed Masumi about her creation:
Kokka Fabric (KF): What did you think of the fabric you used for this project?
Masumi Saito (MS): It is a solid and thick fabric, which I thought is normally suited for a bag or interior décor item. I wanted to take this opportunity and decided to come up with a project that uses a charming design as an accent.
KF: Can you tell us any special elements or ideas that you incorporated into this creation?
MS: For the interfacing on the brim, make it appropriately solid. Adding three lines of stitches also reinforces its strength. I intentionally did not add a cardboard on the brim. Since visors are heavily used in the summertime, I wanted it to be washable in a household washing machine without using a paper cardboard.
KF: What are some tips for making this sun visor?
MS: When sewing the brim part and the band together, align the curb to the straight band and pull it slightly as you pin it. It will help to have a clean finish.
KF: How should we wear this visor?
MS: It is easier to make this than you think. I hope you will make a matching visor for your children. Just adjust the brim size smaller and shorten the band.
KF: Thank you very much, Masumi! Here are sewing instructions along with step by step photos from her. Enjoy crafting!
How to make Sun visor
1.

Cut the fabrics. Use a pattern for the brim.
2.
On the reverse side of the outer brim fabric attach the interfacing. With the outer sides facing each other, sew together with lining fabric.
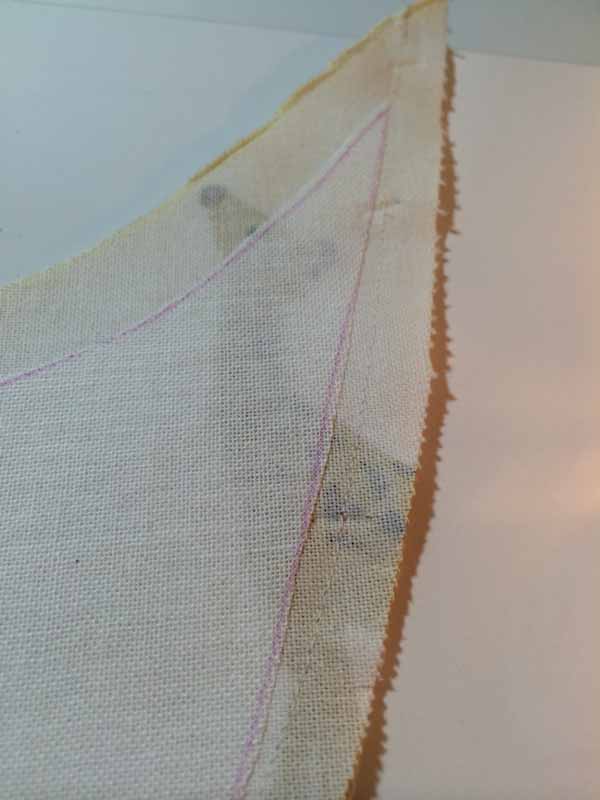
3.

Before turning it inside out, cut a slit on the seam so that it will have a clean finish when turned over.
4.
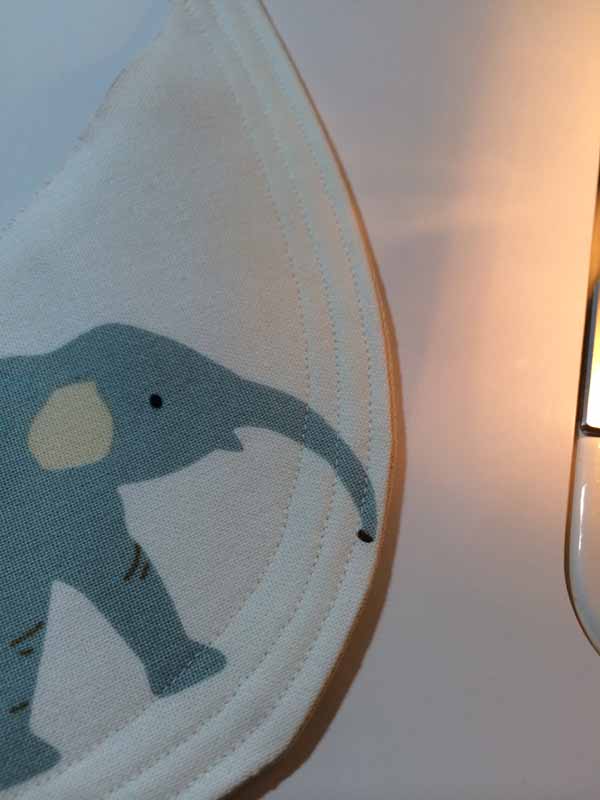
After turning it inside out, align the shape and run three stitches at the edge at 0.5mm interval.
5.
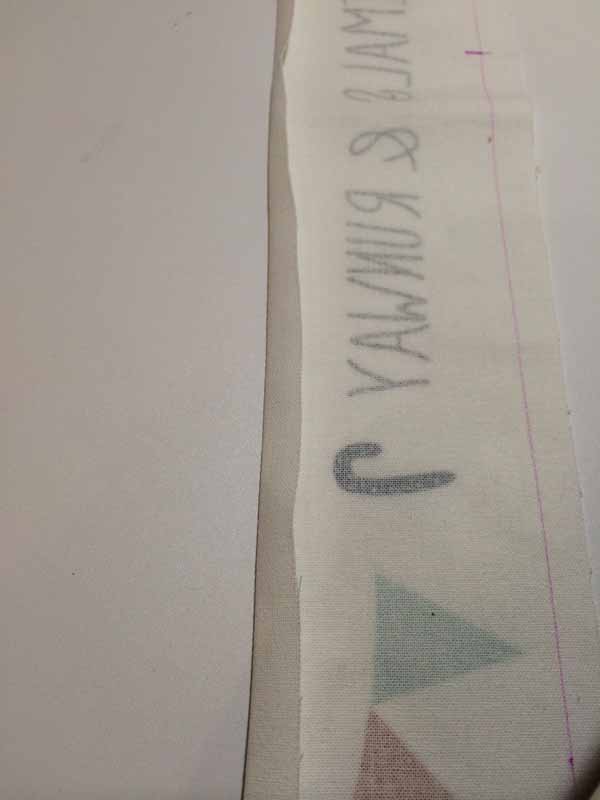
Fold the top side of the band for 1cm and iron to score.
6.
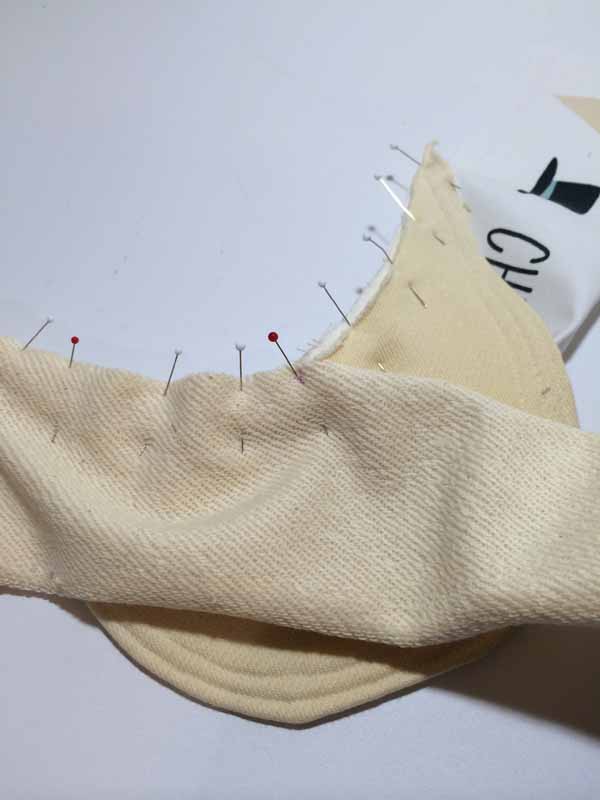

With outer sides facing each other, put together the outer and lining fabrics for the band. Align the center and insert the brim portion in between the band fabrics. Sew with a 1cm seam.
7.
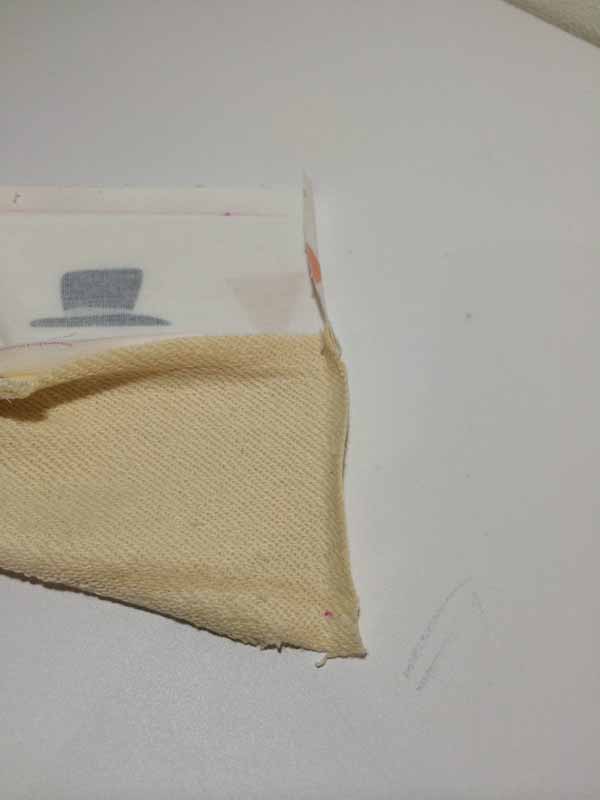
Fold both edges of the band fabric for 1cm and iron to score.
8.
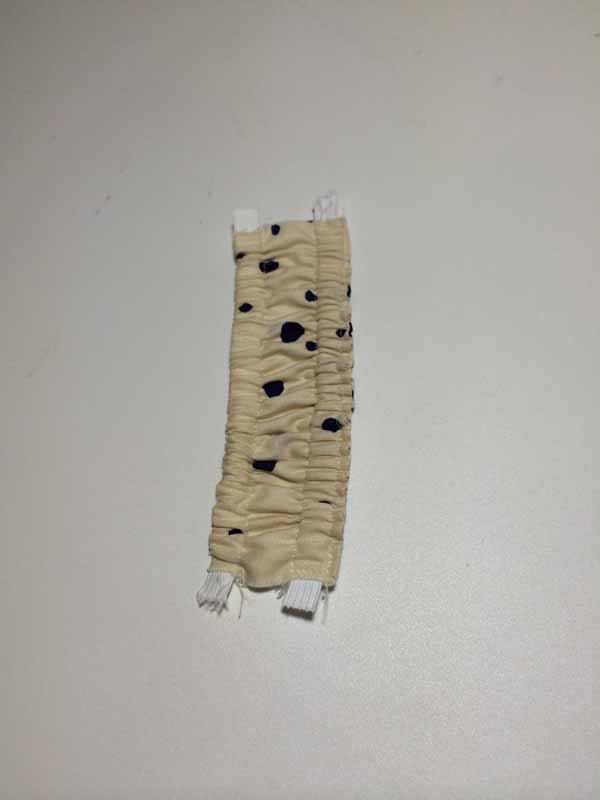
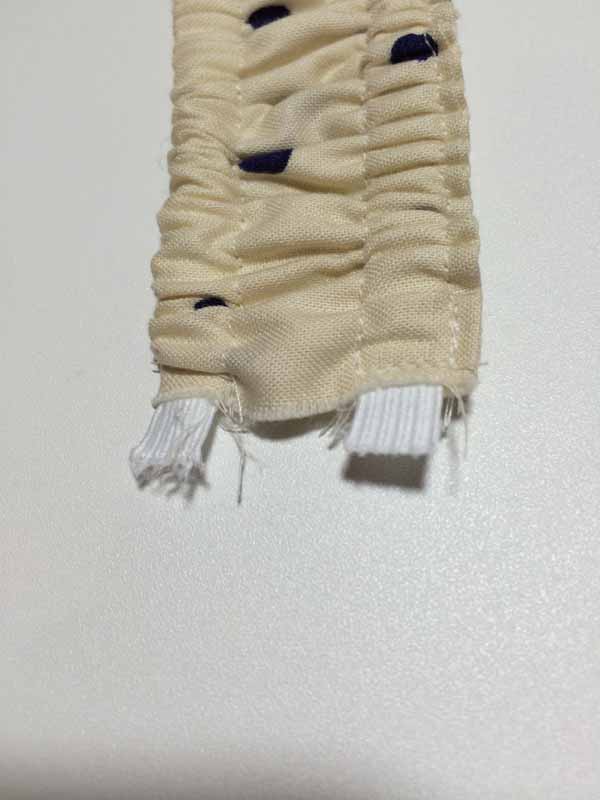
With outer sides facing each other, fold the fabric for elastic tape. Sew with a 1cm seam. Turn this tube inside out and run a stitch at 1cm from the edge. Put the elastic tape through the opening (both sides). In order to avoid the tape to pull out, have the tape go over for about 1cm at the edge and sew over.
9.
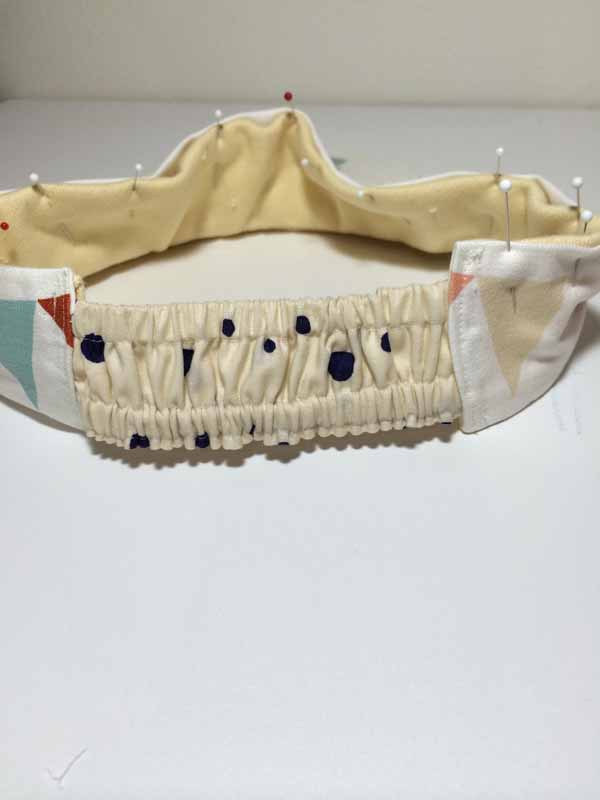
Put the elastic fabric from Step 8 in between the band for about 1cm and sew together (to make a loop).
10.

Run stitches at the top of the band to finish!

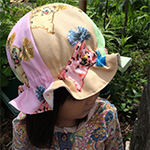 Six-patch hat for kids
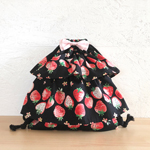 Frilled Drawstring Backpack Sewing Instructions
 Two-Way Skirt