
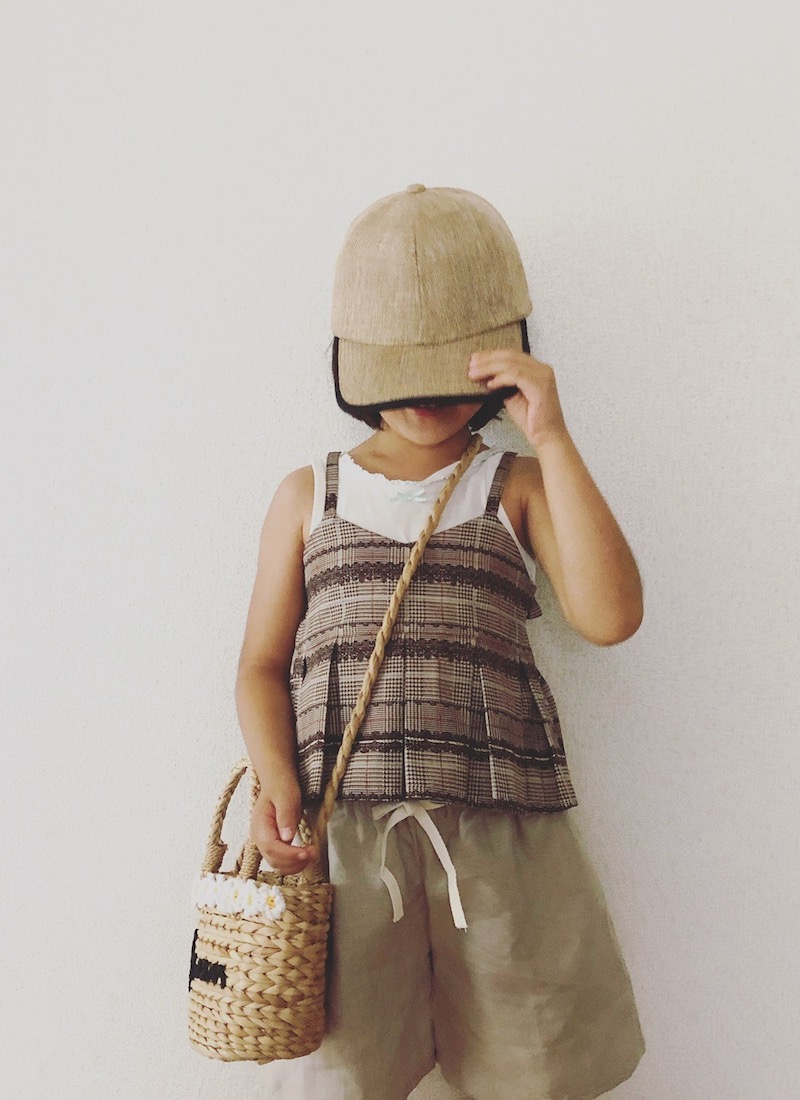
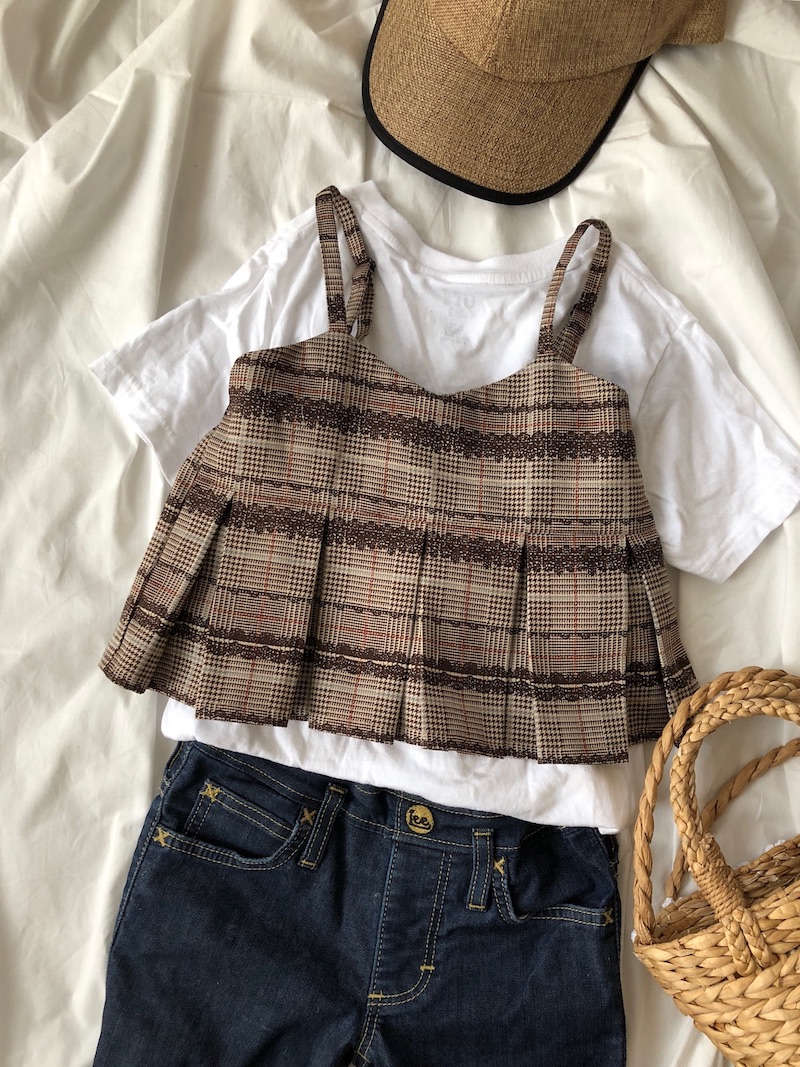
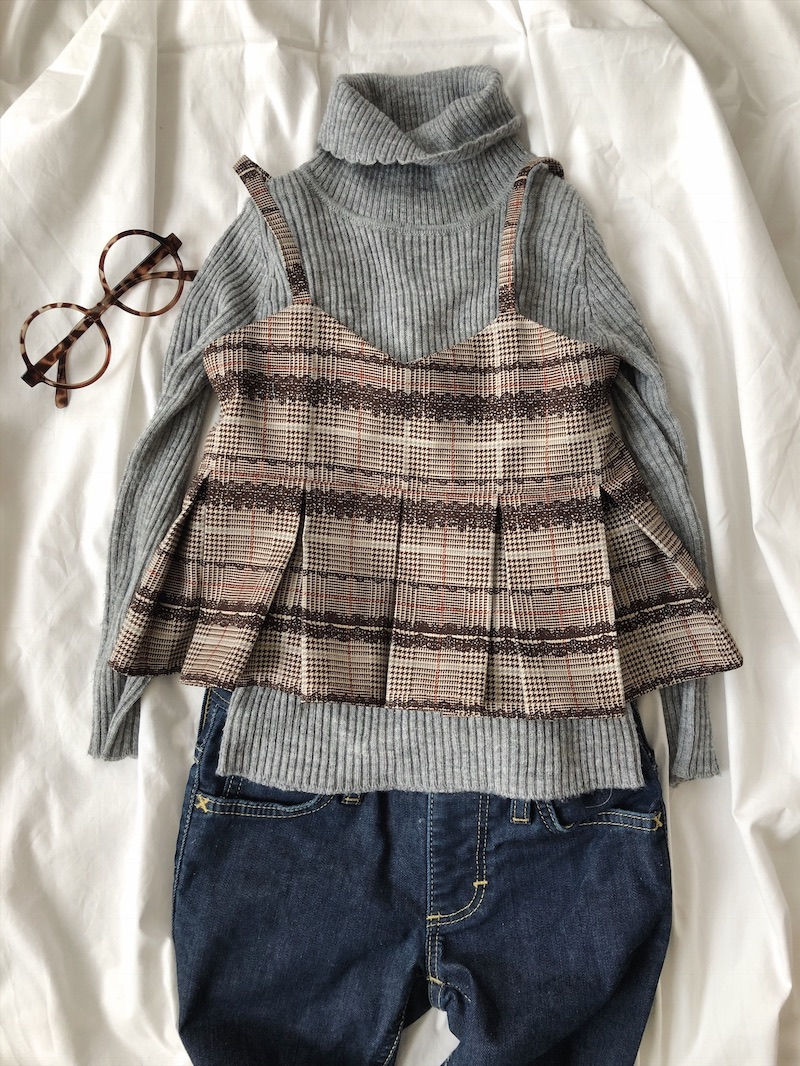
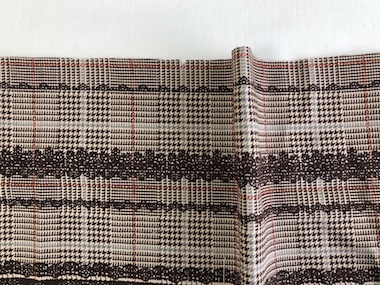
For kids, why not try making a bustier-style tops. It’s a trendy item rapidly gaining in popularity, and can be enjoyed for all seasons. It’s a must-have-item for fashion conscious kids. In summer, layer it with a T-shirt as a standard style, or make it look a little mature in autumn by wearing a long sleeve shirt underneath. The featured fabric is from the Gothic Lolita series in cute traditional plaid and lace print combination.
Fabric shown for this sample: LO36060-2D
Materials:
□ Fabric: 110cm wide x 50cm
□ Elastic tape: 30cm (1cm wide)
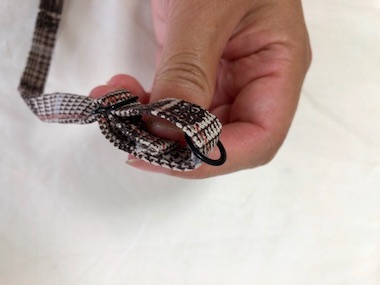
□ Buckle, O ring: 2 pieces each (1cm inside diameter)
*All Rights Reserved. Please refrain from the unauthorized use of project photos.
We interviewed Naomi about her creation:
Kokka Fabric (KF): What did you think of the fabric you used for this project?
As the name Gothic Lolita represents, the combination of classic plaid and sweet lace print create a fresh and lovely look. This twill material has a thickness yet is soft and easy to sew.
KF: Can you tell us any special elements or ideas that you incorporated into this creation?
I came up with an easy pleat making process by utilizing the spacing between the plaid design. To make the size flexible, an adjuster is attached to the shoulder strap and elastic on the back waist. Adding an adjuster makes this skirt look like a ready-made product.
KF: What are some tips for making this bustier?
It has many square parts. Make sure to align the plaid design and cut along the plaid lines.
KF: How should we incorporate this bustier-style top into one’s styling?
Pair it with a simple T-shirt or plain cotton jersey shirt, and you are instantly in style. It can also go well with a pair of denim, wide-cut pants or shorts. For fall and winter, enjoy it by mixing and matching with a knitwear.
KF: Thank you very much, Naomi! Here are sewing instructions along with step by step photos from her. Enjoy crafting!
Instructions
1.
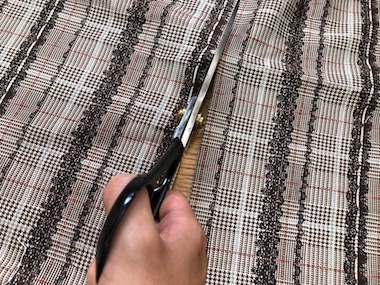
Cut the fabrics. Apply zigzag stitches on the hem of the chest facing and front and back bodies.
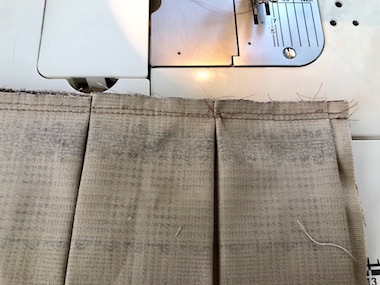
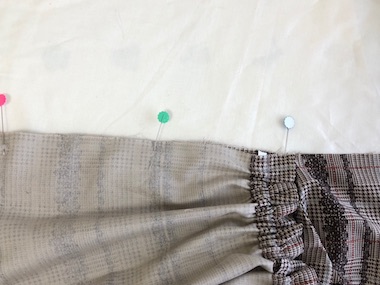
2.


Using an iron, crease the front body to create pleats. Baste at 0.7cm from the top, using the machine.
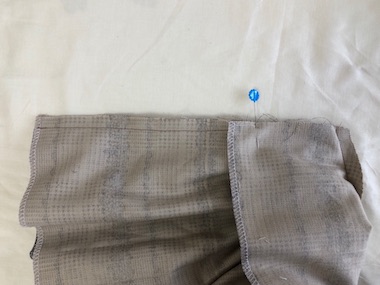
3.
With the front sides facing each other, sew together the chest and pleats.
4.
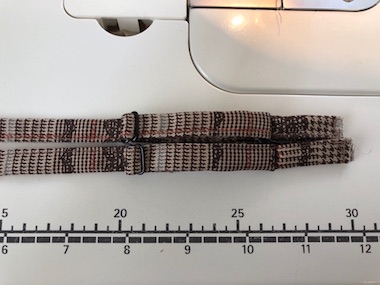
Baste the shoulder strap to the chest, using the machine.
5.

Sew together the chest and facing. Cut a slit in the center of the chest. Turn it over and align the shape using an iron.
6.

Sew together the back body and facing, with shoulder straps placed in-between.
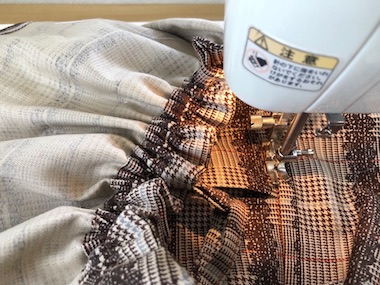
7.
Layer the front body, back body and chest facing and sew together. (Be carful not to accidentally sew together the pleats.) Apply zigzag stitches on the seam.
8.
Press down the transition of the front body using top stitches from the front side.

 Cache Coeur Wraparound Dress
 A-Line Reversible Dress – Sewing Instruction
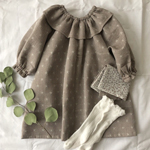 Dress with Clown-Style Collar Sewing Instructions