
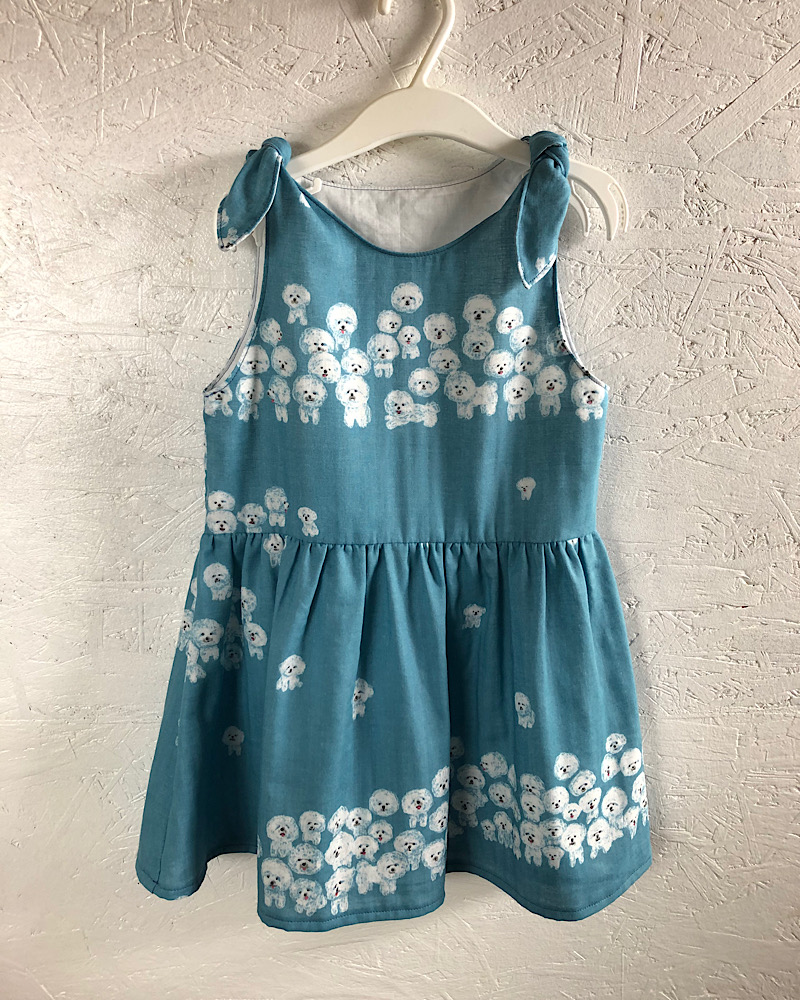
This kid’s dress has a cute design with ribbons tied at the shoulder. Covering the entire fabric is “Bichon Frise,” popular white, round and fluffy dogs. The fabric is from the “kotorinuno” series. This is a textile brand featuring a drawing by trikotori who is well known for her creations, “Dobutsu (Animal) Pom Pom.” Made of 100% cotton, it is a softly woven double gauze, making it comfortable to wear. This dress will be perfect for the coming season.
Fabric shown for this sample:trikotri EKX-2130-2A
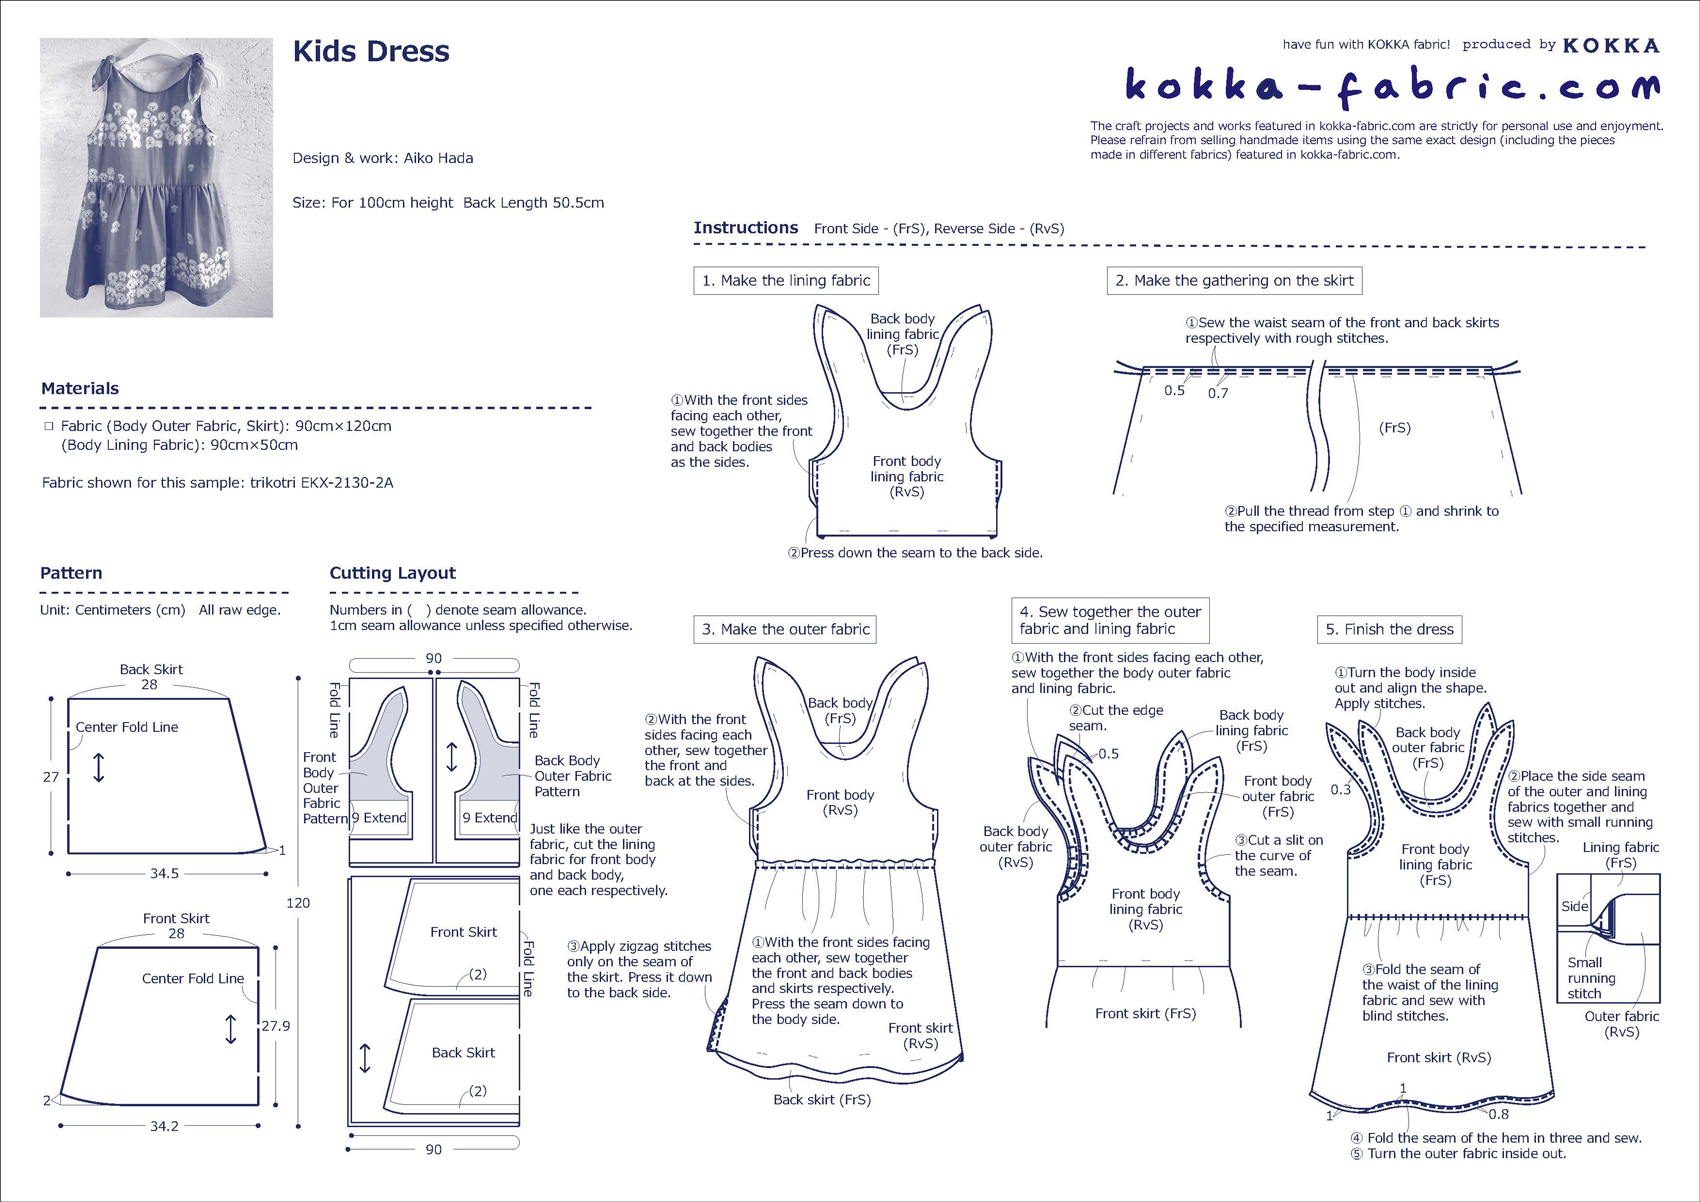
Materials:
□ Fabric (Body Outer Fabric, Skirt): 90cm×120cm
(Body Lining Fabric): 90cm×50cm
Size: □ Fabric (Body Outer Fabric, Skirt): 90cm×120cm
(Body Lining Fabric): 90cm×50cm
We interviewed Aiko about her creation:
Kokka Fabric (KF): What did you think of the fabric you used for this project?
It’s so cute! This is an adorable fabric with a pure white, fluffy dog staring at you. Taking advantage of the softness of the double gauze fabric, I created a design that allows for delicate drapes.
KF: Can you tell us any special elements or ideas that you incorporated into this creation?
This is a one-piece dress with a ribbon tied at the shoulder as an accent. I had a lot of fun making this dress, wondering where to place the patterns to create a lovely look.
KF: What are some tips for making this dress?
I think it is a good idea to have a little extra fabric on hand so that you can arrange the motifs as you like when matching patterns.
KF: How should we incorporate this dress into one’s styling?
As the pattern is so striking, you can just wear it on its own and look stylish! On a chilly day, you may wear it with a long sleeve shirt underneath.
KF: Thank you very much, Aiko! Here are sewing instructions along with step by step photos from her. Enjoy crafting!
Instructions
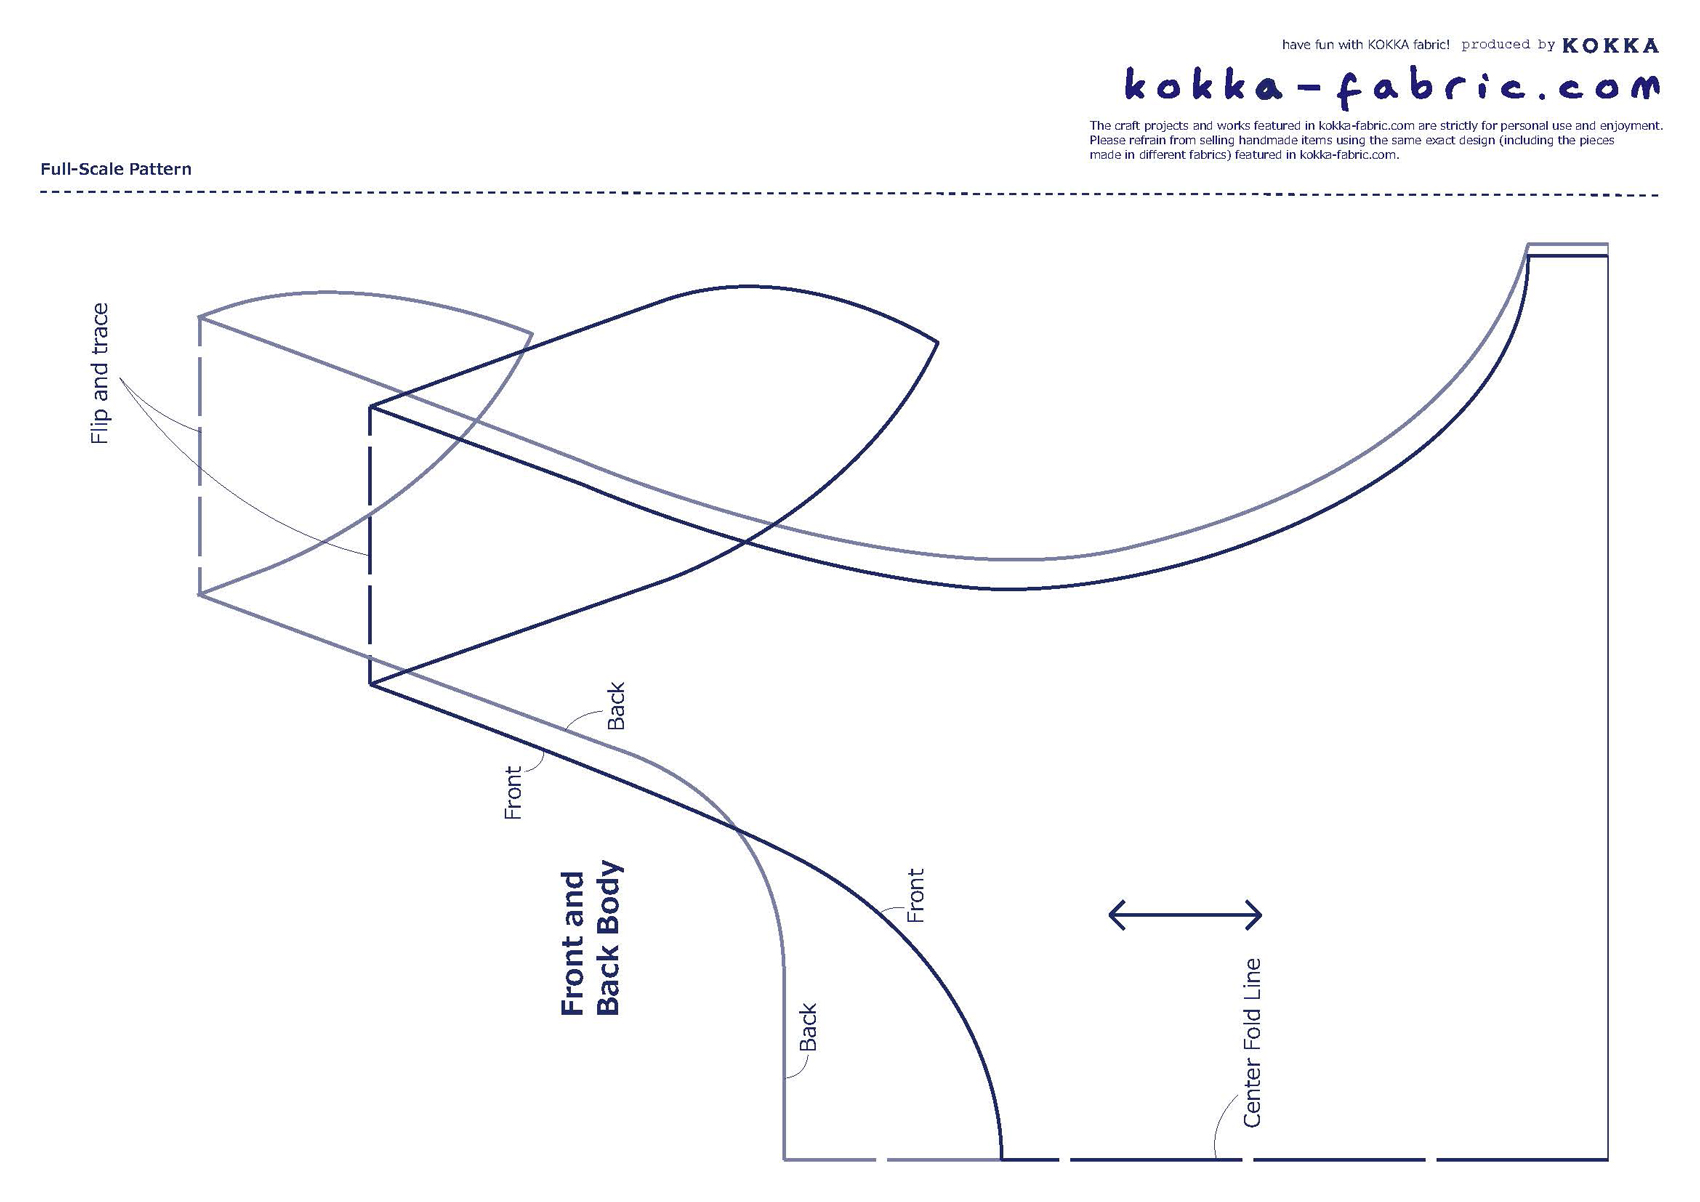
1.
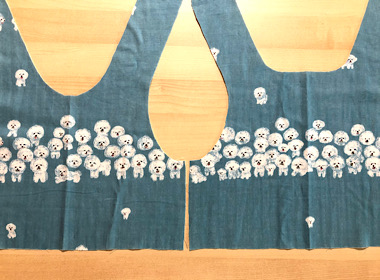
The fabrics pieces are cut. First work on the front pattern placement, and then the back portion is cut together by aligning the sides.
2.
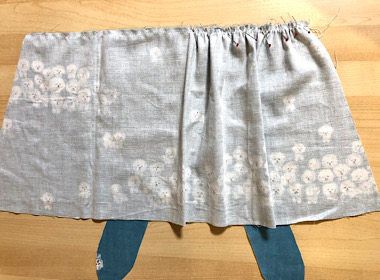
The fabric is pulled to create the gathering. It’s easy to do if you match the center, and pull a little at a time on the right and left alternately.
3.
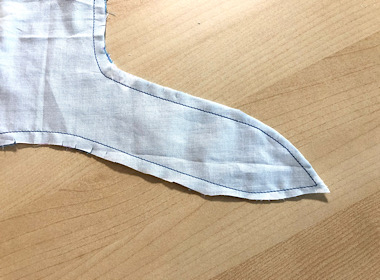
The lining portion is sewn and the curve is being cut. In order to avoid the uneven look of the ribbon edge when turned inside out, it is best to cut the excess seam allowance for a clean finish.
4.
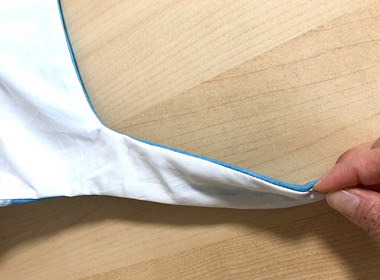
The lining is now sewn and it is turned inside out. Before stitching, iron to align the fabric while pulling out the fabric using a needle.
5.
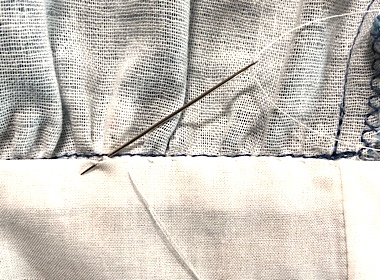
This is where the lining is hand-sewn. To prevent the seam from showing, scoop up the fabric on the seam allowance side and sew.
◎Sewing Instructions (PDF format / A4 size)

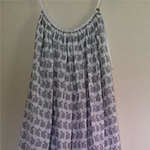 Cami dress in double gauze fabric
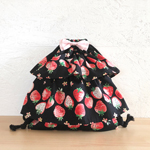 Frilled Drawstring Backpack Sewing Instructions
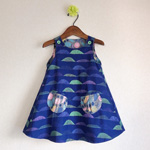 A-Line Reversible Dress – Sewing Instruction