
A must-have item for kindergartens and school children, this drawstring style lunch bag features a fabric from the Smile Time series that is filled with delicious dishes like kid’s special lunch plate and onigiri rice balls. An easy to sew cotton 100% oxford material gives peace of mind for sewing beginners. Why not attach a kid’s favorite food motif at the end of the drawstring? It will make the bag doubly cute!
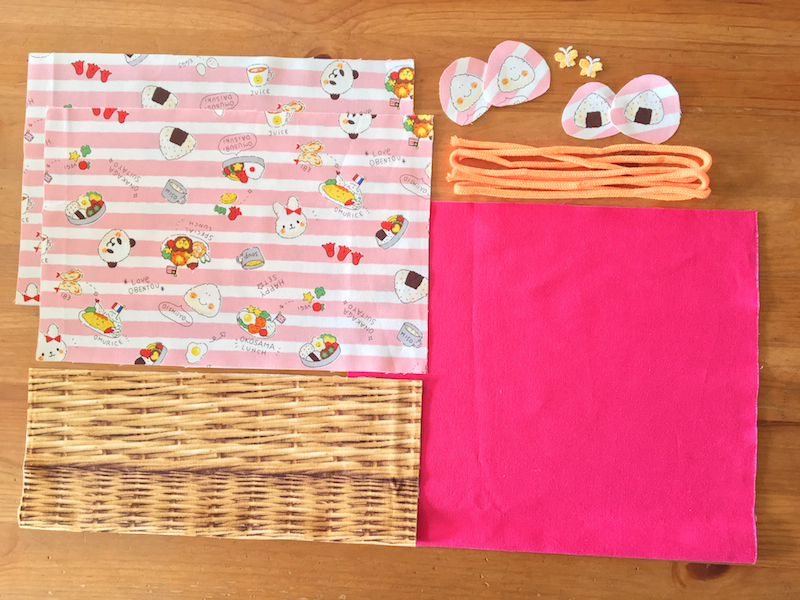
Fabric shown for this sample: (Bag Panel, Handle)LO39060-2B
(Bottom fabric)H-3020-1A
Materials:
□ Fabric (Bag Panel, Handle): 70cm×20cm
(Bottom fabric): 29cm×24cm
(Lining fabric): 29cm×50cm
□ Drawstring: 120cm round cord (1.5cm diameter)
□ Cotton filling
□ Embellishment of your choice

*All Rights Reserved. Please refrain from the unauthorized use of project photos.
We interviewed Ruka about her creation:
Kokka Fabric (KF): What did you think of the fabric you used for this project?
It features such lovely designs of Japanese bento boxes. When I saw it, I immediately wanted to make a lunch bag for a bento lunch box.
KF: Can you tell us any special elements or ideas that you incorporated into this creation?
Each and every design is lovely. The cutout of the onigiri rice ball is attached as a pull for the drawstring, making it easy for kids to open and close the bag.
KF: What are some tips for making this bag?
Because of the process, it does not require finishing the edges. The whole bag is made as one piece, and the outer bag is pulled out from the opening. You may find it difficult at first, but once you learn the process, you may want to keep making more.
KF:How should we use this bag in everyday situations?
Why not fill it with a bento (lunch) box and taking it with you for a picnic or an outing to the zoo or amusement park? Pick a dish from the fabric’s design and include it in your bento. By telling your child, “It’s the same dish as featured in your bag!,” you can create a fun eating moment with your child. It is also a good idea to use it as a snack bag for your walking.
KF: Thank you very much, Ruka! Here are sewing instructions along with step by step photos from her. Enjoy crafting!
Instructions
1.
Prepare the materials.
2.

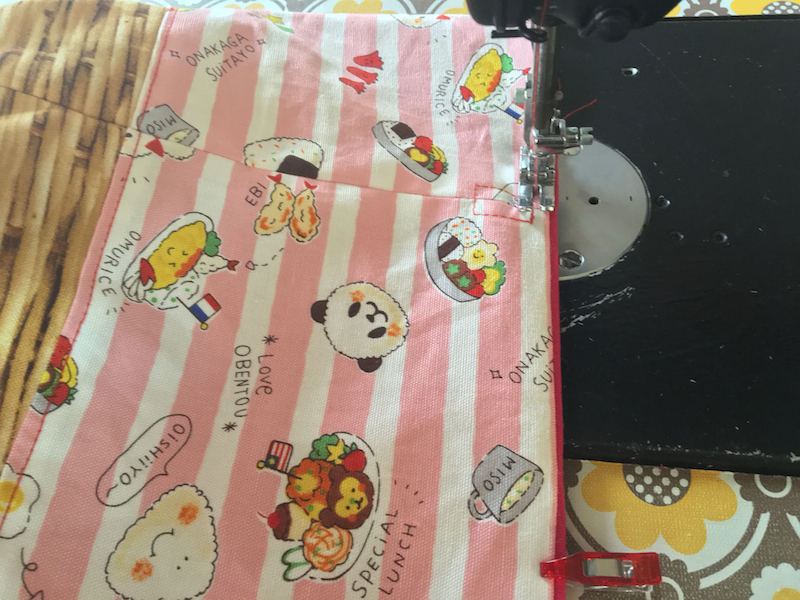
Piece together the bag panel and bottom fabrics.
3.

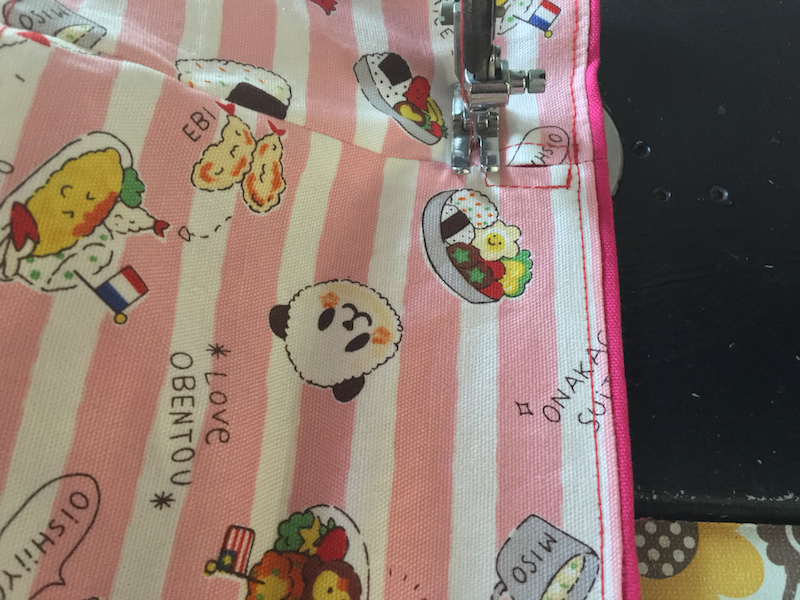
Turn it over and apply understitching. After that, with the front sides facing each other, fold in half. Sew both sides, leaving an opening for the drawstring.
4.
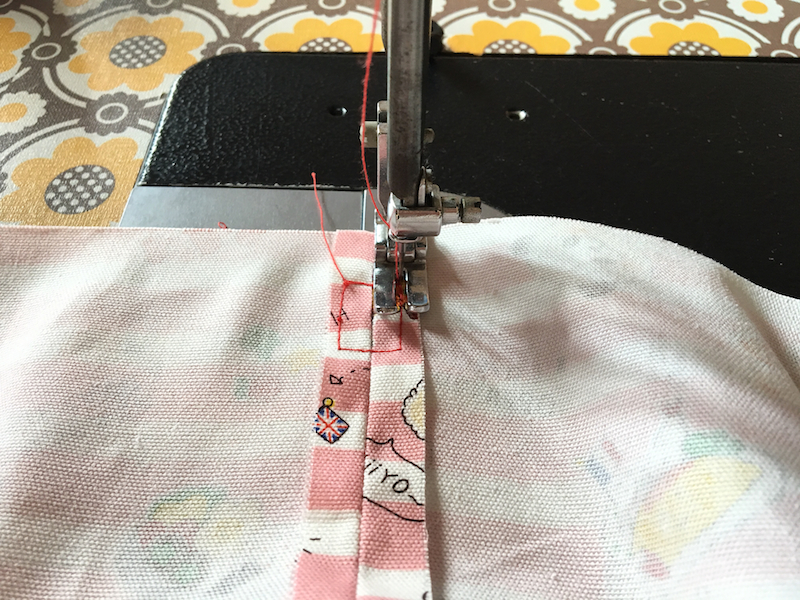
Press the seam open. Apply stitches in a square around the opening for the drawstring.
5.
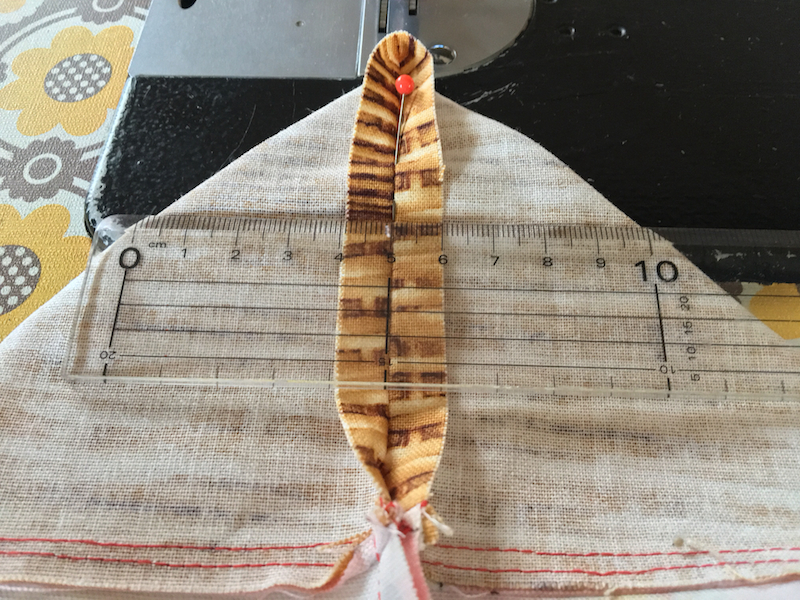
Fold the bottom corner in a triangle and sew the gusset. Repeat the process for the lining bag.
6.
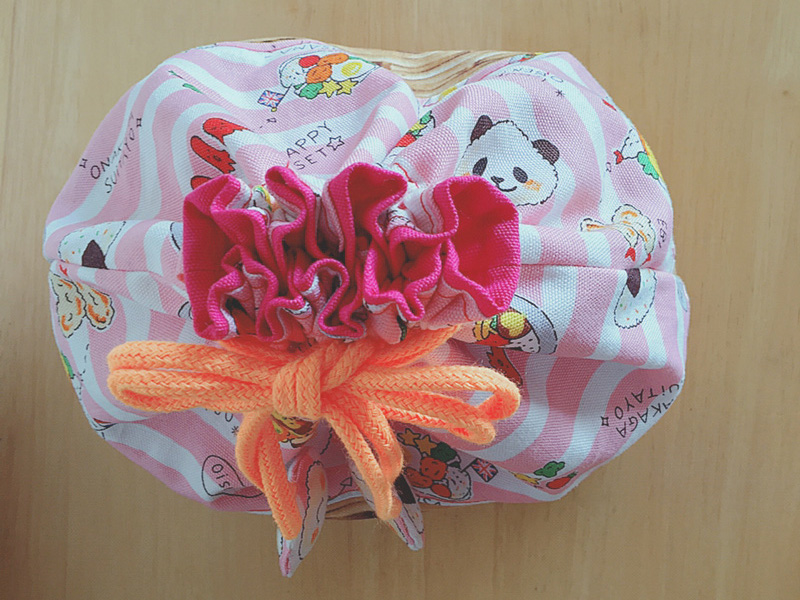
With the front sides facing each other, layer the outer and lining bags and sew together at the top opening, leaving an opening for turning. Using the opening, turn the bag inside out. Sew the opening for the drawstring. When doing this, pull up the lining fabric for about 0.5cm. This way, it looks cute when the bag is closed with the lining bag’s color showing.
7.

Put through the drawstring. It will be easy if you use a safety pin.
8.
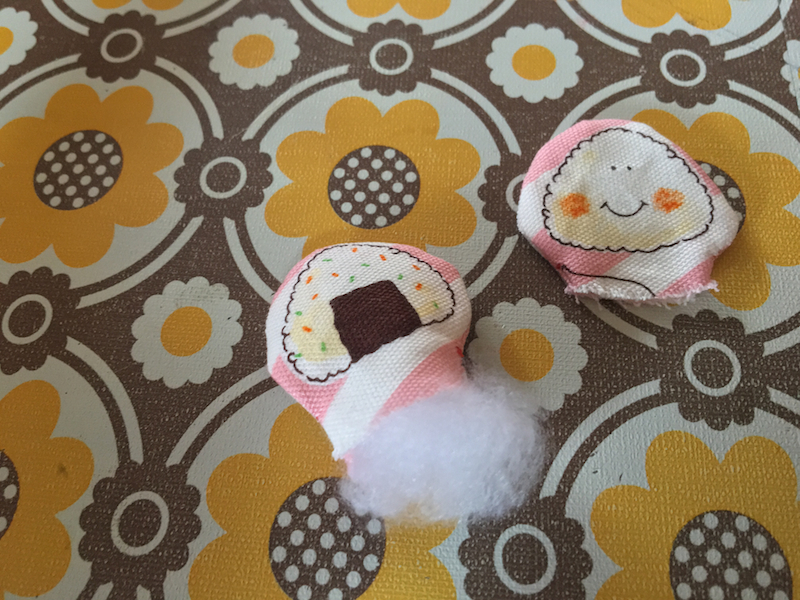
Cut out the onigiri (rice ball) motif. With the front sides facing each other, sew together. Turn it inside out and stuff it slightly with cotton filling.
9.
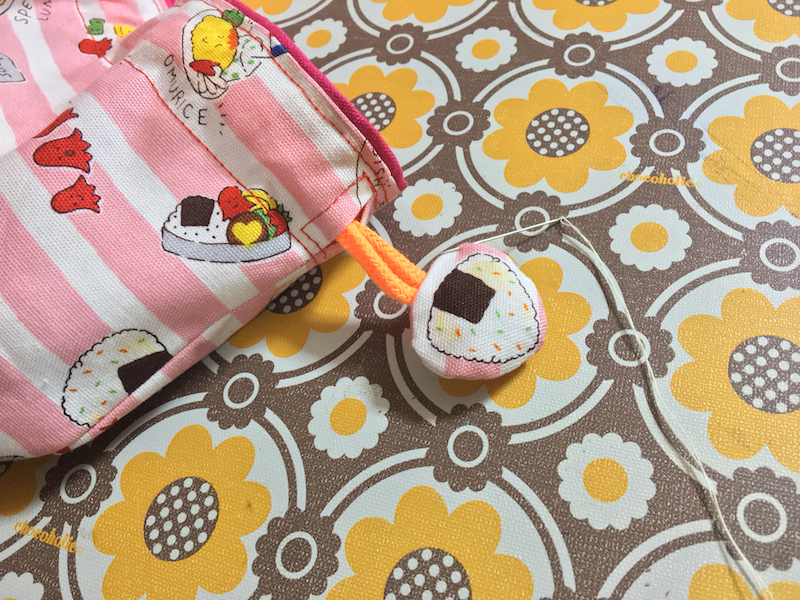
Put the motif over the end of the drawstring and sew to secure.

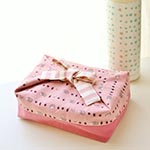 Lunch Bag
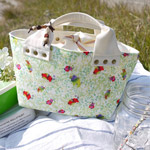 Lunch Bag
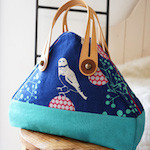 Triangular Boston Bag