
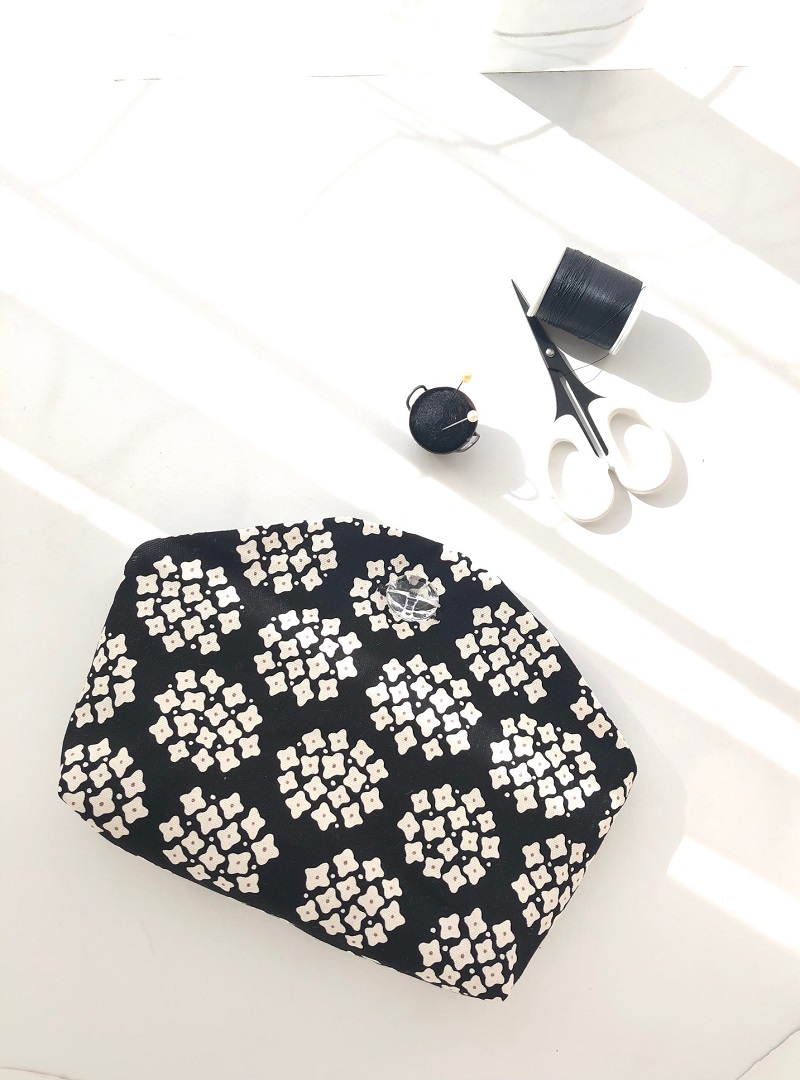
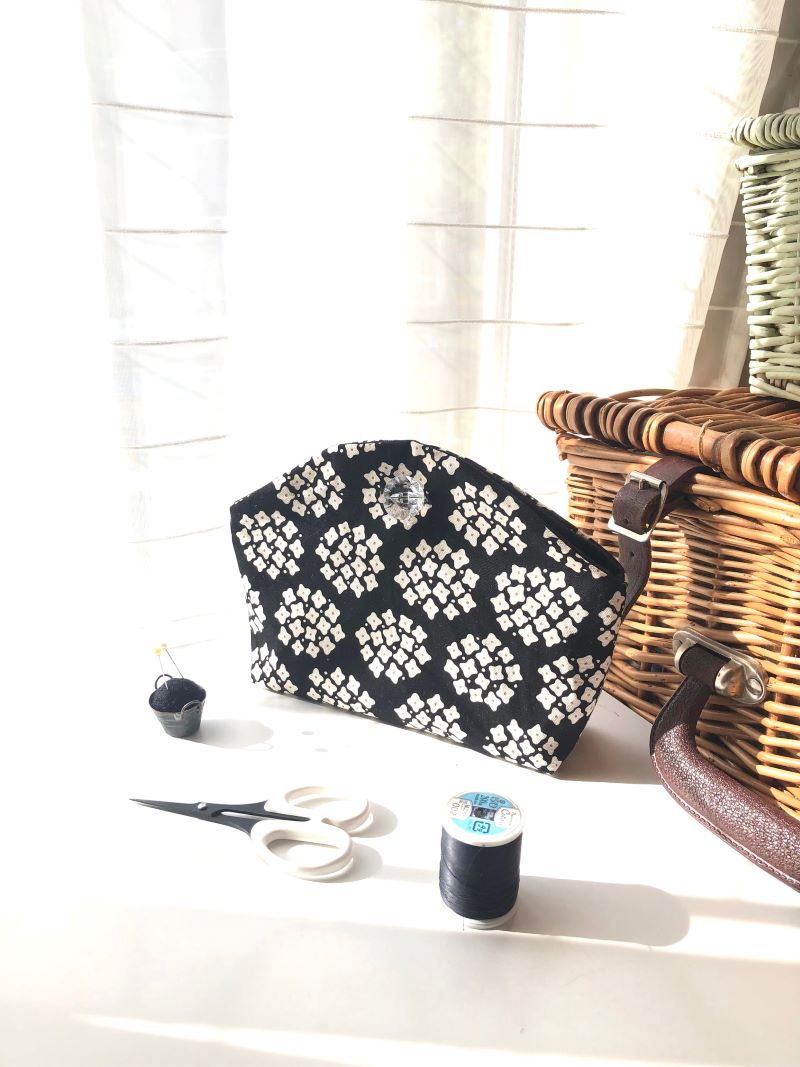
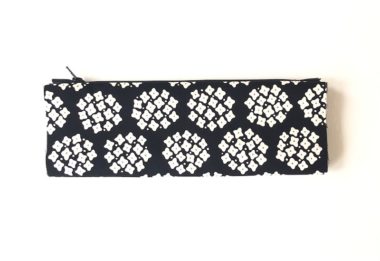
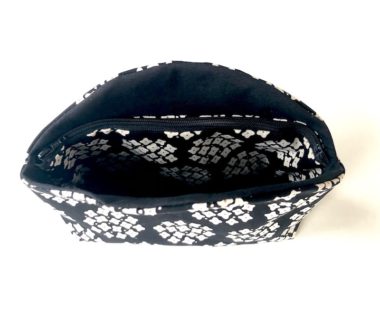
This stylish pouch has a zippered pocket on the inside. The featured fabric is a floral pattern from the “teiban” series. The mature color combination of white flowers on a black background goes well with the simple style of the pouch. The fabric is 100% cotton oxford. This material is suitable for making bags and pouches because of its easy-to-sew thickness.
Fabric shown for this sample:YKA-96010-2E
Materials:
□ Fabric (Outer Fabric): 55cm×45cm
(Lining Fabric): 55cm×45cm
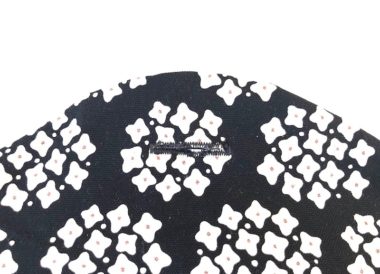
□ Shank Button: 1 pair (2cm diameter)
□ Flatknit Zipper: One piece (20cm long)
Size: 15cm (l) 22cm (w-at opening) 17cm (bottom) 5cm (gusset width)
We interviewed Mioko about her creation:
Kokka Fabric (KF): What did you think of the fabric you used for this project?
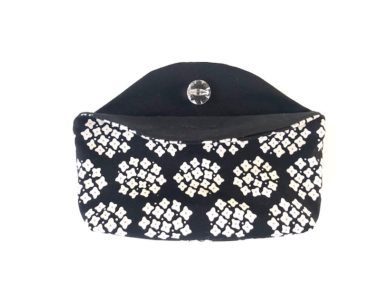
I came up with a clean and simple pouch. Black is chosen to give it a mature look, while the gentle curve at the top creates a softer look.
KF: Can you tell us any special elements or ideas that you incorporated into this creation?
I wanted to feature the flat surface to make the floral pattern look neat and cute, but also convenient, so a zippered pocket is added on the inside. To keep the cutting and sewing as simple as possible, I made the outer bag and the pocket the same width. Because of that, the inside pocket gets saggy when empty, but it settles down nicely once you put something inside. When not in use, you can keep it neatly along the inside wall.
KF: What are some tips for making this pouch?
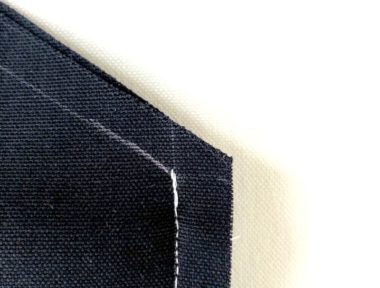
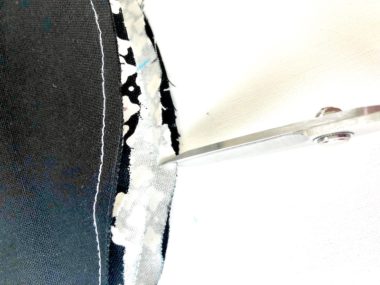
When sewing the side ends of the outer and lining bags, please make sure to sew up to where it is supposed to stop, securely adding the back stitches. If you sew all the way to the top, the outer and lining bags will be sewn together, causing the puckering.
KF: How should we use this pouch in everyday situations?
It would be cute to make a coin purse, tissue case, key pouch, etc. from the same fabric to have the matching pieces inside your bag. Or attach leather tape with rivets and turn it into a bag!
KF: Thank you very much, Mioko! Here are sewing instructions along with step by step photos from her. Enjoy crafting!
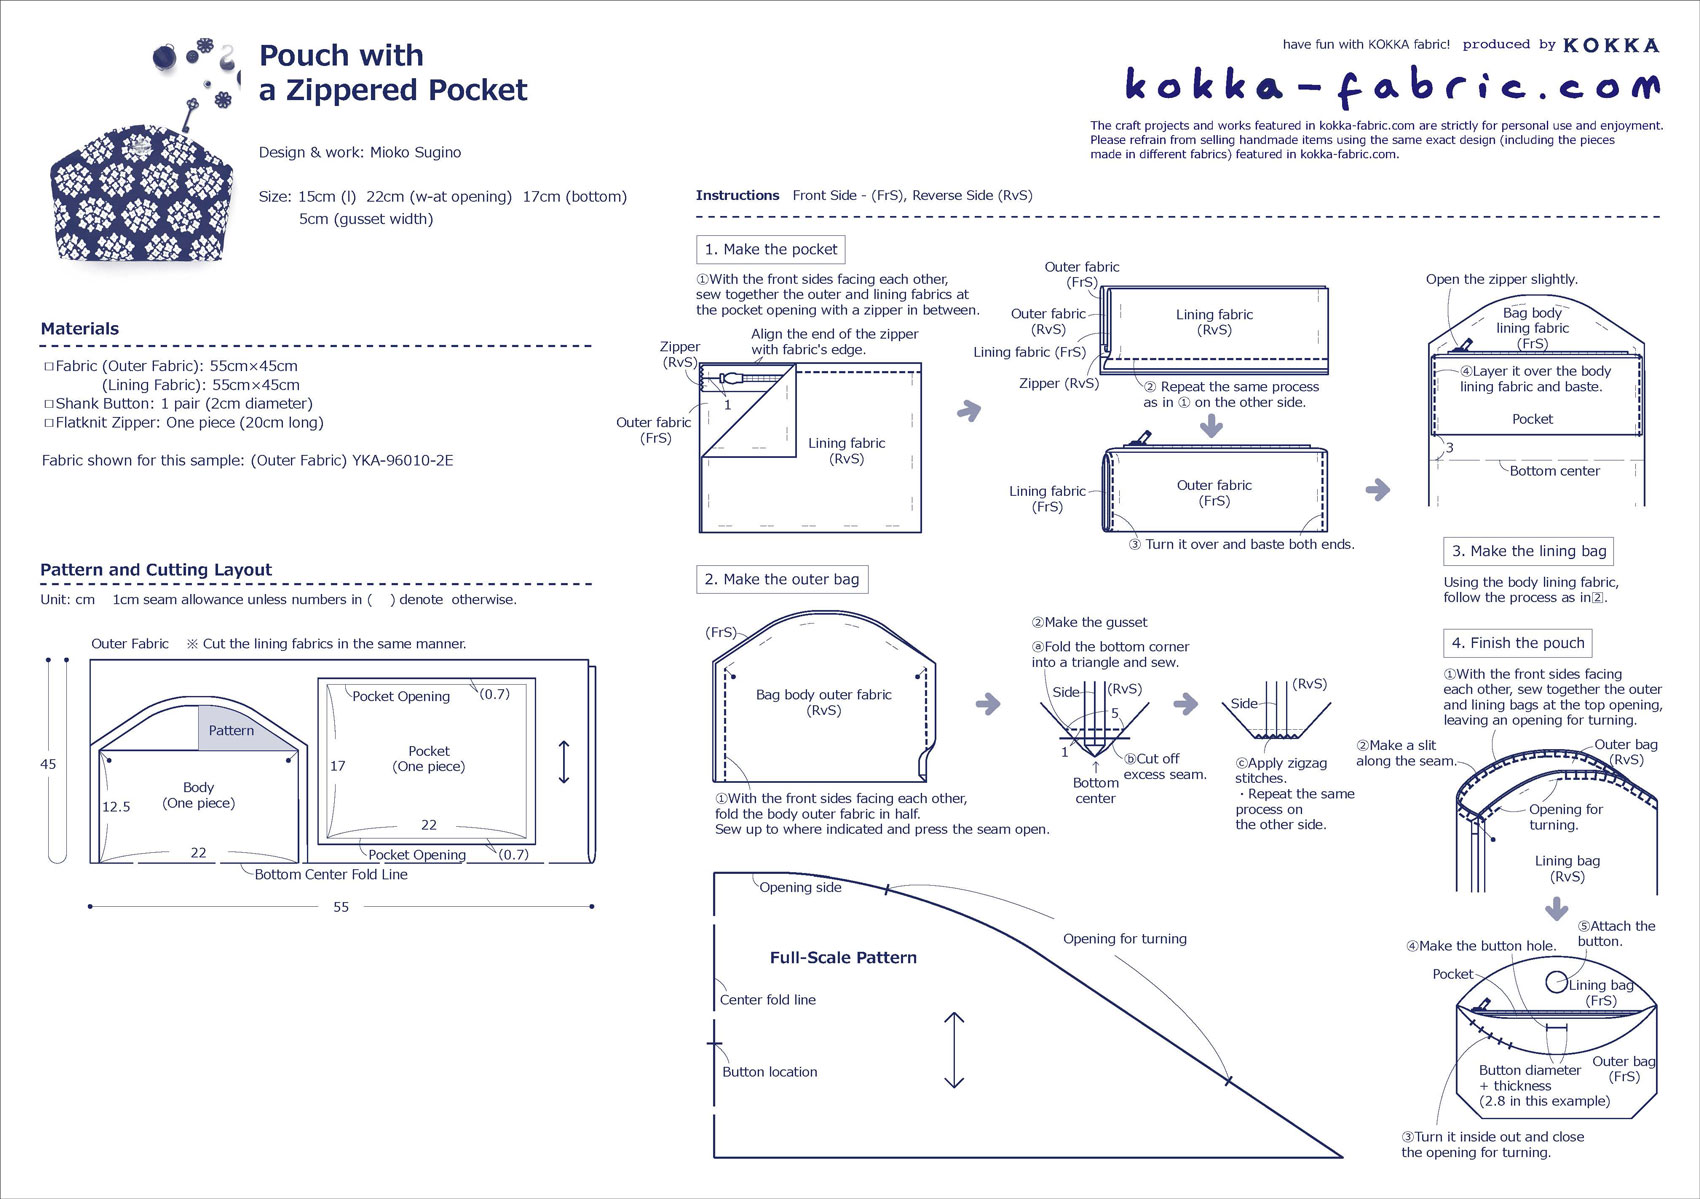
Instructions
Preparation
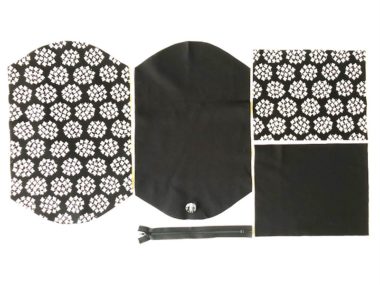
Cut the fabrics according to the pattern.
1.
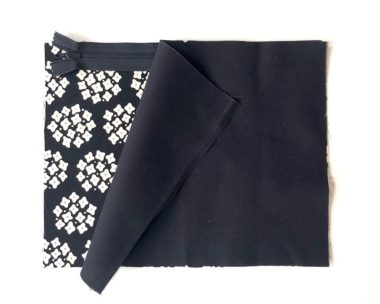
Make the pocket. With the front sides facing each other, place the zipper over the top end (22cm side) of the pocket outer fabric, align the center and sew together. Next, with the front sides facing each other, sew together the pocket lining fabric.
2.
Repeat the same process on the other side of the top end.
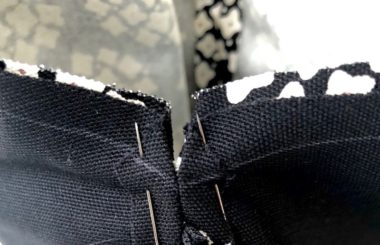
3.
Turn it inside out and baste both side ends.
4.
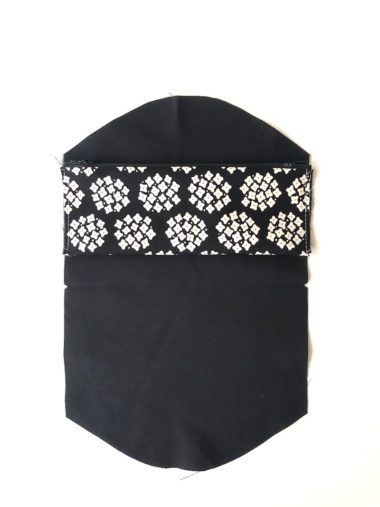
Place the pocket from Step 3 over the body lining fabric as shown. Baste the piece.
5.
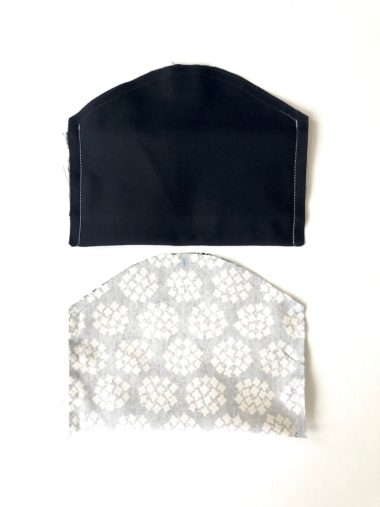
Fold the body lining fabric in half. Sew both ends up to where it is indicated to stop. Repeat the same process for the body outer fabric.
6.
Press the seam open. Make the gusset (5cm). Cut off excess gusset and finish the seam.
7.
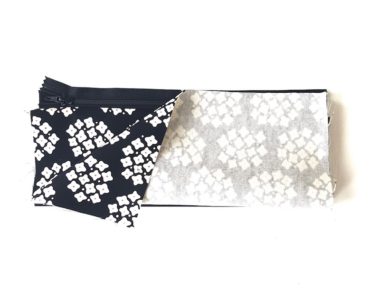
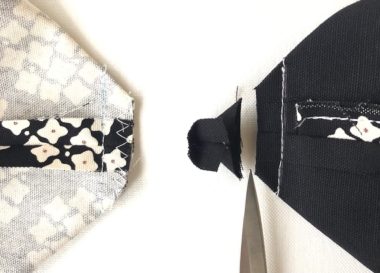
With the front sides facing each other, sew together the outer and lining bags, leaving 7-8cm unsewn for opening for turning.
8.
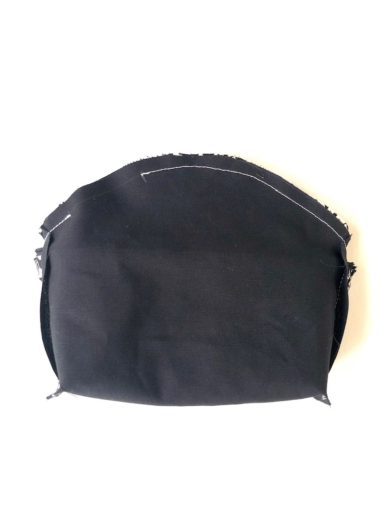
Make a slit on the curved seam and turn the bag inside out.
9.
Close the opening for turning.
10.
Make the buttonhole on the front of the outer bag.
11.
Attach the button on the inner portion of the back side.
◎Sewing Instructions (PDF format / A4 size)

 Handy For Travel and Gym With Plenty Of Room For Garments♪ – Zippered Oblong Bag – Sewing Instructions
 TOTE Bag with a Mini Pouch
 Boxy and Structured Shape Is Stylish – Hand Tote Bag – Sewing Instructions