
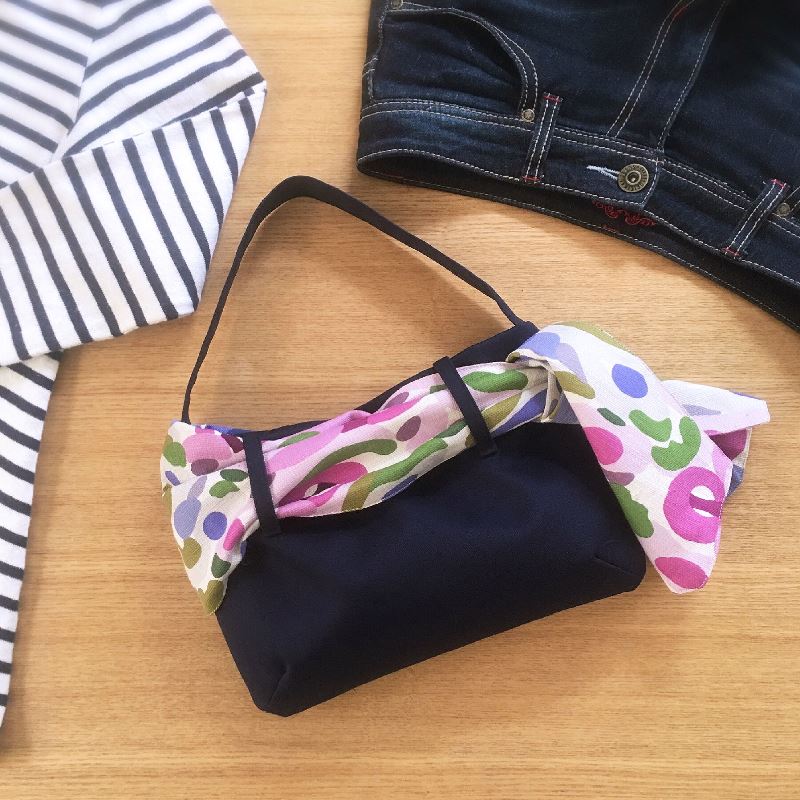
The first day of spring has come, yet the weather is still chilly. The featured project, a bag with a bright-colored ribbon, is a perfect way to let you first sense the spring! The ribbon and lining fabric use Odokete Aruku from Koto Thouin, a soft and fluffy light cotton/linen dobby. Koto Thouin’s designer, Kurara Omichi is a grand prize winner of the 4th Kokka Textile Print contest. Reflecting Omichi’s bold and unique sense of design, it is definitely a new brand to watch!
Fabric shown for this sample: (Bag lining fabric, Ribbon) Koto Thouin JG29020-1B
Materials:
□ Fabric (Bag outer fabric, Opening fabric, Handle, Loop): 80cm×40cm
(Bag lining fabric): 110cm wide×90cm
□ Fusible interfacing: 40cmx10cm
We interviewed Anriko about her creation:
Kokka Fabric (KF): What did you think of the fabric you used for this project?
It is soft and fluffy with sheen. I wanted to use it for something decorative.
It is soft and fluffy with sheen. I wanted to use it for something decorative.
While the weather is still cold, it is starting to feel like spring. By choosing the most vibrant colors of this series, I thought the bag would brighten up your mood. The dark blue on the bag creates a clear contrast, accentuating all the colors.
KF: What are some tips for making this bag?
Both belt and loop serve as an accent of the bag. If you like, you can just attach a soft-looking ribbon without the loop.
KF: How should we use this bag in everyday situations?
On the sample photo, the ribbon is tied on the side. Placing it in the center can create a girly look. Carry it with your white-accented outer wear to enjoy a spring-like coordination.
KF: Thank you very much, Anriko! Here are sewing instructions along with step by step photos from her. Enjoy crafting!
Instructions
1.
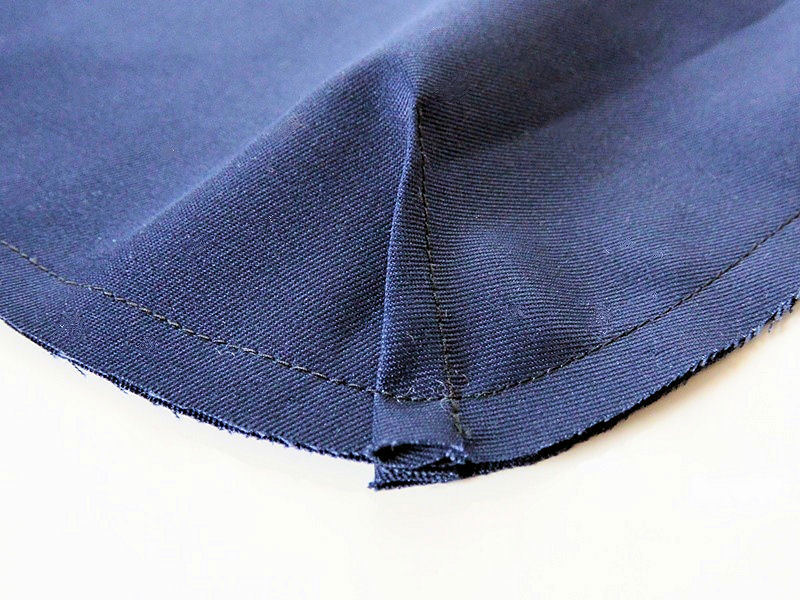
Instead of gussets, darts are added to make a rounder shape.
2.
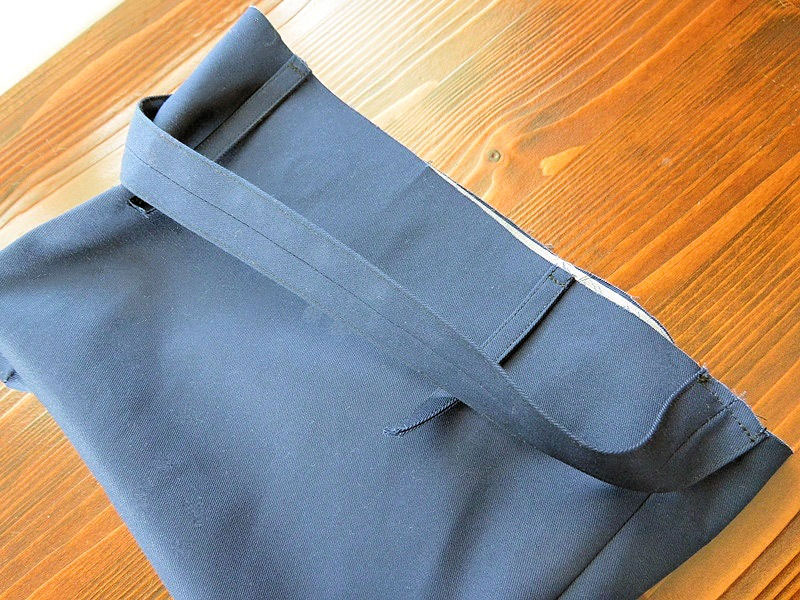
Outer fabric, lining fabric, handle and belt loop are all sewn together along with the opening fabric. Basting the small parts prior to sewing can reduce making mistakes.
3.
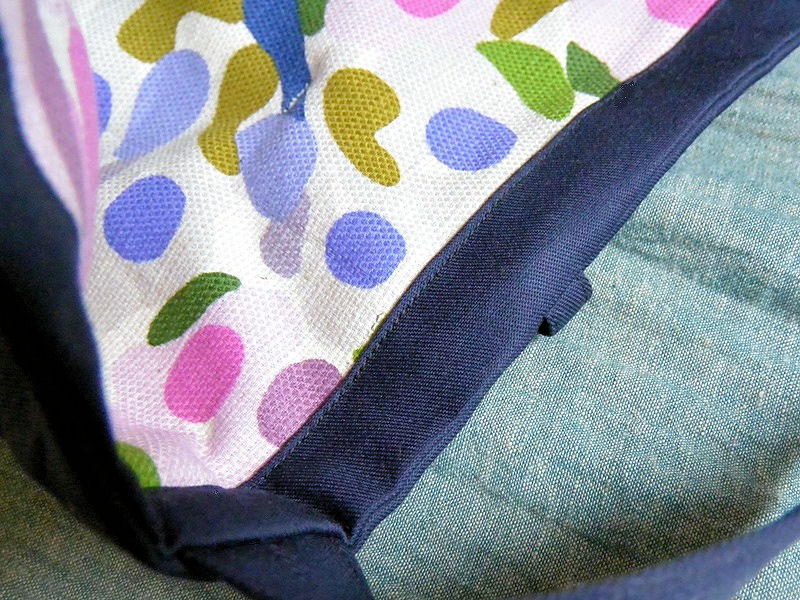
Stitching is applied all the way around the top opening. The ribbon in the front will hide most of the stitchlines.
4.
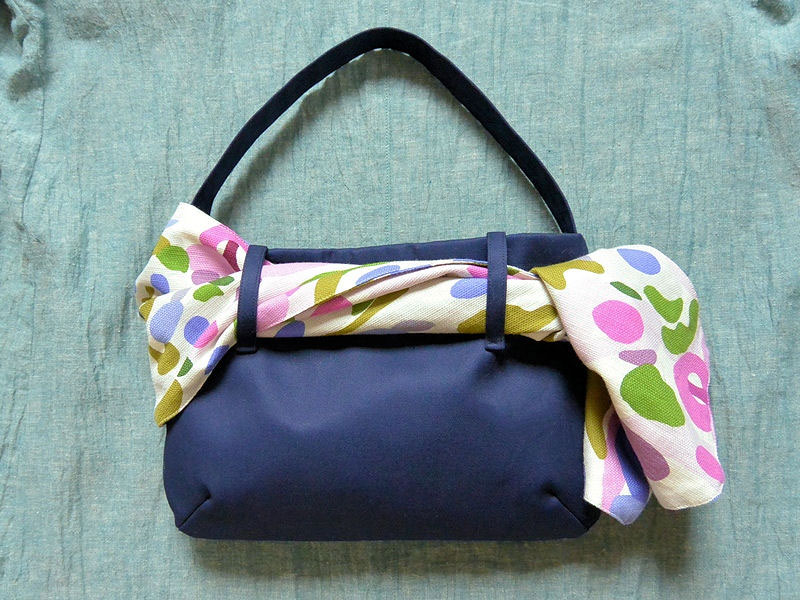
Finished. You can arrange the ribbon loosely, or twist it a little like the sample in this photo.

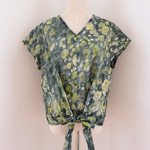 Ribbon Blouse
 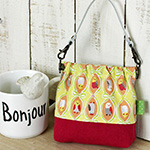 Small Bag in Parakeet Fabric
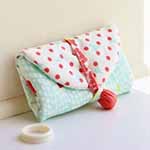 Accessory Case