FREE SEWING TUTORIALS
Clutch Bag with a Toggle Closure
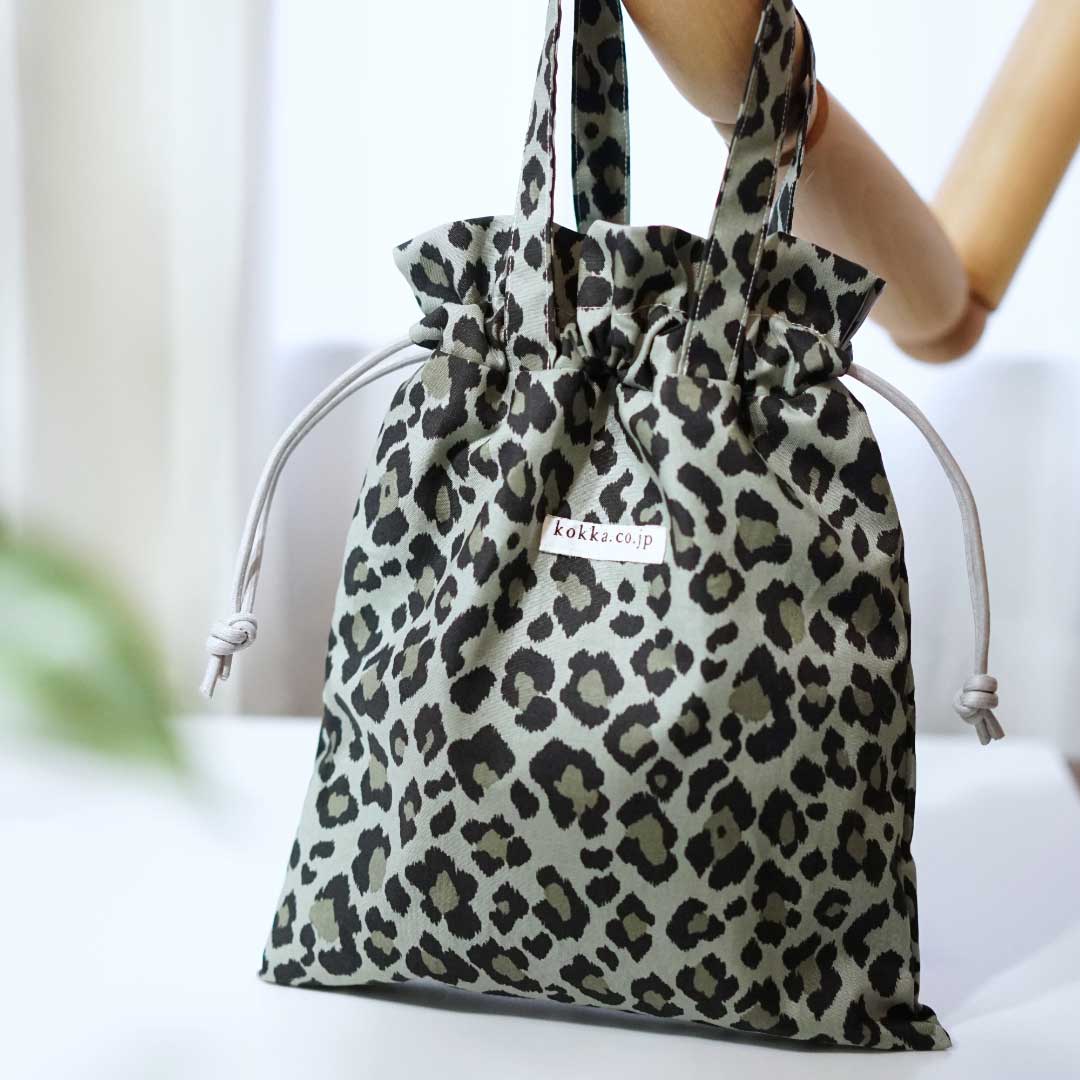
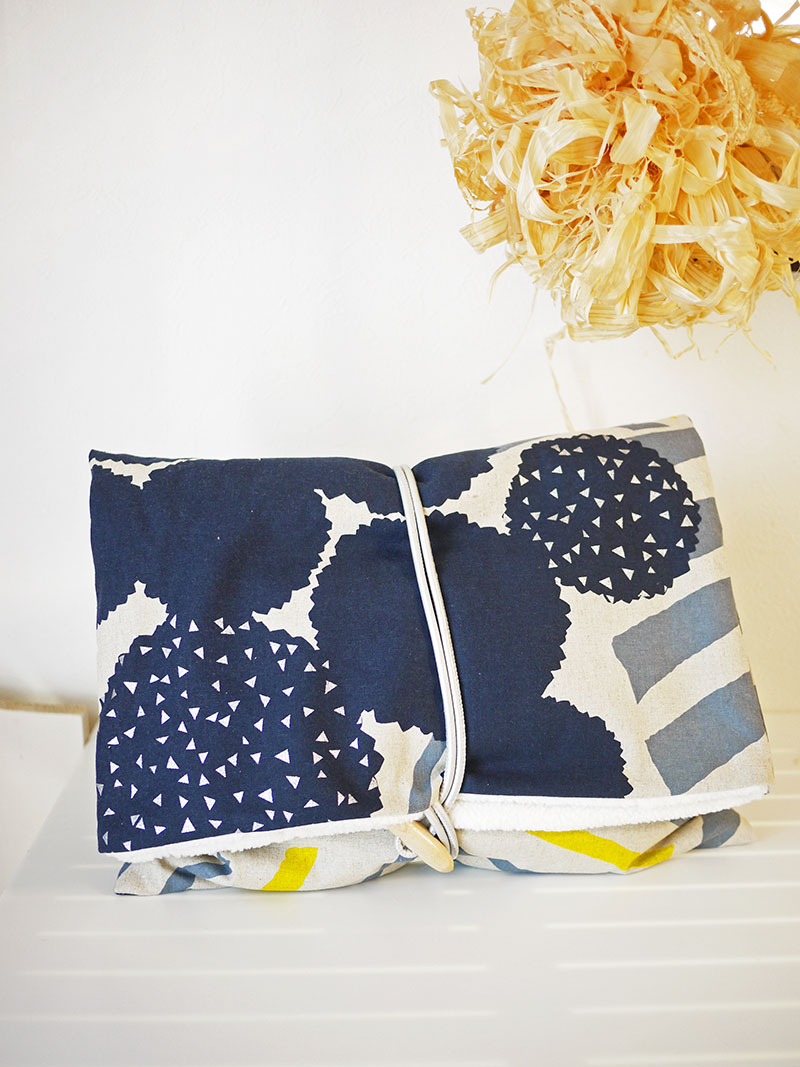
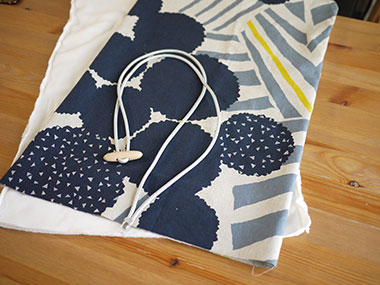
The featured project is a super popular item of late, a clutch bag. It is very fashionable with a toggle button and cord closure. Just like the last project, this one is made with echino’s new design, a stylish ray with silver metallic accent.
Design & Work:Yui Tamaki
Fabric shown for this sample: (Outer fabric) echino JG96700-703D
Materials::
□ Fabric (Outer fabric): 90cm×70cm
(Lining fabric (Fleece)): 90cm×70cm
□ Stitch Leather Cord: 1.5m (0.5cm diameter)
□ Toggle: One piece (6cm long)
We interviewed Yui about her creation:
Kokka Fabric (KF): What did you think of the fabric you used for this project?
Since it is a chic fabric with a silver accent, I came up with a simple yet large clutch bag, taking advantage of a large pattern.
KF: Can you tell us any special elements or ideas that you incorporated into this creation?
To go well with the texture of cotton linen blend and cool design, the bag is paired with a cord and button closure. I like the fleece lining peeking a little, adding warmth to the look.
KF: What are some tips for making this bag?
It is easy-to-make with only straight stitching. When attaching the cord, sew it slowly. Also, for a clean finish, pay a special attention to making square corners.
KF: How should we use this bag in everyday situations?
Depending on how much you put in the bag, you can adjust the size by altering the length of the cord. It looks cute double-folded, or it can be accompanied to your trip as a travel clothing organizer.
KF: Thank you very much, Yui! Here are sewing instructions along with step by step photos from her. Enjoy crafting!
Instructions
1.
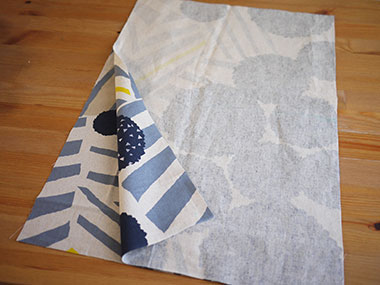

With the front sides facing each other, sew together the outer fabrics, leaving the top opening unsewn.
2.
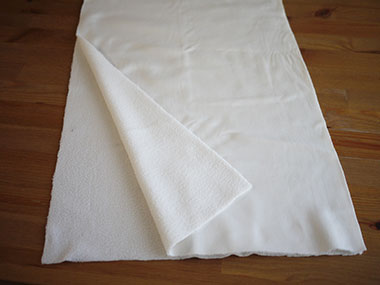
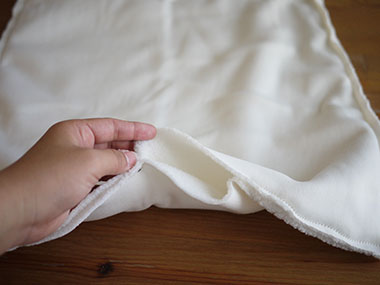
Repeat the process for the lining fabrics. ※Leave an opening for turning.
3.
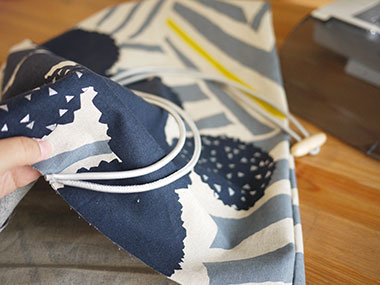
Baste the cord.
4.

With the front sides facing each other, sew together the outer and lining bags. Sew all the way around the top opening.
5.


Turn the bag inside out and close the opening. Align the shape.
6.
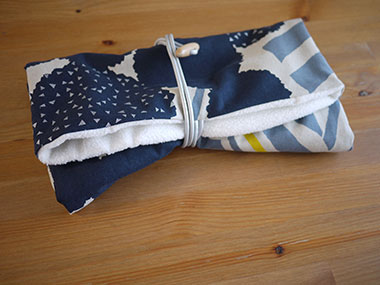
Adjust the size depending on the amount of the contents.