

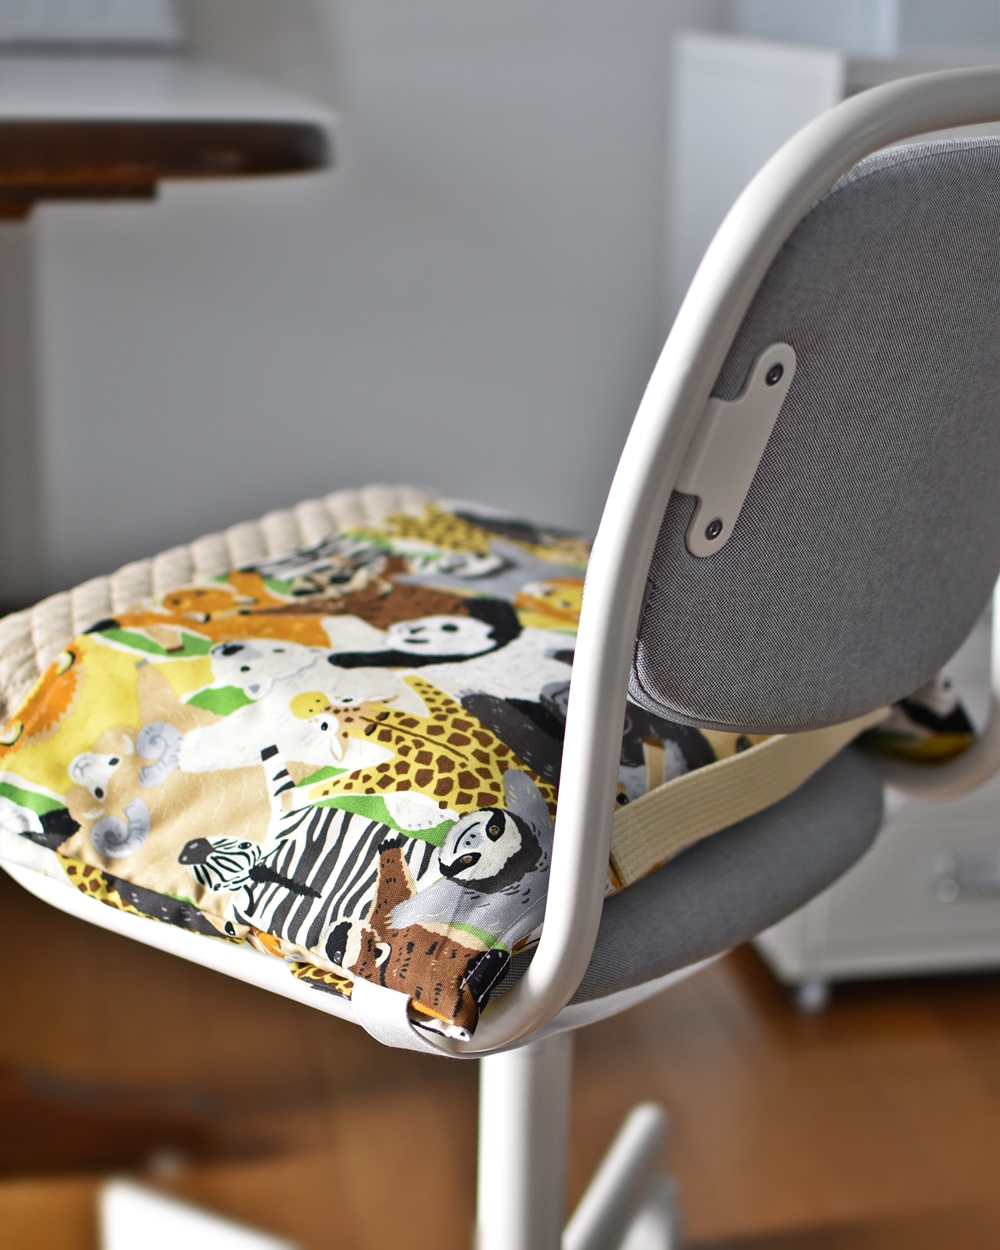
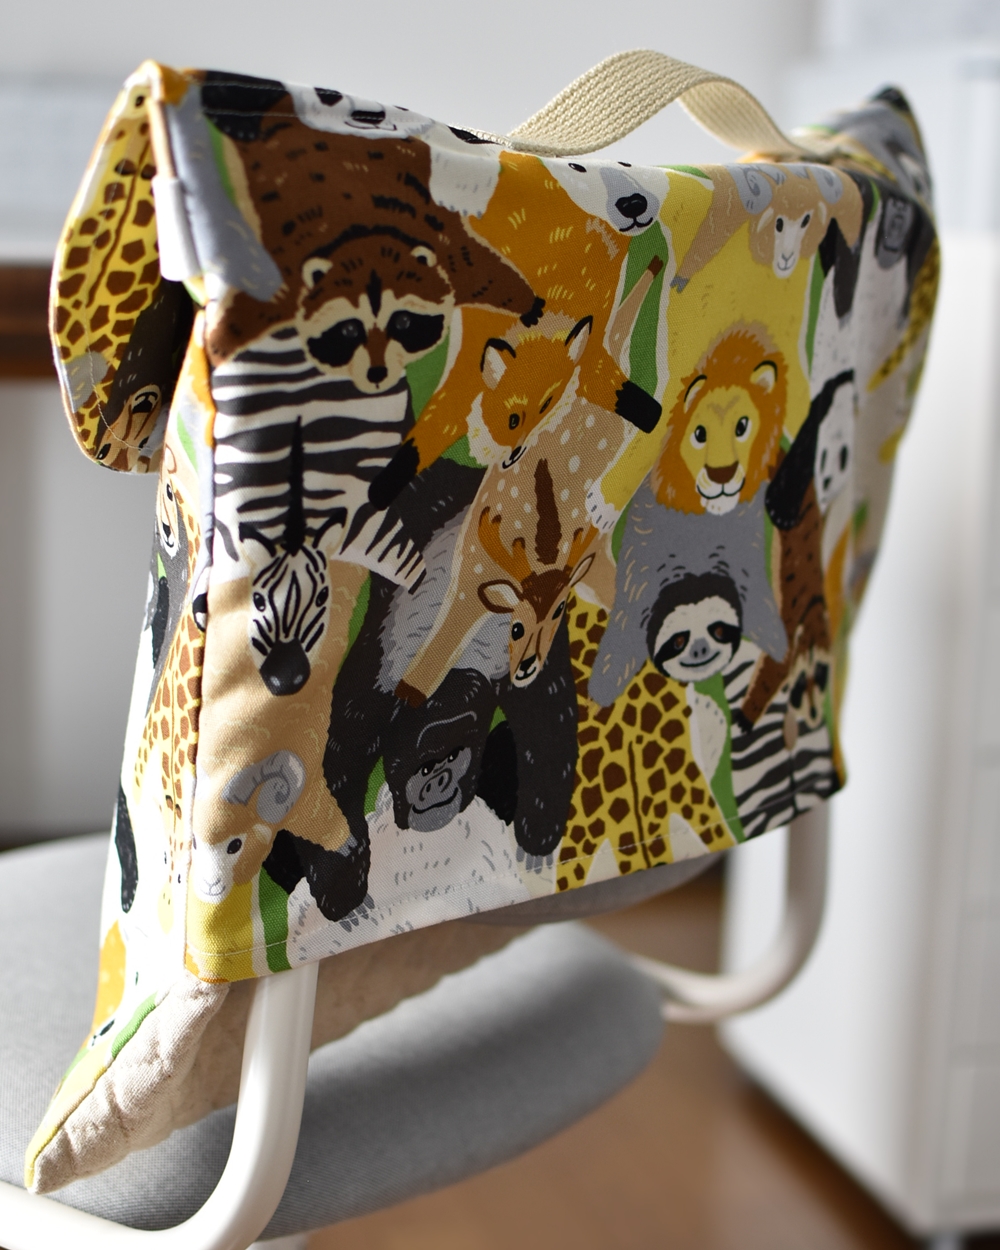
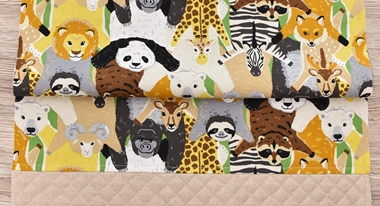
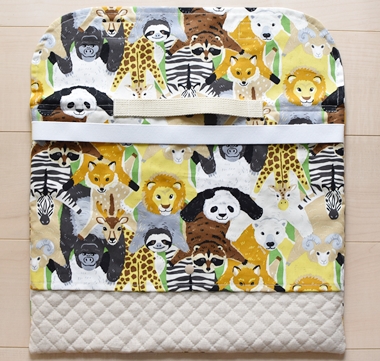
September is the start of the new semester for a lot of schools in Japan, and many people probably had evacuation drills on September 1, Japan’s Disaster Prevention Day. At this time of year when disaster awareness is on the rise, why not make a cover for a “head protection hood (also known as a disaster hood or Bosai Zukin),” one of the major supplies for school? With this cover, students can use the hood in two ways: as a backrest or as a seat cushion. The fabric used is an animal pattern from the “HOME DECO” series. The heartwarming animals will watch over you and make children’s school life more enjoyable.
Fabric shown for this sample:(Front Panel, Cover Fabric, Flap Lining Fabric) LGA-46010-1A
Materials:
□ Fabric (Front Panel, Cover Fabric, Flap Lining Fabric): 100cm x 60cm
(Back Panel (Quilted Fabric)): 47cm x 39cm
□ Elastic Tape: 2.5cm wide x 47cm
□ Bag Tape: 2.5cm wide x 25cm
□ Velcro: 2.5cm wide x 10cm
□ Plastic Snap Button: 1.3cm diameter x One Pair
Size: 35cm (l) 45cm (w)
We interviewed Satomi about her creation:
Kokka Fabric (KF): What did you think of the fabric you used for this project?
The illustrations of the animals smiling at each other are very cute. It is a very cheerful fabric to look at, so I came up with an idea to make an item for school.
KF: Can you tell us any special elements or ideas that you incorporated into this creation?
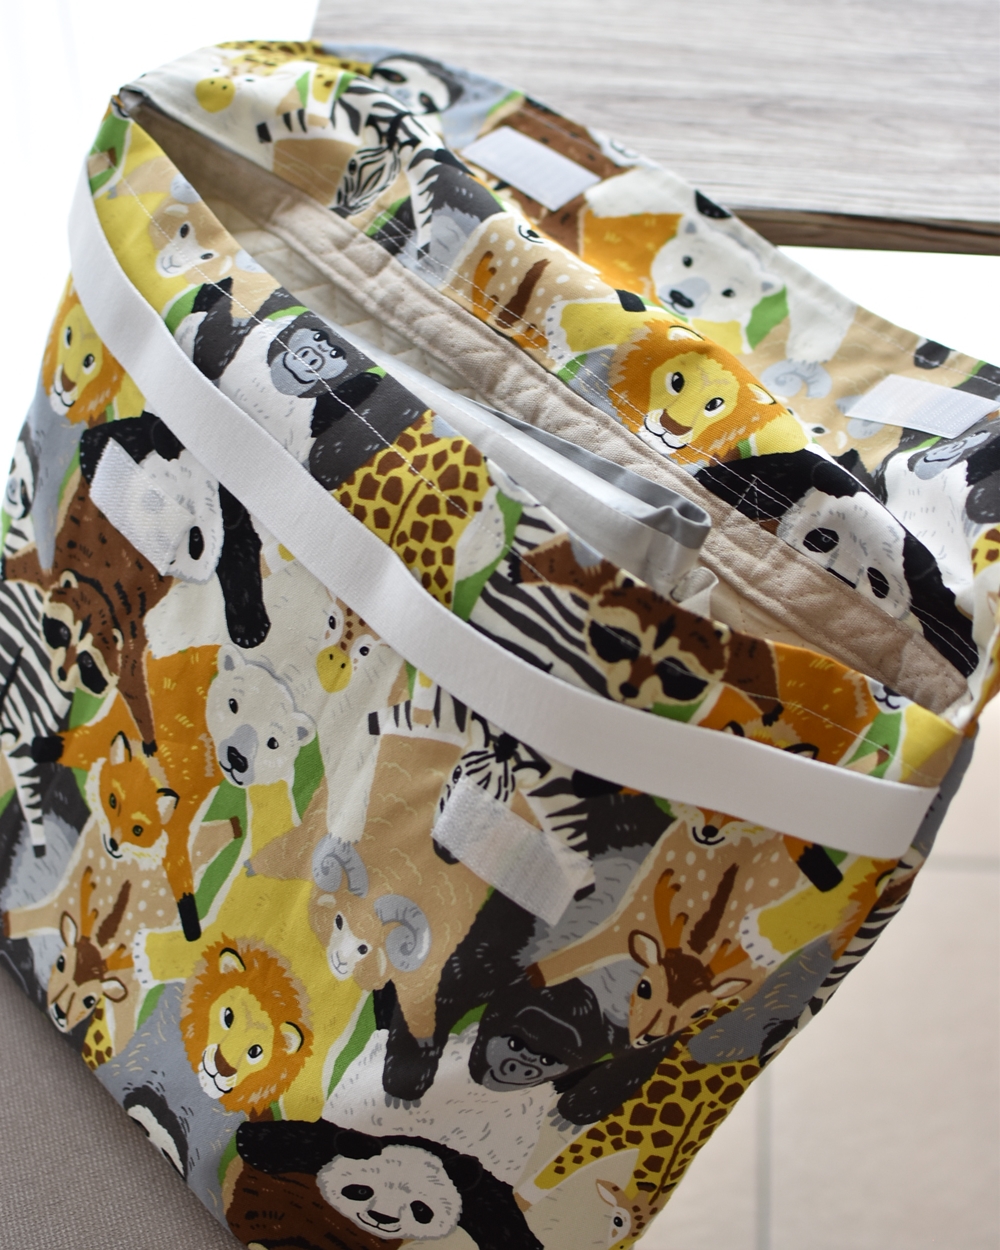
Until now, most head protection hood covers were of a seat cushion style, but recently there are many covers with a two-way design that can also be used as a backrest. Attaching a handle with a bag tape makes it easier for children to carry and prevents the elastic from stretching out when they swing it around. It can be lightly secured to the chair with a plastic snap button.
KF: What are some tips for making this hood case?
The head protection hood itself is like a cushion, so if you are concerned about the thickness, you can make the cover entirely out of regular fabric instead of quilted fabric.
KF: How should we use this hood cover in everyday situations?
The design is simple but functional so that children can quickly take out their head protection hood in case of emergency. I hope these handmade covers made from your children’s favorite fabrics will make their school life brighter and more enjoyable.
KF: Thank you very much, Satomi! Here are sewing instructions along with step by step photos from her. Enjoy crafting!
Instructions
1.
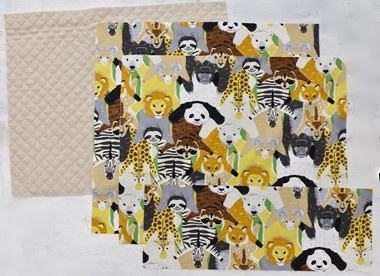
Cut the fabrics. Apply zigzag stitches around the quilted fabric.
2.
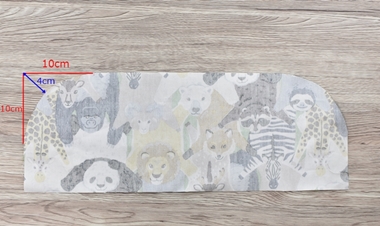
Cut the flap lining fabric as shown.
3.
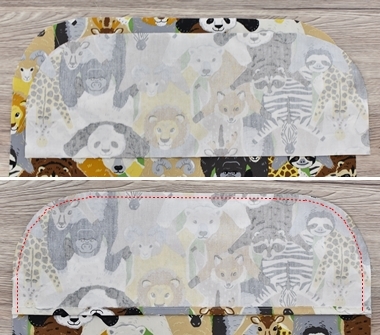
Cut the curves of the backrest cover fabric and lining fabric as well. Fold the straight portion of the flap lining fabric for 1cm to the lining side and sew. Then with the front sides facing each other, sew together the pieces.
4.
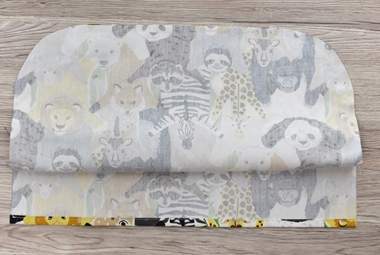
Fold in three the bottom (straight portion) of the cover fabric from step 3, and apply stitches at 0.7cm from the edge.
5.
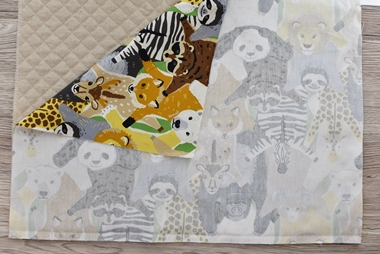
With the front sides facing each other, sew together the quilted fabric and bottom of the panel fabric.
6.
Press down the seam from step 5 to one side and apply top stitches (at 0.7cm from the seam line).
7.
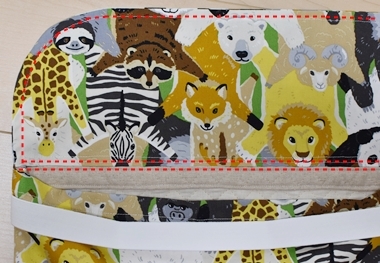
Fold the top opening portion in three (1cm then 2cm width) and apply stitches.
8.

Baste the flat elastic tape at 0.5cm from the edge.
9.
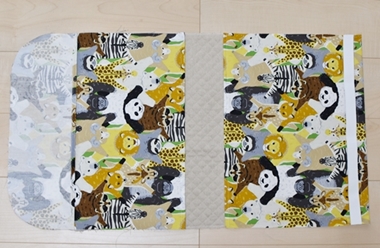
Open the panel portion and place the backrest cover fabric over the quilted fabric.
10.
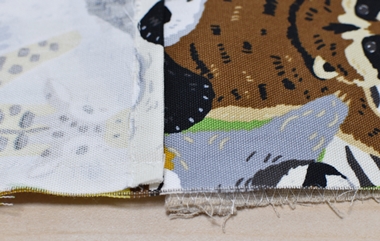
To avoid the opening portion with quilted fabric being too thick, layer the fabrics as shown. Place the cover fabric, fold the panel fabric with the front sides facing each other, then sew both right and left sides at 1cm from the edge.
11.
Turn the panel and flap portion inside out. Apply stitches from the front around the flap. Sew the opening portion with quilted fabric onto the cover fabric. Make about three slits around the curve of the flap for a clean finish.
12.
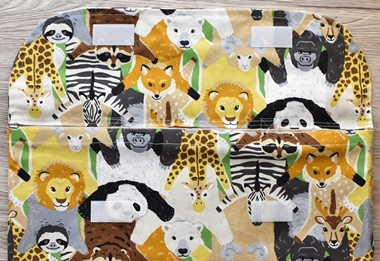
Attach the Velcro.
13.
Attach the bag handle tape and plastic snap button to finish!

◎Sewing Instructions (PDF format / A4 size)

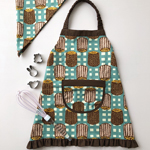 Kid’s Apron and Head Scarf Sewing Instructions
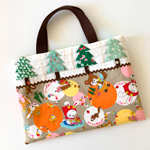 Little Red Riding Hood Bag – Sewing Instructions
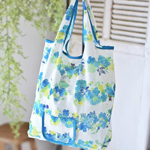 Shopping Bag Accented with Piping – Sewing Instructions