
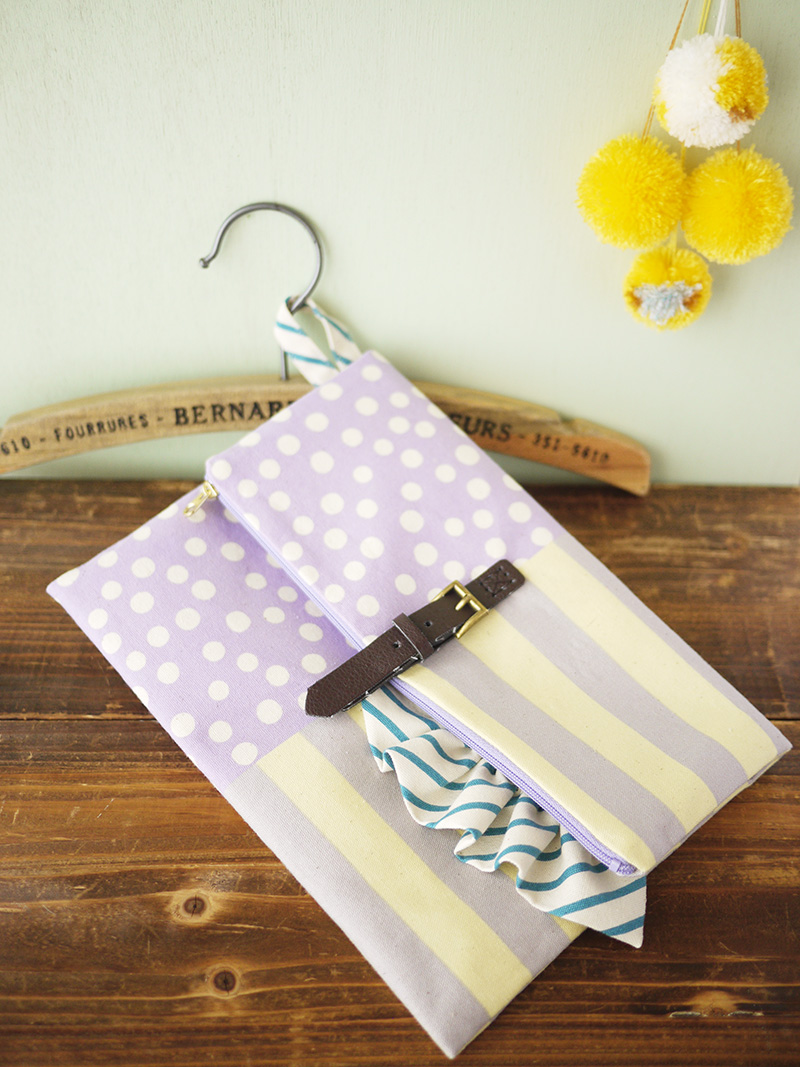
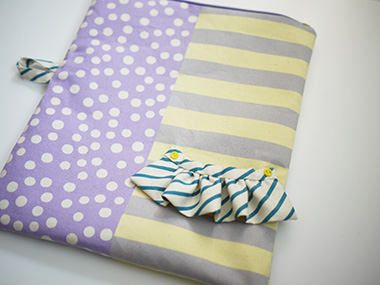
The border fabric with changing designs in one is perfect for making a bag. We are featuring a stunningly cute clutch bag made from Feminine Border with polka dots and stripe design. Yui Tamaki, who previously introduced a lovely Pumps Shaped Small Case has returned with her new creation.
Fabric shown for this sample:P33300-300 (C)
Materials:
□ Fabric: 110cm (wide) x 60cm
□ Fusible interfacing (heavy weight) : 30cm x 60cm
□ Zipper: Once piece (24cm)
□ Snap: One set (1.0cm diameter)
□ Button: Two pieces (0.8cm diameter)
□ Decorative belt: One pair
We interviewed Yui about her creation:
Kokka Fabric (KF): What did you think of the fabric you used for this project?
Creating a design combination from this fabric is easy as three different patterns are already included in one fabric. I came up with a cute accent by using the deepest color diagonal stripe as a decorative piece.
KF: Can you tell us any special elements or ideas that you incorporated into this creation?
The artificial leather belt generates a cohesive look. With a snap attached to the belt, it is easy to open and close.
KF: What are some tips for making this bag?
To keep the zipper aligned, I recommend basting it first. It is easy to make as the bag is flat and requires only straight line stitches. You can add your creativity to make an arranged version.
KF: How should we use this bag in everyday situations?
You may carry it like a clutch bag or use it as a convenient case with large capacity.
KF: Thank you very much, Yui! Here are sewing instructions along with step by step photos from her. Enjoy crafting!
How to make Clutch Bag
1.

Cut the fabric following the pattern measurement. Attach the heavy-duty fusible interfacing to the main bag outer fabric.
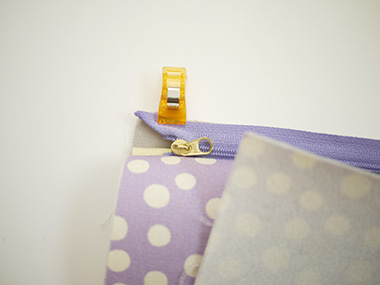
2.
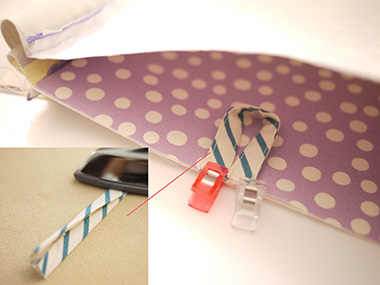
With front/outer sides facing each other, attach the zipper. (1cm seam allowance)
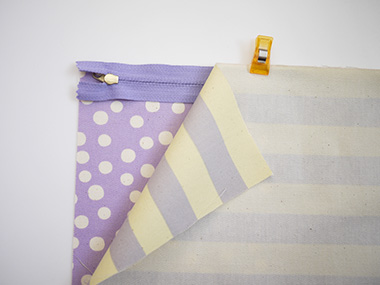
3.
The end of the zipper should be folded as shown in the picture.
4.
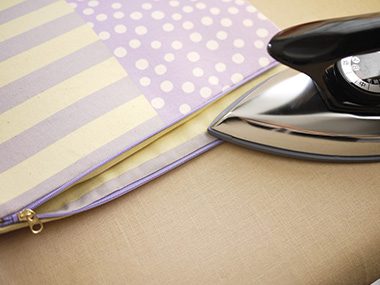
Turn it inside out and iron to align the shape.
5.
Using the fabric sized at 5 x 12cm, make a loop and baste it to the main bag fabric.
6.
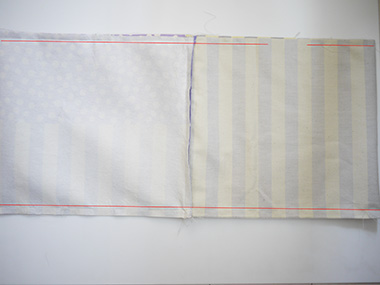
With front/outer sides facing each other, put together the main bag fabric and lining bag fabric. Sew both edges. (1cm seam allowance) (Leave the zipper open and leave an opening for turning on the lining bag side. Press down the seam to the lining bag side.)
7.
Turn the bag inside out and close the opening. (Use blind stitches.)
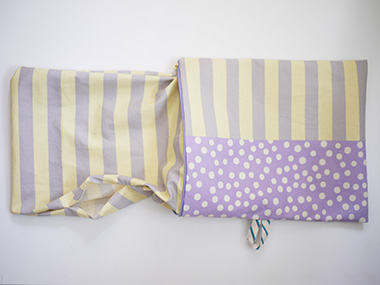
8.
Main bag is now complete.
9.
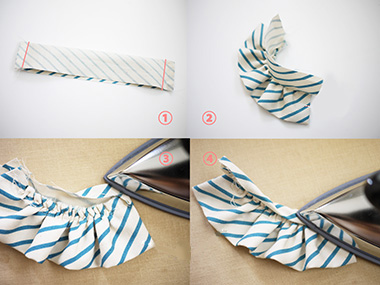
Make the frill embellishment.
With front/outer sides facing each other, fold the 10x25cm fabric in half and sew both edges.
Turn the fabric inside out and sew the edge. Pull the thread to create gathering, making the total length of the fabric to about 10 to 11cm.
With front/outer sides facing each other, attach the 5x12cm fabric to the frill. Leave both ends for about 0.5cm to 1.0cm.
Turn it around and wrap the seam using the iron and finish with blind stitches.
10.
With the frill embellishment facing the front, check the balance and attach it to the main bag. (Decorative button is optional)
11.
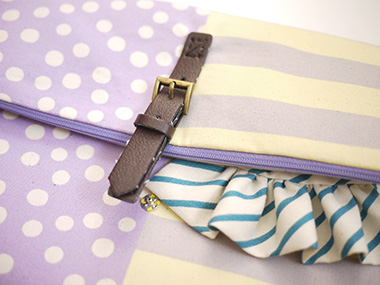
Attach the decorative belt. Sew the snap button on the bottom belt.
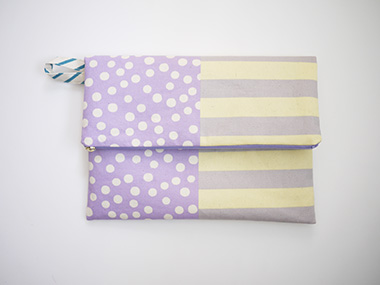
12.

Finished.

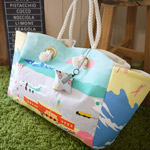 TOTE Bag with a Mini Pouch
 Pumps Shaped Small Case
 Portable Box Tissue Case