
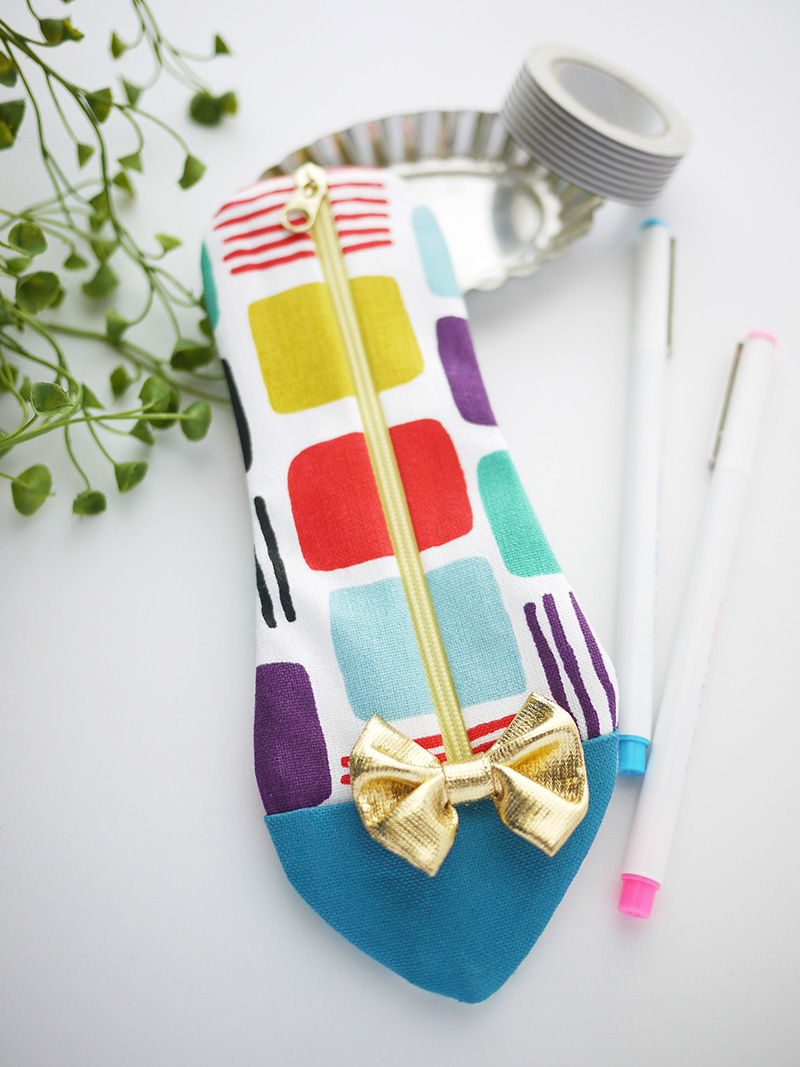
What a fashionable zipper case in the shape of pumps! #11 canvas material is solid yet easy to sew with a household sewing machine. A perfect fabric for making small items.
Today’s project is by Yui Tamaki, a creator of popular small handmade items filled with her stylish ideas.
Fabric shown for this sample: P30100-100 (A)
Materials:
□ Fabric: (Front outer fabric, back fabric) 25cm×30cm
(Lining fabric) 15cm×30cm
(Toe outer fabric) 15cm×10cm
□ Coiled fastener (zipper): over 16cm in length – one piece
□ Ribbon of your choice
We interviewed Yui about her creation:
Kokka Fabric (KF): What did you think of the fabric you used for this project?
It feels modern with a crisp look, so I thought of something cool in mind: a pair of pumps.
KF: Can you tell us any special elements or ideas that you incorporated into this creation?
I was selective as to which part of the fabric to cut since I wanted to include as many colors as possible. It does not take a long time to make this piece as the edges are finished with a faster process using French seams.
KF: What are some tips for making this case?
Please be careful and sew slowly as most edges are curved. The design is asymmetrical, and please pay attention to sewing the correct sides of the fabric and pattern.
KF: How should we use this case in everyday situations?
It is flat and does not take up a lot of room in your purse. It is perfect as a pen case with a couple of pens inside.
KF: Thank you very much, Yui! Here are sewing instructions along with step by step photos from her. Enjoy crafting!
How to make Pumps Shaped Small Case
1.
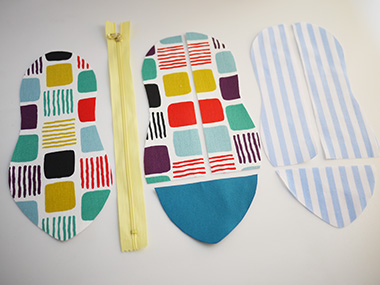
Following the pattern, cut the fabrics.
2.
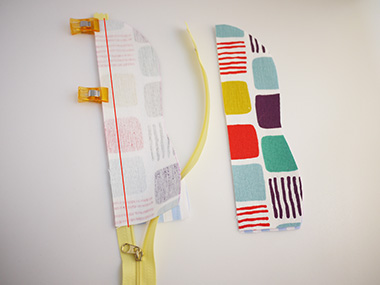
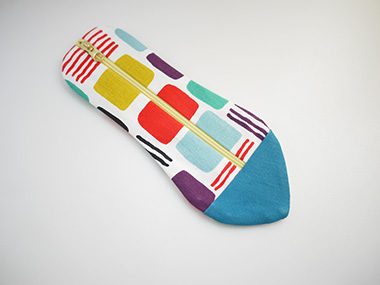
With front/outer sides facing each other, sew together the fabrics and zipper. (Place the zipper in between the front/outer fabric and lining fabric)
3.
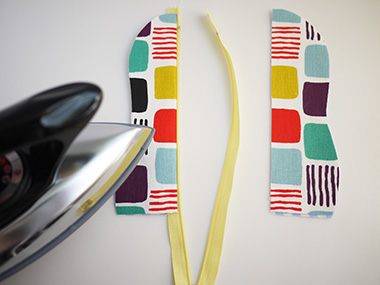
Turn the fabric over and align the shape using an iron.
4.

Repeat the process on the other side.
5.
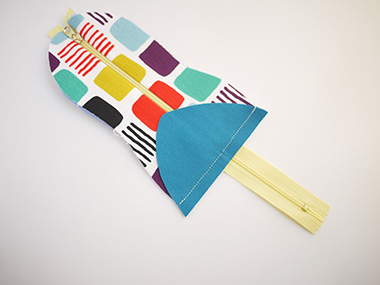
With front/outer sides facing each other, sew together the top main part and toe fabric. (Place the main part in between front/outer toe and lining toe)
6.
Turn the fabric over and align the shape using an iron.
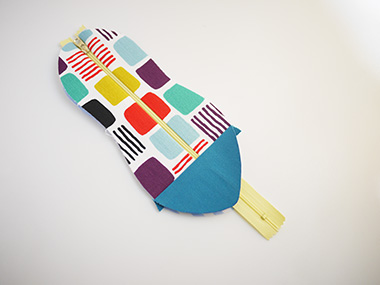
7.
The picture shows the backside of the parts created in step 6. Cut off the excess zipper and fabric.
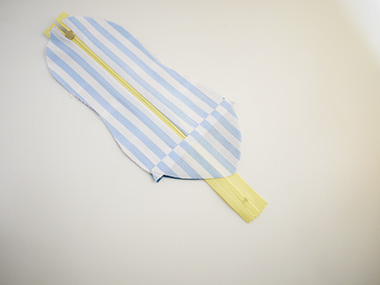
8.
With front/outer sides facing outside, sew together the part created from step 7 and bottom fabric. The seam should be less than 0.4cm. Cut a slit in the seam and press the seam with an iron. This way it will have a clean finish.
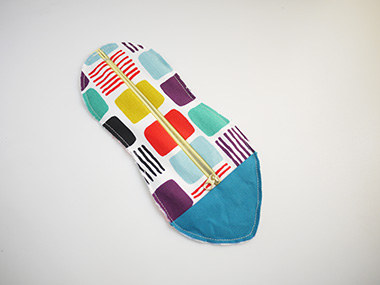
9.

Turn it inside out and align the shape with an iron. Sew along the finished line (to hide the seam from step 8.
10.
Turn it inside out and align the shape using an iron.
11.
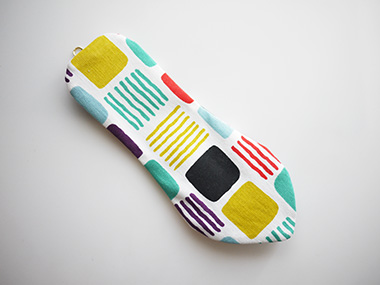
Bottom of the case looks like this.
12.
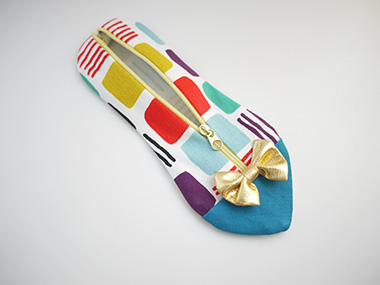
Embellish it with ribbon or items of your choice to finish.

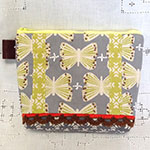 GARDEN Butterfly case
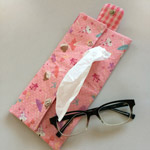 Portable Box Tissue Case
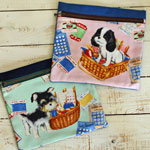 Puppy Pouch