
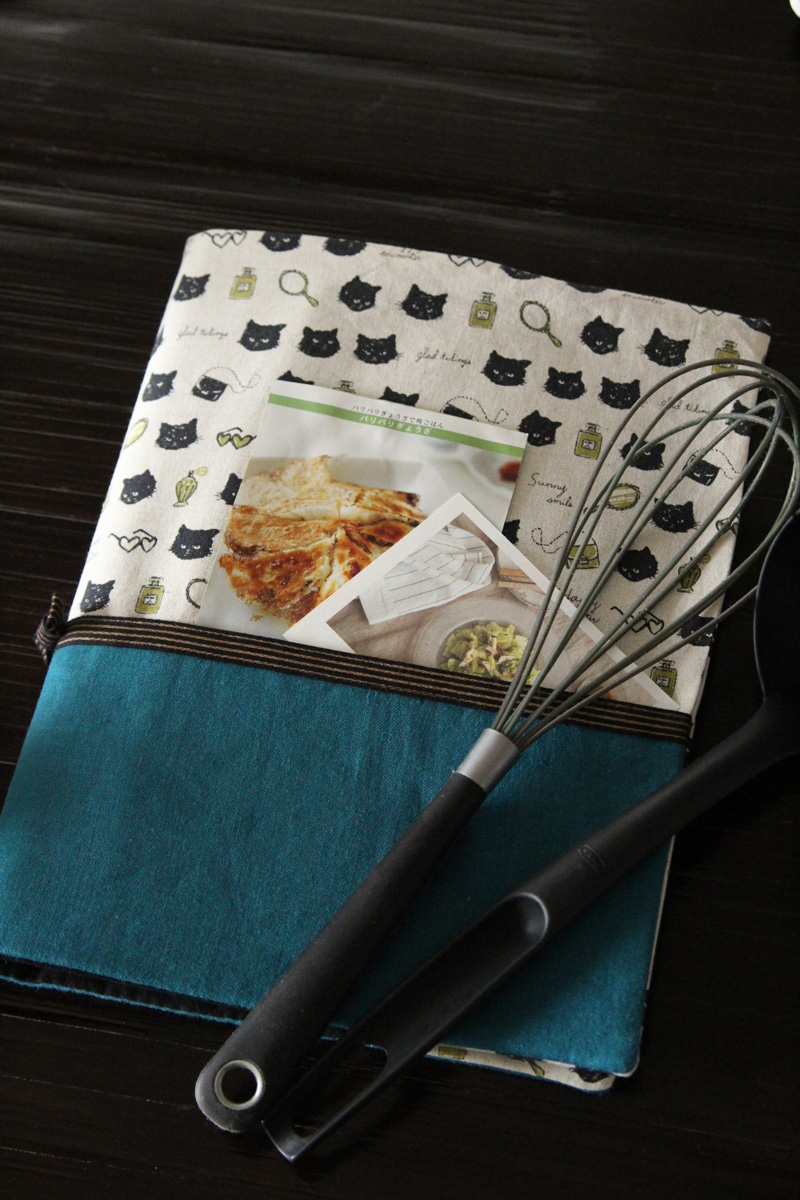
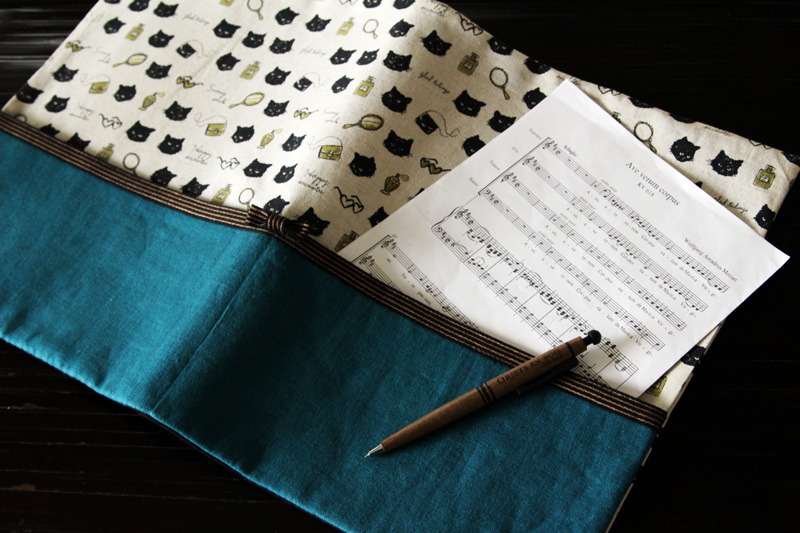
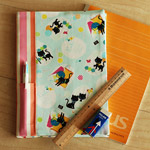
An A4-size clear file with pockets is quite convenient for storing cooking recipes and craft making instructions. The featured project is a file cover that allows you to customize the file in a cute and fun way. What is even more convenient is the outside pocket – perfect for keeping small pieces of memos and recipes. The size is just right for organizing the Koku Fabric’s craft project instruction sheets, and you can create different covers for different files using your favorite fabrics. The cat design fabric from the Animal World is introduced for the project.
Fabric shown for this sample: (Cover outer fabric, sleeve) YK51010-2A
Materials:
□ Fabric (Cover outer fabric, sleeve): 80cm×40cm
(Pocket outer fabric): 60cm×20cm
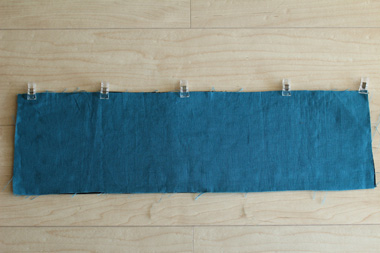
(Lining fabric): 110cm×40cm
□ Tape: 64cm (1.3cm wide)
*All Rights Reserved. Please refrain from the unauthorized use of project photos.
We interviewed Kanae about her creation:
Kokka Fabric (KF): What did you think of the fabric you used for this project?
The slightly pouty face of a cat looks lovely. Wherever you cut it, you will find a cute design, so there is no need to worry when cutting the fabric.
KF:Can you tell us any special elements or ideas that you incorporated into this creation?
Having a pocket is oftentimes convenient, so it is added on the outside. The ribbon on the spine looks cute when the file is placed vertically on the shelf.

KF:What are some tips for making this case?
When sewing a layered fabric, it may get misaligned, so please baste them first.
The process is very simple, and you should be able to make it rather easily.
KF: How should we use this case in everyday situations?
You can store cooking recipes or instruction sheets of the CRAFT & SEWING projects. An A4-size clear file (32 – 40 pockets/2-2.5cm width) can be customized in a lovely way.

he outside pocket is convenient – you can temporarily hold the papers that you have taken out from the inside, or keep new pieces you want to file later. If you add dividing stitch lines, you can create spaces for pens.
KF:Thank you very much, Kanae! Here are sewing instructions along with step by step photos from her. Enjoy crafting!
Instructions
1.
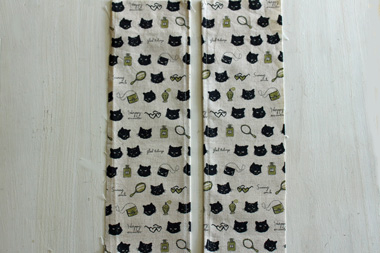
Double fold (for 1.5cm) the opening side seam of the file insert fabric and sew.
2.
With the front sides facing each other, sew together the outer pocket fabrics at the top long end. Turn the fabric over.
3.
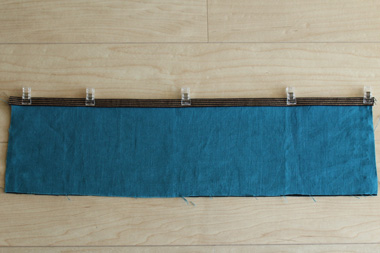
Place the cotton tape over the outer fabric. Sew the top and bottom edge of the tape.
To avoid the stitch lines to show on the back side, what I did was…
4.
… to match the color of the lining fabric and cotton tape (black in this case).
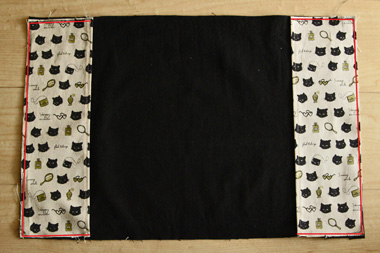
5.

Place the outer pocket over the cover outer fabric. Sew the center of the pocket (along the yellow line).
※ With additional stitch lines at 3cm interval parallel to the center yellow line, you can create spaces for pens.
To keep the pockets aligned, start sewing along the red lines first (5mm from the edge・baste).
6.
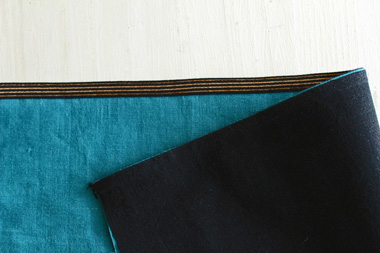
Place the file insert opening over the cover lining fabric. Sew along the red line (baste).
With the front sides facing each other, place the cover outer fabric. Sew all the way around, leaving an opening for turning.
Turn it over and iron to align the shape. Close the opening for turning.
7.
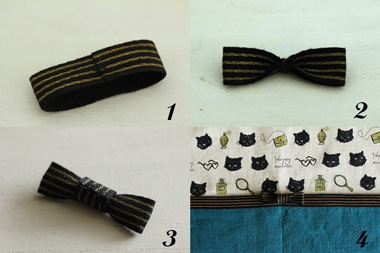
1. Make a loop with the cotton tape (9cm). Overlap the ends for 5mm and sew the end to close.
2. Pinch the center and sew to secure.
3. To cover the center, wrap around with another piece of tape (3cm) and sew to secure.
4. Attach the finished ribbon on the center of the outer pocket.

 Notebook Cover
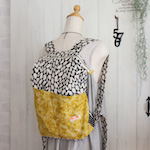 Backpack
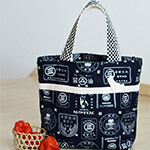 Apron Tote