

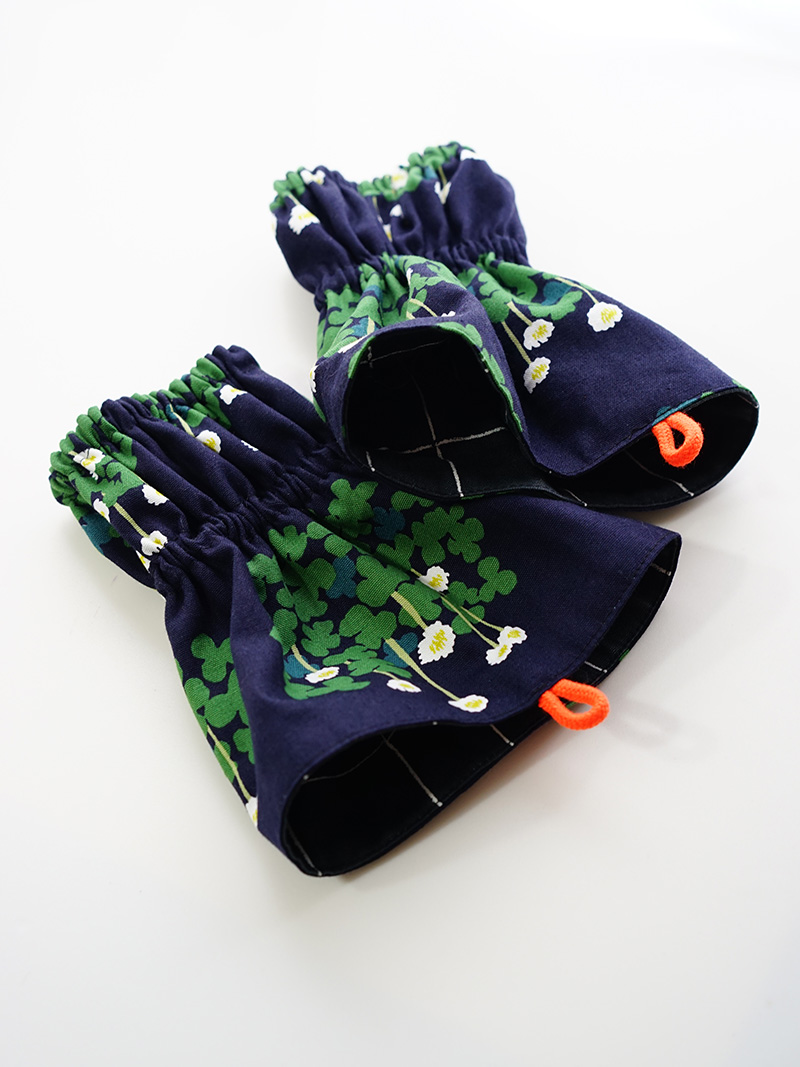
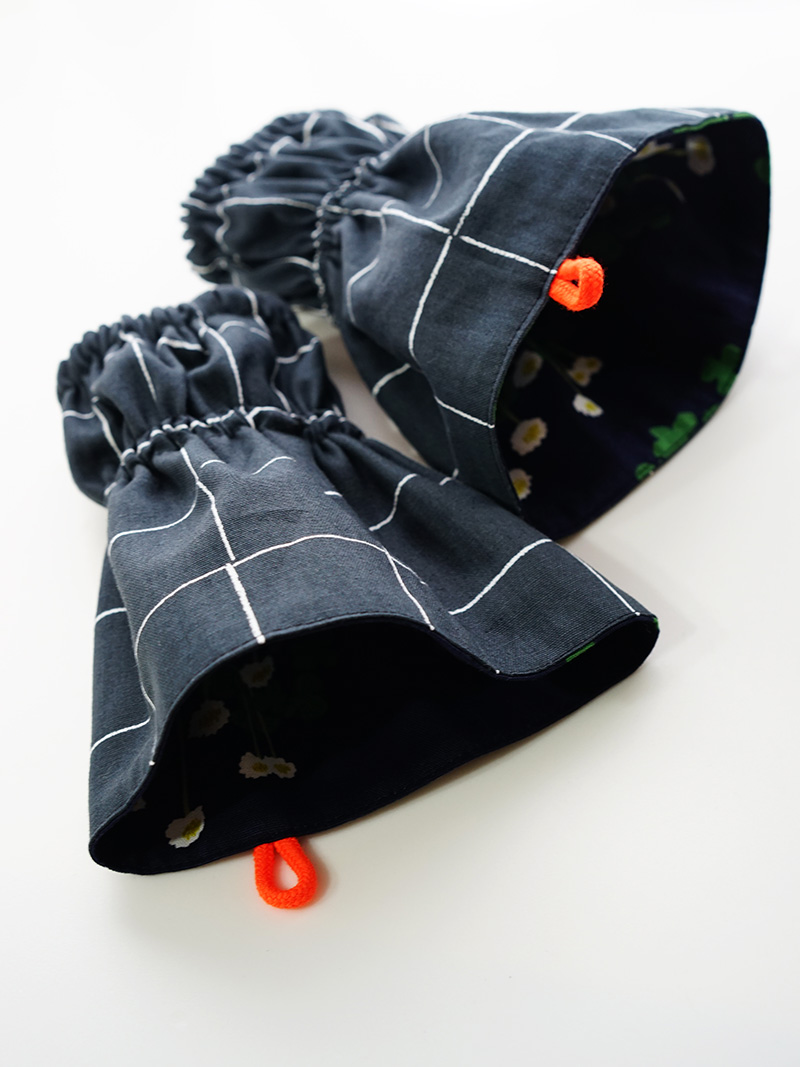
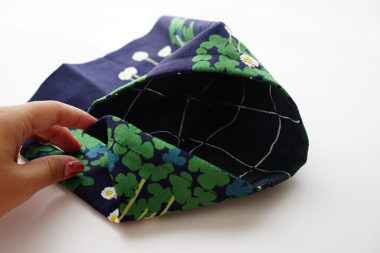
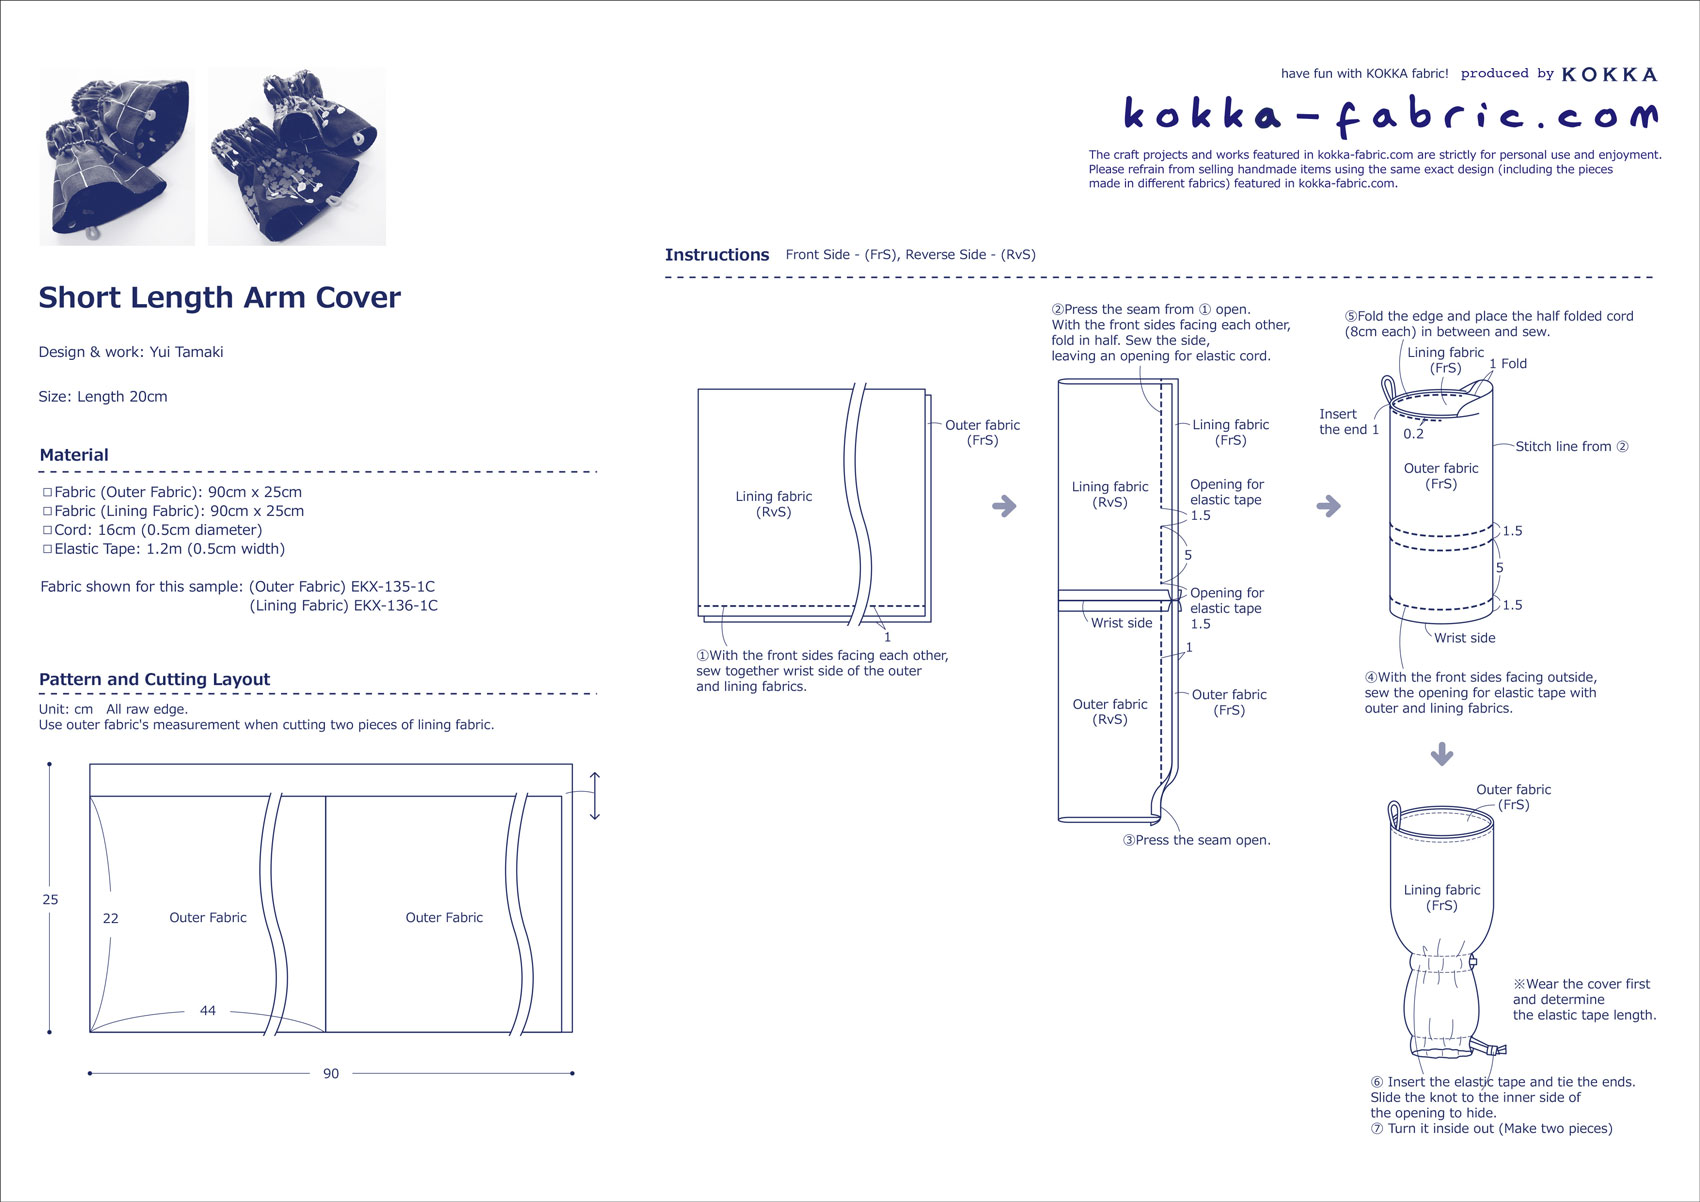
This reversible arm cover will make your daily cooking more enjoyable. It is easy to use and its short length design is stylish. The featured fabrics are “white clover” and “square” from the MUDDY WORKS series. Both are 100% cotton organic oxford.
Fabric shown for this sample:(Outer Fabric) EKX-135-1C
(Lining Fabric) EKX-136-1C
Materials:
- Fabric (Outer Fabric): 90cm x 25cm
- Fabric (Lining Fabric): 90cm x 25cm
- Cord: 16cm (0.5cm diameter)
- Elastic Tape: 1.2m (0.5cm width)
Size:Length 20cm
We interviewed Yui about her creation:
Kokka Fabric (KF): What did you think of the fabric you used for this project?
I thought that the gentle feel of white clover would calm our mood, so I created kitchen accessories that we come in contact with every day. I think they will be useful during the season when we wear long-sleeves!
KF: Can you tell us any special elements or ideas that you incorporated into this creation?
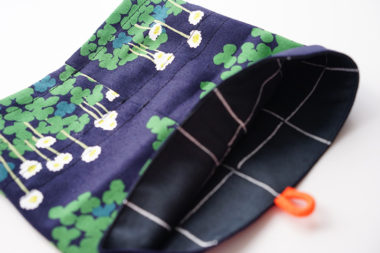
The short length is stylish and looks cute hanging in the kitchen. By making it reversible with a plaid pattern, I made it easier to create the opening for the elastic cord. (the plaid pattern serves as a guide when sewing).
KF: What are some tips for making this arm cover?
The part with a tubular shape is sewn from the inside. I hope you find the instruction video helpful.
KF: How should we use this arm cover in everyday situations?
Since it is reversible, I hope your house chores will be enjoyable by switching the pattern you see depending on your mood.
Thank you very much, Yui! Here are sewing instructions along with step by step photos from her. Enjoy crafting!
Instructions
1.
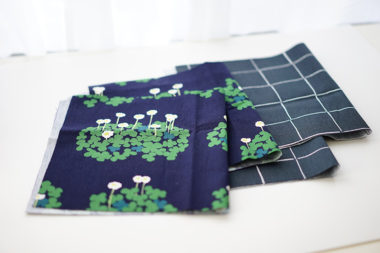
Cut the fabrics.
2.
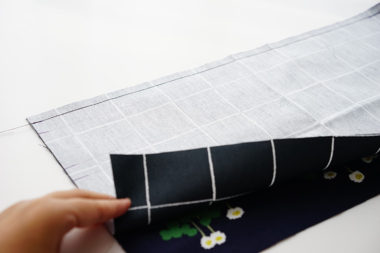
With the front sides facing each other, sew the wrist side.
3.
Press the seam open. Turn it inside out and sew the elastic cord opening.
4.
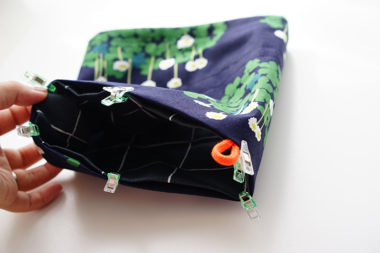
Fold the edge on the other side by 1cm. Fold the 8cm cord in half and place it in-between.
5.
Sew all the way around the edge.
6.
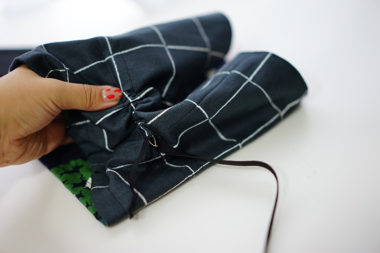
Insert the elastic cord and tie the ends. Hide the knot by placing it inside.Repeat the same process for the other pair to complete one set.
◎Sewing Tutorial(PDF format / A4 size)

 Ribbon Pochette – Free Sewing Tutorial
 Can be Used In Two Ways – Backrest or Seat Cushion – Head Protection Hood Cover – Sewing Instructions
 Notebook Cover in a Patchwork Style Print Fabric – Sewing Instructions