
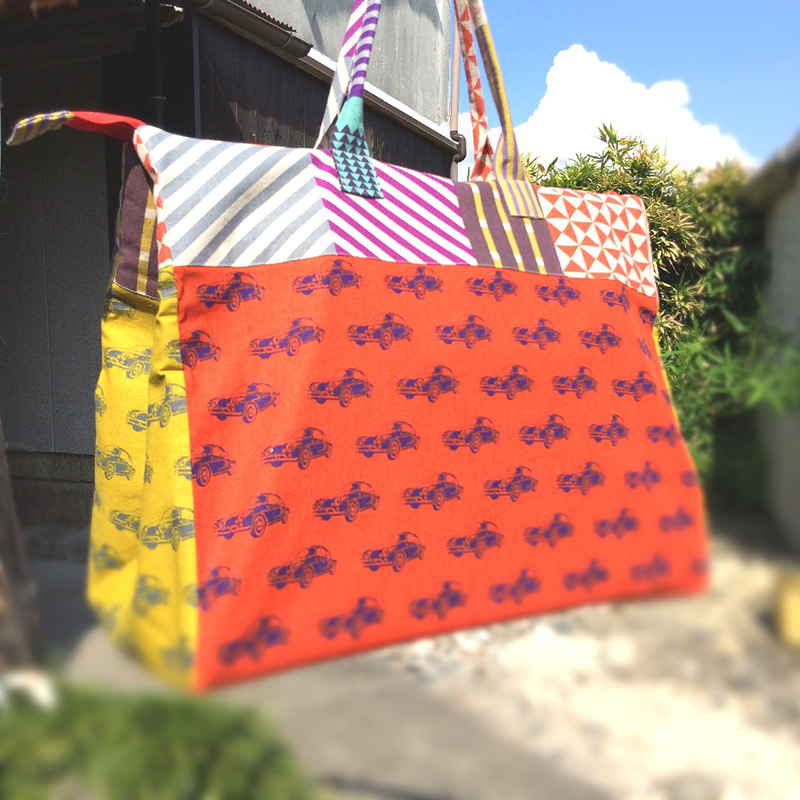
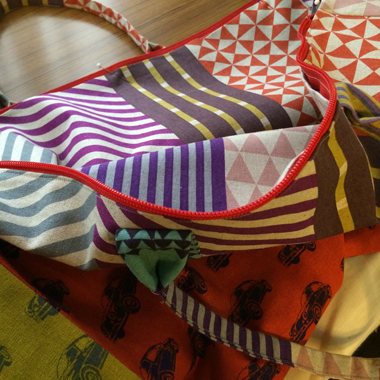
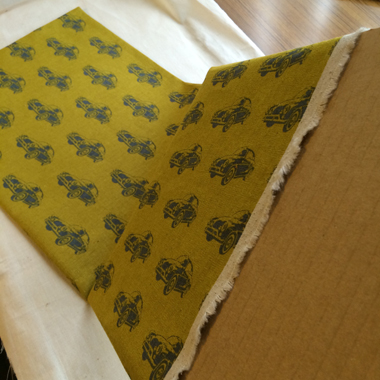
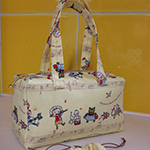
Today’s project is a Boston bag made with ni-co, a fabric that was created under the theme, “Unisex Simple.” The main part of the bag uses a different color car-b, while the accent is added to the top and handles with the block design. With a large width, the bag has ample room to hold many items including a change of clothes for an overnight trip or going to a gym. Kaori Sawa is here to introduce her creation.
Fabric shown for this sample: :echino ni-co car-b JG99800-801 (B), (D)
echino ni-co block JG99800-803 (B)
Materials:
□ Fabric: (Outer panel fabric – panel a) 100cm×40cm
(Outer fabric – gusset a, bottom) 100cm×50cm
(Other) 110cm×140cm
□ Fusible interfacing: 80cm×110cm
□ Zipper: One piece (60cm)
□ Cardboard: 50cm×30cm

We interviewed Kaori about her creation:
Kokka Fabric (KF): What did you think of the fabric you used for this project?
I was happy to work on this project since the fabric was my favorite, echino. I thought this would be a perfect fabric to make something sizable.
KF: Can you tell us any special elements or ideas that you incorporated into this creation?
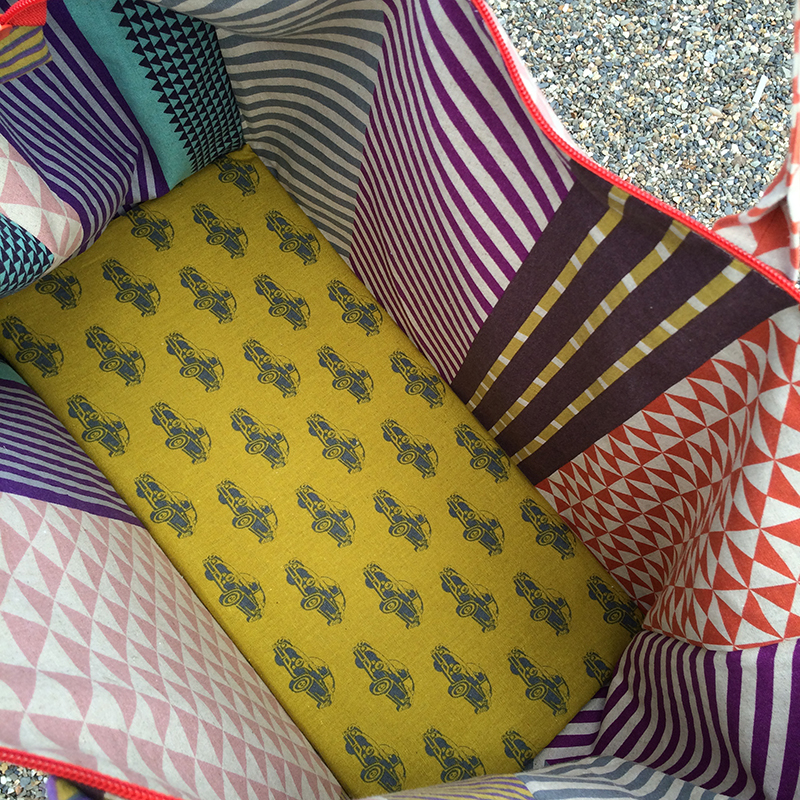
This large bag can be used as a travel bag. It has a wide width and is collapsible, easy to store when not in use. The designs of two different fabrics are creatively incorporated.
KF: What are some tips for making this bag?
You will have a clean finish if you iron frequently during the process. To give it a solid look, I recommend using a heavy-weight interfacing.
KF: How should we use this bag in everyday situations?
For your travels. You can take plenty of outfits.
KF: Thank you very much, Kaori! Here are sewing instructions along with step by step photos from her. Enjoy crafting!
How to make Boston Bag
1.
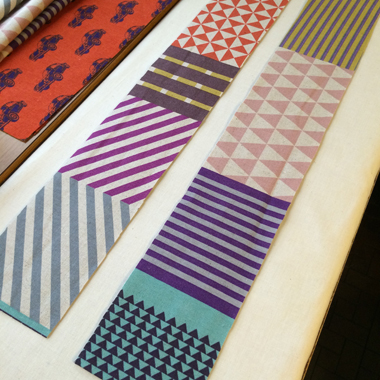
With seam allowance, cut the fabrics.
2.
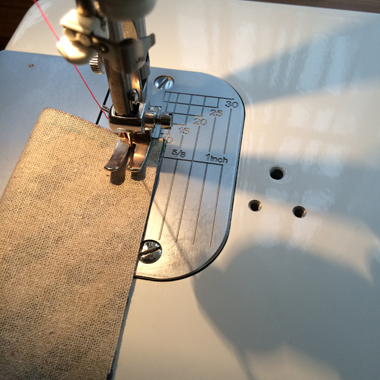
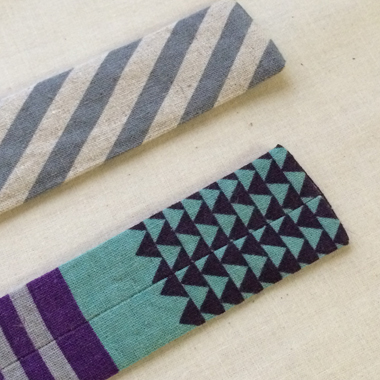
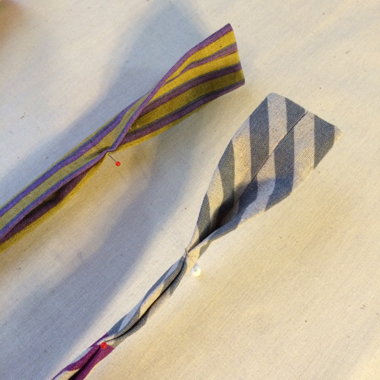
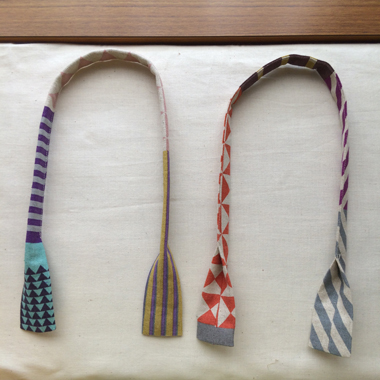
Make the handle. Fold the fabric in half and sew. Press the seam open, placing the stitch line in the center. Press with iron.
Starting at 8cm from both ends, fold the fabric in half. Only sew where it’s folded.
3.
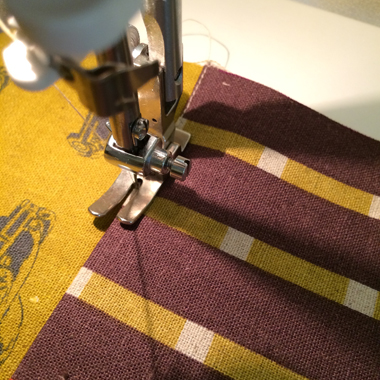
Adhere interfacing to the main outer panel and gusset a and b and sew together. Press down the seam to the top and iron to secure. Run topstitches from the front.

4.
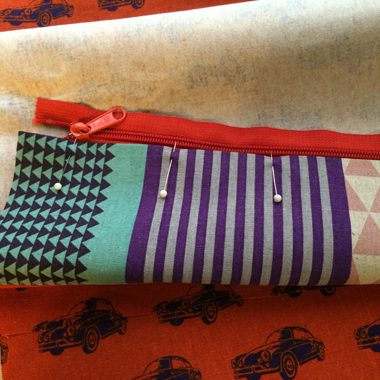

Attach the zipper. Fold the top opening for 2cm (seam allowance) and attach the zipper.
5.
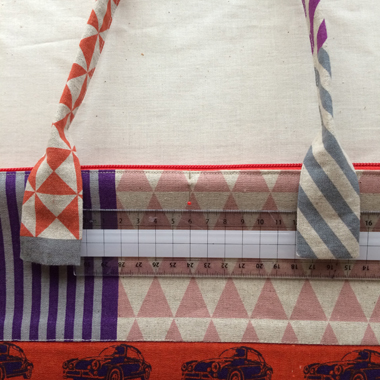

Attach and sew the handle to the main outer panel fabric. The end of the handle should be placed at 6cm from the center and 5cm from the top.
6.
Prepare the bottom of the bag. Press the seam down to one side and run top stitches from the front.
7.
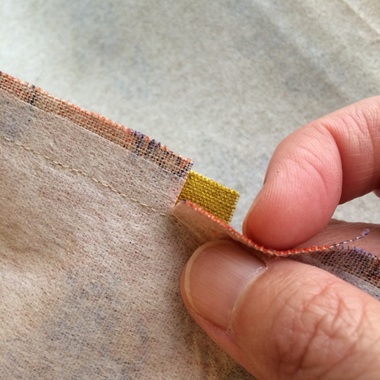
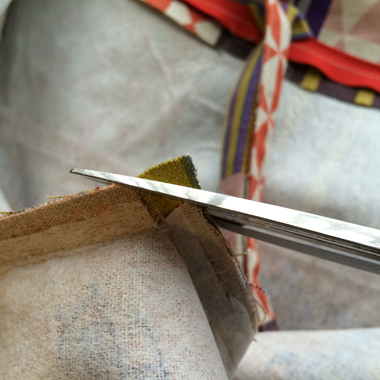
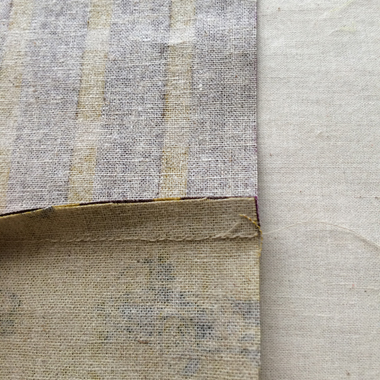
With front/outer sides facing each other, sew together the main panel and gusset.
☆ Make a slit on the corners (seam allowance of the main panel)
☆ Cut off the corners of the gusset.
8.
Prepare the lining bag. Sew the main panel and gusset a and b. With front/outer sides facing each other, sew together the main lining panel and gusset.
9.
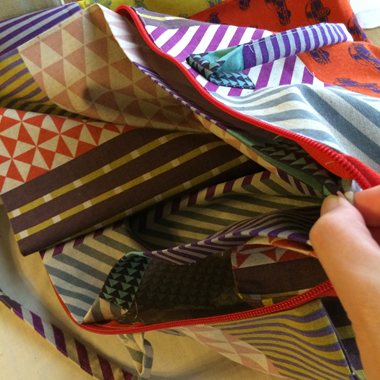
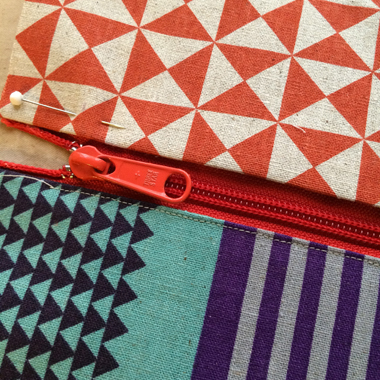
Put together the outer bag and lining bag (with front/outer sides facing outside).
10.
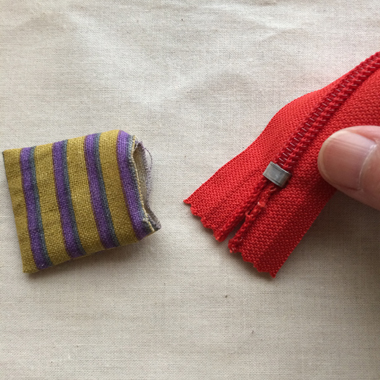
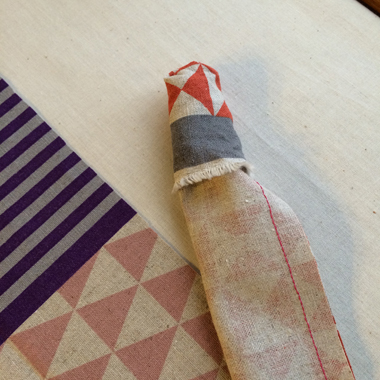
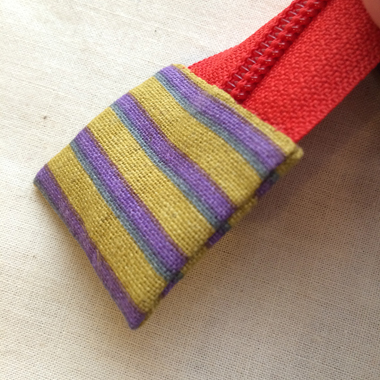
Cover the end of the zipper (stopper part) with a fabric.
With 1cm seam allowance, cut the fabric to make a 3.5cm x 3.5cm square bag (match the exact measurement to the size of the zipper). Fold the opening to adjust the size of the square and put it over the zipper and sew to close.
11.
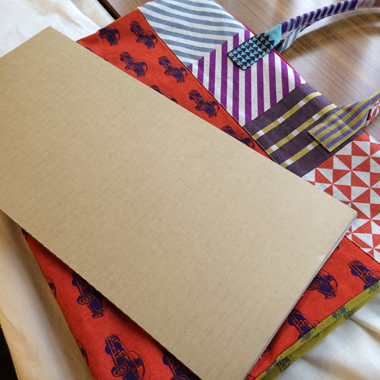
Make the stabilizer board to place on the bottom to shape the bag. Cut the cardboard or heavy paper to measurement. Sew the fabric to make a bag to place the board. Insert the board and close the opening. (You may also use bag and tote stabilizer sheet available at a store. This sheet is convenient as it is solid and does not require a bag.)

 Mini purse with a drawstring bag
 Triangular Boston Bag
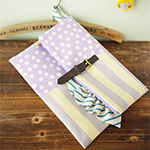 Clutch Bag