
Today’s project is a dress made from a flower and border print fabric, Kwiat druk, which was inspired by Eastern European tableware. The border portion is used not only for the hem but also for the sleeve, neckline and even for the center of the front skirt, creating a folkloric look. Anri, who is our regular contributor and known for her creativity and cool style is introducing her work.
Fabric shown for this sample : P34700-700 (D)
Materials :
□ Fabric : 110cm wide x 3m
□ Fusible Interfacing : 50cm×50cm


We interviewed Anri about her creation:
Kokka Fabric (KF): What did you think of the fabric you used for this project?
It is moderately thick, and this thickness makes it easy to handle. I thought a dress would be perfect with this tasteful sheen cotton sateen fabric.
KF: Can you tell us any special elements or ideas that you incorporated into this creation?
The lines on both sides are full of impact with very stylish color tones, which made me want to make it stand out. Using a vertical line, I tried to make it look like a pair of panels.
KF: What are some tips for making this dress?
Selecting the right direction of the patterns determines how you cut the fabric. You should think first how you will use the overall fabric before cutting. The small flower design also has a direction and the patterns are not repeated. It would be difficult to fix once you cut it incorrectly.
KF: How should we wear this dress in everyday situations? Any tips for styling?
Of course, you can wear it as a simple dress. To enjoy it for a longer season, you may add a turtle neck and a pair of boots as the design allows for a layered look.
KF: Thank you very much, Anri! Here are sewing instructions along with step by step photos from her. Enjoy crafting!
How to make Folkloric Style Dress
1.
Making sure that you have the correct direction and location of the design, cut the fabric.
While an interfacing is fused to a facing, you may rough cut the fabric since the fabric may shrink,
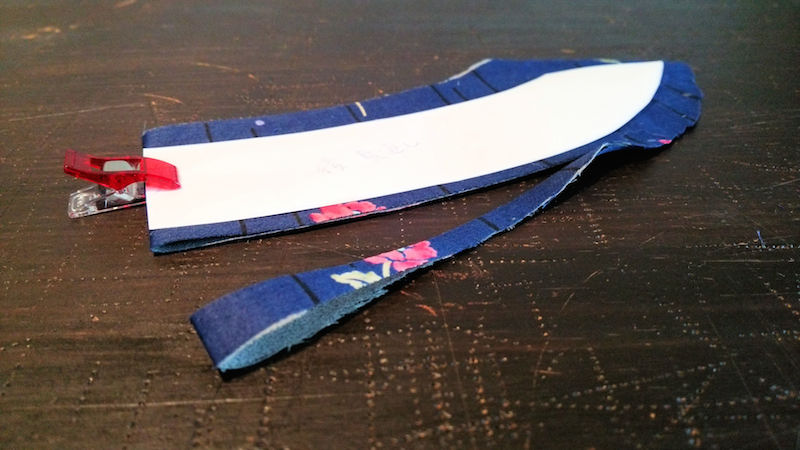
2.
The outside seam should be folded first using an iron. Fold the curve carefully for a clean finish as the facing will be on the front side.
3.

Sew together the shoulder of the front and back body. Start sewing the darts from the side. When finishing, rather than using the back stitch, tie a knot with a top and bottom thread. This way, it will not affect the look on the front side.
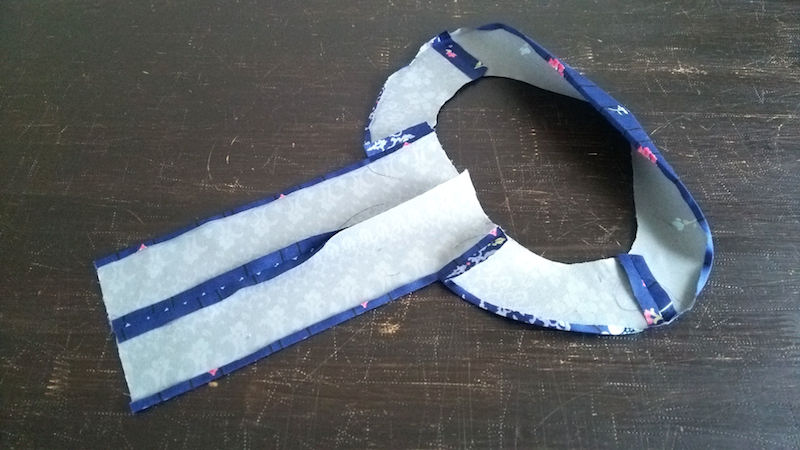
4.
Sew together the body and the facing. You may find it a little difficult to sew. The finish line of the slit on the neckline should layer with the end of the pieced together body and facing. This way it will not create a hole.
5.
Turn the facing inside out and run top stitches. When sewing the edge, repeat the stitch two to three times at the end of the slit to avoid separation.
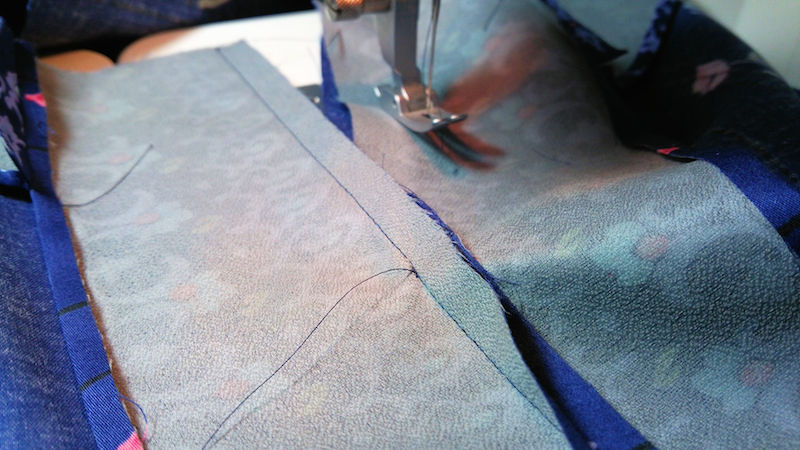
6.
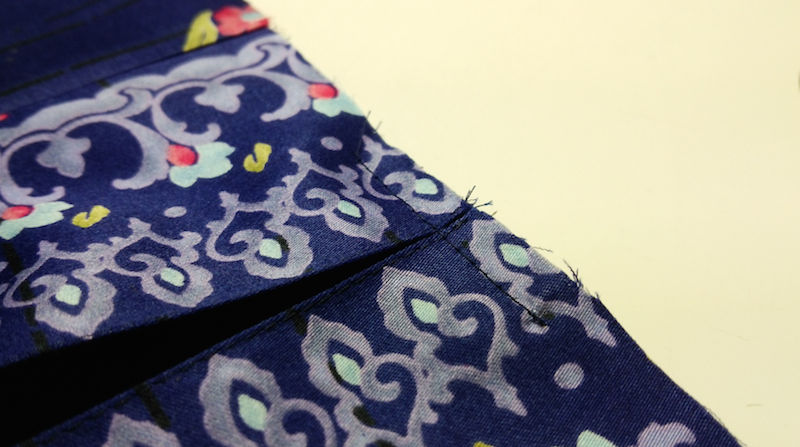
Make a skirt. To emphasize the pattern on the vertical line, the pleat on the front skirt is top stitched on both inside and outside of the fold. Baste at 7mm to make the subsequent process easier.
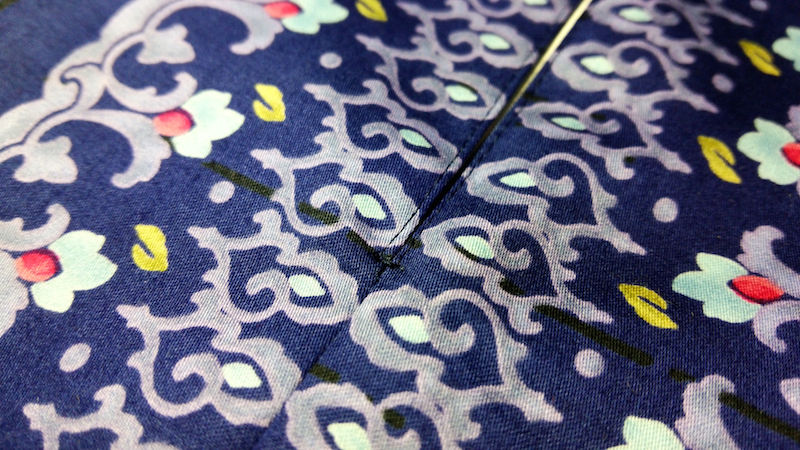
7.
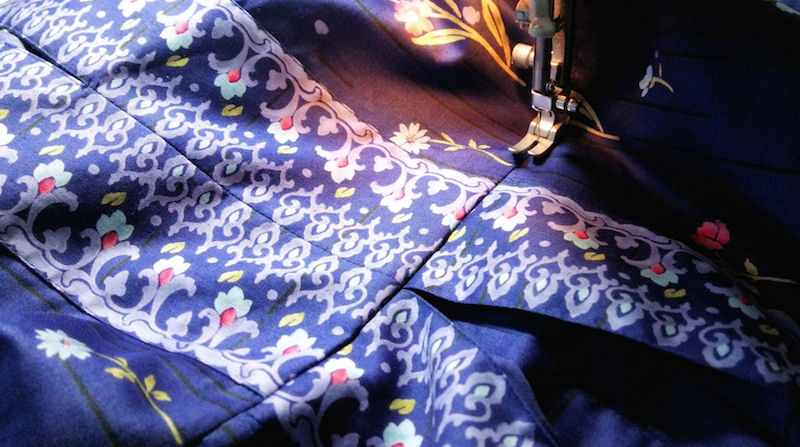
Sew together the body and skirt. Press down the seam to the body side using an iron, followed by the top stitch.
8.
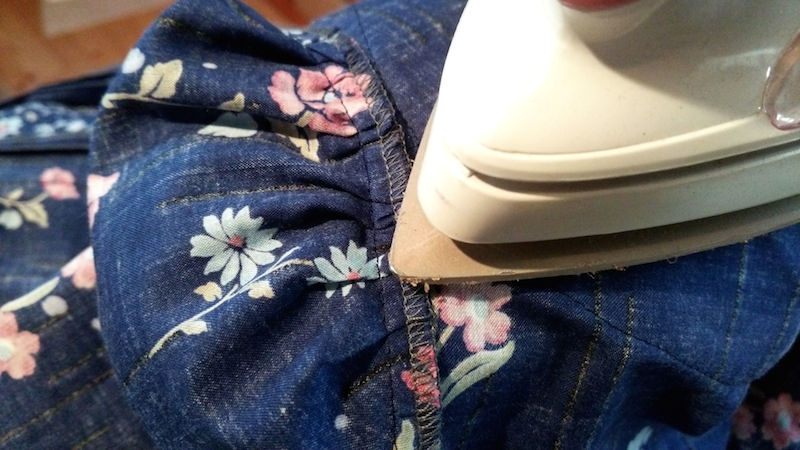
Attach the sleeve. Press down the seams to the body side using the tip of the iron, trying not to crush the gathering at the sleeve cap. Use the thin edge of the ironing board for easy ironing. The seam allowance at the opening of the sleeve is more than the one for regular clothing. This is because the bell sleeve has a wider opening and to avoid the reverse side from showing through the sleeve opening.
9.
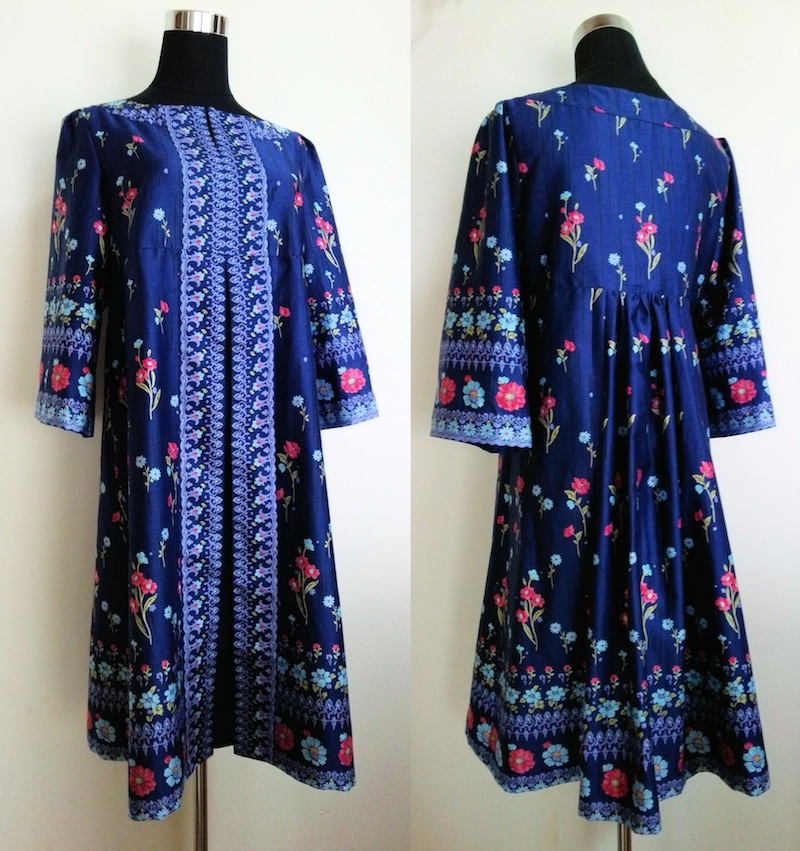
Finished!
The front skirt looks sleek with a pleat, while the back skirt has a soft silhouette with plenty of gathering in the center. With back gathering and high waistline, this dress covers up the body line from the waist to the hip, making your legs look longer.

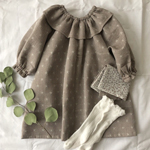 Dress with Clown-Style Collar Sewing Instructions
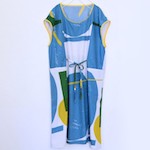 Tunic Style Dress
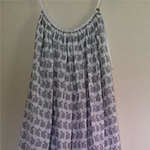 Cami dress in double gauze fabric