
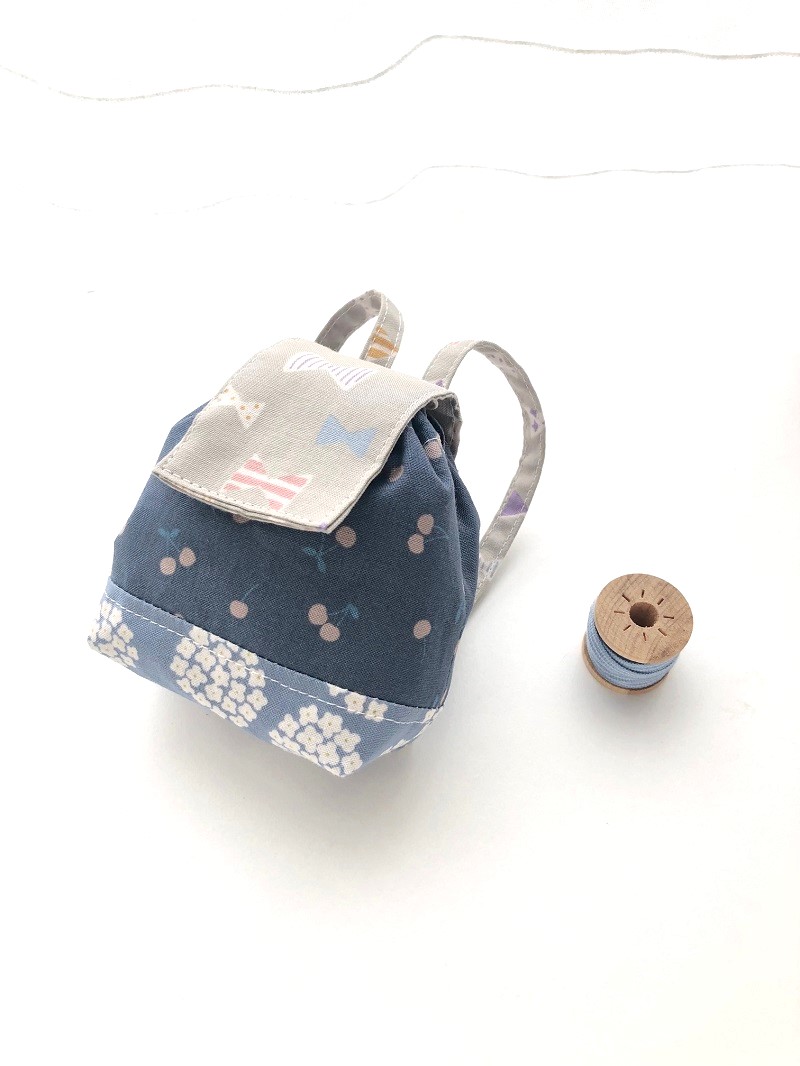
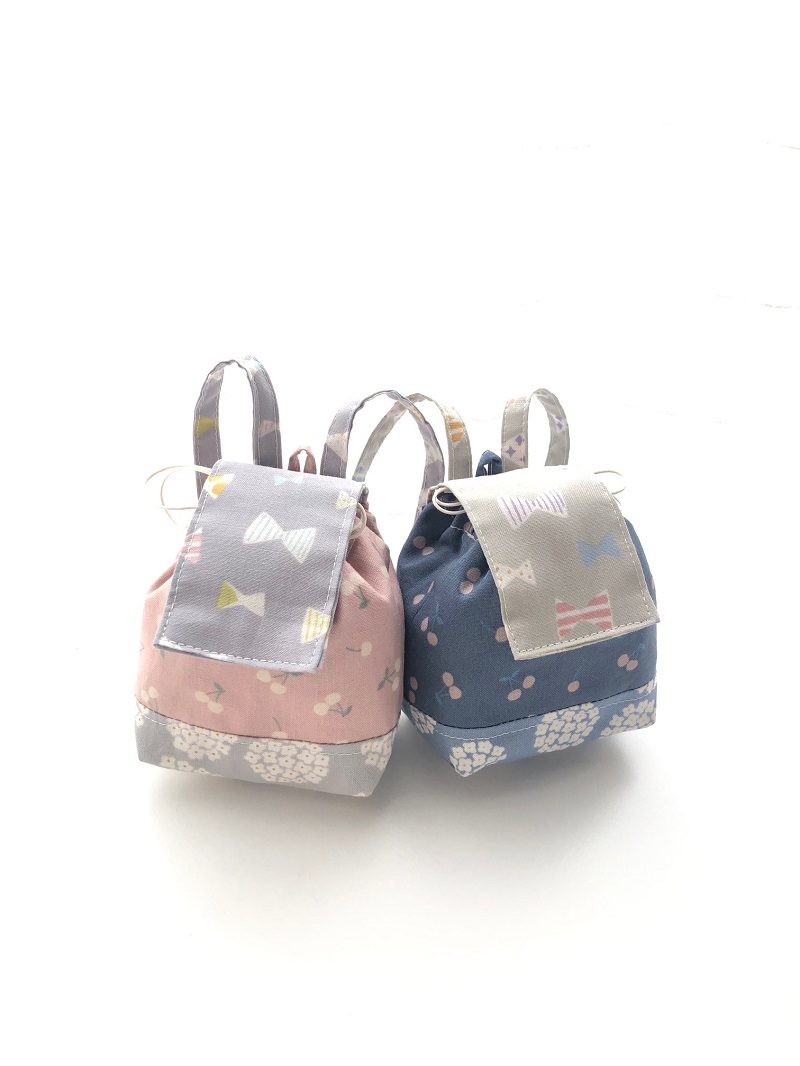
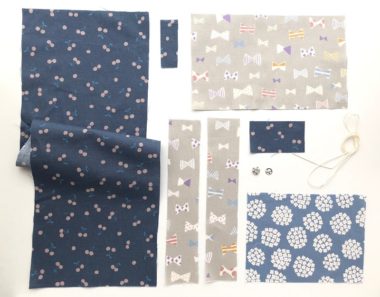
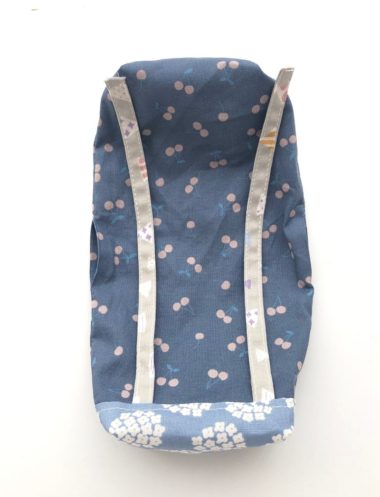
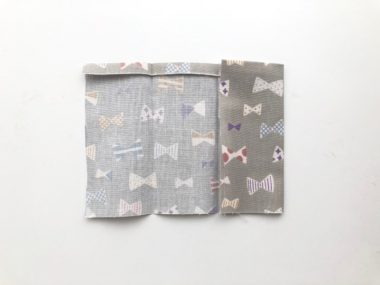
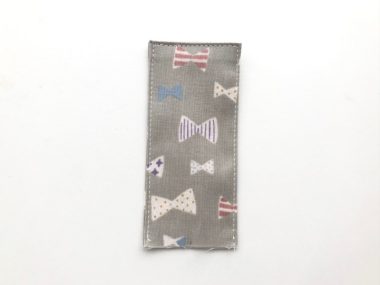
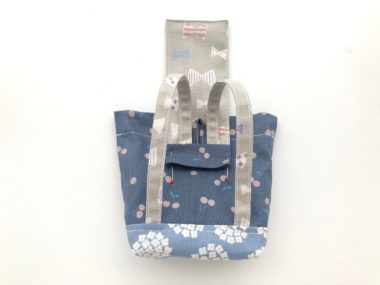
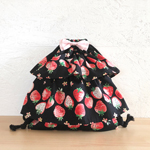
This small backpack combines three different patterns. It comes with a loop so it can be attached to a large bag and used as an extra bag or pouch. The featured fabric is from the “pataco” series, showcasing three patterns in matching colors within 110cm width. With coordinated color tones, you can enjoy making bags and accessories by piecing fabrics together. It is 100% cotton sheeting.
Fabric shown for this sample:YKA-99090-3D
Materials:
□ Fabric (Main Body, Loop, Patch Fabric): 25cm×50cm
(Bottom Fabric): 15cm×11cm
(Flap, Shoulder Strap): 30cm×20cm
□ Waxed Cord/String: 0.1cm diameter x 80cm
□ Snap: 1cm diameter x One pair
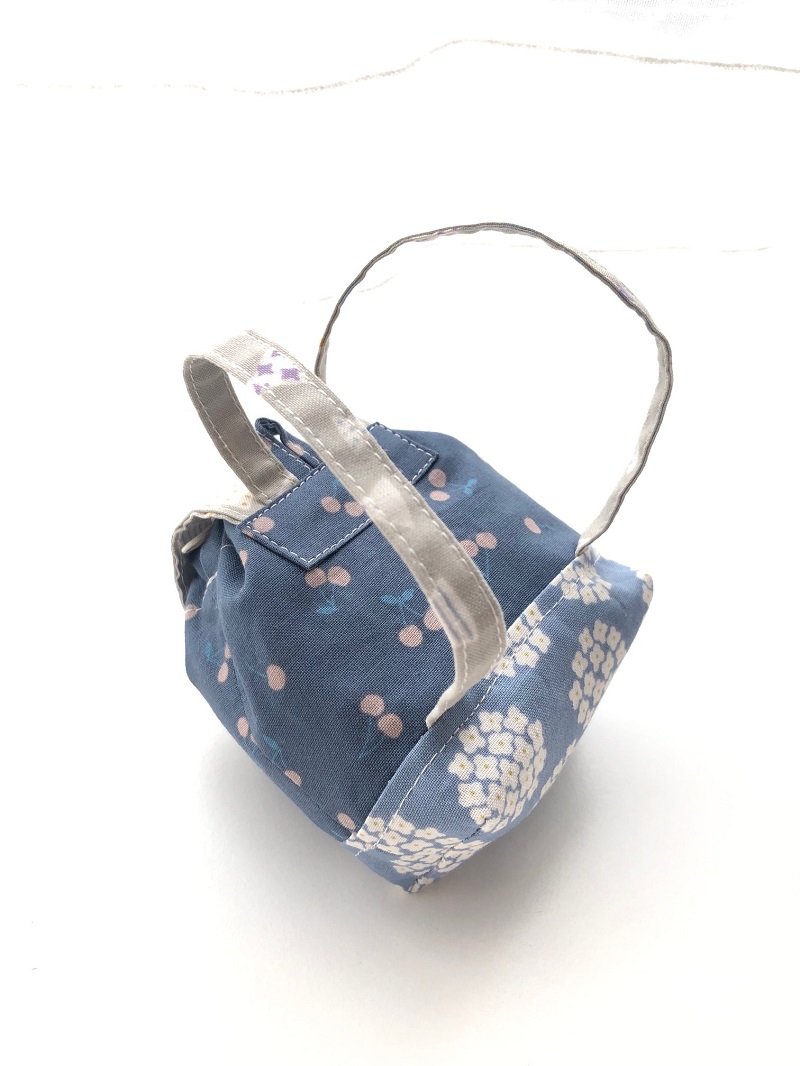
Size: 11cm (l) 13cm (w-opening side) 8cm (bottom) 5cm (gusset)
We interviewed Mioko about her creation:
Kokka Fabric (KF): What did you think of the fabric you used for this project?
With three different patterns in one piece of textile with exquisite color matching, it’s a cute and useful material that can be coordinated by itself! I took advantage of this characteristic and made a mini backpack, arranging all three types of patterns to be visible.
KF: Can you tell us any special elements or ideas that you incorporated into this creation?
It is basically a drawstring bag, so it is surprisingly easy to make! It can be used as a pouch because it can hold things properly.
KF: What are some tips for making this bag?
When attaching the shoulder straps to the backpack flap, be careful not to misorient them. It is easier to work with if you hold them with temporary fabric glue.
KF: How should we incorporate this bag into one’s styling?
Using the loop, it can be attached to a large bag. It is also cute to put it through the belt loop of your child’s clothes.
KF: Thank you very much, Mioko! Here are sewing instructions along with step by step photos from her. Enjoy crafting!
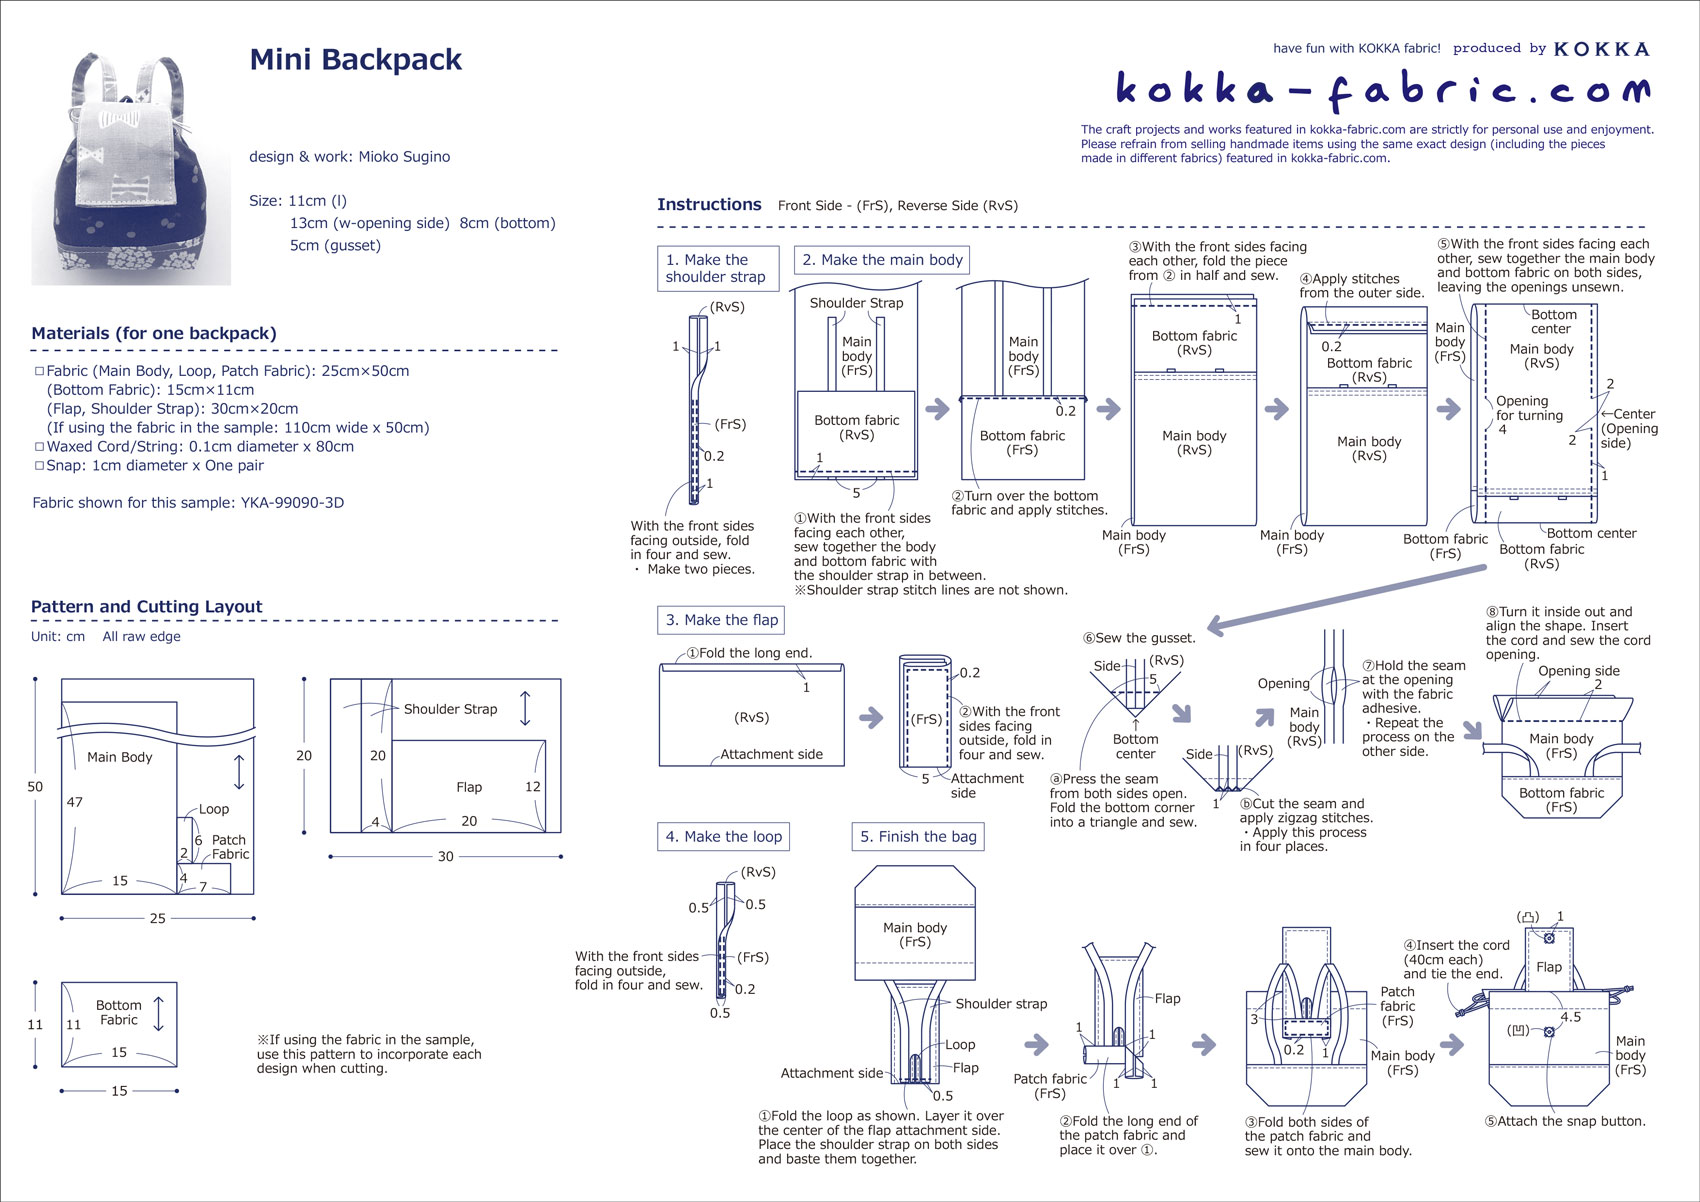
Instructions
Preparation
Cut the fabrics according to the pattern.
1.
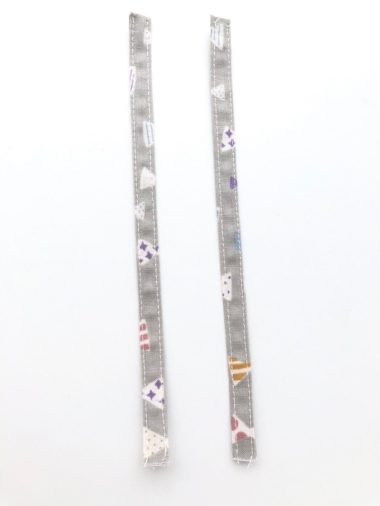
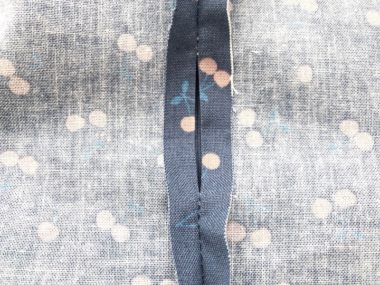
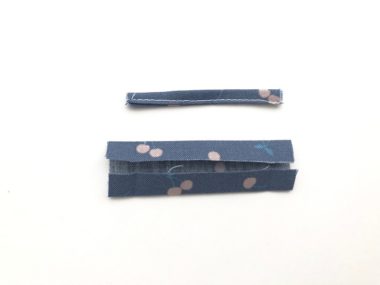
Fold the shoulder strap in four and sew both ends. Make two pieces.
2.
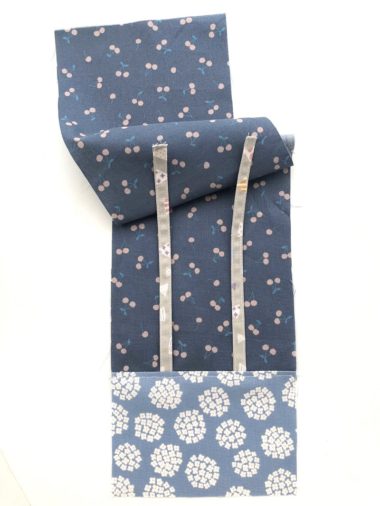
With the front sides facing each other, sew together the body fabric and bottom fabric with shoulder straps in between. Open and secure with stitches.
3.
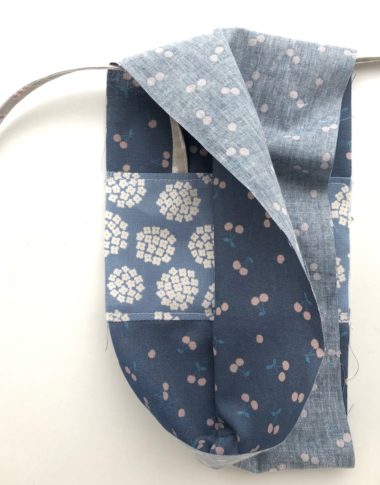
Also, sew the other ends of the body fabric and bottom fabric without shoulder straps.
4.
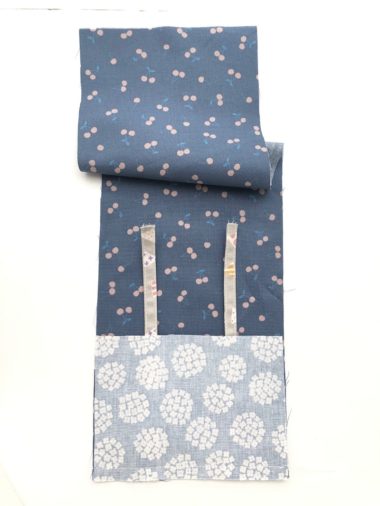
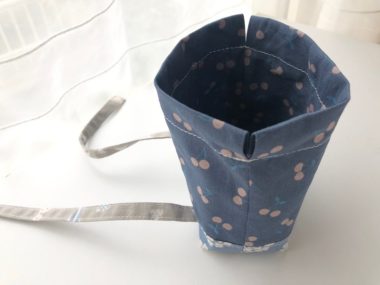
With the front sides facing each other, sew together the body fabric and bottom fabric on both sides. Leave 2cm from the center unsewn (total of 4cm) on both sides.
5.
Make the 5cm gusset. Cut off excess piece and apply zigzag stitches.
6.
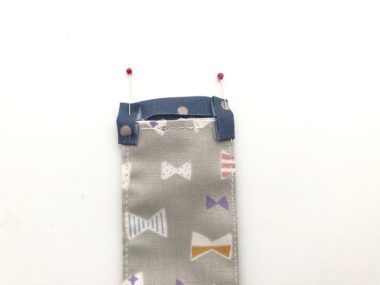
Apply stitches or use craft adhesive to secure the unsewn end portion.
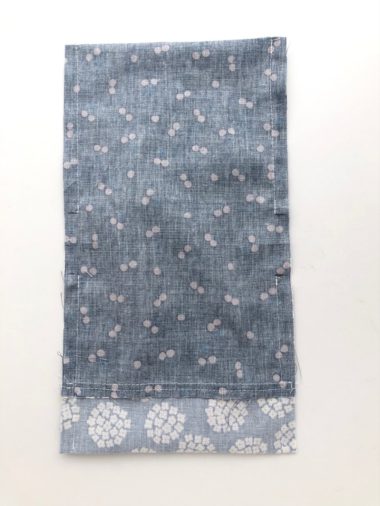
7.
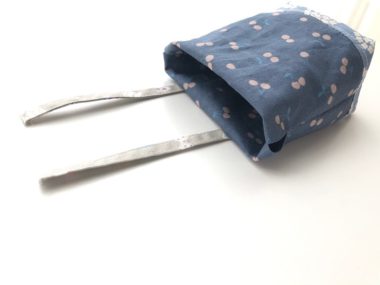
Turn it inside out and put half of the piece inside. Apply stitches all the way around at 2cm from the top end.
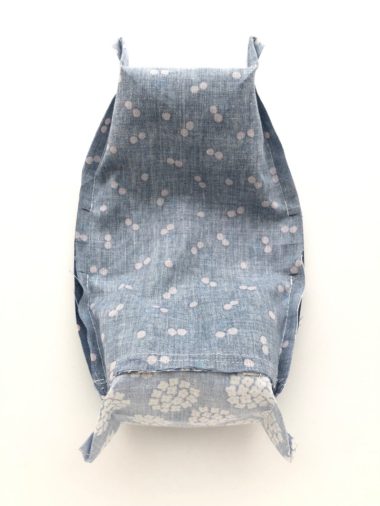
8.
Fold the long end of the flap fabric first for 1cm to the lining side and then fold the flap in four and apply stitches.
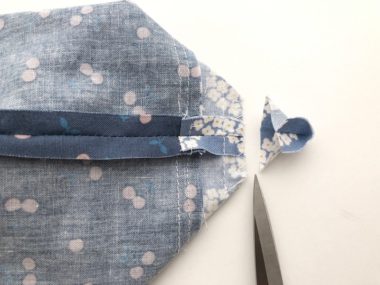
9.
Fold the loop fabric in four and sew. Fold the top and bottom end of the patch fabric for 1cm and apply an iron.
10.
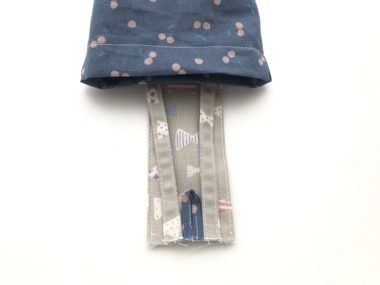
Fold the loop in half and place it in the center of the bottom end of the flap. Place the shoulder straps to the side of the loop and baste.
11.
Layer the patch fabric by 1cm over the flap. Fold in both ends as if to wrap the flap with the patch fabric. Sew it onto the back side of the bag body.
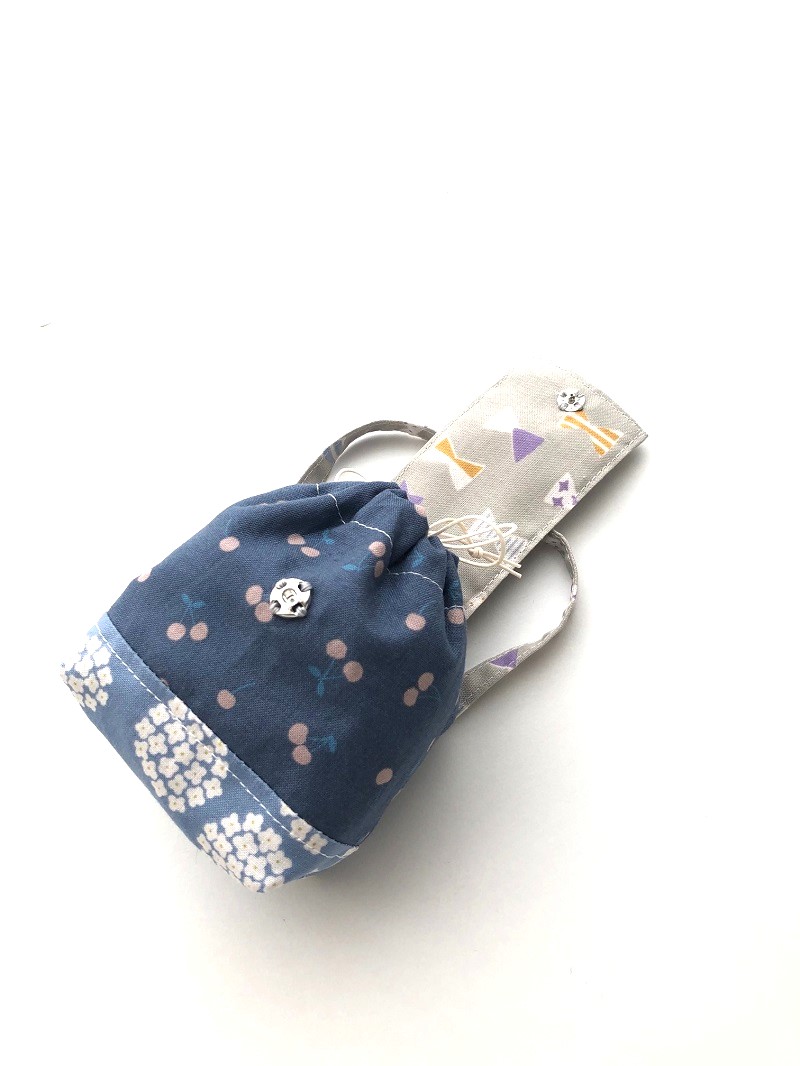
12.
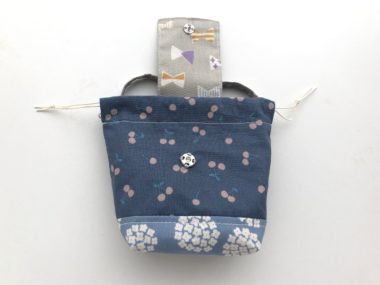
Insert the waxed cord and tie the ends. Attach the snap button.
◎Sewing Instructions (PDF format / A4 size)

 Frilled Drawstring Backpack Sewing Instructions
 Shopping Bag Accented with Piping – Sewing Instructions
 No Need For Metal Parts or Cords♪ – Drawstring Shoulder Bag – Sewing Instructions