
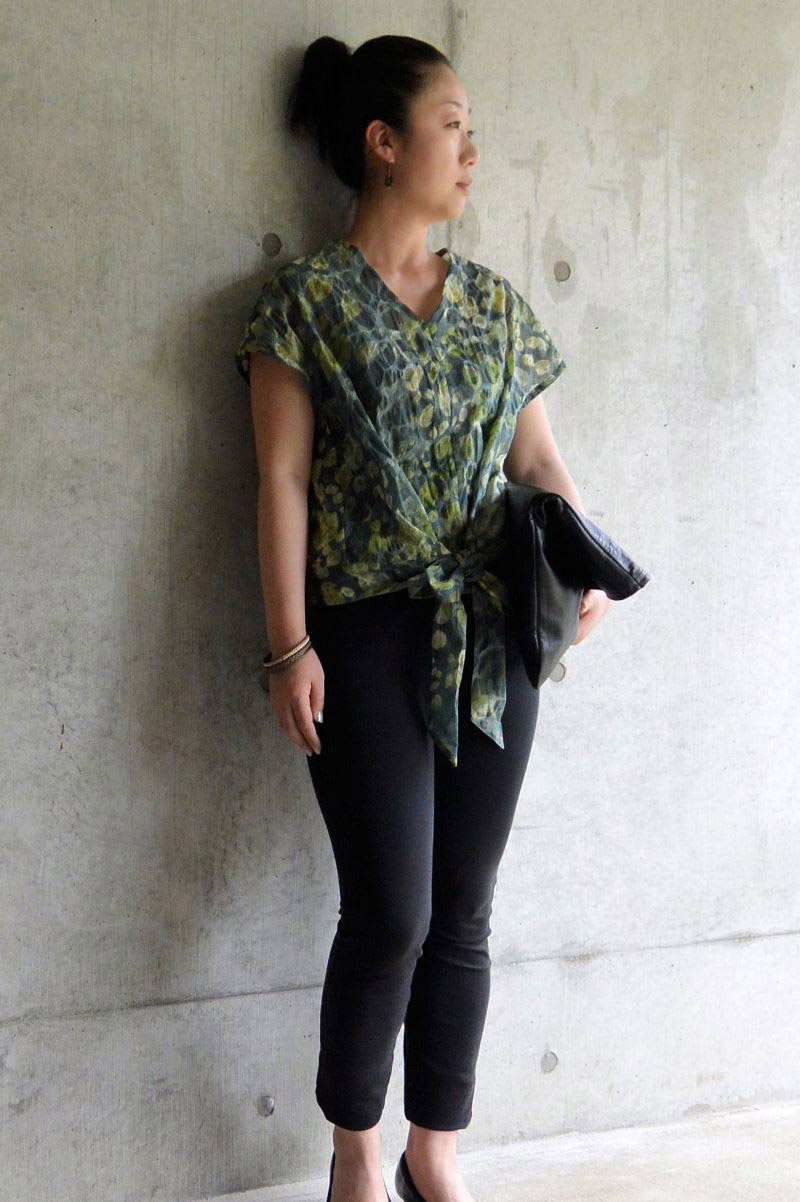
This blouse looks cool in a salt shrink processed cotton lawn fabric. A simple design is enhanced by a ribbon at the hem. The featured fabric, KUPLAN KUKKA (Bubble flower) from Kuiskaus, is a series created by Sawako Ura, a designer residing in Finland. The ribbon at the hem adds an accent to a refreshing fabric with a layer of bubbles in water.
Fabric shown for this sample:kuiskaus JG31000-2 (D)
Materials:
□ Fabric: 106cm wide x 150cm
We interviewed Anriko about her creation:
Kokka Fabric (KF): What did you think of the fabric you used for this project?
Using this cotton lawn with a salt shrink treatment, I decided to make a cool-looking blouse that is perfect for the upcoming season starting early summer. In order to utilize the short and subdued repeated color and patterns, I tried to create the shape with a design focus.
KF: Can you tell us any special elements or ideas that you incorporated into this creation?
While the pattern is quite simple, by tying the ribbon at the hem, it creates a tuck effect. The shoulder line is not shapely so that it has a loose-looking feminine neckline. Just like the hem line, the neckline also represents this year’s trend. The V-neckline requires some technique, but this pattern without a facing is made simple by having a transition in the center of the body.
KF: What are some tips for making this blouse?
The areas with the salt shrinking treatment and without the treatment repeat themselves. Try not to be nervous when cutting and sewing. Let the fabric be natural and follow the flow.
KF: How should we wear this blouse in everyday situations?
By tying the ribbon, it creates a clean and slimmed-down trendy short length blouse. Wide-leg pants, another trendy item still popular since last year, will go perfectly with this blouse. Why not try matching this wrinkle-free blouse with a resort-like maxi-length skirt for your summer travel?
KF: Thank you very much, Anriko! Here are sewing instructions along with step by step photos from her. Enjoy crafting!
Instructions
1.

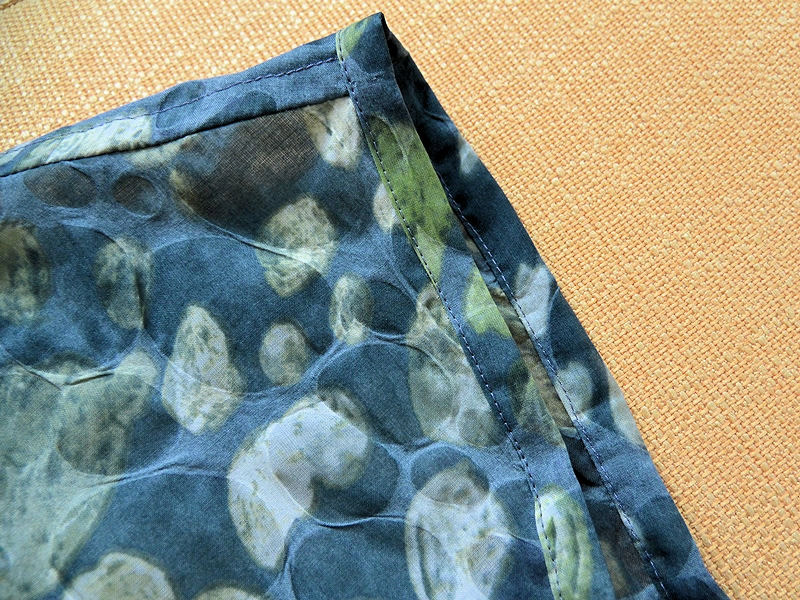
Serging and zigzag stitches are not required. Neckline does not need a facing. It is simply done with a double-fold finish.
2.
The sleeves are finished with a bias binding strip. If you prefer short sleeves over French sleeves, add the width without changing the length of the strip.
3.
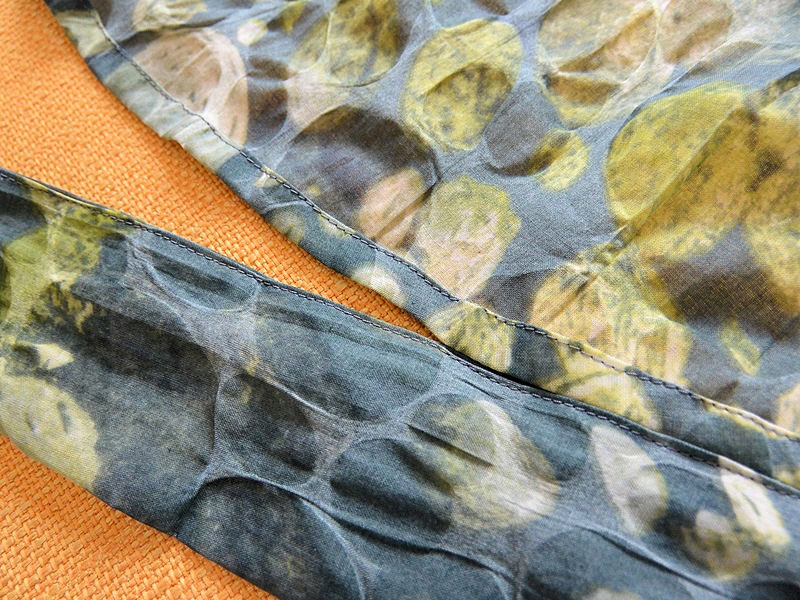
When sewing the body and ribbon together, please pay attention as the width of the seam is different. Considering the long length, the seam was set to minimize the fabric to be cut. If you prefer, you may allow 2cm for a seam on the ribbon when cutting the fabric.
4.
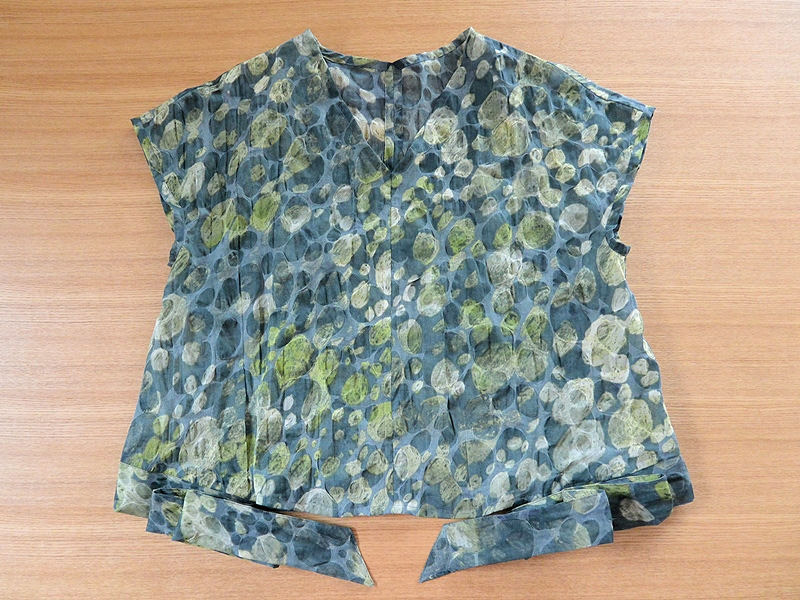
Finished. When the ribbon is untied, it has a simple and loose silhouette.
5.
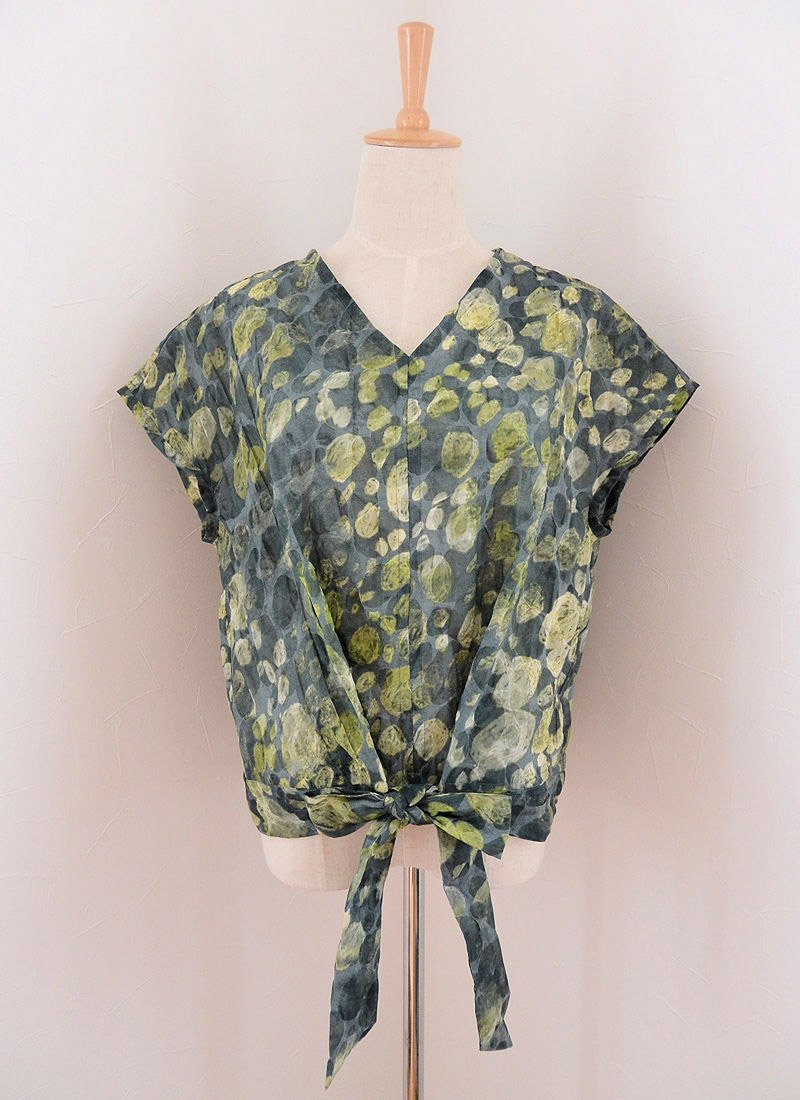
To avoid the ribbon getting untied easily, try this step when tying a bow. Make a loop using 2/3 of the ribbon and tie a knot using the loop on the right and left. This way the bow stays tied.

 V Neck Blouse with a Long Scarf
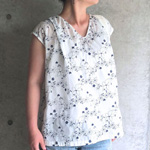 Shoulder Tuck Blouse
 Long Cardigan