
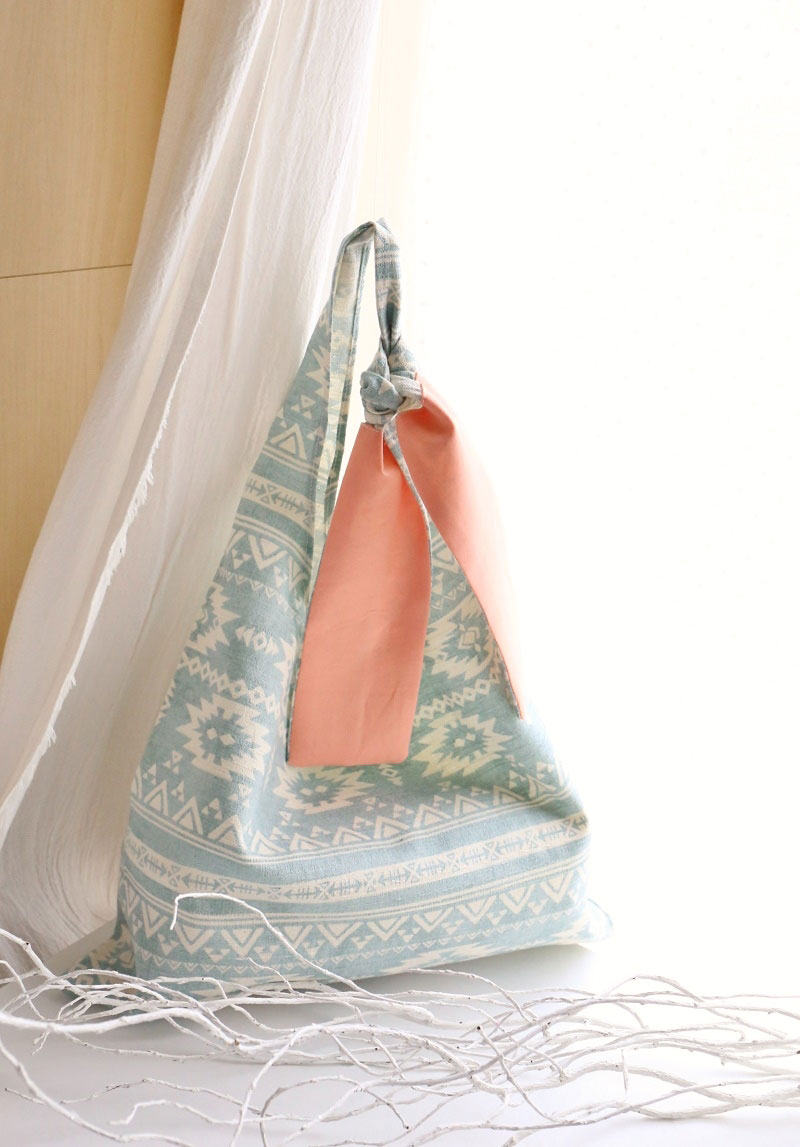
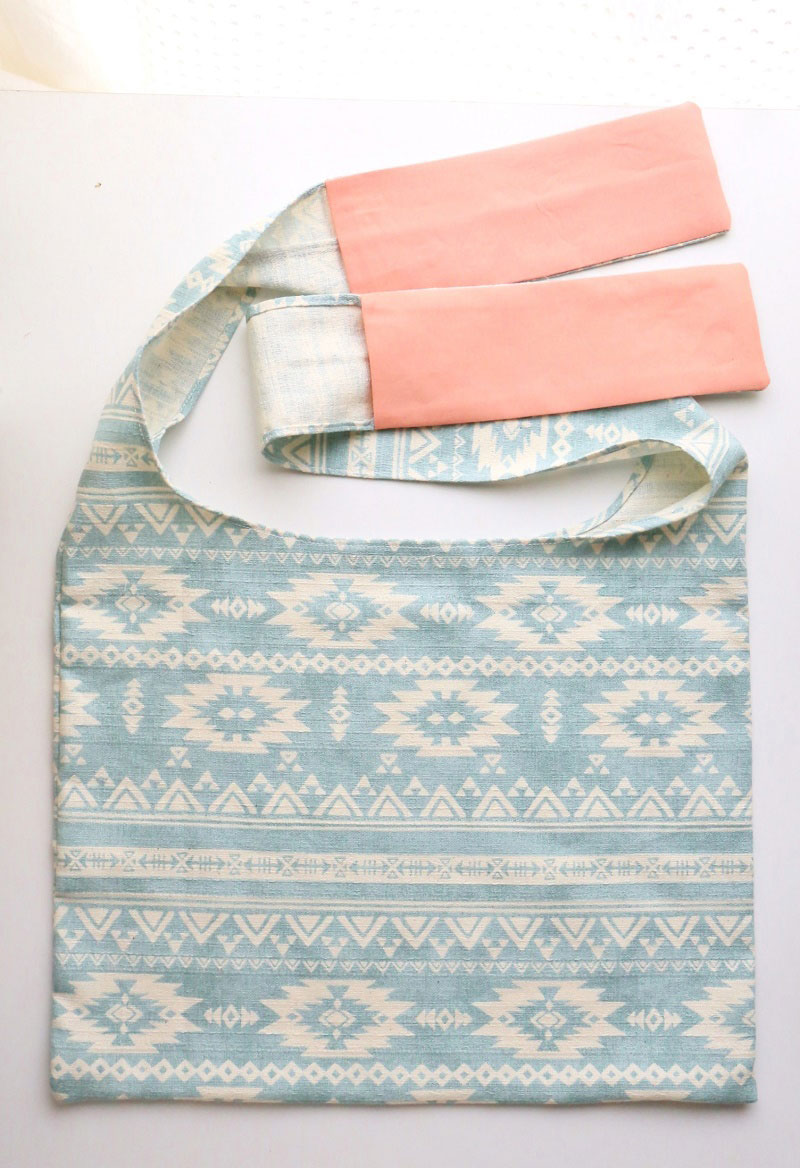
Made with an ethnic style fabric, this shoulder bag features a tied handle design. The sewing process is rather simple, mainly constructed with one major piece of fabric. It is an easy-to-make versatile bag perfect for different occasions.
Fabric shown for this sample: P43600-601(C)
Materials:
□ Fabric (Main bag): 80cm×90cm
(Handle backing fabric先布): 20cm×30cm
□ Fusible interfacing: 20cmx20cm
We interviewed Mioko about her creation:
Kokka Fabric (KF): What did you think of the fabric you used for this project?
The pattern is not overwhelmingly ethnic and seemed sewing-friendly. I chose a refreshing color and utilized the entire design to create a large shoulder bag.
KF: Can you tell us any special elements or ideas that you incorporated into this creation?
It is a shoulder bag with tied handles. As an accent, I used a different color at the end of the handle. I intentionally chose the opposite color, salmon pink, to come up with a bright and lively look. By tying them into a bow or some other knots, you can create a different look.
KF: What are some tips for making this bag?
It is mainly constructed with one major piece of fabric, and there is no need to sew together the outer and lining fabrics, allowing you not to get too concerned about the measurements on the pattern. You can create your own look by easily adjusting the length or width of the bag.
KF: How should we use this bag in everyday situations?
It is mainly constructed with one major piece of fabric, and there is no need to sew together the outer and lining fabrics, allowing you not to get too concerned about the measurements on the pattern. You can create your own look by easily adjusting the length or width of the bag.
KF: Thank you very much, Mioko! Here are sewing instructions along with step by step photos from her. Enjoy crafting!
Instructions
1.

Draw the seam line and cut the fabrics with seam.
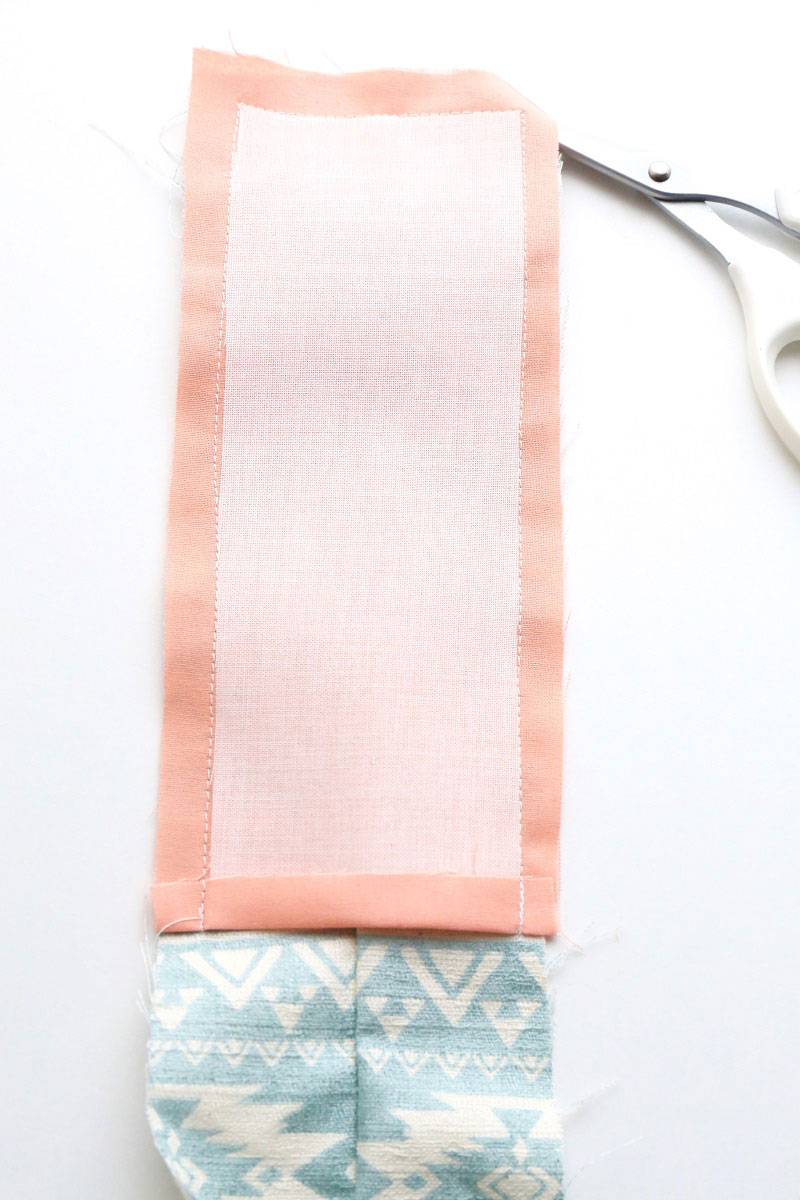
2.

Adhere fusible interfacing on the back of the handle backing fabric. Fold only the bottom short end (7cm) and iron to crease.
3.
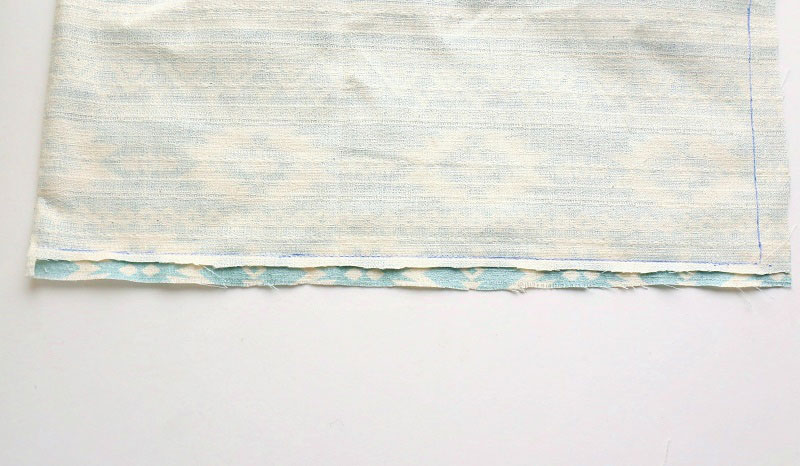
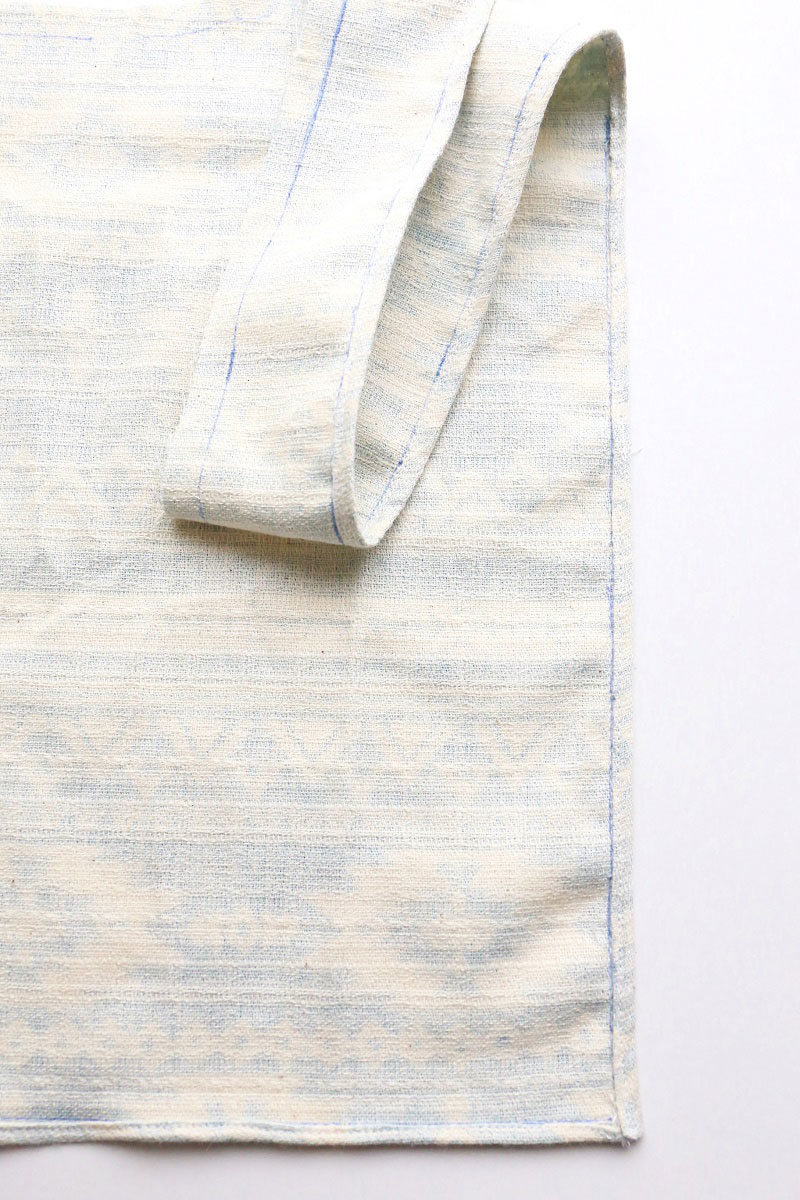
As shown, fold the main bag fabric and sew the bottom. Follow the seam line as you sew and do not go over the line to the edge. Cut off only one of the seam 0.5cm from the edge.
4.
Double fold the other seam and wrap around the 0.5cm seam and sew. Follow the seam line as you sew and do not go over the line to the edge.
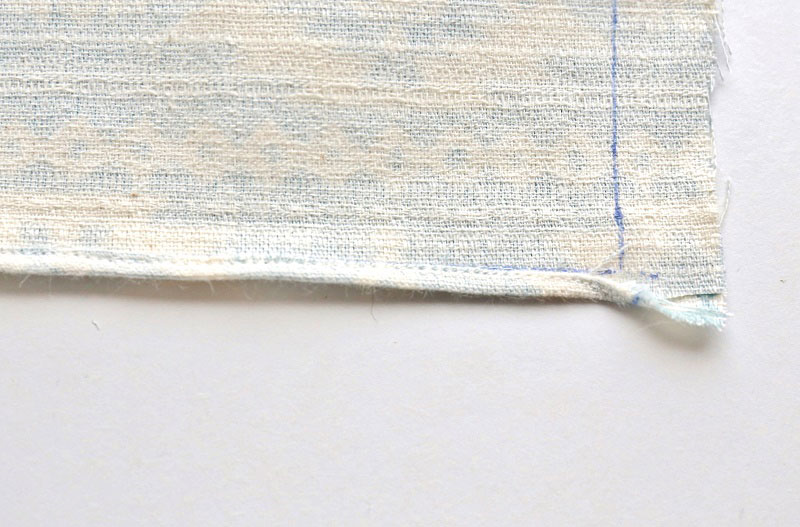
5.
Sew the sides as in the bottom. Sew all the way on the side to the top edge. For the bottom, follow the seam line as you sew.
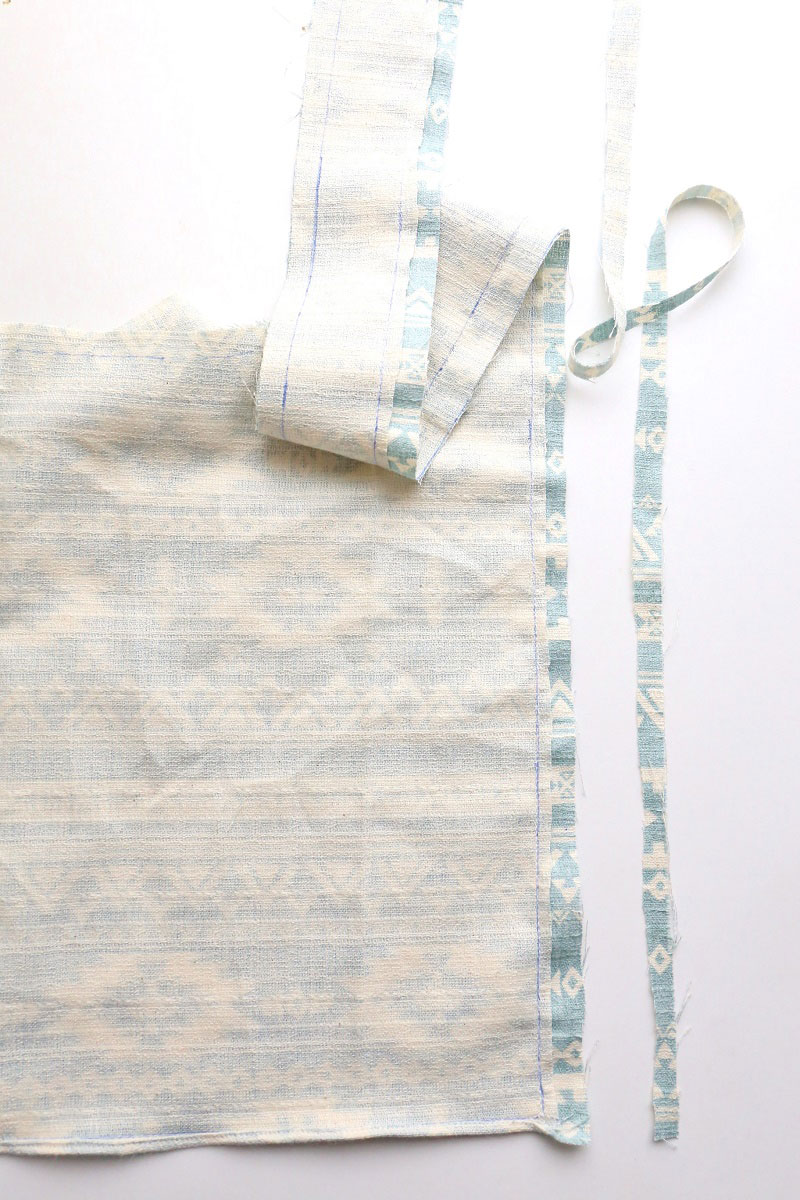
6.

Cut a slit on the top seam and open. Double fold from below and sew.
7.
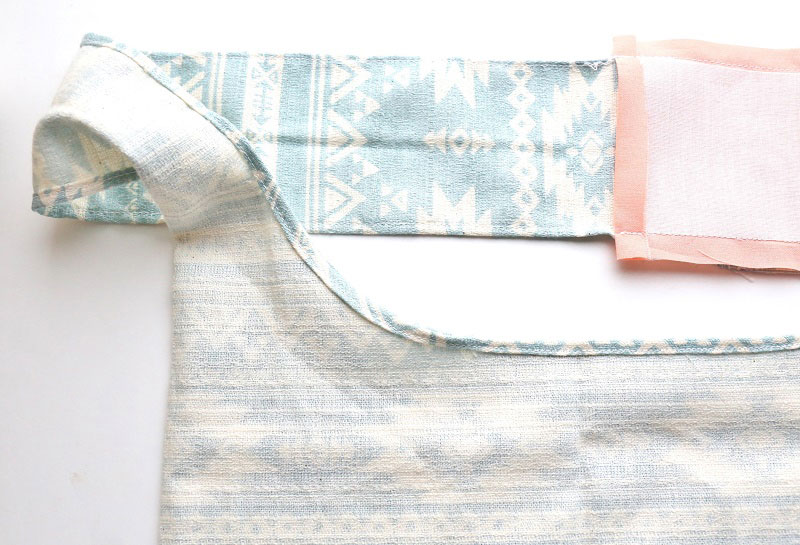
With the front sides facing each other, sew together the handle backing fabric and top of the handle on the main bag fabric on three sides. Cut off the excess edge.
8.
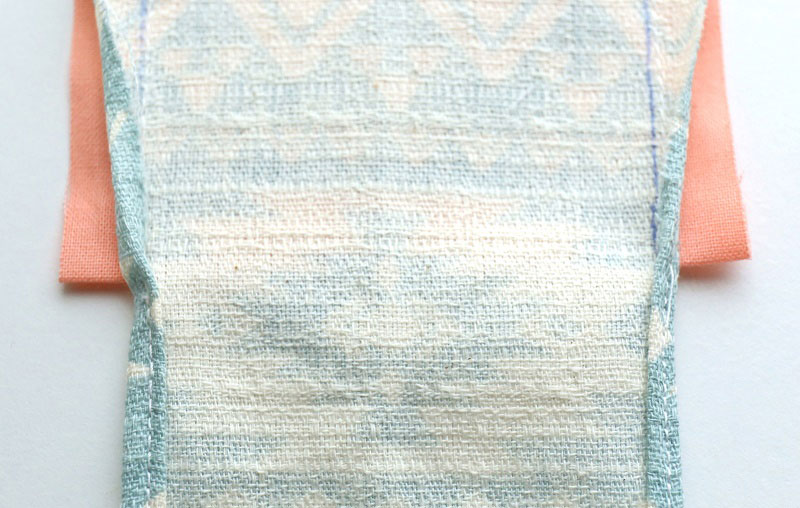

Turn it inside out and stich up the opening side.

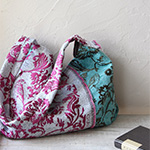 Relaxed Look Shoulder Bag
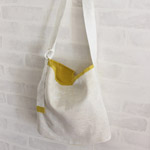 Shoulder Bag
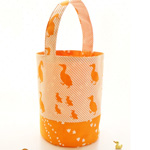 One Handle Round Bag