
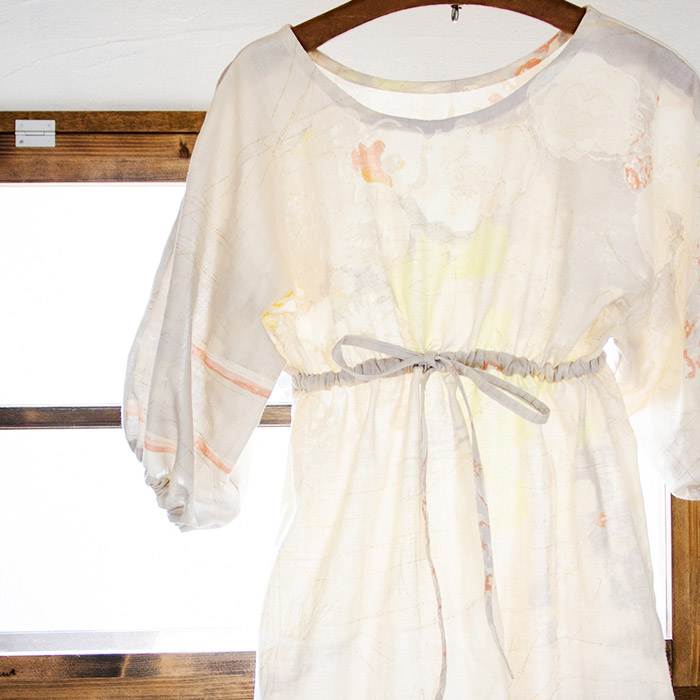
This tunic dress features a double gauze fabric, KOMOREBI///, from naniIRO textile’s 2016 new collection. The selected color is a soft tone of calm joy, which makes you think that just wearing this clothing could put you in a calm state of mind. Yuka Yonekura, a designer from the FRANCESCA AMAM LABEL, a brand known for its comfortable and perfect for everyday clothing is sharing her creation.
Fabric shown for this sample: naniIRO KOMOREBI/// JG10350 (D) Calm Joy
Materials:
□ Fabric: 106cm widex2m
□ Elastic tape: 1.2cm wide x 50cm
We interviewed Yuka about her creation:
Kokka Fabric (KF): What did you think of the fabric you used for this project?
It has been a while since I used the double gauze from naniIRO. Just as I remembered, it is still so beautiful. Simply touching this fabric puts you in a happy mood.
KF: Can you tell us any special elements or ideas that you incorporated into this creation?
Originally I had a different design in mind. Once I found that the pattern reminds you of a kimono, I changed the sleeve design to look like the ones on kimono, creating a softer look.
KF: What are some tips for making this dress?
The double gauze material is a little challenging to handle with gathering and abrasion. I recommend using pins and treat the process carefully.
KF: How should we use this dress in everyday situations?
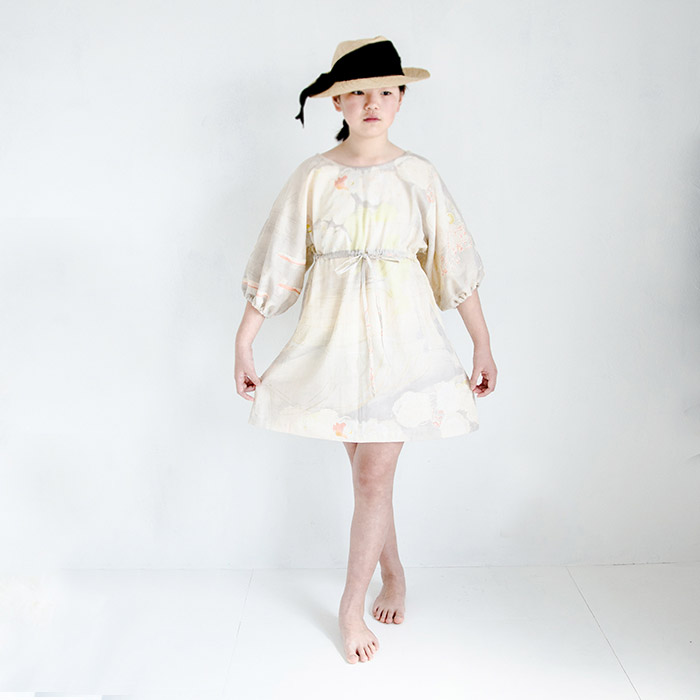
The model’s height is 145cm and the pattern is designed for a 140cm height. Like in the picture, you can put on the dress by itself or it will be very stylish when combined with a pair of shorts. You can also make a style by incorporating an accent color into a pair of sandals like gold from the fabric or vermillion.
KF: Thank you very much, Yuka! Here are sewing instructions along with step by step photos from her. Enjoy crafting!
Instructions
Preparation

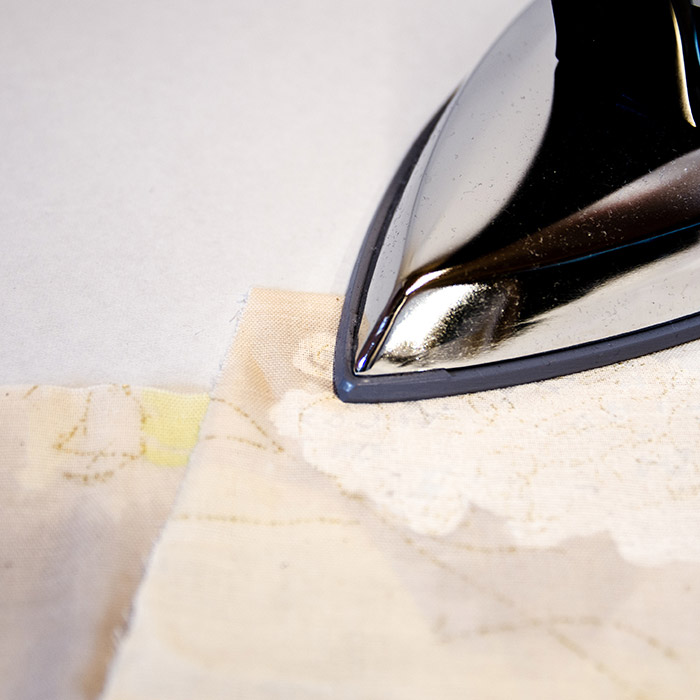
Using an iron, score a crease line where double fold is needed (sleeve opening and hem)
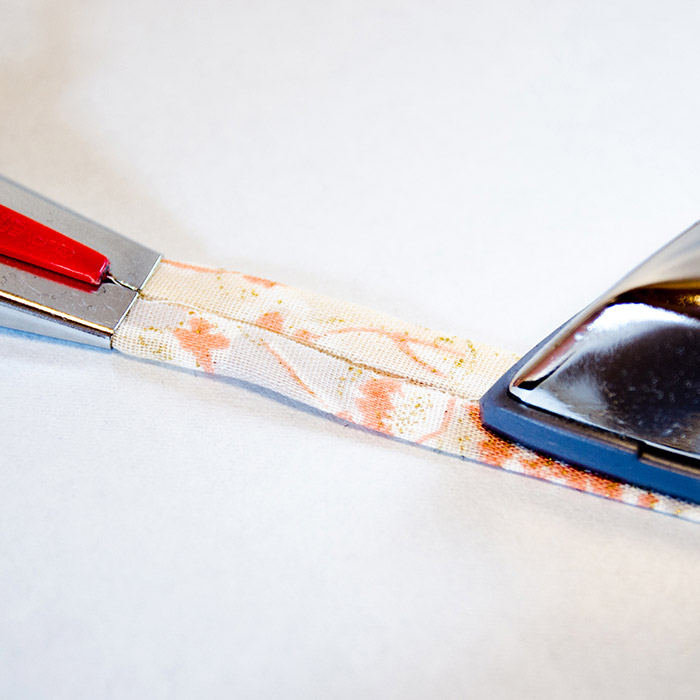
Using a tape maker, score a crease on the belt opening, belt and bias binding strip.
Using an iron, mark the belt opening.
1.
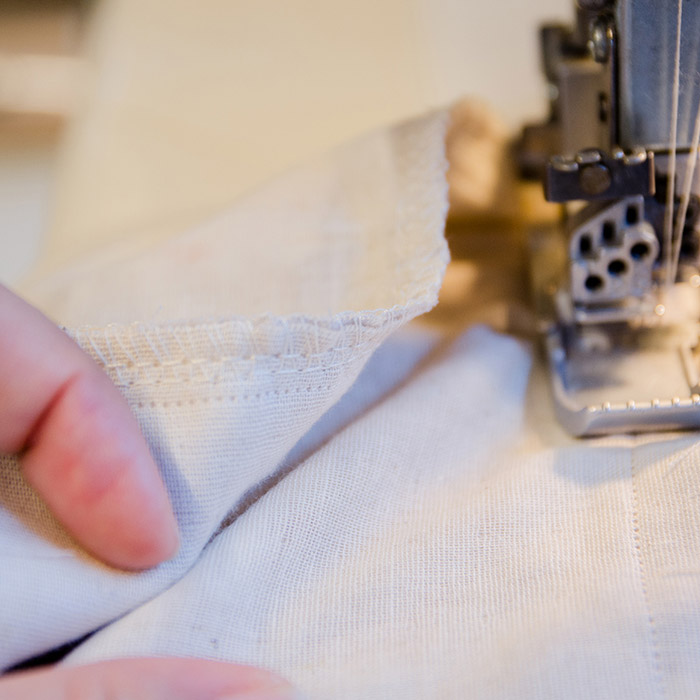

With the front sides facing each other, sew together the shoulder, sleeve and side and serge the seam. After sewing, press the seam down to the back body side using an iron.
2.

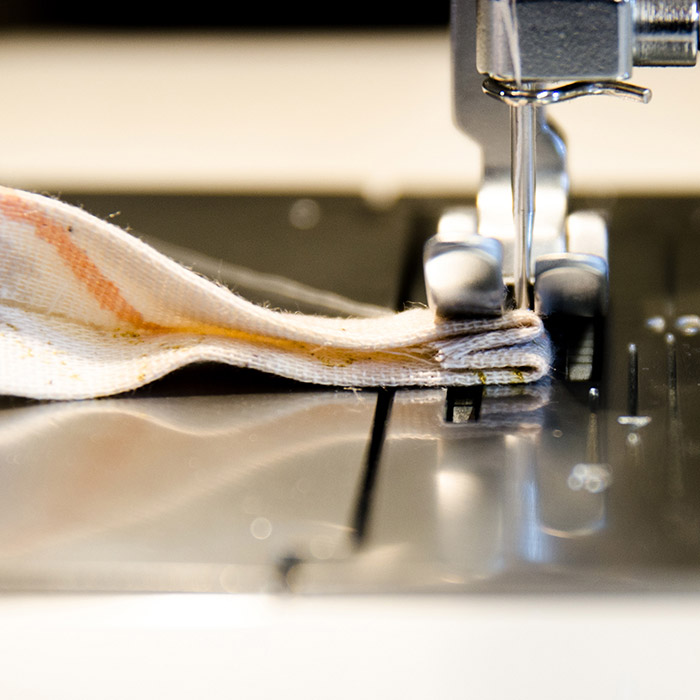
Finish the neckline with a bias binding strip. With the front sides facing each other, sew together the neckline and bias binding strip. Cut a slit.
3.
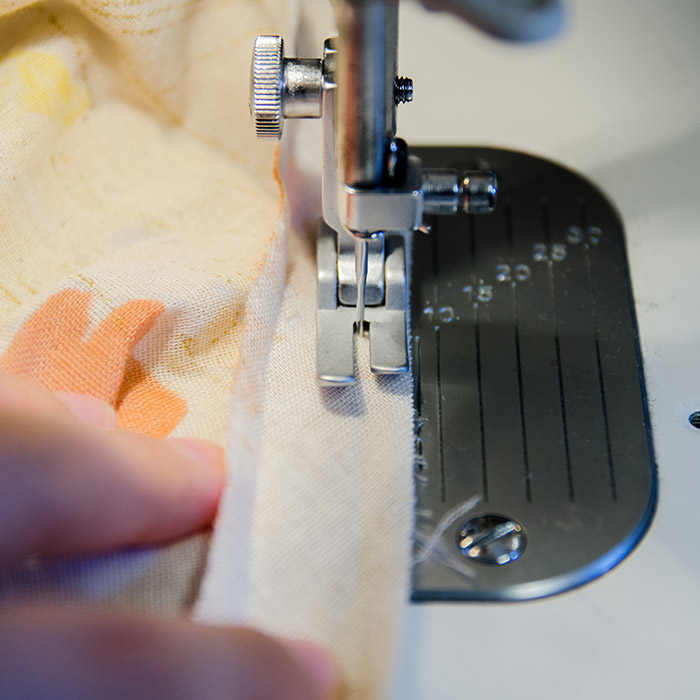
Fold along the crease and run stitches.
4.

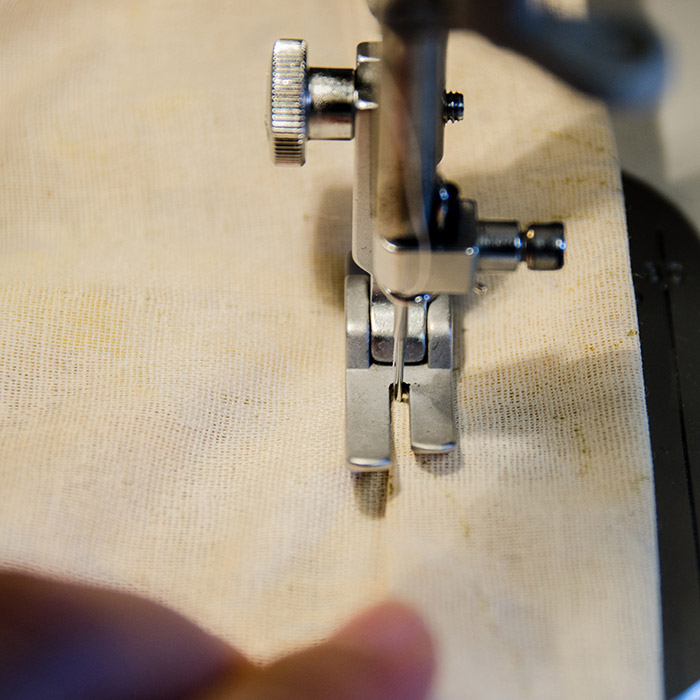
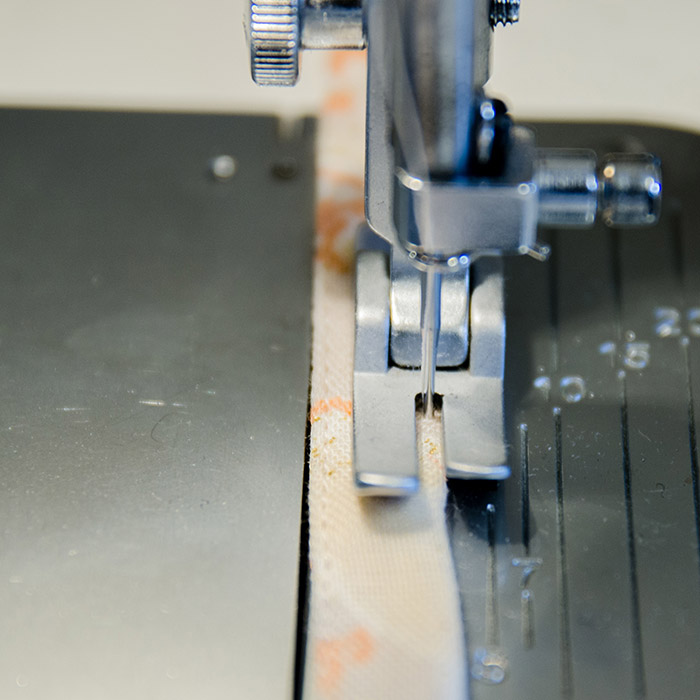
Fold the belt opening for 1cm and run stitches.
Re-fold along the creased line. Align it with the line on the body and attach the belt opening.
5.
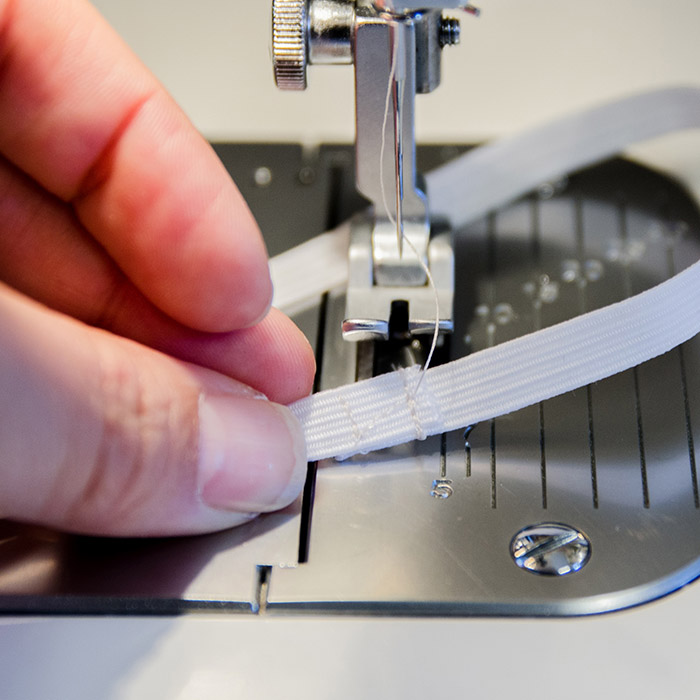
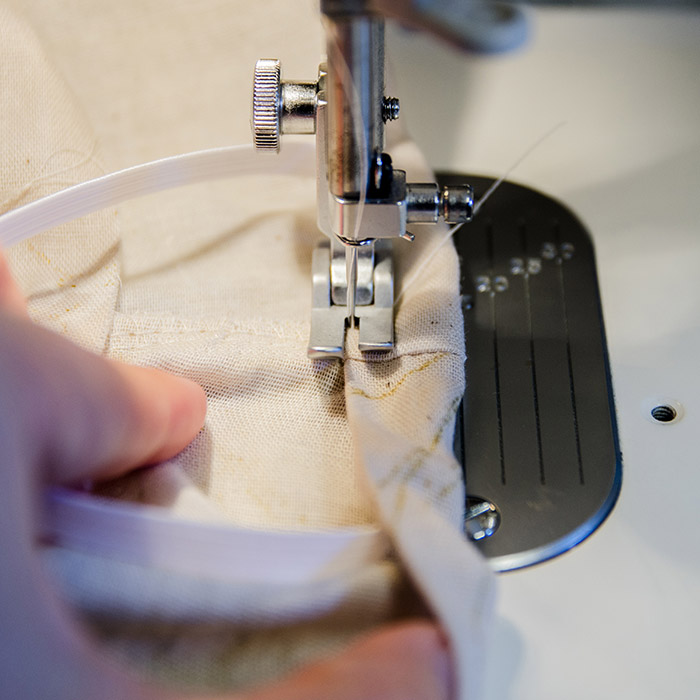
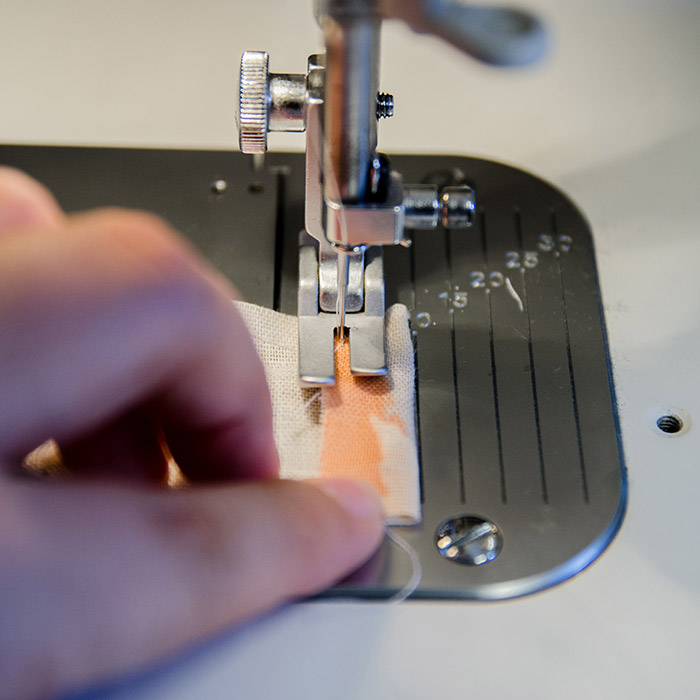
Make a loop with the elastic.
Align the elastic along the sleeve opening. Double fold and run stitches.
6.
Make the belt. Put it through the body to finish.

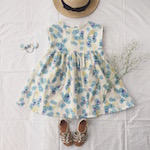 Dress with French Sleeves
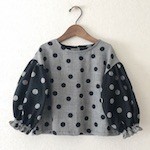 Blouse with Puffy Sleeves
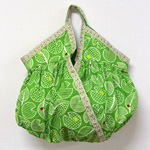 Gathered “Cashe coeur” Bag