
Today’s project is a playful toy ball, using the design of a Swedish traditional craft, the Dalarna Horse as a main motif. Anri, who previously introduced stylish items like the lampshade using the echino series of fabric and leather combination card holder on this site, has returned to share her new creation.
Fabric shown for this sample: P26500-501(D)
Materials:
□ Fabric (Front/outer fabric A): 90cm×30cm
(Front/outer fabric B): 40cm×30cm
□ Poly stuffing

We interviewed Anri about her creation:
KF (Kokka Fabric (KF)) What did you think about the fabric you used for this project?
When I picked up and felt this fabric, the first image that came to my mind was a toy. A large print can be cute even in small pieces. I decided to cut a small part to use as an accent color piece.
KF:Can you tell us about any special elements or ideas that you incorporated into this creation?
While I decided to use it as a small piece, it still has six pieces. The size is relatively large and it makes good use of the horse design with many stylish types of saddles.
KF:What are some tips for making this ball?
Make sure to align the finished lines. If you are not used to making tridimensional items, you may find it a little difficult. I think this one is perhaps easy since the size is relatively big.
KF:How should we use this ball in everyday settings?
Depending on how much stuffing you put in the ball, you can use it for many different purposes. For a kid’s or dog’s toy, it should be stuffed full and tight. A lightly stuffed ball can be used as a casual pillow or an armrest cushion. The size can be as small or as big as you like.
KF:Thank you very much, Anri! Here are sewing instructions along with step by step photos from her. Enjoy crafting!
Instructions of Dalarna Horse’s Toy Ball
1.
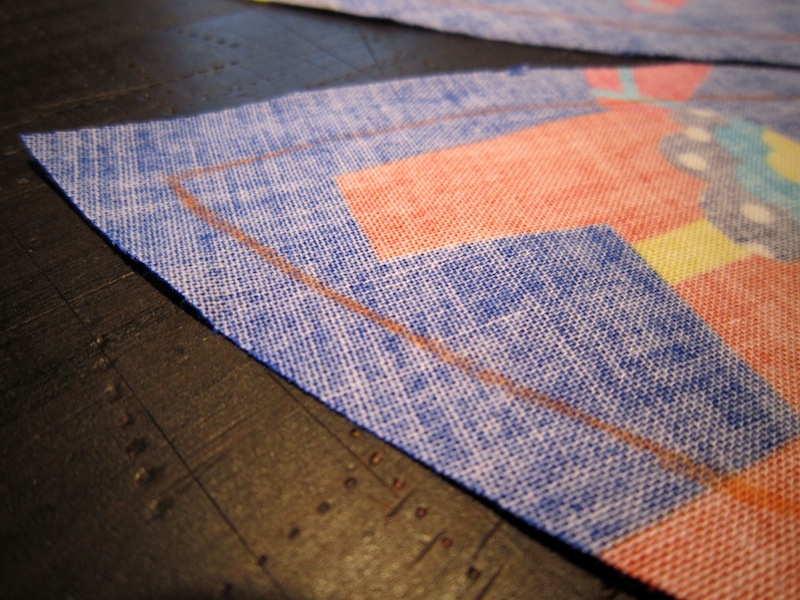
Carefully cut the fabric. For this project, it may be easier to draw the finished lines on the back side of the fabric. A slight change in the final size of a ball is not a significant problem, however a precise cut is critical as even a little discrepancy can become twelve fold since six pieces of fabric are pieced together in this case.
2.
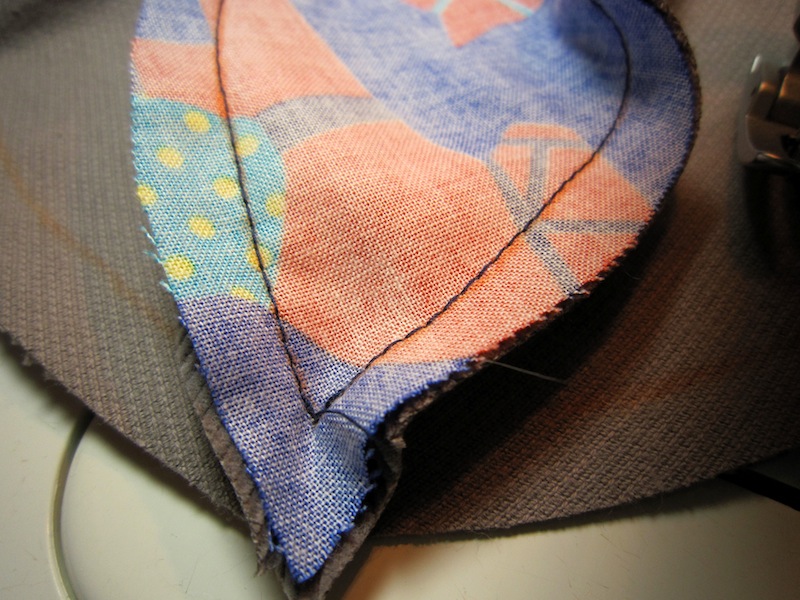
With front/outer sides facing each other, sew together. Leave the top point portion of the seam allowance open. Only sew from one peak point to another. This helps the seam allowance from being pulled to tight.
3.
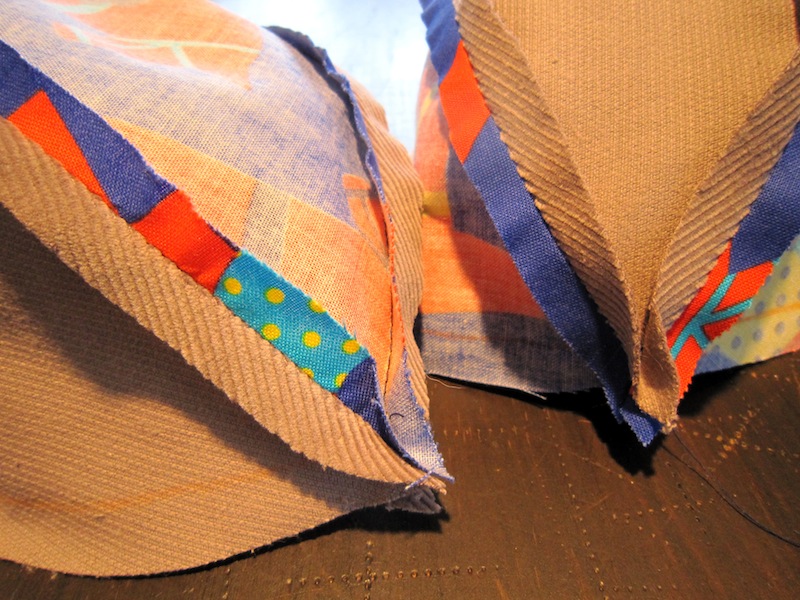
Piece together the three pieces to create two sets of three pieced-together fabrics. Sew together the two sets of fabric, leaving an opening for turning. By sewing in this order, you can avoid creating a hole on the tip of the ball.
4.
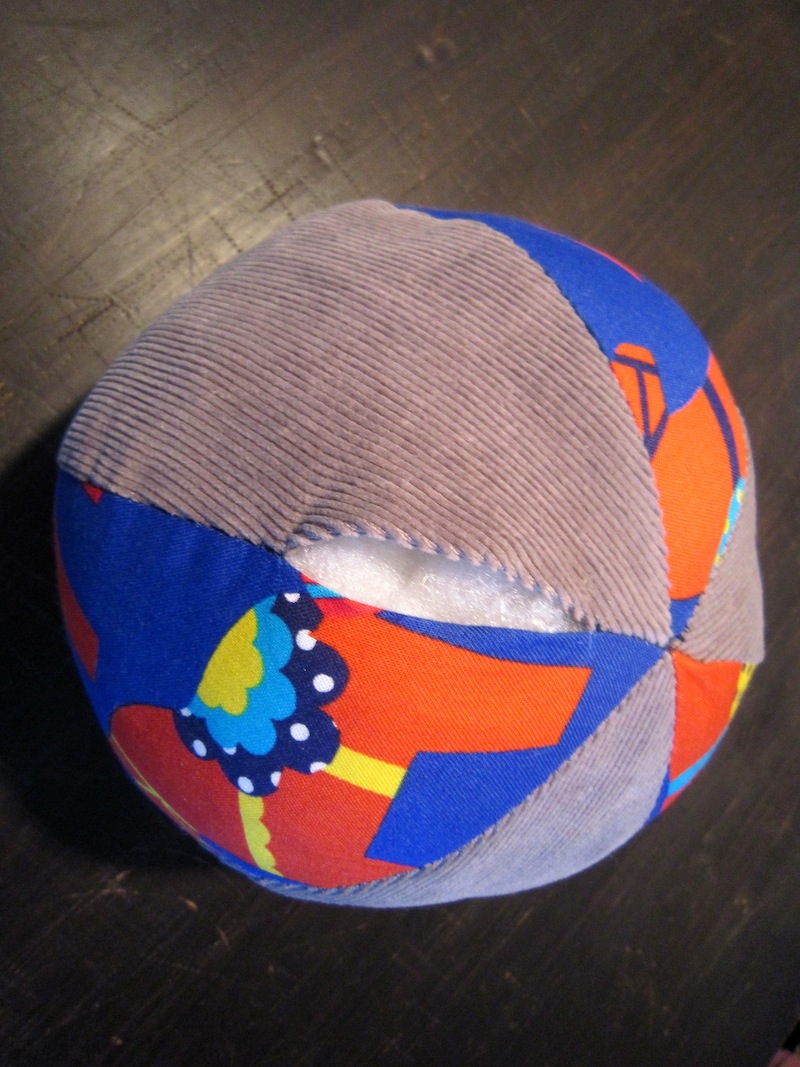
Turn the fabric over through the opening. Stuff it with poly stuffing and sew together the opening to close and complete.

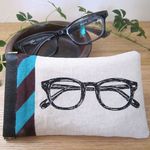 Eyeglass case made with echino glass design fabric
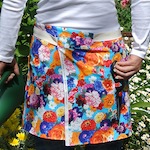 Garden Apron
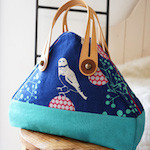 Triangular Boston Bag