
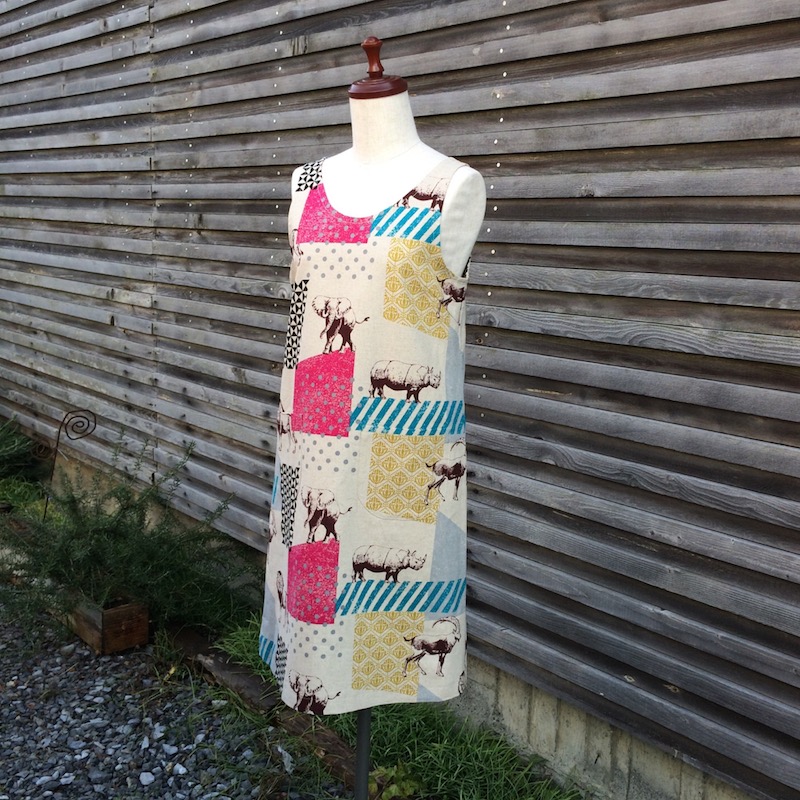
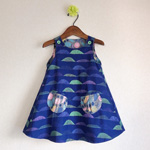
Today’s project is a simple one-piece dress created with echino’s zon fabric. Elephant, rhino, deer…
different animals appear depending on the cut of the fabric. This adds fun to how you want to create your design. Large-size pockets on both sides are useful for cooking or gardening. Kaoriko Sawa is sharing her creative idea.
Fabric shown for this sample: echino JG96000-601 (A)
Materials:
□ Fabric: 110cm×2.5m
We interviewed Kaoriko about her creation:
Kokka Fabric (KF): What did you think of the fabric you used for this project?
I was looking forward to seeing how the dress would look with these large size design motifs.
KF: Can you tell us any special elements or ideas that you incorporated into this creation?
The design is simple and suitable for every age to wear. You will also find the pockets convenient.
KF: What are some tips for making this dress?
With the designs facing in one direction, you should pay attention to the appearance and direction of the pattern when cutting the fabric. After you cut the main body fabric, make sure where you want the pockets. This will determine where to cut so that the design aligns.
KF: How should we wear this dress in everyday situations?
For summer, layer it with a short sleeve T-shirt, and for winter put on a turtleneck sweater underneath. This way you can enjoy it year-round.
KF: Thank you very much, Kaoriko! Here are sewing instructions along with step by step photos from her. Enjoy crafting!
How to make echino’s Dress with Pockets
1.

Make a pattern and cut the fabric with seam allowance. For the pocket pattern, use a cardboard paper.
2.

Sew the darts on the front body. Press it down to the top and iron.
3.
Serge or run zigzag stitches on the shoulders, sides, hem and pockets.
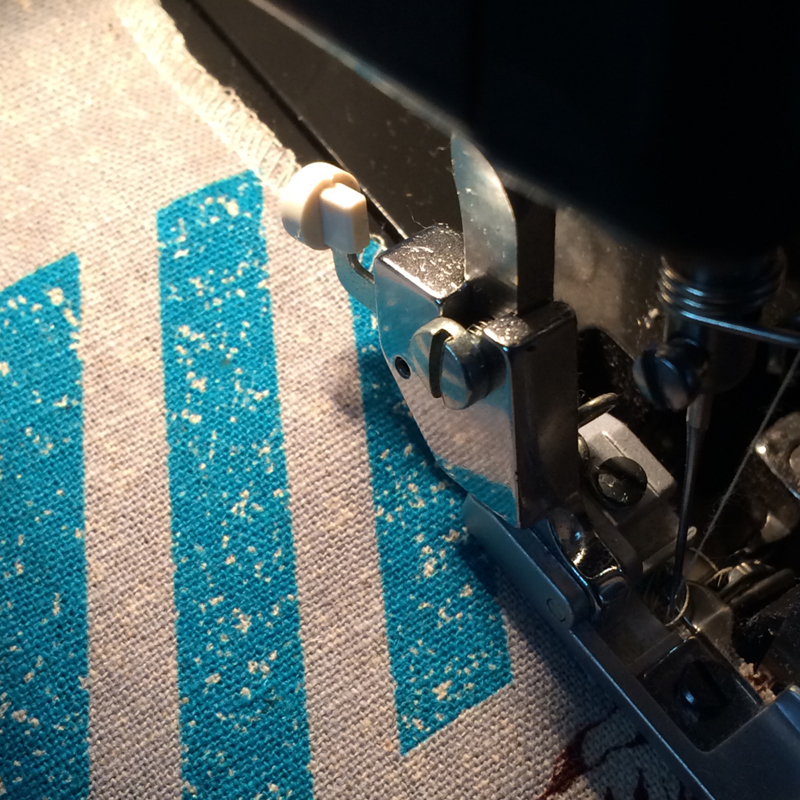
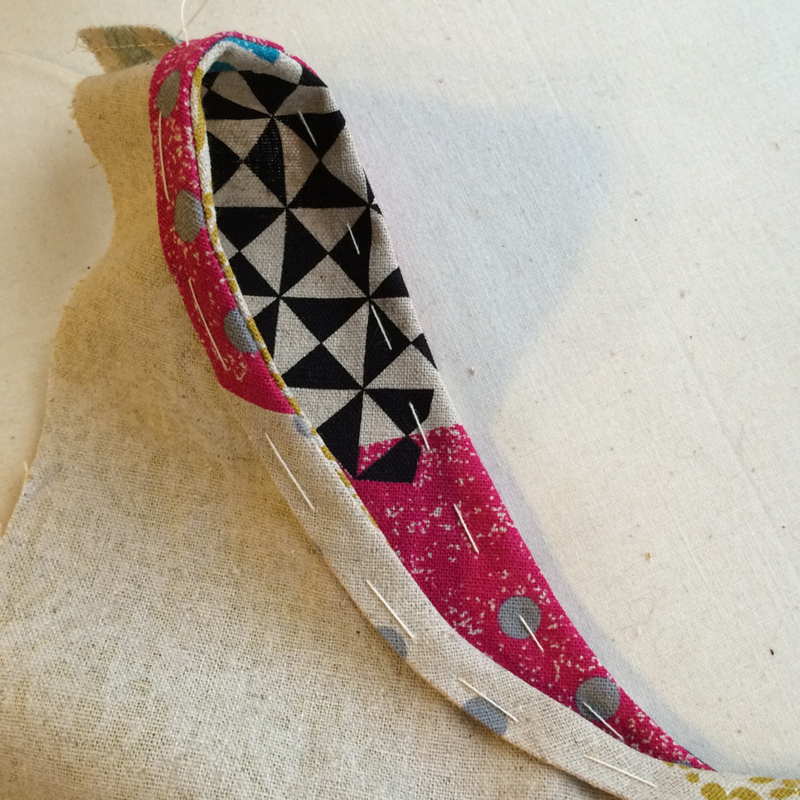
4.
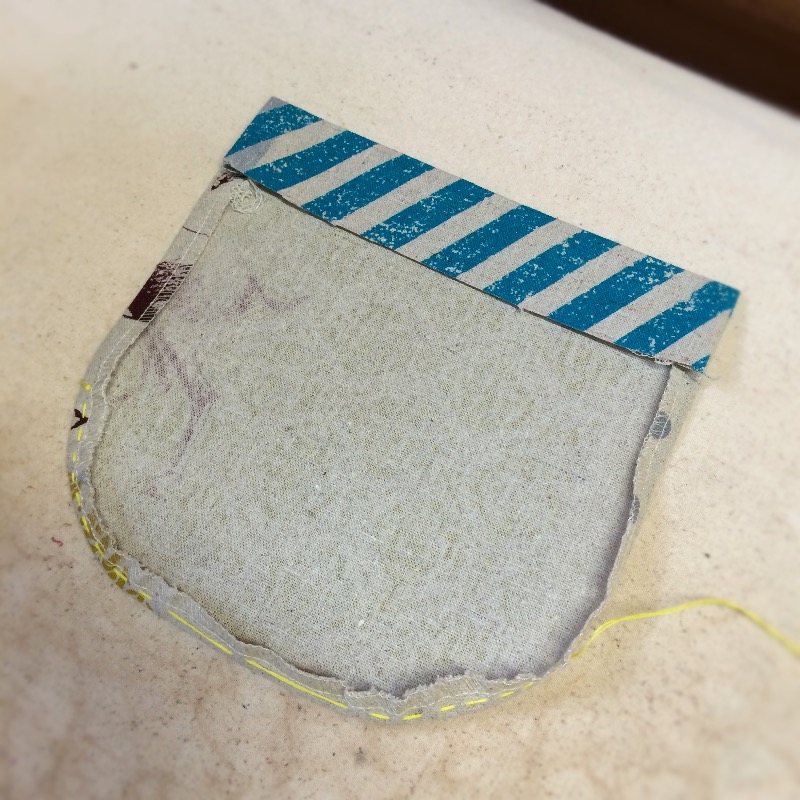
To create the curve of the pocket, run rough stitches on the seam, starting from the middle using a basting thread. Place the pattern on the pocket fabric, pull the basting thread and iron to score when the shape is formed. Fold for 3cm from the top and run top stitches.
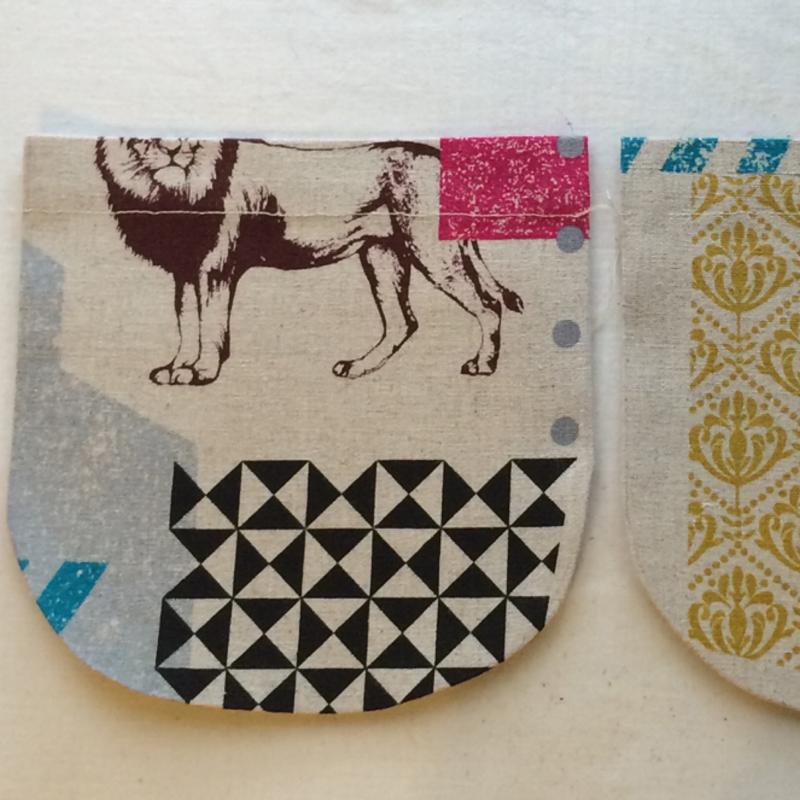
5.
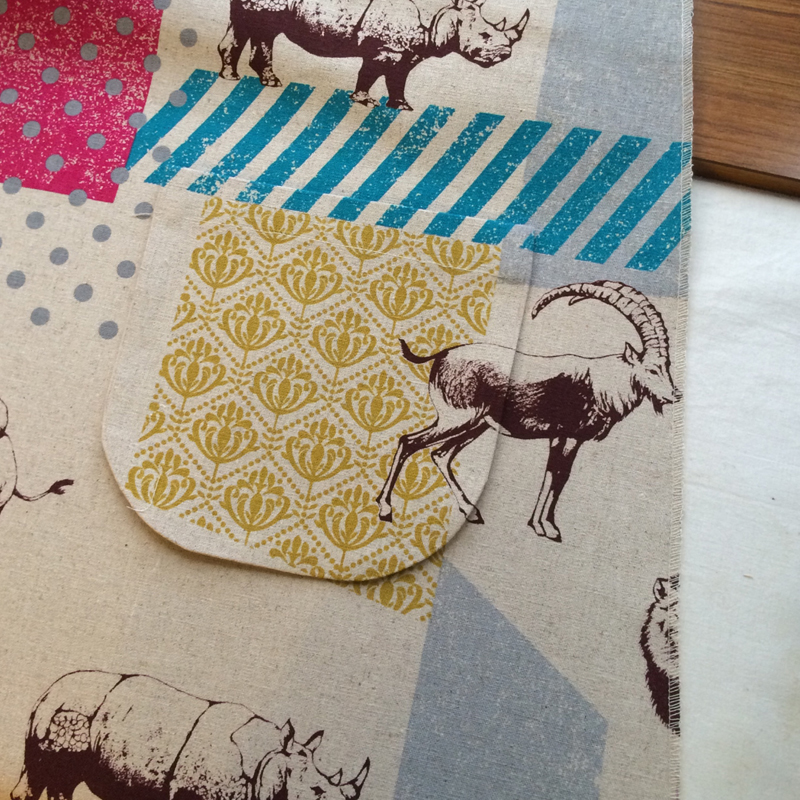
Place the pocket on the front body, aligning the design and sew to attach.
6.
With front sides facing each other, sew together the front and back bodies at the shoulders and sides. Press the seam open and iron.
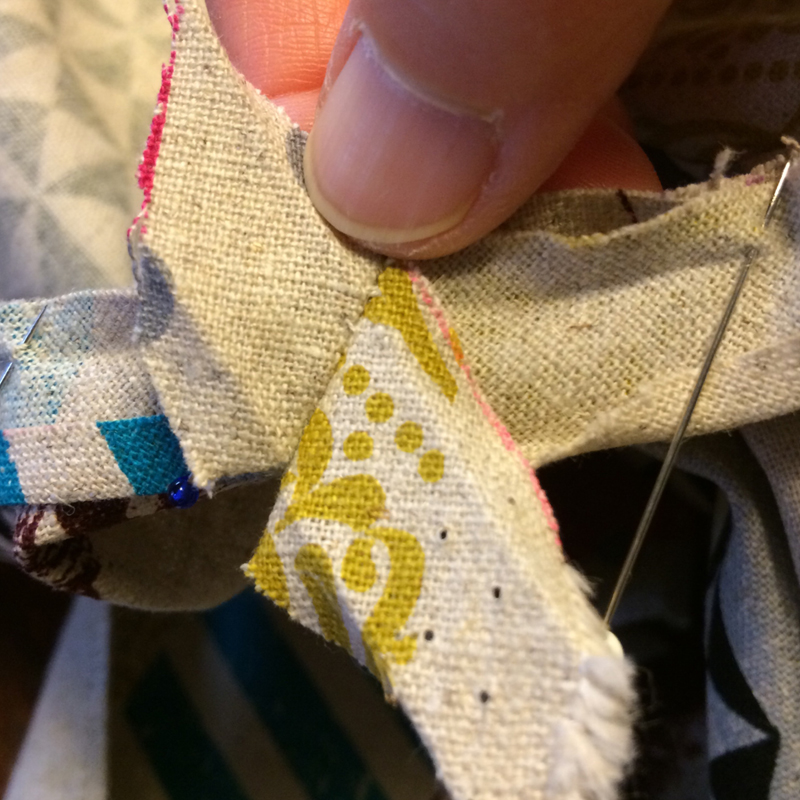
7.


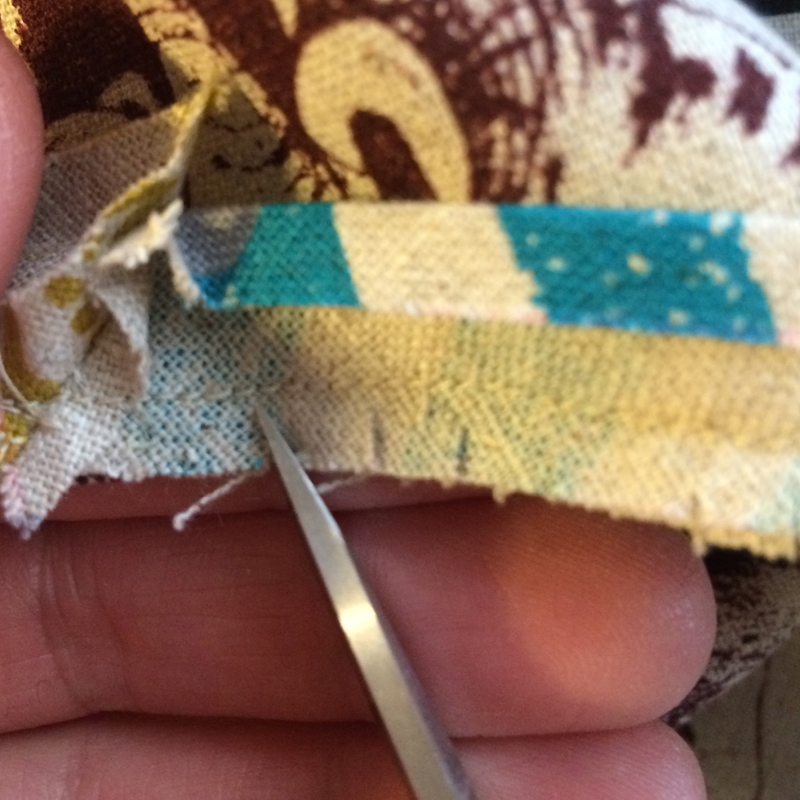
Make a bias binding tape. Fold for 5mm on both sides from the edge and iron. Make three pieces.
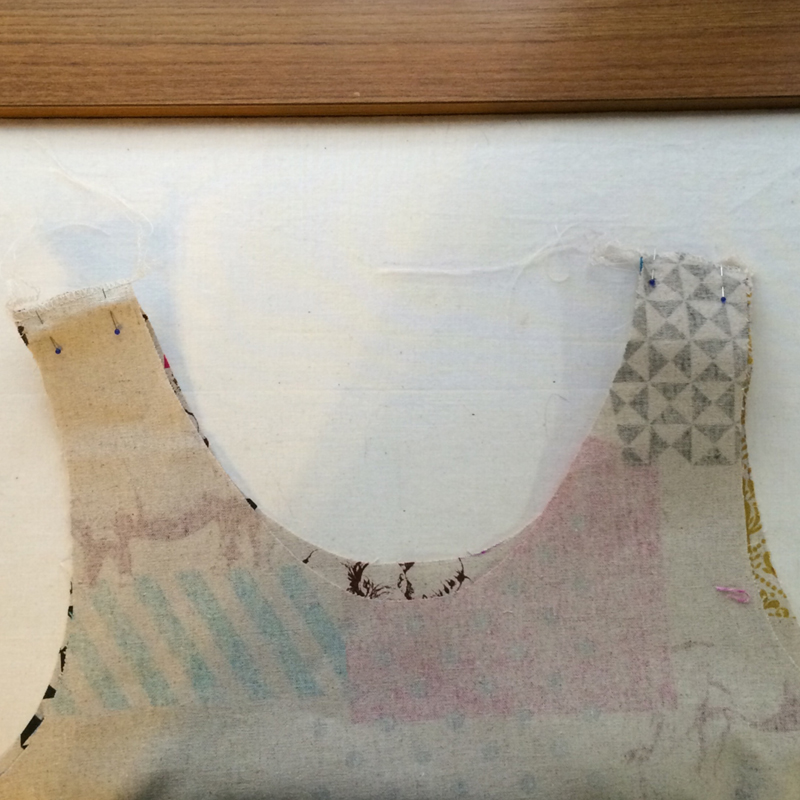
8.

Turn the body inside out. Put the bias tape around the neck. The ends of the tape should be pieced on the bias. If machine sewing is challenging, you may hand stitch it. Leave about 5mm excess and cut the rest. Run a stitch to finish.
9.
Cut a slit on the seam of the body and bias tape.
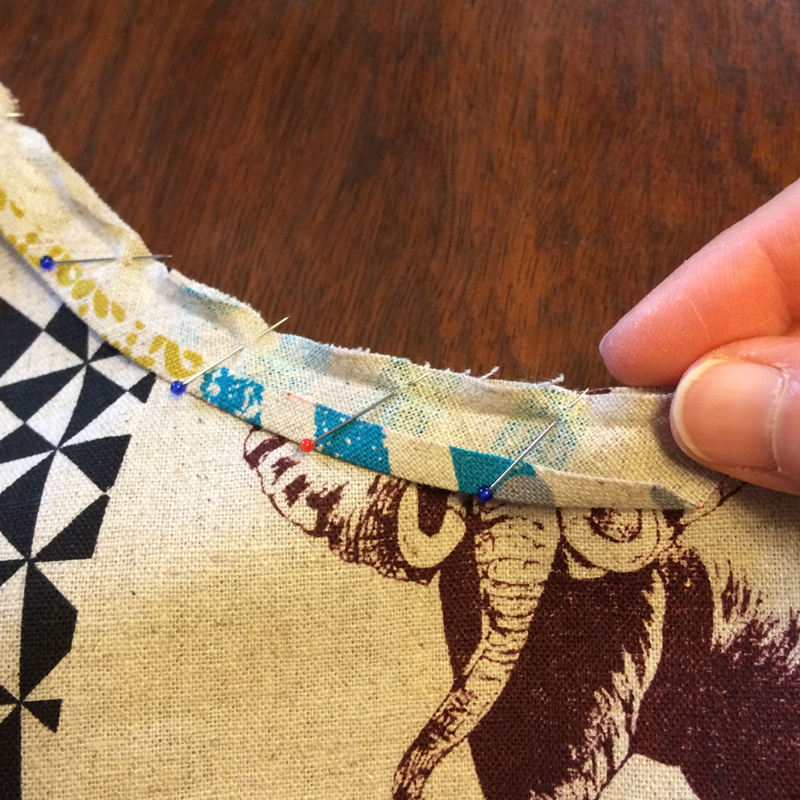
10.

Turn the body inside out. Fold back where the bias tape is attached, baste it and iron to align the shape. Run top stitches.
11.
Finish the arm hole, following the same steps as the neckline.
12.
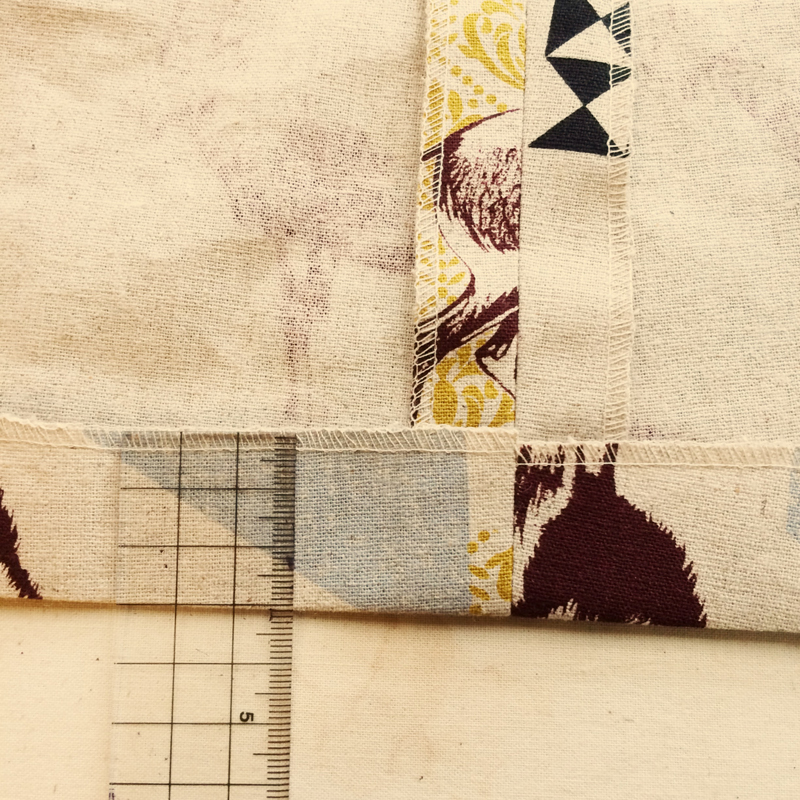
Fold the hem for 3cm and iron. Run top stitches or sew with blind stitches to finish.

 A-Line Reversible Dress – Sewing Instruction
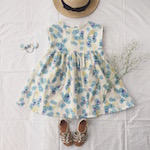 Dress with French Sleeves
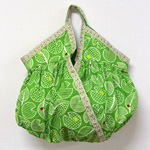 Gathered “Cashe coeur” Bag