
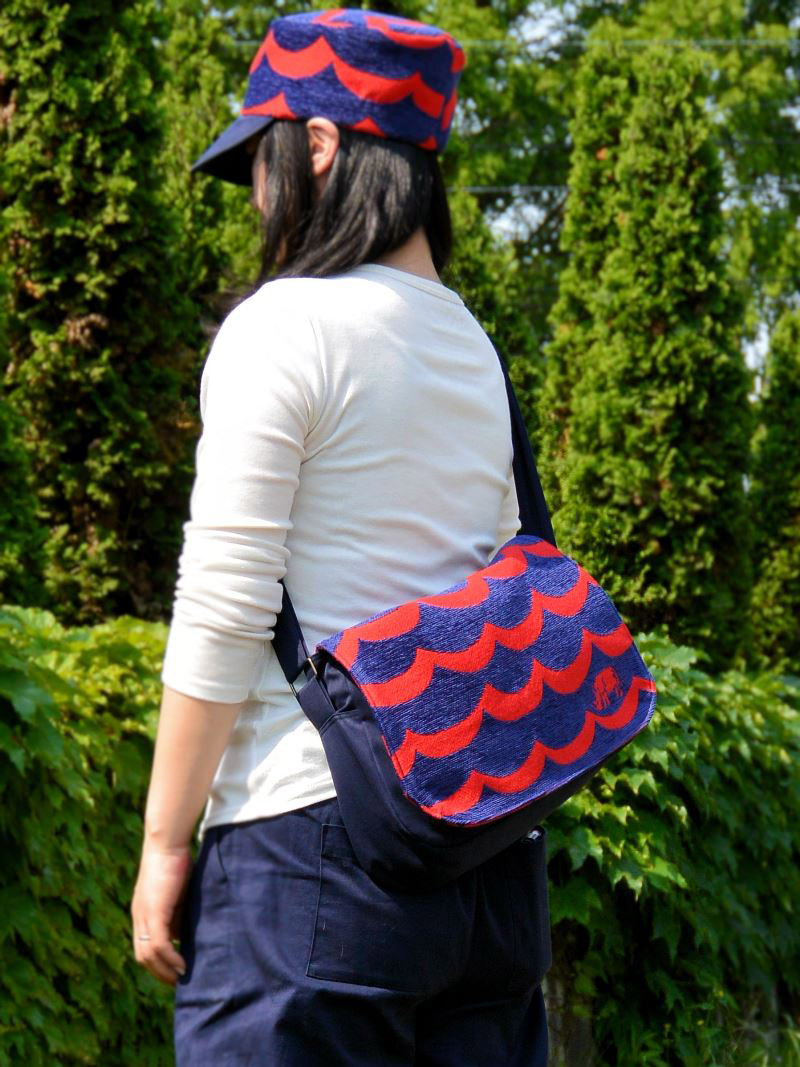
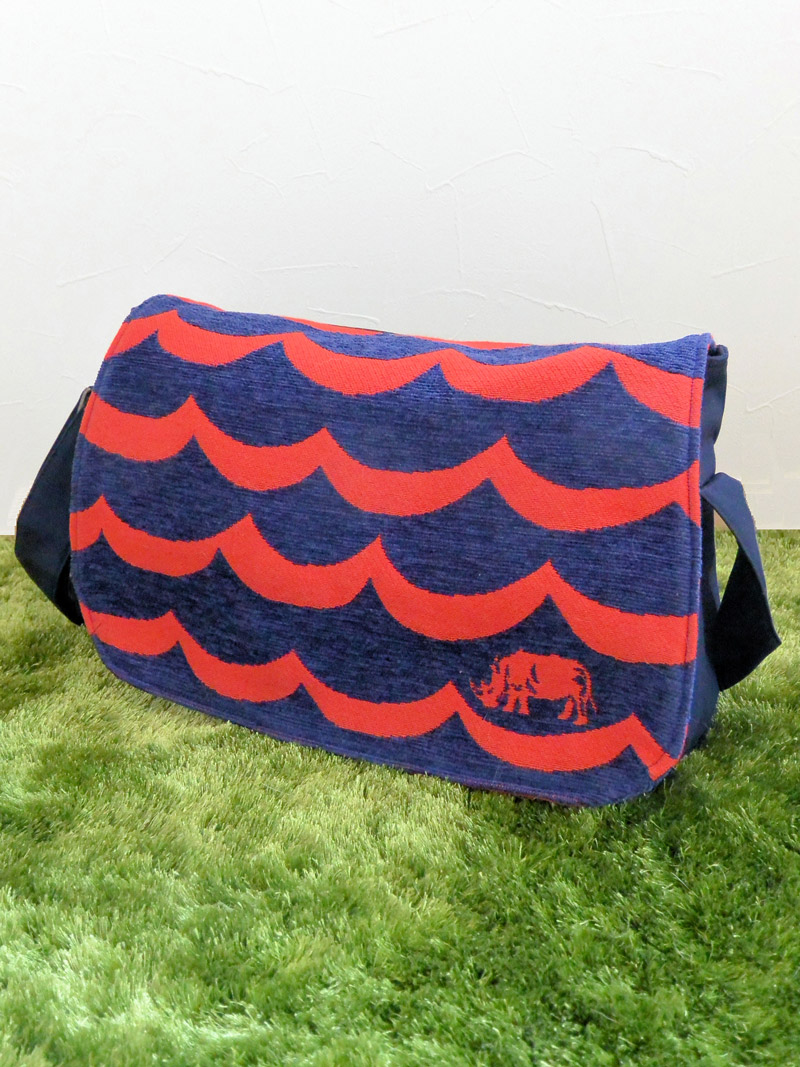
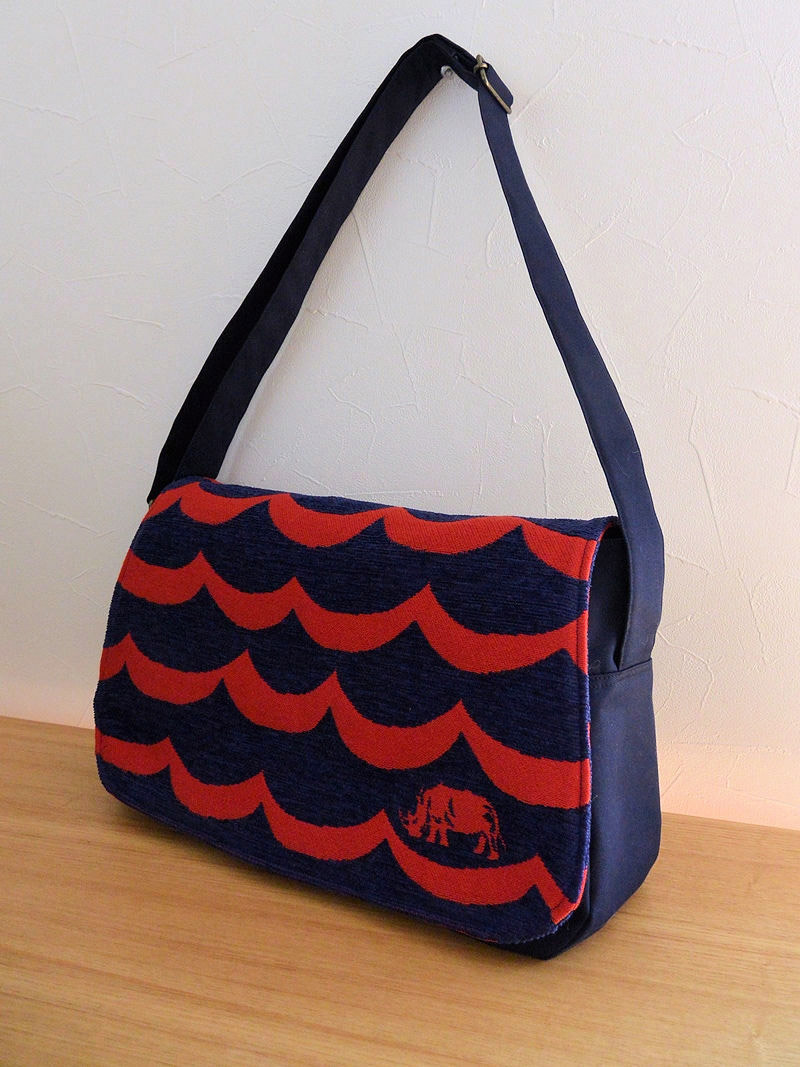
The featured messenger bag is created with echino’s jacquard series. Its useful size can accommodate A4 size documents. The length of shoulder strap can easily be adjusted with a slide adjuster, making it suitable for kids’ school bag. Of course this bag is also perfect for a male grown up.
Fabric shown for this sample: echino JG96160-61 (A)
Materials:
□ Fabric (Flap): 80cm×30cm
(Other (Cotton Twill): 110cm wide×140cm
□ Fusible interfacing (Medium thickness): 90cm×80cm
□ Quilt batting: 4cm×140cm
□ Square ring, Slide adjuster: One each – 4cm inner diameter
□ Velcro: Two pairs – 10.5cm x 5cm
We interviewed Anriko about her creation:
Kokka Fabric (KF): What did you think of the fabric you used for this project?。
It feels soft to your skin and I first thought of creating some home décor items. On second thought, I decided to make a bag so that I can carry around an item with this vivid color.
KF: Can you tell us any special elements or ideas that you incorporated into this creation?
To make it useful, the bag can accommodate A4 size documents with large pockets. The overall design is solid and shapely, making it suitable for men. Since it incorporates ideas normally featured in commercial products, the finished bag does not look like a handmade piece.
KF: What are some tips for making this bag?
The basic pattern for the main bag and one for the gusset will work for other parts by reducing or extending the length. Utilizing the markings will also help you cleanly finish the curved edges
KF: How should we use this bag in everyday situations?
The picture shows the bag with a short shoulder strap. With the slide adjuster, you can carry the bag at the style you like. I think this bag can be enjoyed by the whole family – not just for mom but for dad and kids carrying it for school and after school activities.
KF: Thank you very much, Anriko! Here are sewing instructions along with step by step photos from her. Enjoy crafting!
Instructions
1.
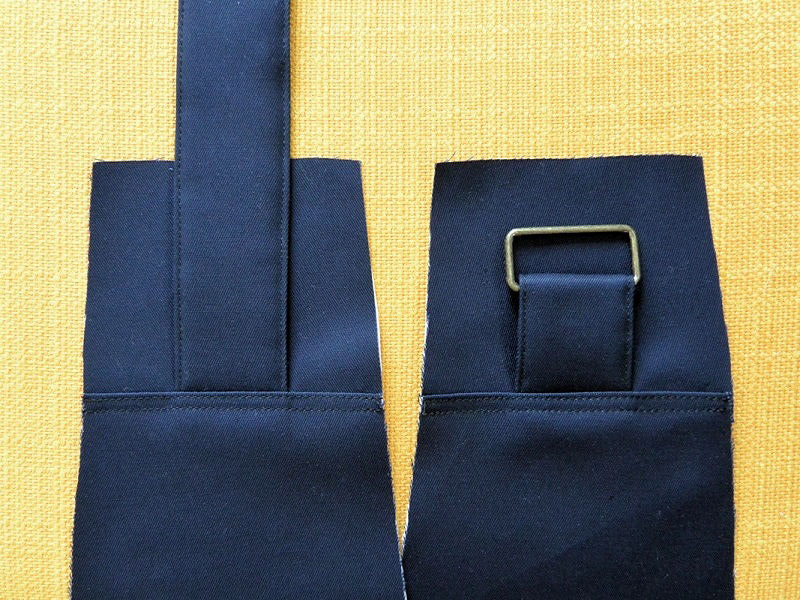
Make the belt. Insert it in the outer fabric’s gusset and attach it. Though you have to construct the gusset, it allows you to skip finishing the edges of the belts.
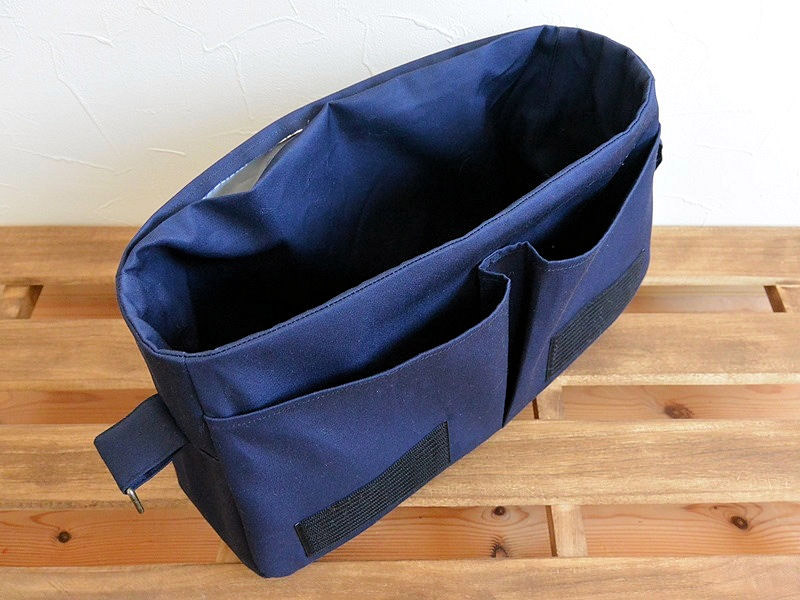
2.
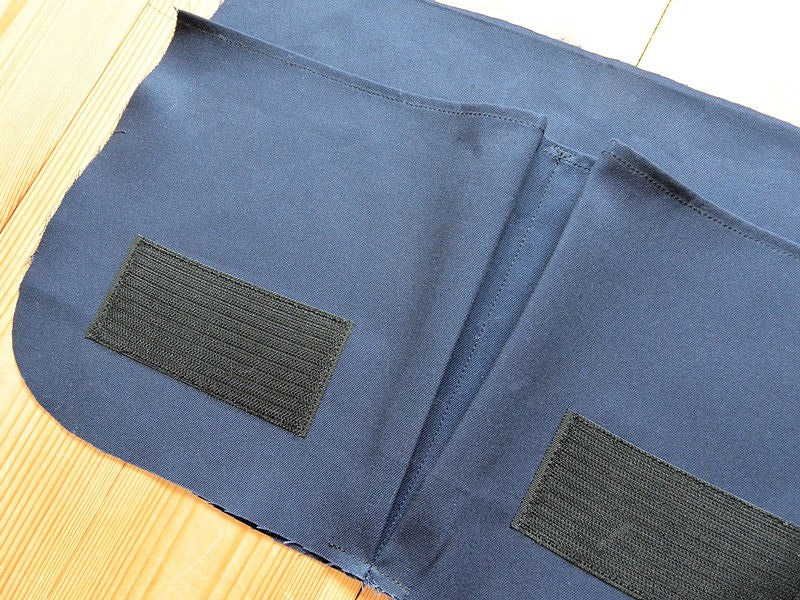
Attach the pocket to the main bag. The box pleat is added in the center to create the gusset. The edges will be sewn together with the main panel, making it a simple process.
3.
The outer and lining fabrics of the main bag will be sewn together at the top with the front sides facing each other. When sewing, leave the flap attachment side open for turning. Apply edge stitches around the opening when you attach the flap to the opening.
4.
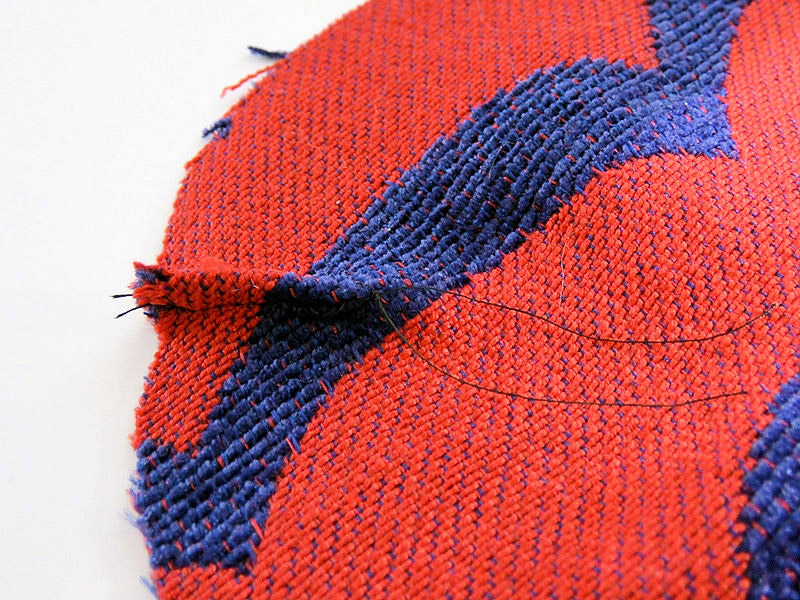
To cleanly finish the corner edge of the flap, apply small darts. Rather than using backstitches at the end, continuously stich to finish and pull a long thread and cut off. Tie a knot by hand to secure. This way it will create a clean finish.
5.

Lastly, apply slide adjuster to the belt as shown. Fold the edge where the belt overlaps and sew to secure to finish.

 Tote Bag with a Look of Recycled Denim
 Clutch Bag
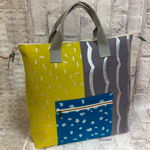 Backpack Sewing Instructions