
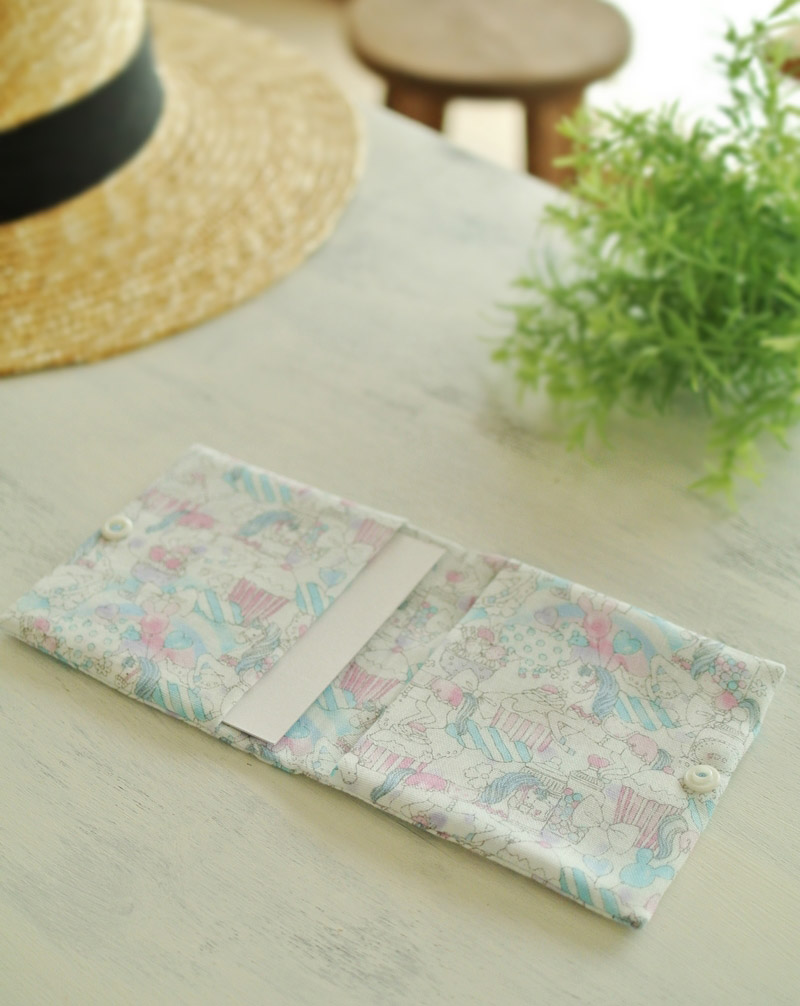
The featured project, pouch for sanitary items, is popular among mothers with middle school age daughters.
For girls who are starting to have their periods, it is somewhat embarrassing to take sanitary items in and out of their bags. Since this pouch looks like a handkerchief, you will feel at ease carrying this around. A soft touch double gauze fabric will also make it usable as a handkerchief. A lovely pattern on the fabric will cheer up anybody’s mood.
Fabric shown for this sample: baby gifts-double gauze P40300-300 (A)
Materials:
□ Fabric: 80cm×20cm
□ Plasnap (plastic snap button): One pair (1cm diameter)

We interviewed Satomi about her creation:
Kokka Fabric (KF): What did you think of the fabric you used for this project?
This gauze fabric has a soft touch with gentle look illustrations. So I wanted to make something that cheers you up.
KF: Can you tell us any special elements or ideas that you incorporated into this creation?
It is a convenient pouch that allows you to easily carry sanitary items. You don’t need to worry about transferring a napkin from a bag to your pocket. With two inner pockets, it can hold four thin napkins. The snap button will keep the items securely inside. It can perfectly fit into the pocket of your outfit and won’t stand out as it looks exactly like a handkerchief.
It is not just for teenage girls, but grown up women will find it useful carrying it in their bags.
The double gauze material will allow you to use it another way as a handkerchief when you are not carrying the items inside.
KF: What are some tips for making this pouch?
The key is to properly fold the fabric as instructed. There are only two straight stitch lines and it is quite easy. If you don’t have a sewing machine, you can sew by hand (using back stitching).
KF: How should we use this pouch in everyday situations?
The edge that has the printed name of the fabric is applied as a tag this time. You may want to add a name sticker in this location instead. In lieu of a Plasnap, you can attach a traditional snap button by hand sewing.
KF: Thank you very much, Satomi! Here are sewing instructions along with step by step photos from her. Enjoy crafting!
Instructions
1.
Since double gauze fabric could shrink, cut the fabric with 1cm extra allowance for length and width. Soak it in water and dry. When it is still damp, iron the fabric. Cut the fabric to the exact measurement.
2.
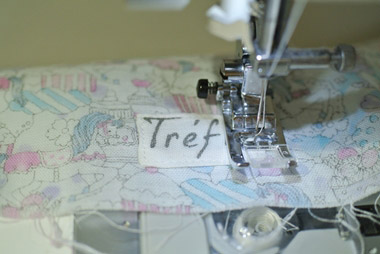
Attach the tag of your choice.
3.

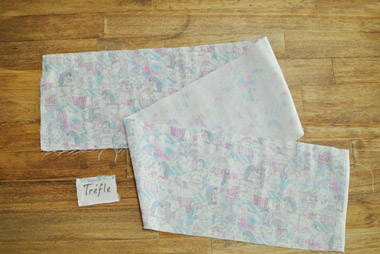
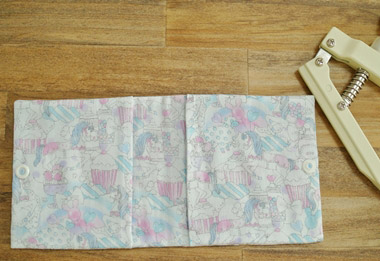
With the front sides facing outside, fold the fabric (with an attention to mountain/valley fold). Start from the left side. Repeat marking and folding, and iron to secure the fold.
4.
The picture shows the folded fabric. The edges of the fabric will end up on the left. Make sure that the front sides of the fabric are facing each other.
5.
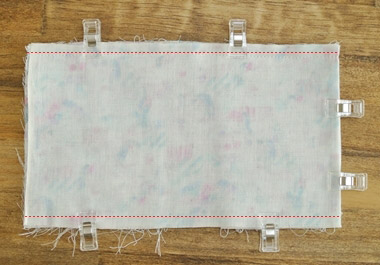
The clips are very useful when making small items.
Secure several locations with clips. Sew the top and bottom ends (red dotted line) at 0.7cm from the edge.
※Opening for turning is on the left side.
6.
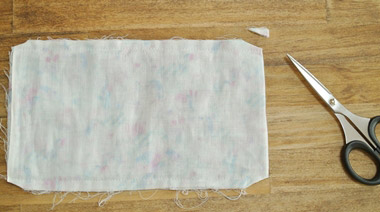
Cut off the four corners for a clean finish.
※Be careful not to cut the stitch lines.
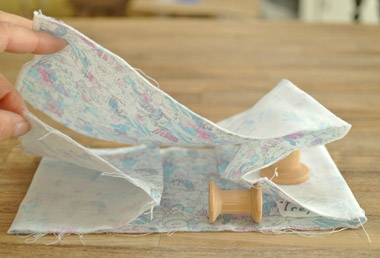
7.
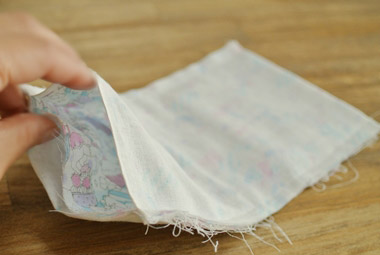
Turn it inside out using an opening for turning.
8.
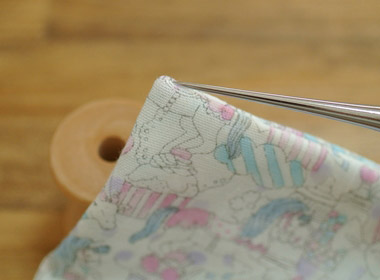
Using a stiletto, align the corner carefully.
※Gauze fabric tends to fray. Please be extra careful and gentle.
9.

Attach the Plasnap on the inner side of the pocket.
※Please be careful not to layer the outer side of the fabric as that will close up the pocket.
10.
Attach the Plasnap on both sides to finish.

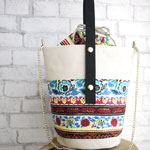 Two Way Bucket Bag
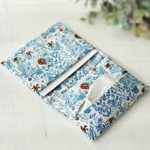 Just fold and sew! Two-Pocket Tissue Case – Sewing Instructions
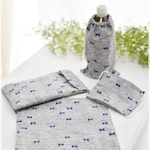 Four Piece Gauze Item Set for Early Summer from 50cm Panel Fabric