Patchwork Style Lovely Vanity Case – Sewing Instructions

*All Rights Reserved.  Please refrain from the unauthorized use of project photos.

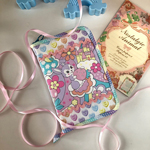
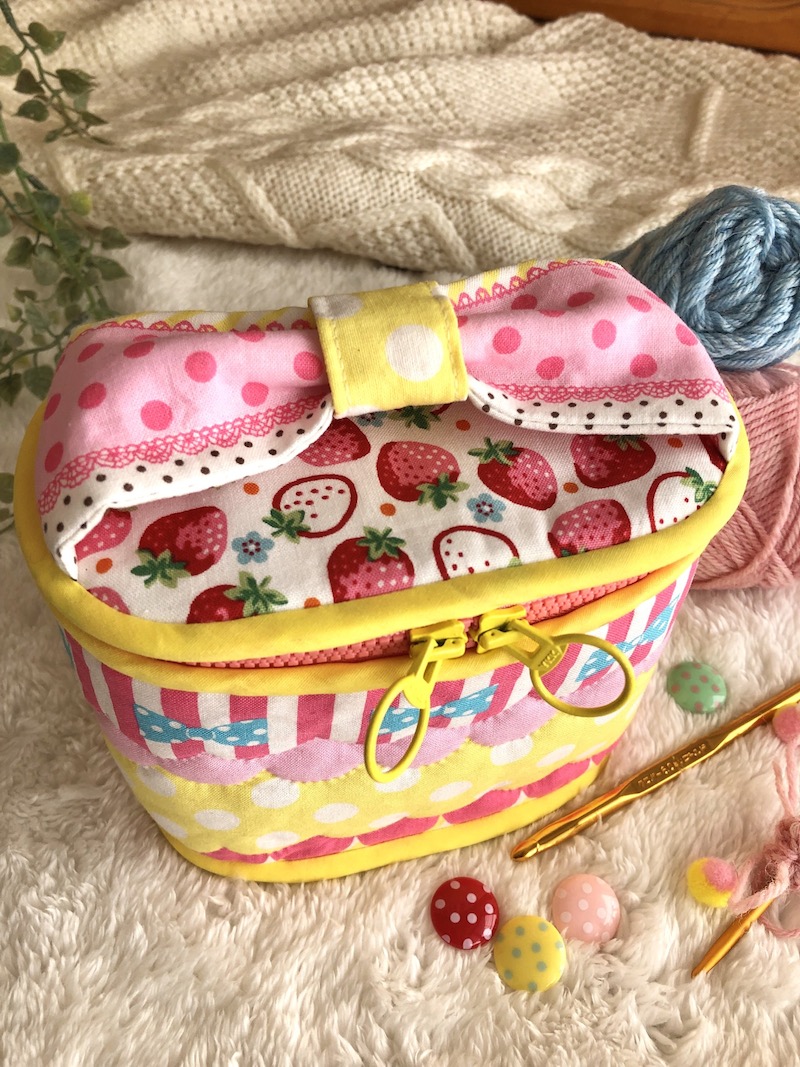
A lovely color combination of yellow and pink is enhanced with strawberry motifs. Fans of sweet items will absolutely adore this vanity case! Patchwork style is created by hand quilting along the fabric’s motifs. The featured fabrics are from the Yumekawa Mix series for the main panel and ribbon, and the Very Cotton series with strawberry design for the lid and bottom.

Design & Work:Ayumi Yatsuta


Fabric shown for this sample: (Main Panel, Ribbon) Yumekawa Mix LO-49000-2B
(Lid, Bottom) Very Cotton LO-49010-1A


Materials:
□ Fabric(Main Panel, Ribbon): 60cm×50cm
(Lid, Bottom): 40cm×20cm
□ Fusible Quilt Batting (heavy weight): 50cmx25cm
□ Fusible Quilt Batting (light weight) : 20cmx10cm
□ Fusible Interfacing: 25cmx20cm
□ Double Slider Zipper: 35cm long x One piece
□ Double Fold Bias Binding Tape: 2cm wide x 1.4m
□ #25 Embroidery Thread


Size: 12cm (l) 16cm (Bottom-longest side) 10cm (Bottom – shortest side)

We interviewed Ayumi about her creation:
Kokka Fabric (KF): What did you think of the fabric you used for this project?
The border design is filled with various lovely elements like scallops, stripes and dots in beautiful color tones. It allows you to create many parts out of this single fabric. What is nice is that you don’t have to worry about the color combination as it has a perfect blend of colors.

KF: Can you tell us any special elements or ideas that you incorporated into this creation?
A thick quilt batting is added for hand quilting along the motifs. It makes cute dimensional scallop patterns, like a patchwork.
The ribbon made out of the border design is added on the lid, also serving as a handle.

KF: What are some tips for making this case?
1. Make sure to choose a solid and thick quilt batting so that the bag stays stable.
2. Baste the pieces first, when sewing the main panel and bottom together. It is important. For the areas around the curve, adding slits on the seam will create a clean finish.
3. Align the center first, then baste, when attaching the zipper. When putting it on the lid, place it slightly inward.

KF: How should we use this case in everyday situations?
It is the perfect size as a cosmetic case. This time, I thought it would be well-suited for knitting supplies, as you can pull out the yarn when working on your knitting piece.

KF: Thank you very much, Ayumi Here are sewing instructions along with step by step photos from her. Enjoy crafting!

Continue reading

Three-Piece Set for New School Year Essentials – Sewing Instructions


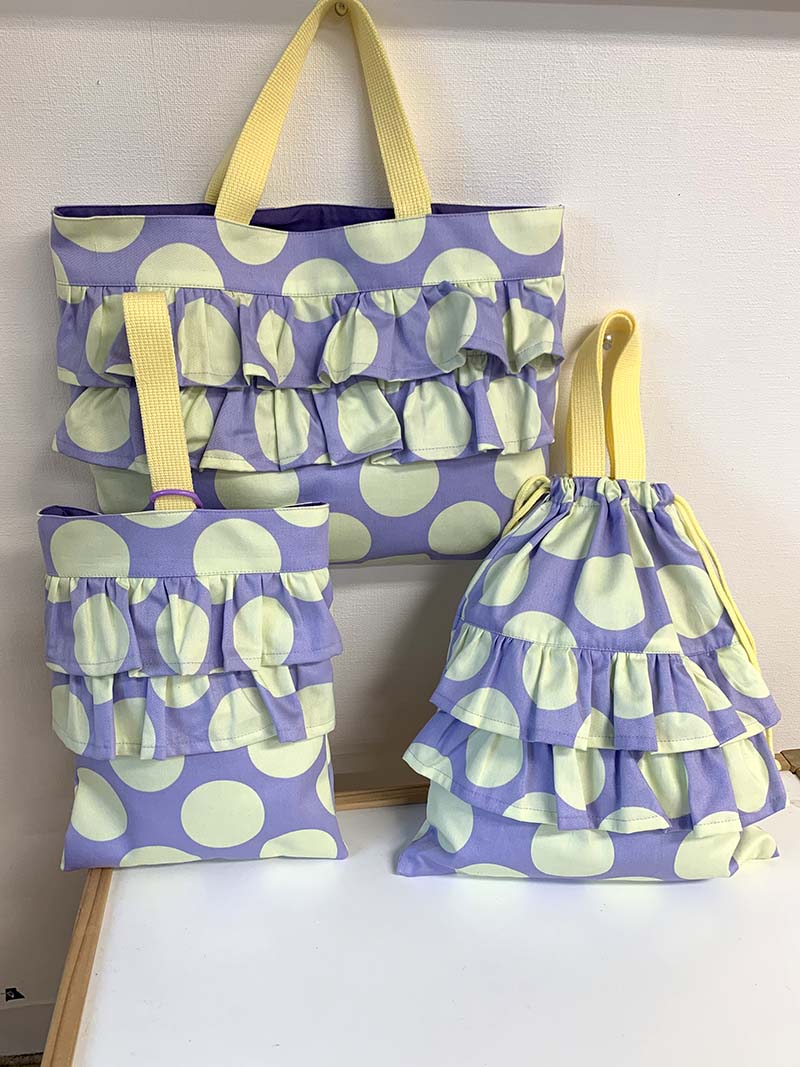
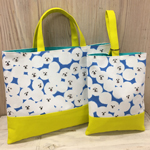
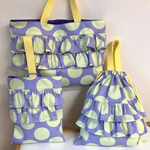
A three-piece set of a lesson bag, shoes case and bag for gym clothes is known as new school year essentials. This time all items are embellished with lovely frills, and how-to instructions for all three pieces are introduced. By learning to make them all, you will have mastered the basics for creating totes and drawstring bags. The dot prints from the teiban series feature a perfect two-color tone combination of large pop-looking dots and pastel hues. The pieces will look even more stylish by selecting a handle flat tape to go with the color of the fabric.

Design & Work:Kokka Fabric


Fabric shown for this sample:teiban YKA-69080-2C


Materials:
□ Outer Fabric: about 110cm wide x 120cm
□ Lining Fabric: about 100cm wide x 70cm
□ Fusible Interfacing (medium weight): about 90cm wide x 70cm
□ Flat Tape: 25mm wide x 170cm
□ D Ring: 25mm wide x One piece
□ Round Cord (medium): 160cm


Size: <Lesson Bag> about 30cm (l) about 40cm (w) (Handles excluded)
<Shoes Case> about 30cm (l) about 23cm (w) (Handle excluded)
<Gym Cloths Bag> about 38cm (l) about 32cm (w) (Handles excluded)
◎Sewing Instructions

◎Sewing Instructions (PDF format / A4 size)
button_tt

Drawstring Bag with Handles – Sewing Instructions

*All Rights Reserved.  Please refrain from the unauthorized use of project photos.

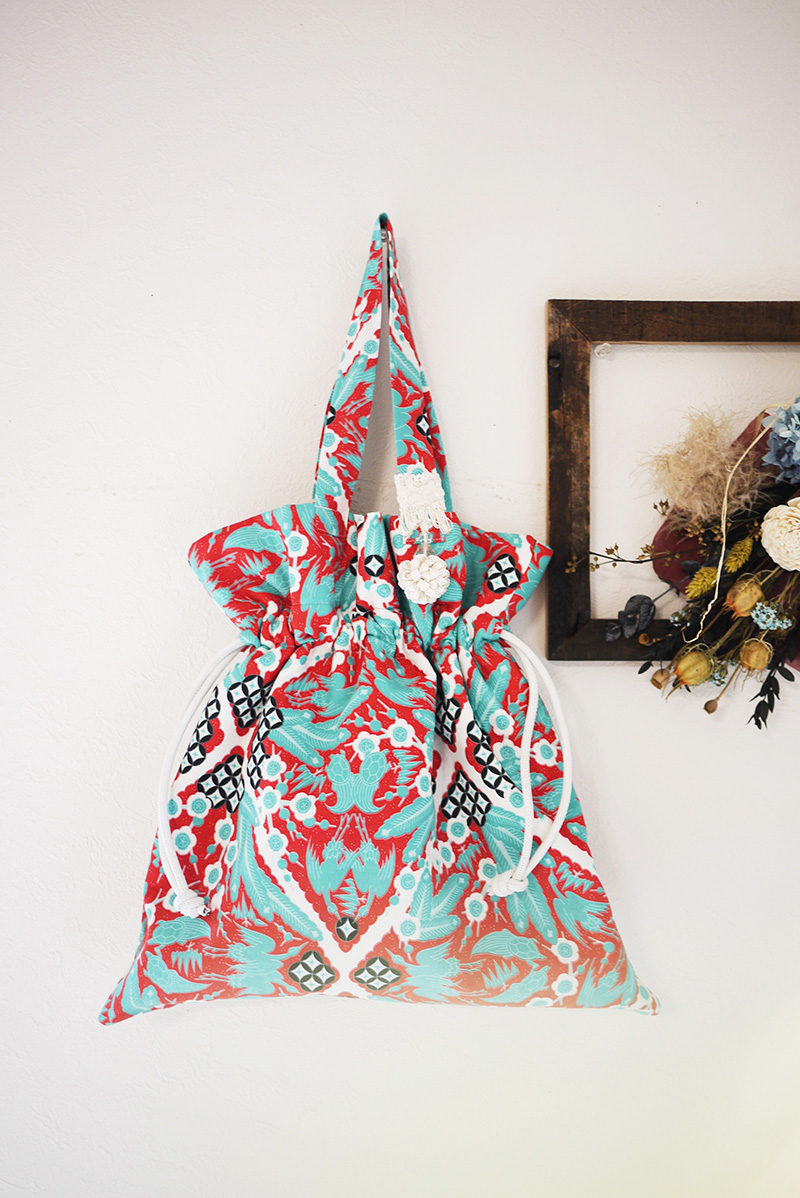
Handy for keeping small articles, a drawstring bag is now transformed into a large key fashion piece that can complement your styling. The bag’s impactful outer fabric is from uremos,
a series by the Kaga Yuzen (dyeing) artist, Daisuke Yoshimoto. Utilizing the representative Kaga Yuzen technique known as Itome, the accented white outline creates a modern look of the beautiful elements of nature.

Design & Work:Yui Tamaki


Fabric shown for this sample: uremos EKA-1060-1A


Materials:
□ Fabric (Outer Fabric, Handle): 110cm wide x 50cm
(Lining Fabric (Artificial Leather)): 90cm x 40cm
□ Fusible interfacing: 90cm x 50cm
□ Leather Cord: 1.8m (0.5cm diameter)
□ Embellishment of your choice


Size: 41cm (l) 40cm (W)

We interviewed Yui about her creation:
Kokka Fabric (KF): What did you think of the fabric you used for this project?
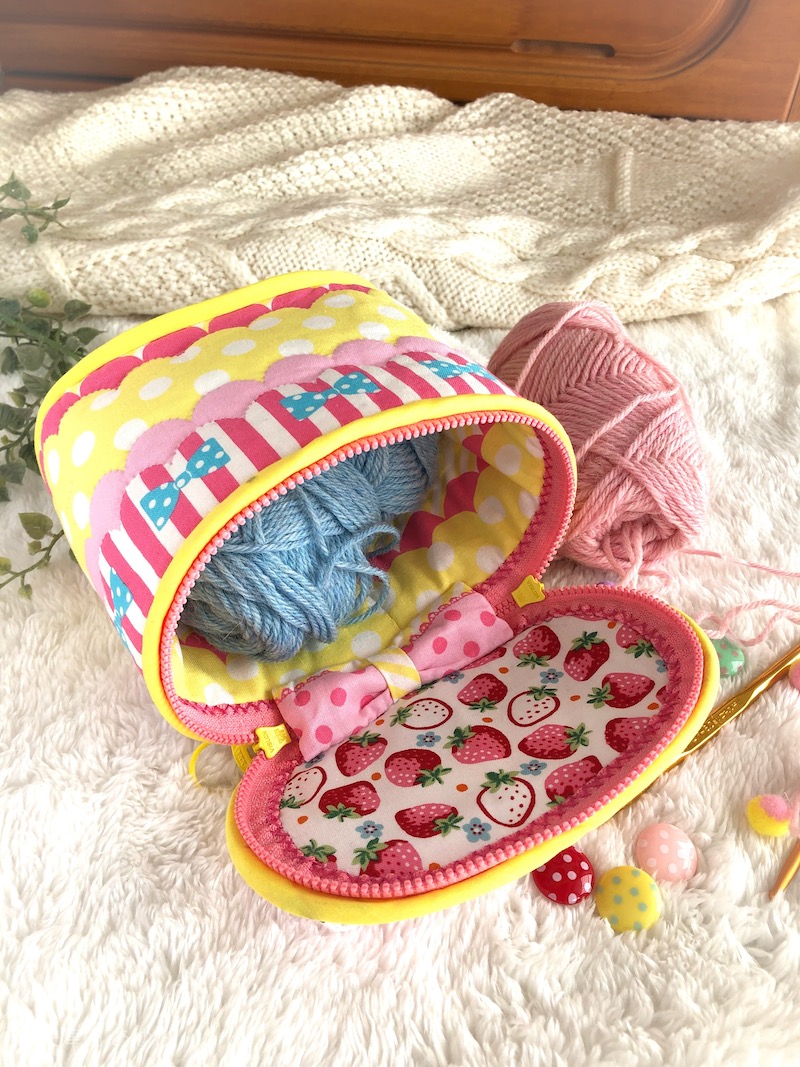
Gorgeous and stylish, it perfectly fits my taste. It was so much fun thinking about what to make with this fabric. The design features Japanese festive motifs of cranes and turtles, so I came up with a bag with drawstrings, which is inspired by a Japanese style.

KF: What are some tips for making this bag?
The opening for the cord requires a long straight stitching. You could use an erasable pen to mark the stitch line. If not, you could place a piece of masking tape on the sewing machine to mark where the edge of the fabric should be. These methods will help to stitch a straight line.

KF: How should we incorporate this bag into one’s styling?
It will look great with simple styling whether it is Kimono or western outfits!

KF: Thank you very much, Yui! Here are sewing instructions along with step by step photos from her. Enjoy crafting!
Continue reading

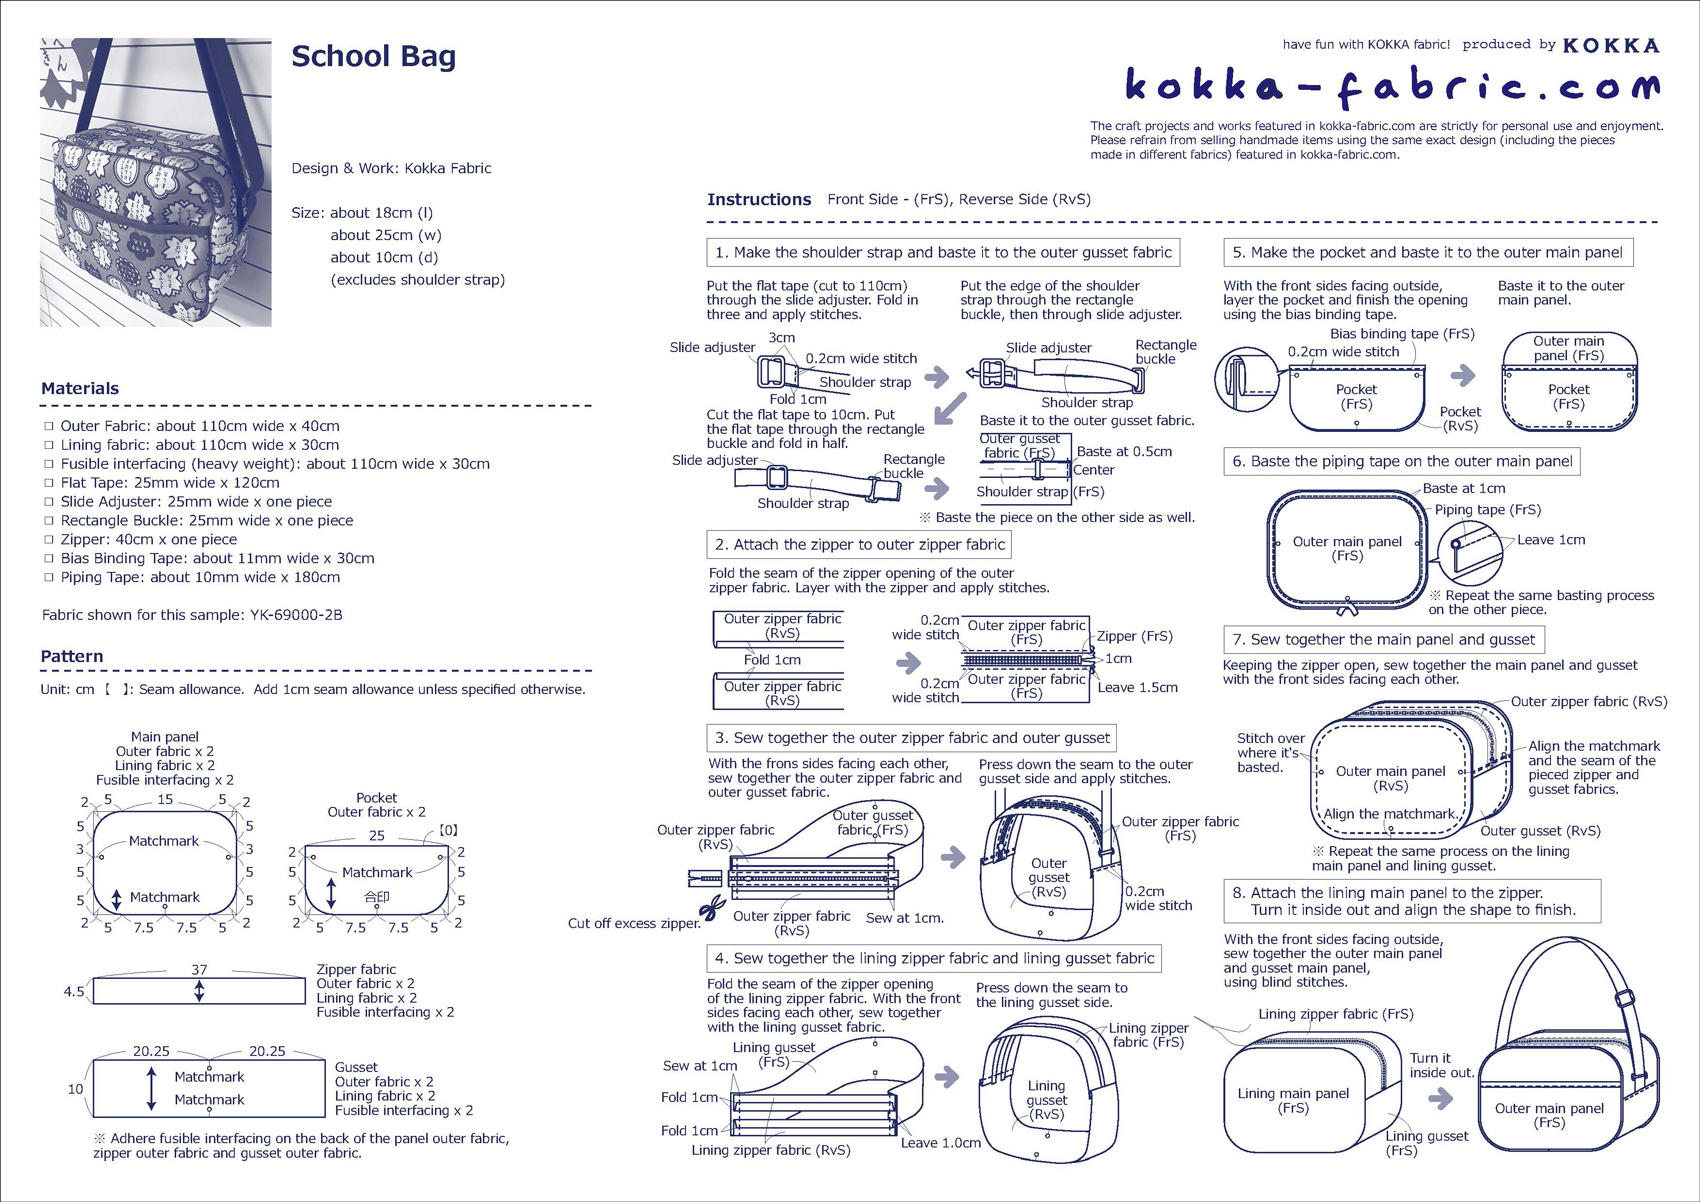
School Bag Sewing Instructions

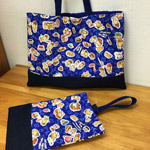
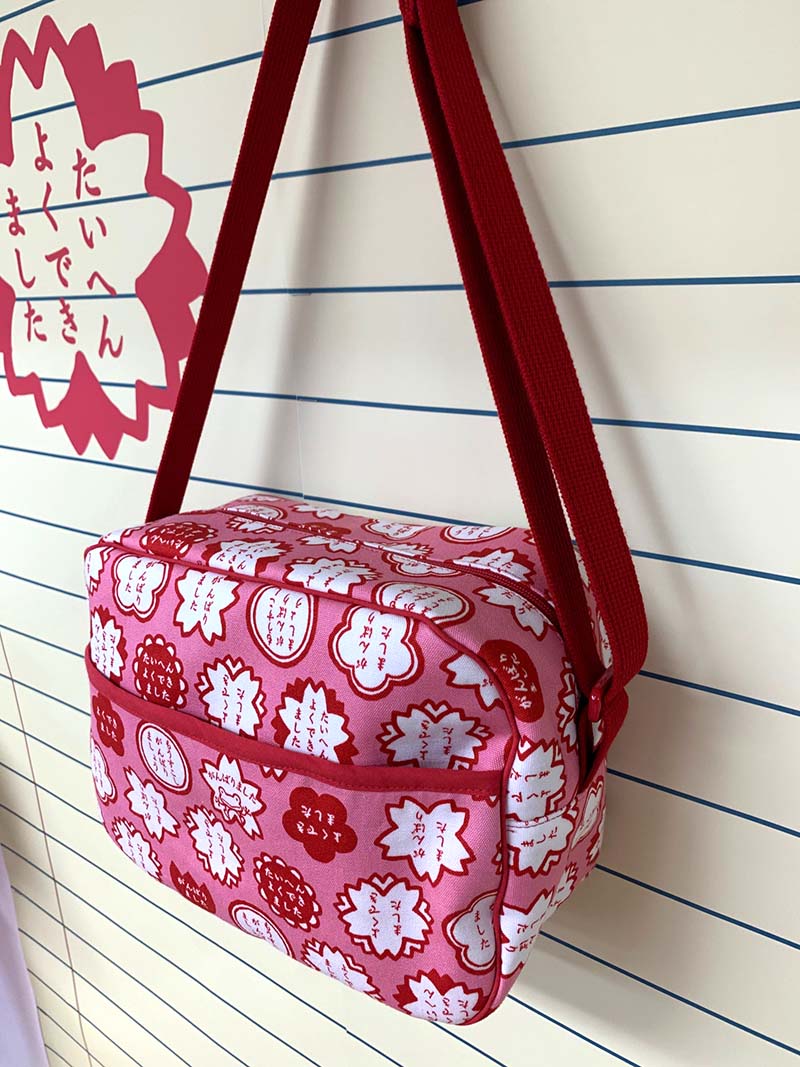
An ideal fabric for a school bag is introduced from the perfectly named “Yokudekimashita (Well Done)” series. The plum and cherry blossoms motif is filled with wording like “Yokudekimashita (Well Done)” and “Ganbarimashita (You Did It)”! With a zipper, the contents are secure inside. Plus a handy outer pocket and adjustable shoulder strap complete all the convenient functions. It is a perfect fit for a school bag.

Design & Work: Kokka Fabric


Fabric shown for this sample:YK-69000-2B


Materials:
□ Outer Fabric: about 110cm wide x 40cm
□ Lining fabric: about 110cm wide x 30cm
□ Fusible interfacing (heavy weight): about 110cm wide x 30cm
□ Flat Tape: 25mm wide x 120cm
□ Slide Adjuster: 25mm wide x one piece
□ Rectangle Buckle: 25mm wide x one piece
□ Zipper: 40cm x one piece
□ Bias Binding Tape: about 11mm wide x 30cm
□ Piping Tape: about 10mm wide x 180cm


Size: about 18cm (l) about 25cm (w) about 10cm (d)(excludes shoulder strap)
◎Sewing Instructions

◎Sewing Instructions (PDF format / A4 size)
button_tt

Frilled Drawstring Backpack Sewing Instructions

*All Rights Reserved.  Please refrain from the unauthorized use of project photos.

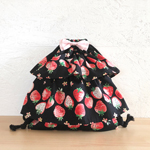
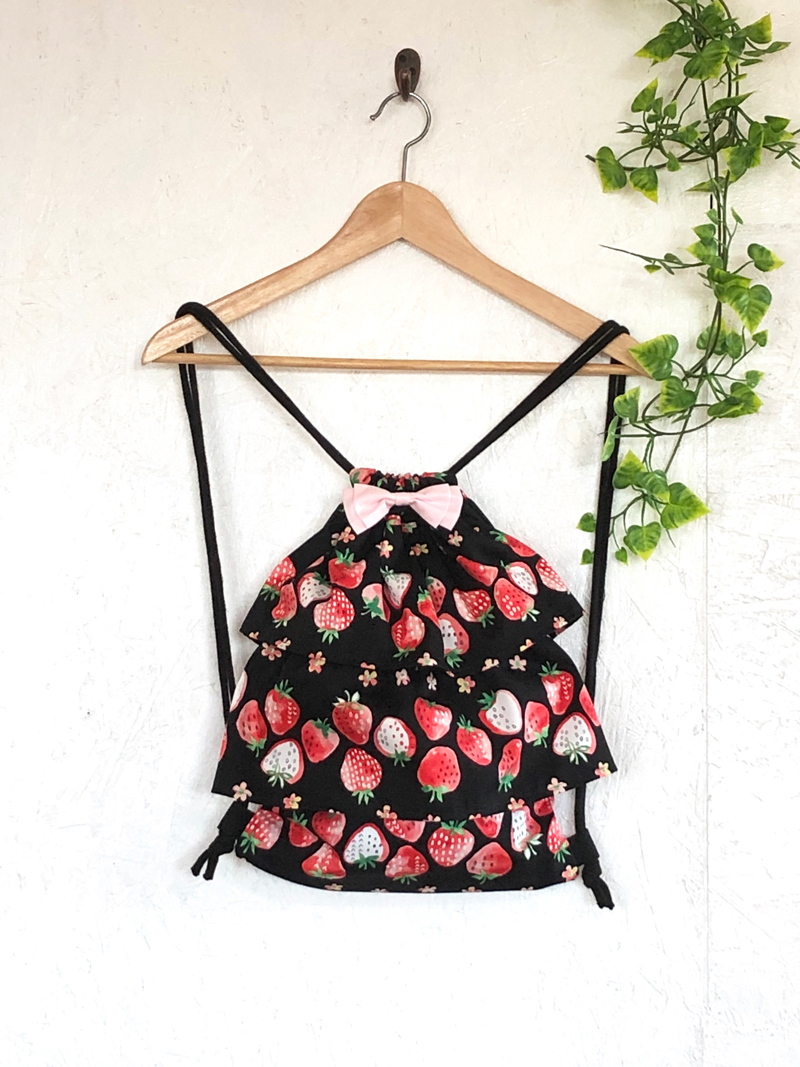
A very popular frilled backpack now comes as a drawstring backpack, perfect for school or everyday use! A lovely soft graphic strawberry print from the Water Blur series is featured. By adjusting the straps to be longer, kids can carry the bag over a Randoseru (Japanese style backpack), making it even more handy.

Design & Work:Aiko Hada


Fabric shown for this sample:Water Blur LG-29030-1C


Materials:
□ Fabric (Outer Fabric, Frill): 90cm×1m
(Lining Fabric): 32cm×80cm
(Ribbon):30cmx20cm
□ Acrylic Tape: 2.5cm wide x 12cm
□ Cord: 0.6cm diameter x 3.4m


Size: 40cm (l) 30cm (w)

We interviewed Aiko about her creation:
KF (Kokka Fabric (KF): What did you think of the fabric you used for this project?
The juicy looking fresh strawberries in watercolor tones looked really delicious. The size of the strawberries is almost real like a large piece, about 4cm.

KF: Can you tell us any special elements or ideas that you incorporated into this creation?
When you tighten the straps, this drawstring backpack creates a lovely shape like a frilled skirt. I paid attention to have a balanced look in both width and length. Imagining the finished look, entertaining different color combinations for the ribbon and strap was fun.

KF: What are some tips for making this bag?
When attaching the gathered piece, align the center and the bag fabric, then spread it little by little for a uniform look. If you are worried, baste it first for a clean finish.

KF: How should we incorporate this bag into one’s styling?
everyday use. When taking it to school, extend the strap so that the kids can carry it over a Randoseru (Japanese style backpack). Why not create one to make it your kid’s favorite?

KF:Thank you very much, Aiko! Here are sewing instructions along with step by step photos from her. Enjoy crafting!
Continue reading