By tallying up the number of orders from KOKKA’s distributors throughout Japan, we release the fabric sales ranking each month in the Japanese-language version of this website.
One or more fabrics from “echino” series by Etsuko Furuya always rank in the top 3. Because of the distinct color scheme called “echino color”, echino fabrics are so popular and used for various sewing projects such as bags, pouches, dresses and so on. Sometimes we find the creations made of echino fabrics in crafters’ blogs not only from Japan but also from around the world. How wonderful to see that the echino fabrics are transformed into lovely products to be integrated in their living spaces!
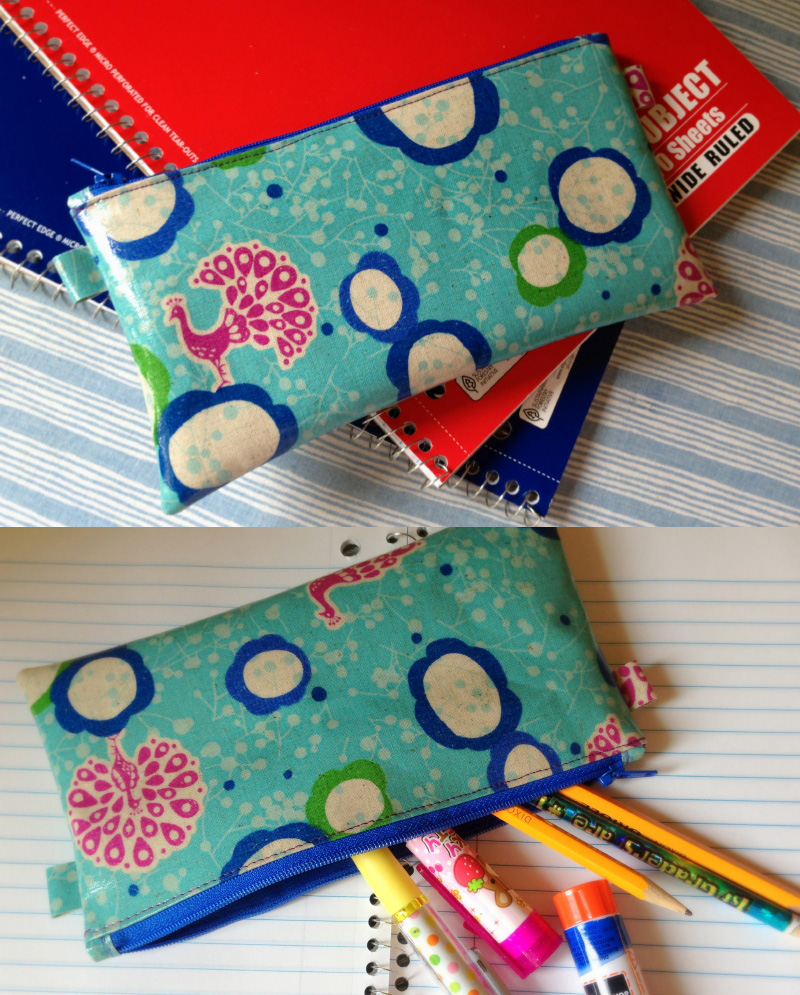
Hiromi Widerquist, who is a Japanese crafter living in the U.S., posted what she made with echino in her blog at the beginning of last September. She wrote, “A day before school resumed, I whipped up a new pencil case for my daughter with laminated Echino fabric. The reason I picked this fabric is that peacocks are her favorite bird. Like I predicted, she liked her new pencil case. I am glad that she is still young enough to appreciate her Mom’s handmade.”
The blue zipper, which is matched with the coloration of the fabric, spiced up this back-to-school item. Consequently, the pencil case was stylishly finished. It could be a checkbook wallet in different size.
According to her, the pencil case was sufficiently strong without lining due to the thickness of the laminated fabric. She sewed up the simple product within half an hour.
Widerquist has written two blogs in two languages: “HIBI LABO JOURNAL” in Japanese and “Harujion Design” in English. You can see lots of her creations in both blogs, including a body pillow that has recently been posted. Whichever you see, you will just say “remarkable”. Indeed, these are “must see” blogs! You can also get the sewing tutorials with detailed descriptions from there. Check them out!
“HIBI LABO JOURNAL” in Japanese at http://hibilabo.jugem.jp
“Harujion Design” in English at http://harujiondesign.blogspot.com


 Trefle Petit Series
 kirigami
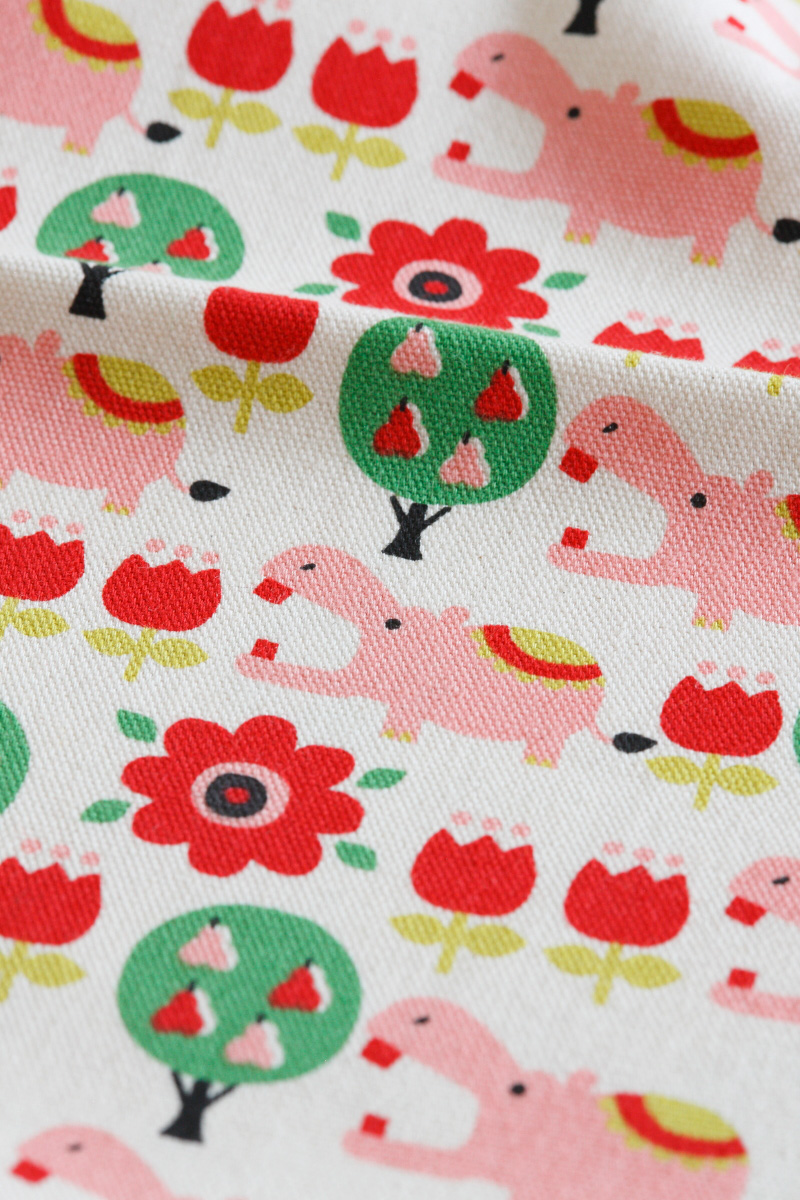
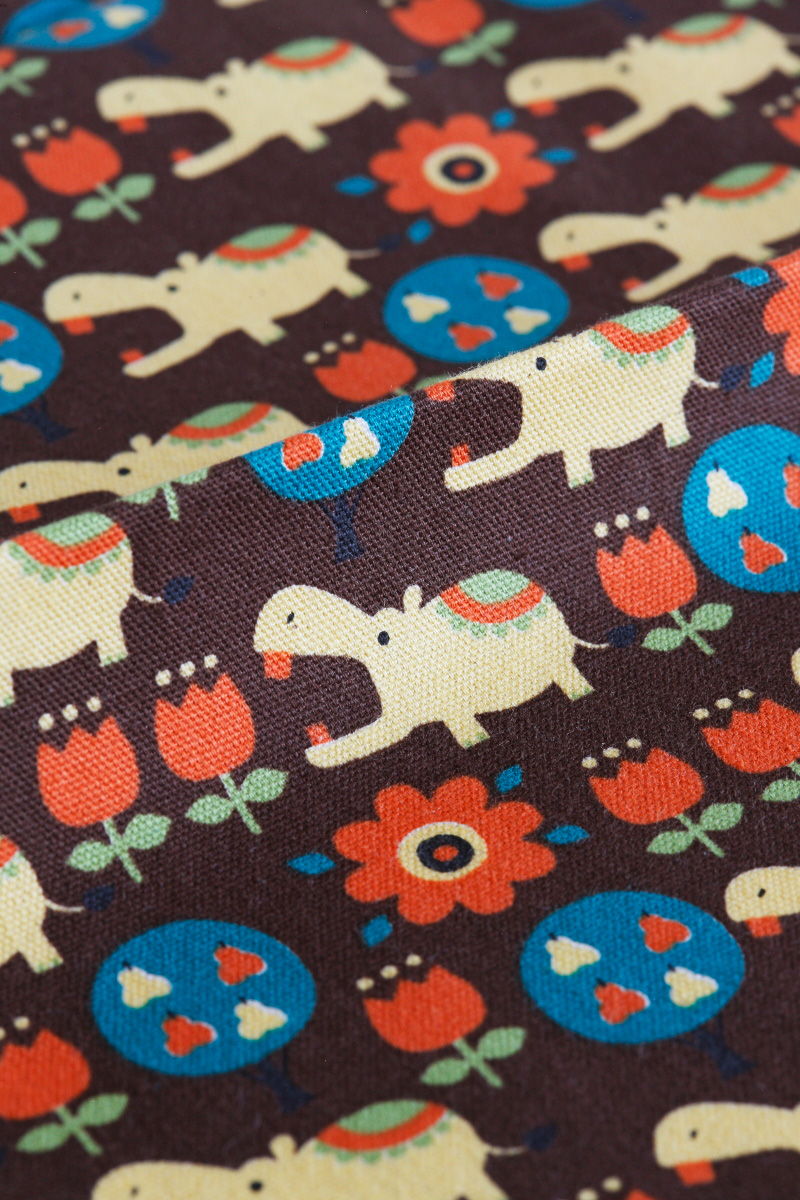
 Nordic Animal
 Kurokun The Crayon
 plump cheeks
 Ready-To-Sew Fabric
 Inspiration file 47
  Inspiration file20
 Inspiration file 46
 file 001
 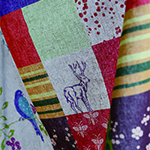 file 005
 Visit Artist 016: Aco Sakamoto (Textile Designer)