
The fourth series from nunokara, a fabric collection based on delightful fairy tales, feature Peter Pan, The Emperor’s New Clothes and Three Little Pigs. Chihiro Hiromi, an illustrator, is the designer of this new series. Shiomi says, “Bearing the story book in mind, I carefully set up the characters. These characters become alive to take you to the story’s next sequence, or provoke your imaginative perspective….These are the feelings I hope you will encounter through these fabrics. When drawing, I cherished the warm colors and lines that can only be created through hand drawing.”
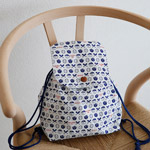
neverland map F103-1 Organic Cotton Broadcloth
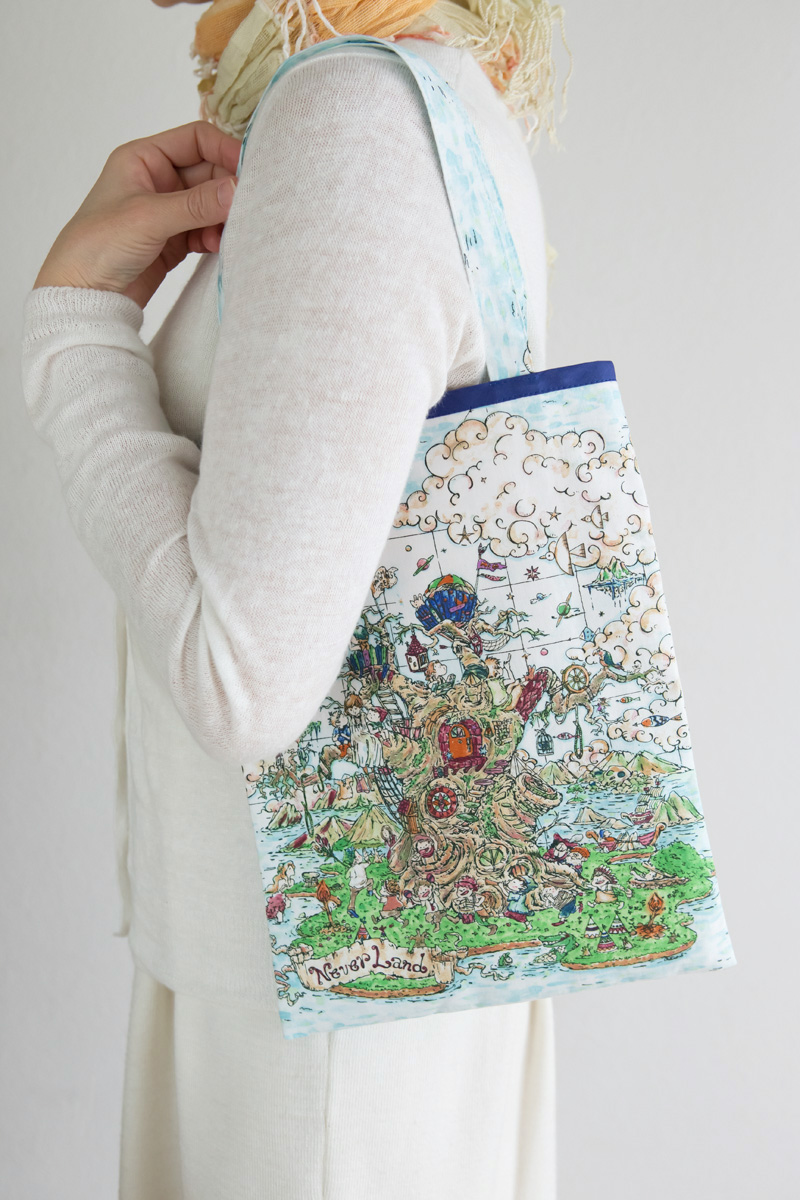
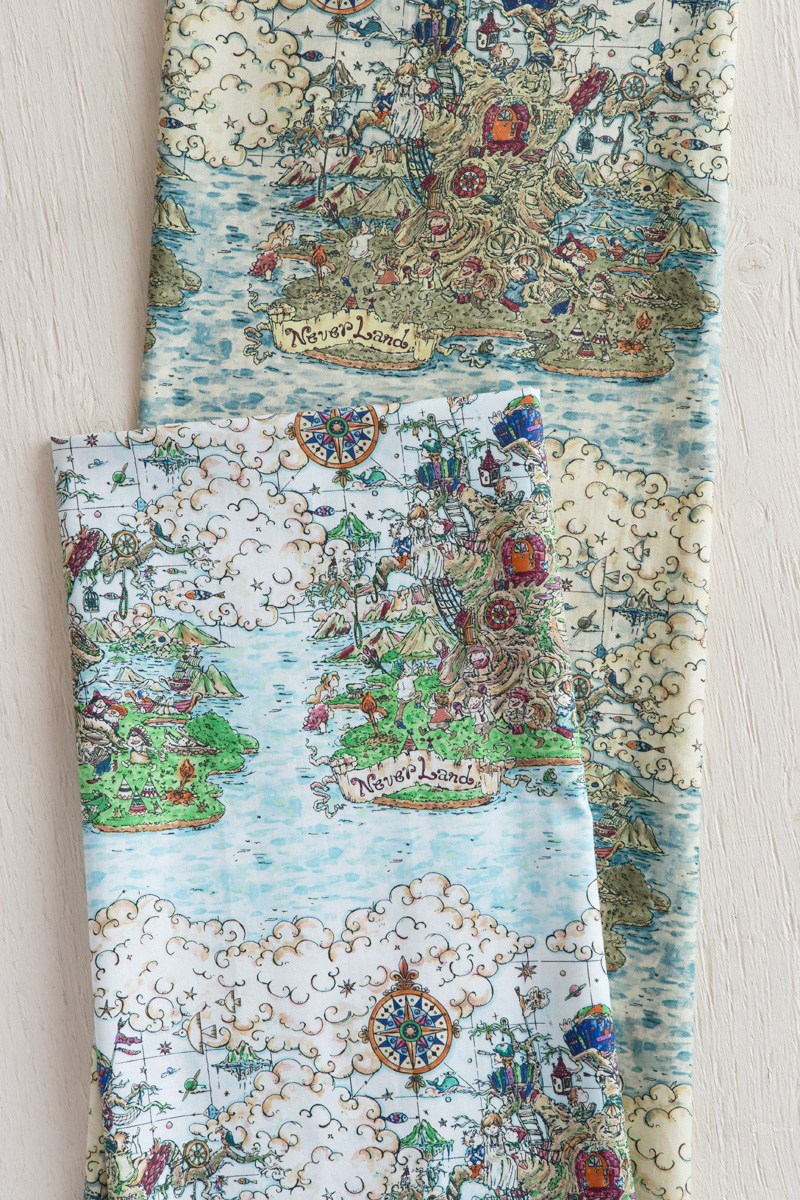


“This design was done with the inclination to squeeze my favorite story, Peter Pan, into a piece of fabric. Whether you are familiar with the story or not, I hope everyone will end up having a similar story of Neverland through this fabric.” (Shiomi)
 nunokara series #3 Rotkappchen (Little Red Riding-Hood)
 cocca
cocca nunokara

 plump cheeks
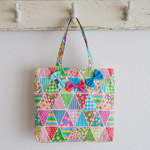 Plump Cheeks ‘70s Retro
 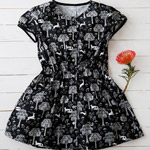 Monochrome
 Inspiration 22
 Inspiration file48
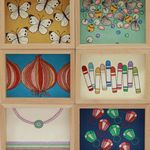 Inspiration file21
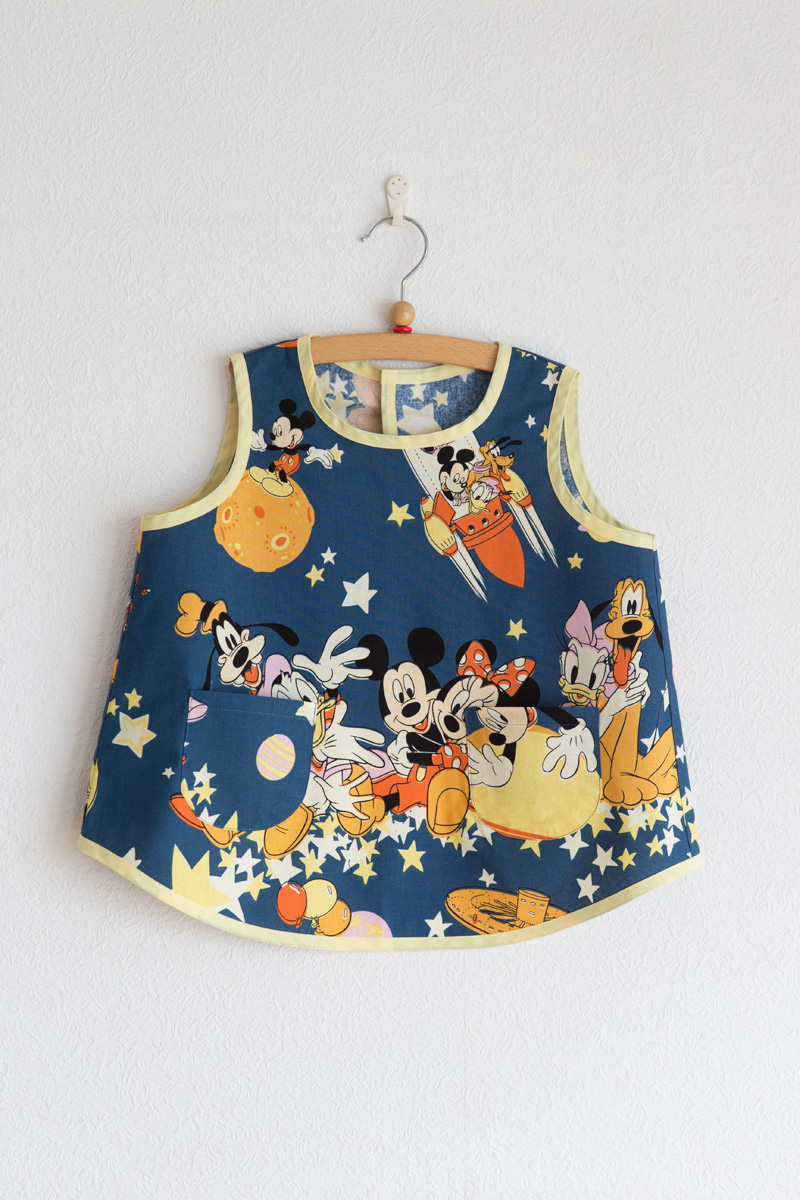
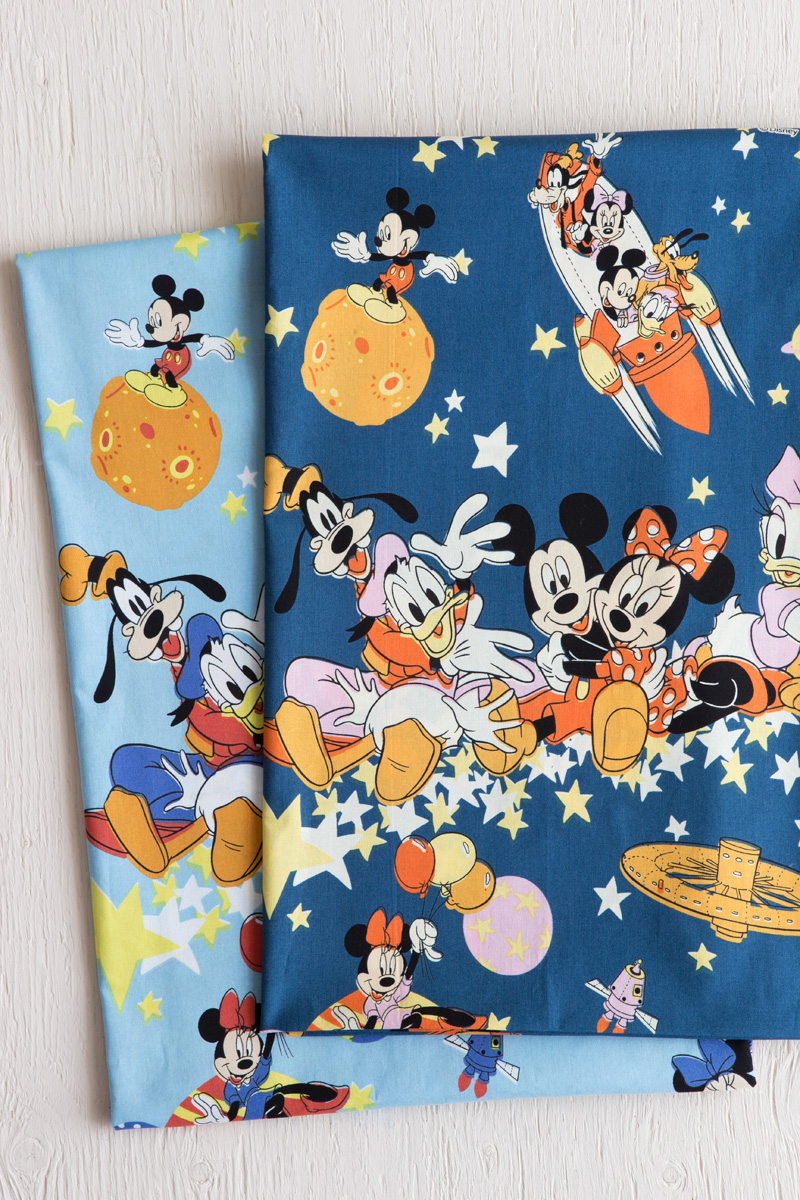
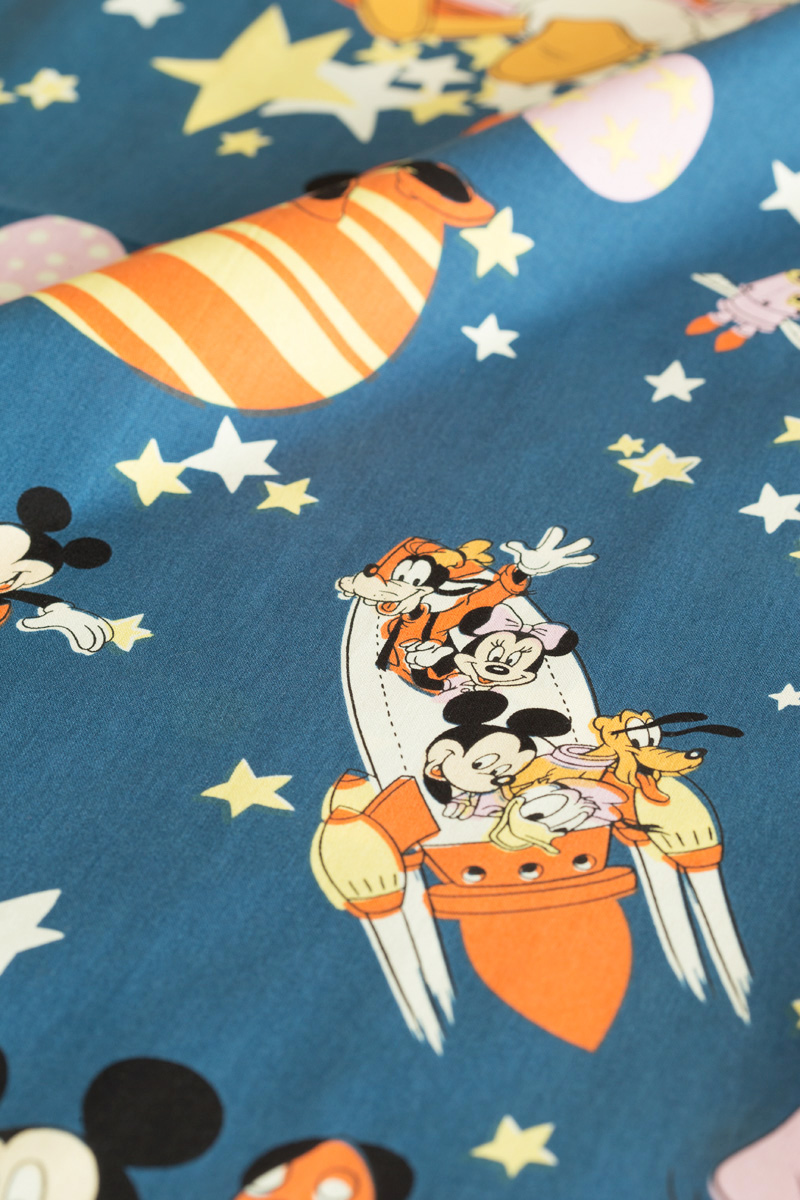
 Wannabe Mickey and Minnie Print Fabric
 wanderlust
 nastro


 Sports Fabric
 petite ecole (for girls)
 Monoeco