
Fabrics from Scandinavian countries tend to have sophisticated designs. Their vivid colors put you in a lively mood and they are very popular for interior décor items. Today’s fabric comes from one of the most prominent and long-established Finnish textile design manufacturers, Finlayson, which has been in business since 1820. The design studio of Finlayson was established in 1951. The print fabric created by their design team is so popular that you will find their fabric literally in every household in Finland. Under the theme “fresh and sophisticated pleasure,” the new collections are introduced twice a year with two design lines, trendy and classic. Kokka is introducing five designs from the new collection. Three designs are featured in today’s column.
![]()
AJATUS design by Anu Saari,year 2006 JG-43100-1 Oxford (Ox)
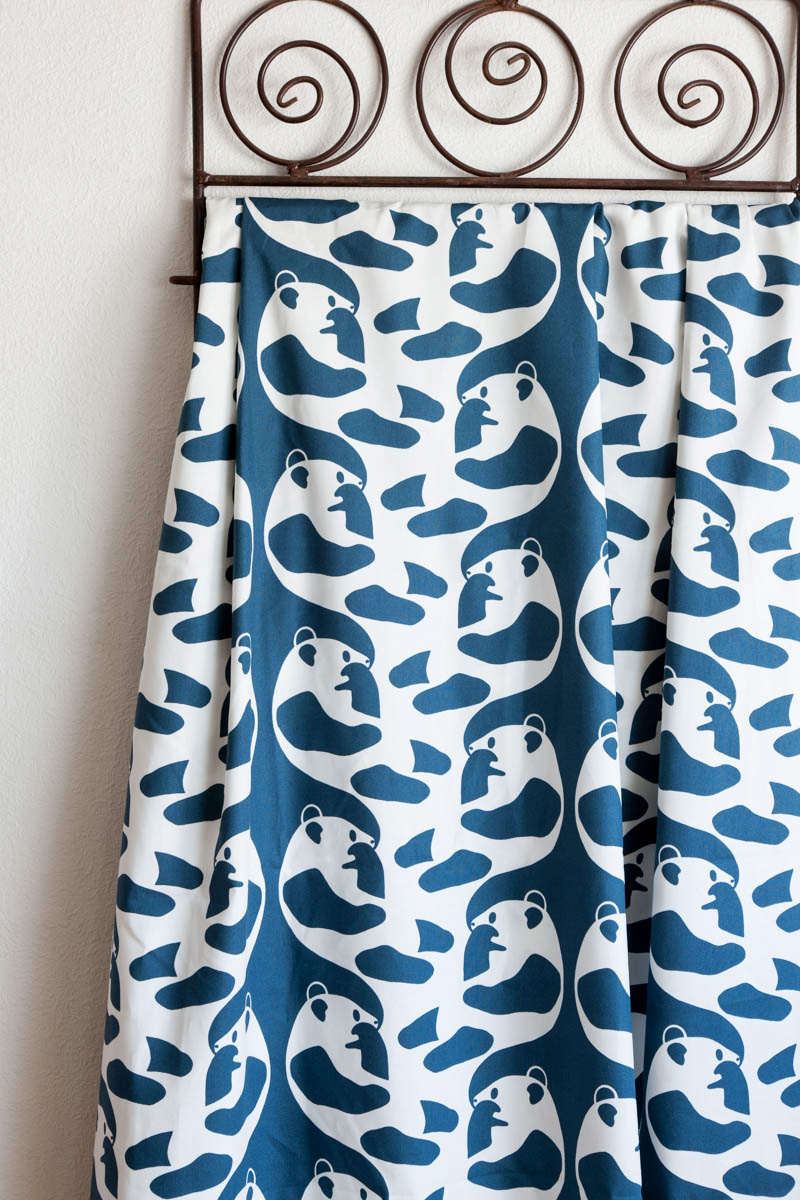


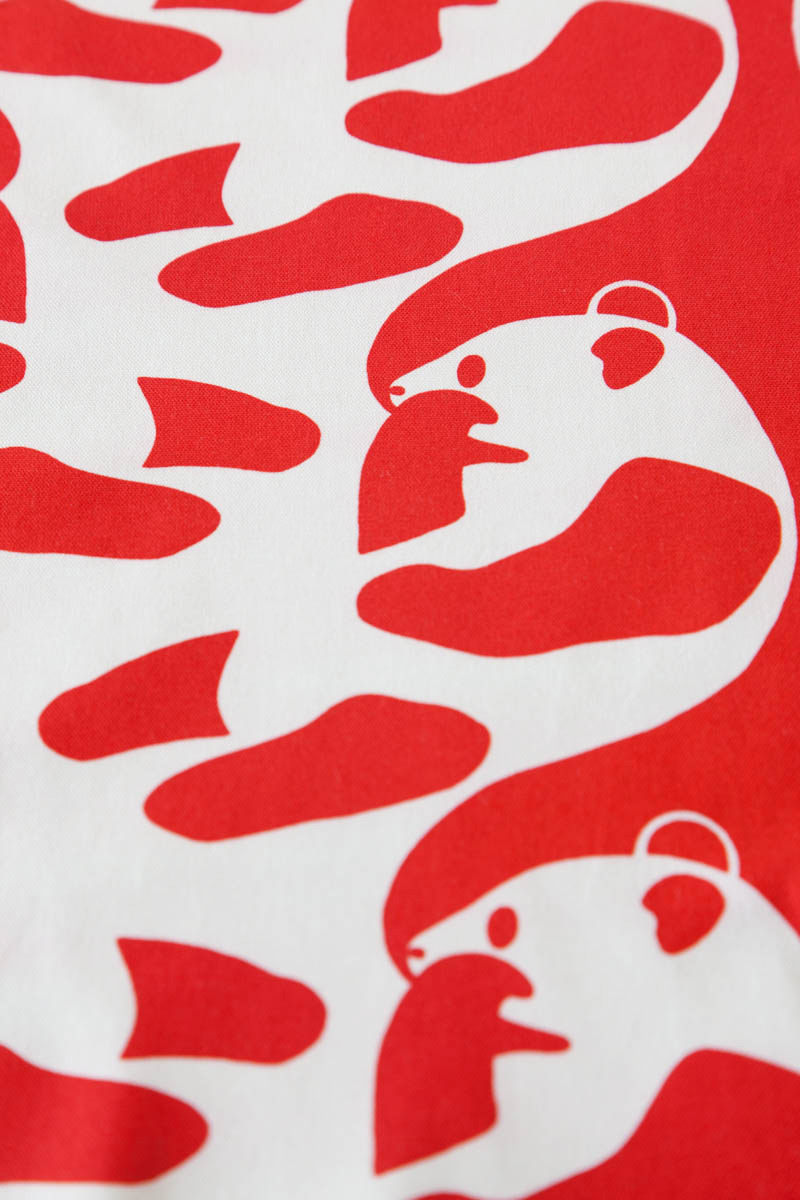
The name “Ajatus” means “a thought or an idea.” The design presents lined-up pandas in a pensive mood. With a 160cm width, it is mainly suitable for interior décor items, but it can also be turned stylishly into clothing like a dress and a shirt or a bag.
 Finlayson 2
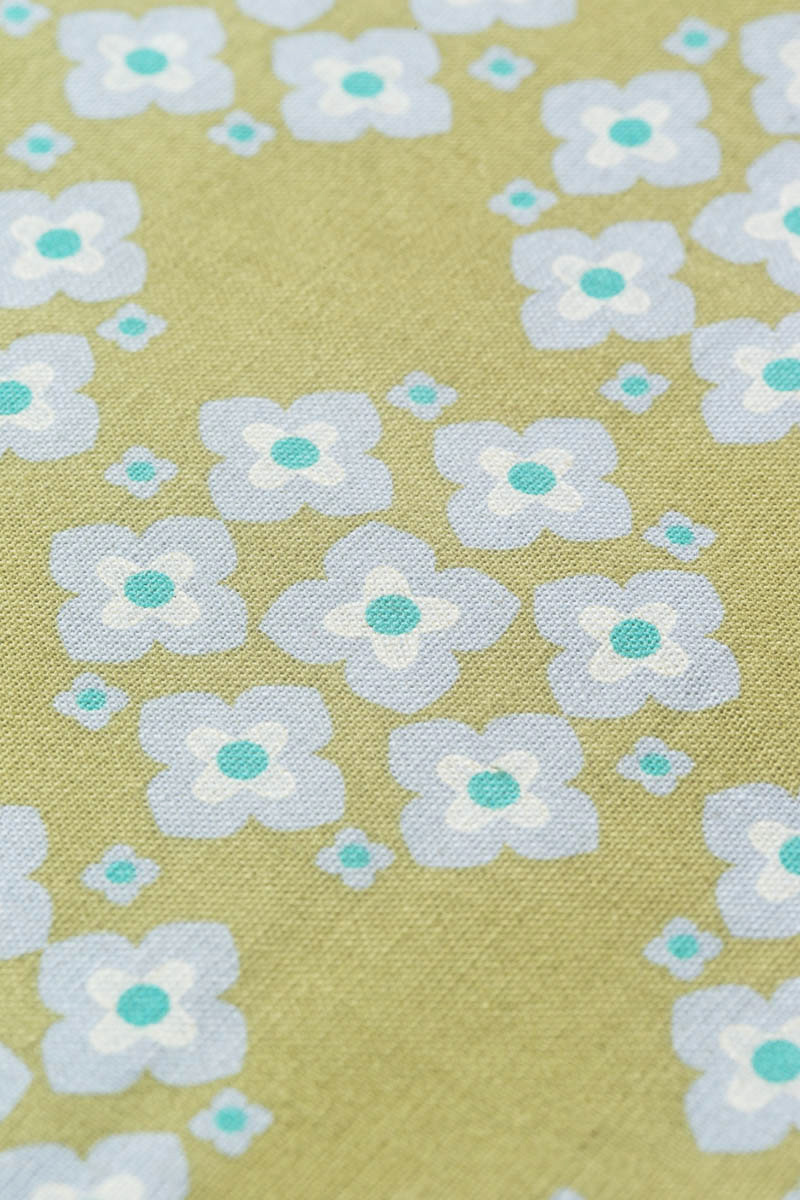
 PIKKU SAARI
 petite ecole (for girls)
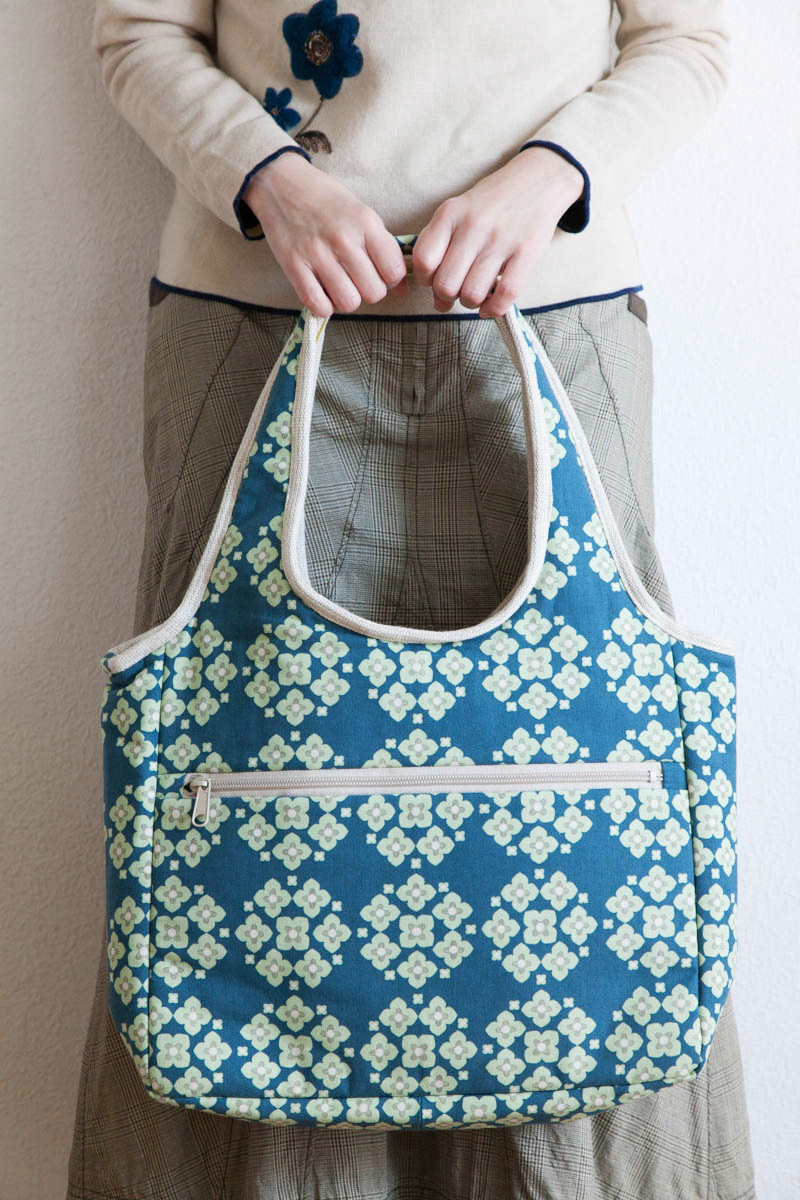
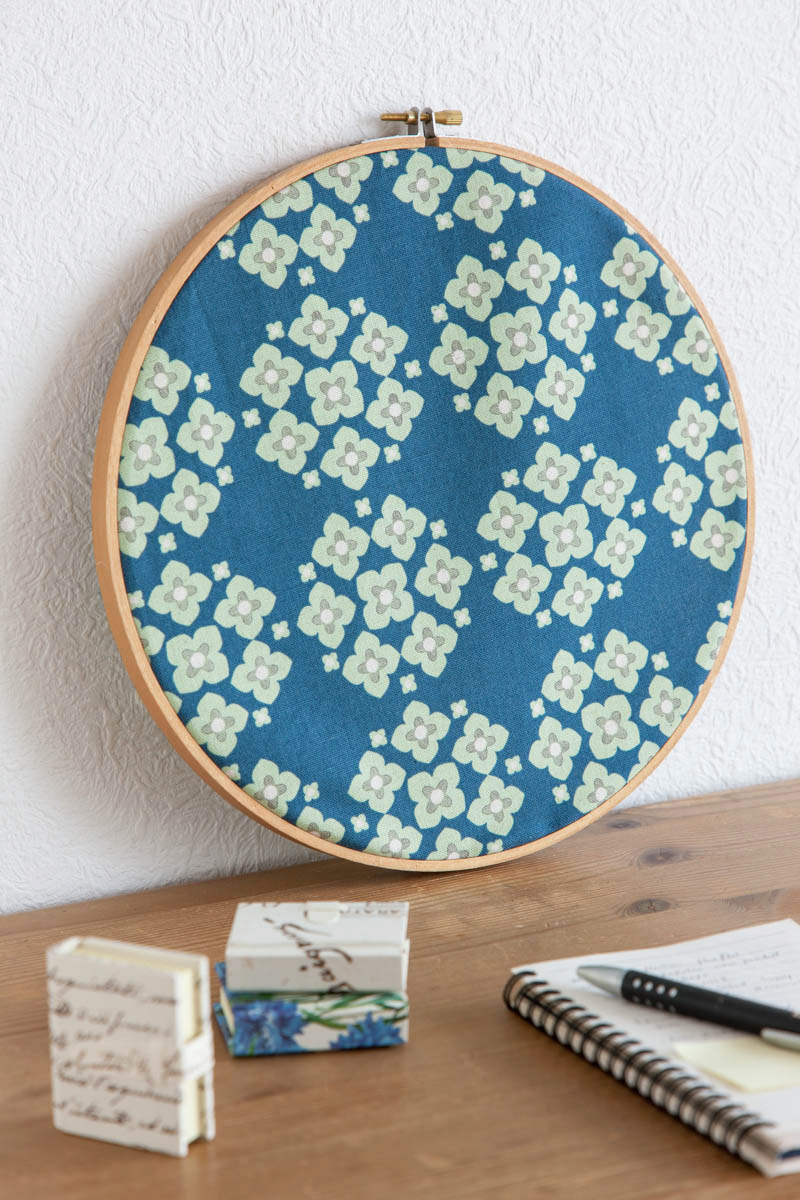
 Garden by Ellen Luckett Baker
 Framework
 Rough Cut
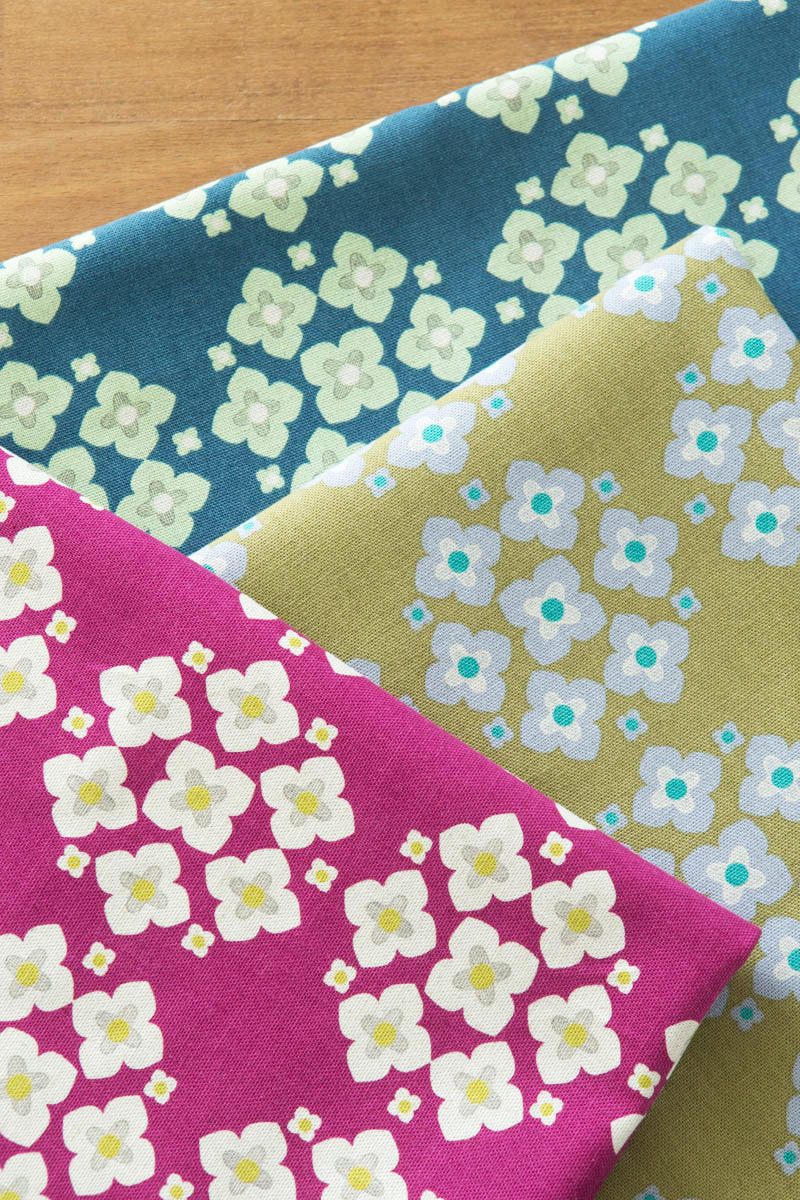
 Garden by Ellen Luckett Baker 2
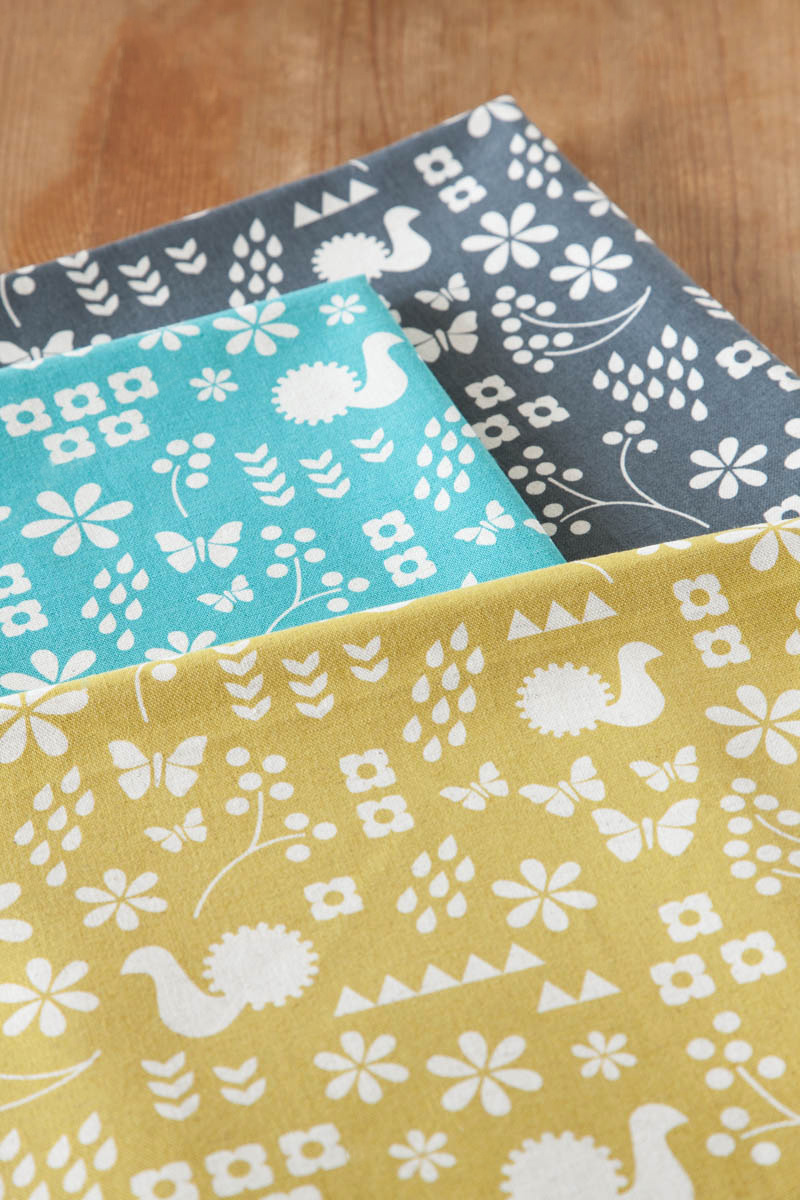
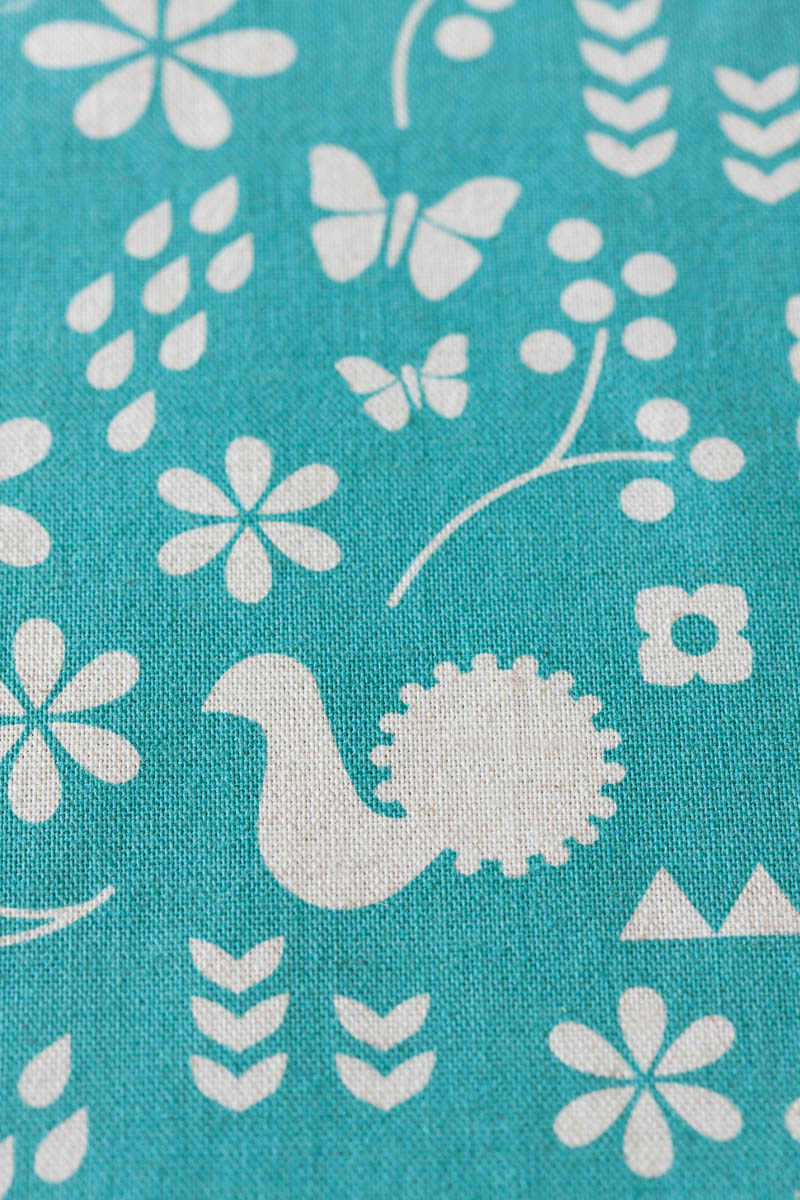
 FOLK MODERN

 echino’s Dress with Pockets
 Cotton Sateen One-Piece Dress
 Camisole Dress- Sewing Instructions
 2014 echino Collection Part 3
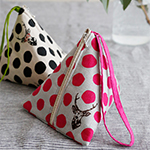 10th Anniversary / 2015 echino fabric collection 2
 2014 echino Collection