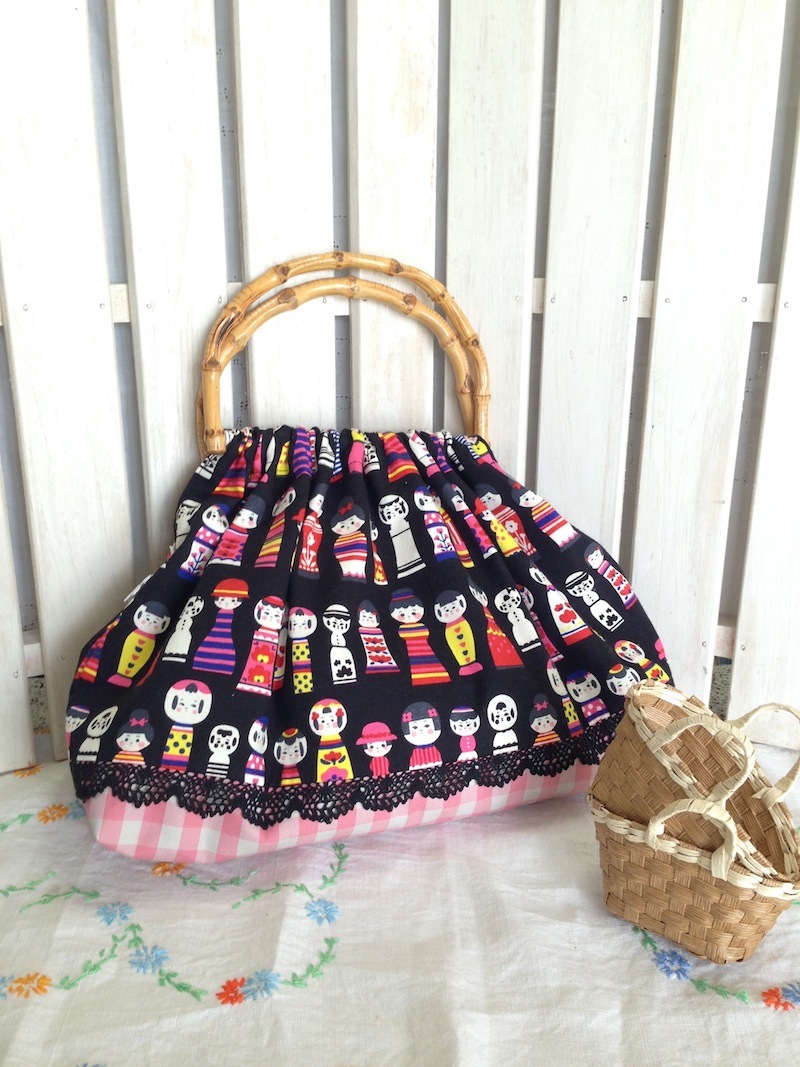
Size (roughly): 29cm (H), 40cm (W), 12cm (D)
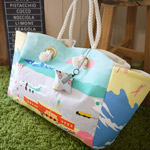
From a series of fabrics that feature traditional Japanese motifs with pop sensibilities, the Kokeshi design was selected for today’s bag project. Yumi Kanaya is the creator of this lovely bag.
Design & work created by Y*RT2 HANDMADE Yumi Kanaya
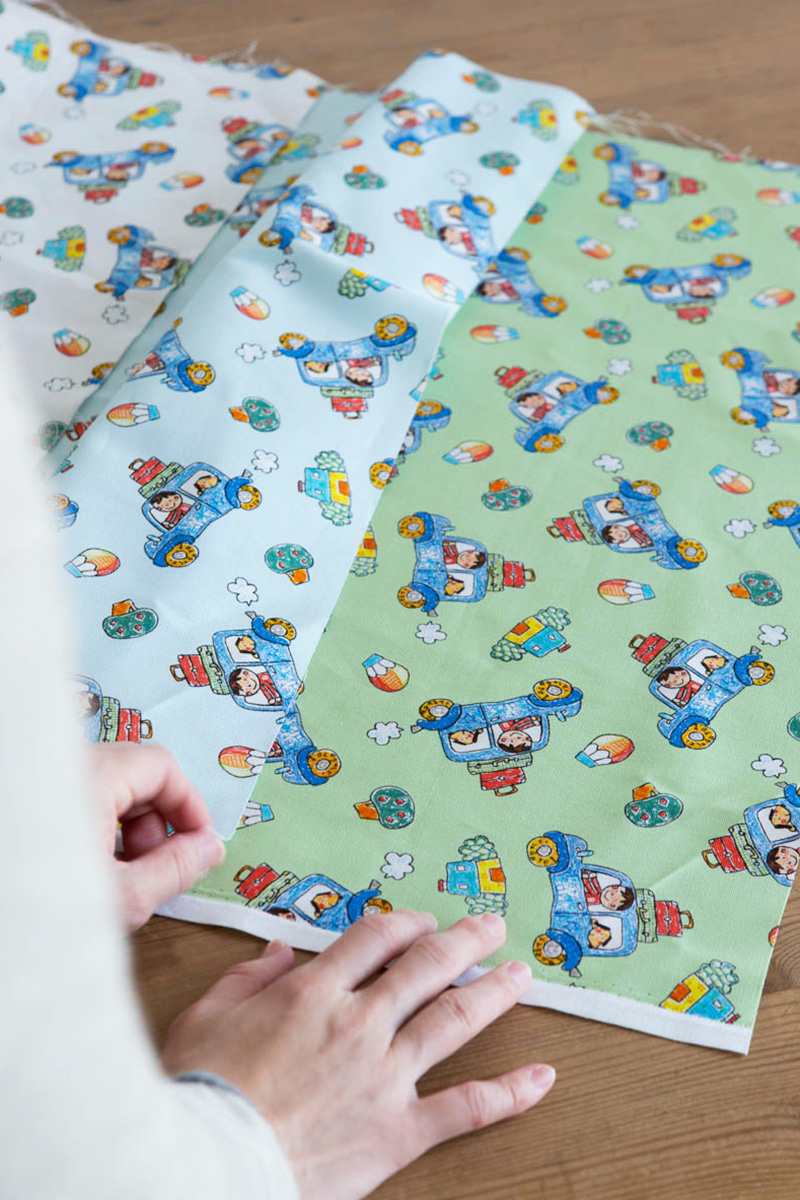
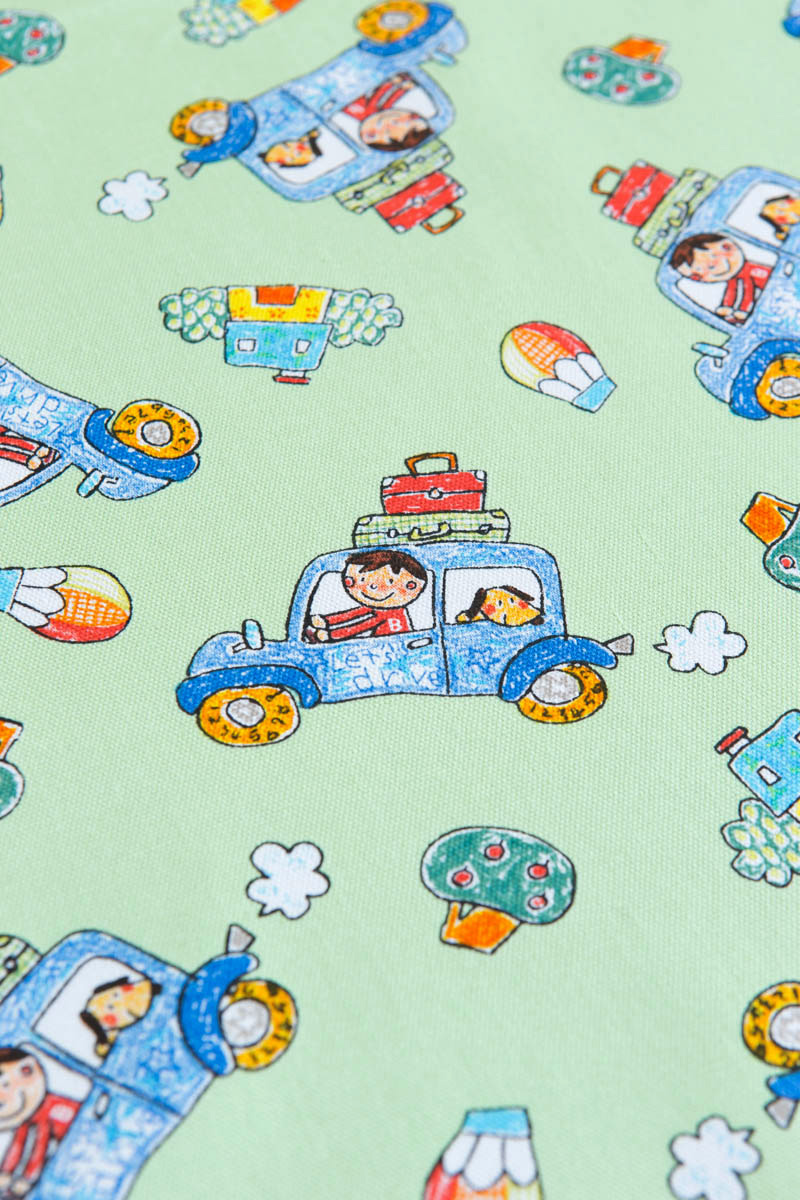
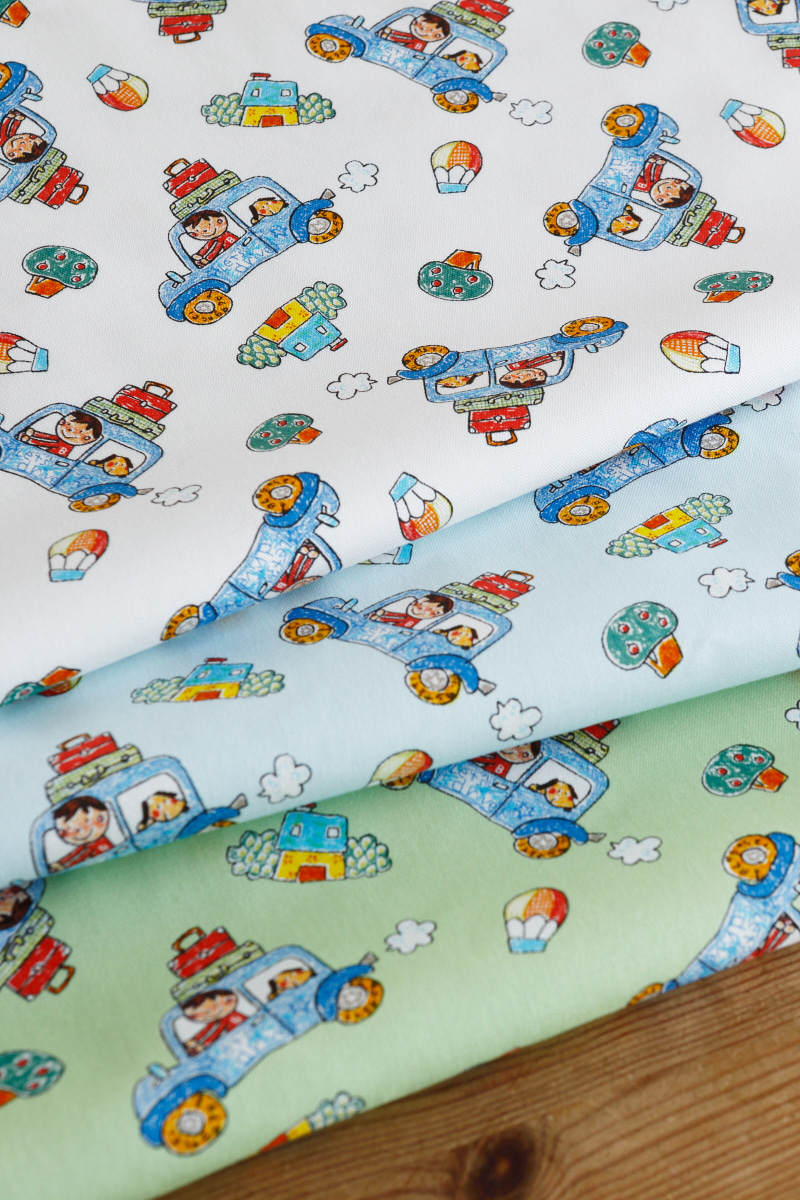
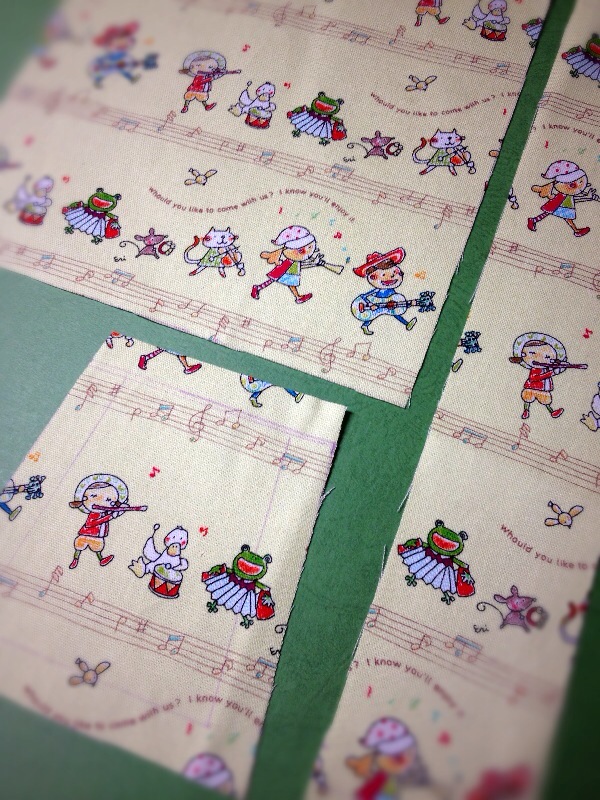
Fabric shown for this sample: P26300-301 (D)
Materials:
□ Fabric (Outer bag A, Drawstring Bag outer bag A):110cm×60cm
(Outer bag B, Drawstring Bag outer bag B):80cm×30cm
(Lining bag, pocket, lining for drawstring bag):90cm×70cm
□ Interfacing : 90cm×80cm
□ Torchon Lace: 1.4m (2.5cm width)
□ Lace : 20cm (3cm width)
□ Cotton cord: 1.3m (size 0.3cm )
□ Button: Two pieces (size 1.5cm)
□ Handle: One pair (inside width 19cm)
We interviewed Ms. Kanaya about her creation:
Kokka Fabric (KF): What did you think about the fabric you used for this project?。
YK(Ms.Yumi Kanaya): When I first saw the photo of the fabric, the Kokeshi design looked small but it was actually a lot bigger than I thought. I found the use of the colors really bold. Because of the Kokeshi motif, I initially thought of creating something with a Japanese feel. After actually seeing the fabric, my idea changed. The colors are somewhat Scandinavian, so I made something cute and girly.
KF: Can you tell us about any special elements or ideas that you incorporated into this creation?
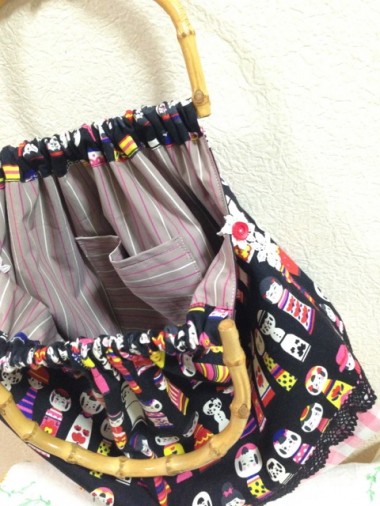
YK: Utilizing the big design motifs, I created a large-size bag. Bamboo handles add Japanese taste, while pink gingham check and black Torchon lace bring out its cuteness. It is a handbag with many gathering as a design accent. To keep the delicate and puffy look of the gathering, a thin interfacing is adhered to make it more durable. It is also wide and can hold a lot for its size. Inside pocket is convenient for carrying small items.
KF: What are some tips for making this bag?
YK: It may look difficult to make with gathering and gusset, however it is very easy. You don’t even need a pattern and the fabric is hardly wasted. You only need to cut the fabric to squares and it requires simple straight stitches. There is no need for basting. Once you feel comfortable, you may skip using the pins. To make this go smoothly, the important thing is the preparation. When cutting the fabric, make sure you measure it precisely. Iron the fabric to keep the shape as you go through each step. Also keep the width of the seam allowance consistent while stitching. Lastly, please be careful with the direction of the print so that the design will not be upside down.
KF: How should we use this bag in everyday settings?
YK: Of course it is great for an everyday use. In addition, this bag can go well with Japanese kimono. It will be unique with an antique kimono or look girly with outfits in natural color tones.
KF: Thank you very much, Ms. Kanaya! Here are sewing instructions along with step by step photos from her. Enjoy crafting! Drawstring bag is shown here
Instructions: How to make Puffy bag
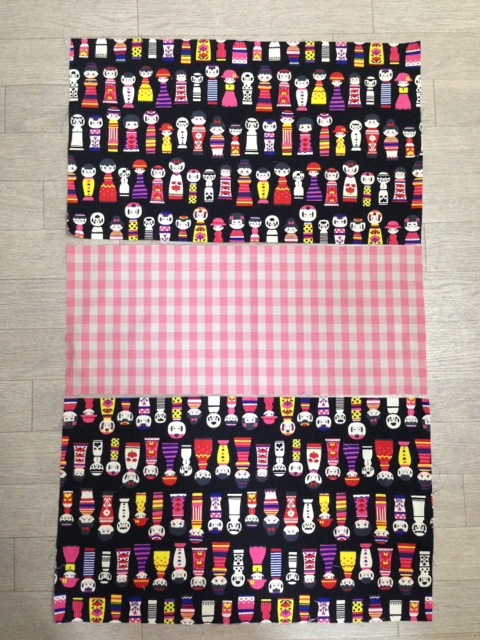
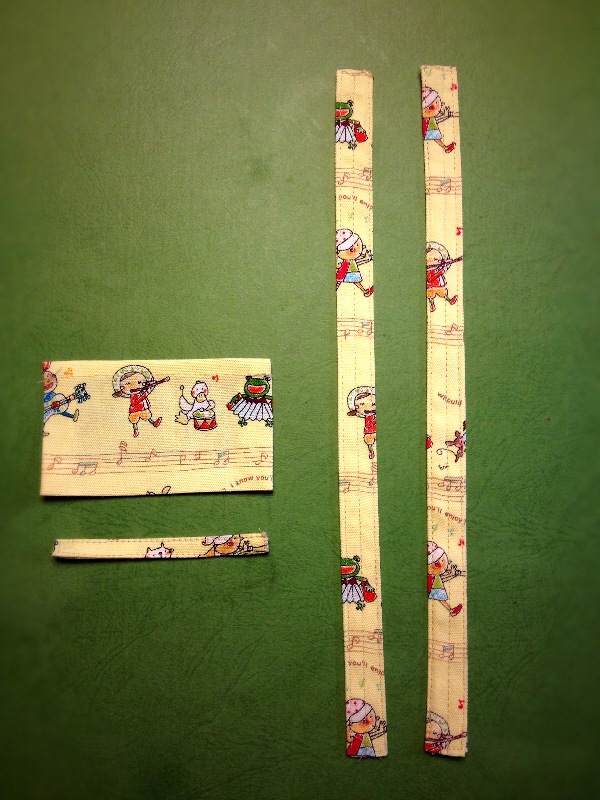
1.
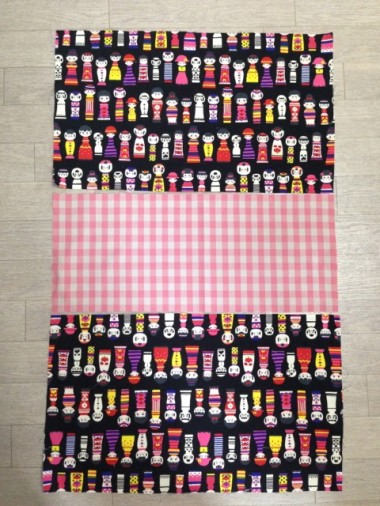
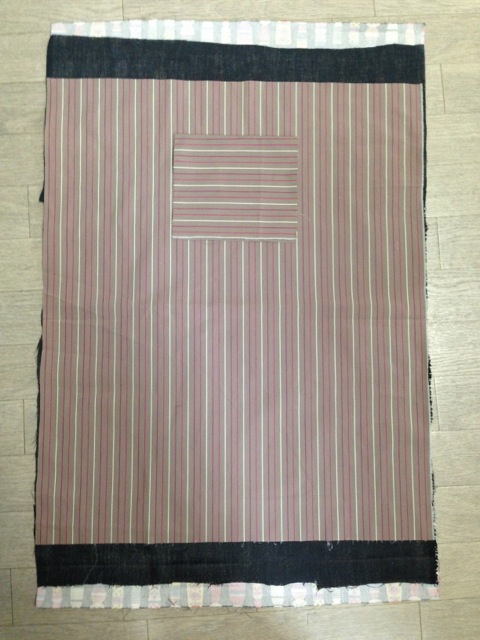
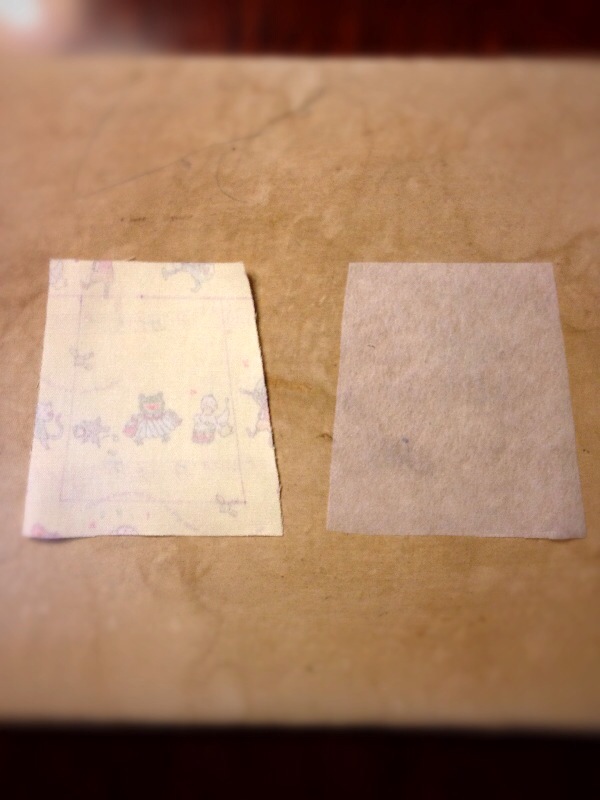
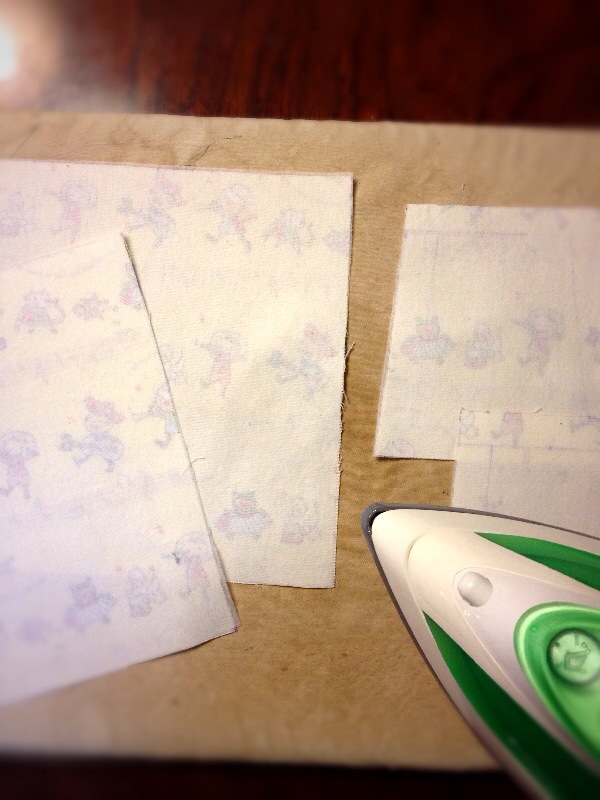
Cut the outer bag fabrics.
2.
Cut the torchon lace to match the length of the front outer bag fabric.
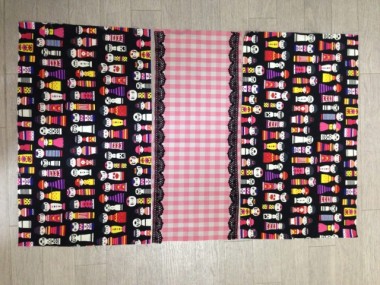
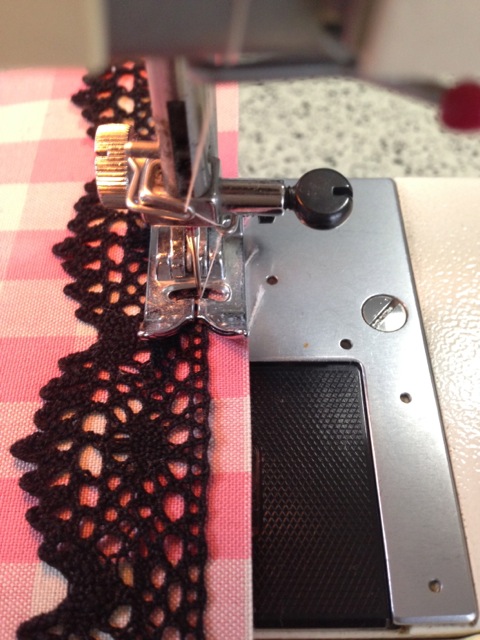
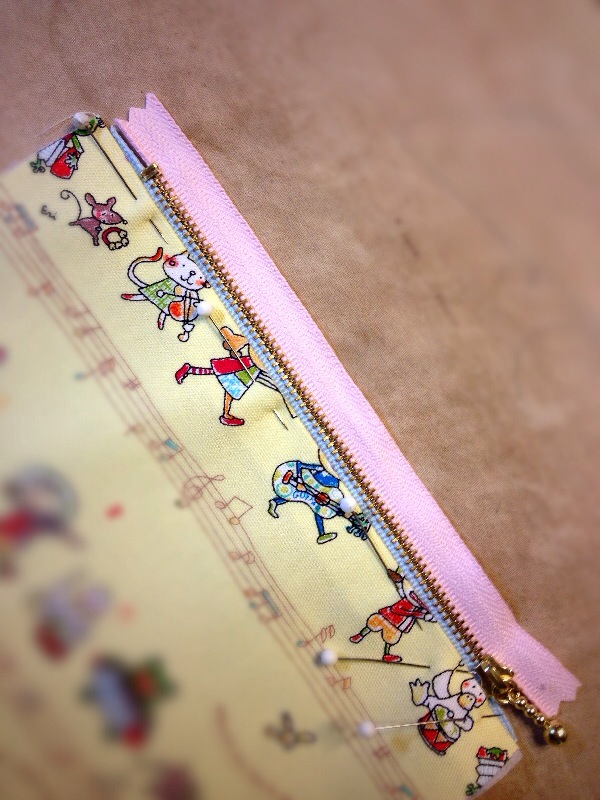
3.

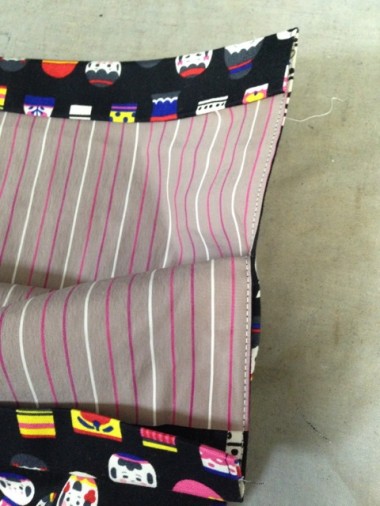
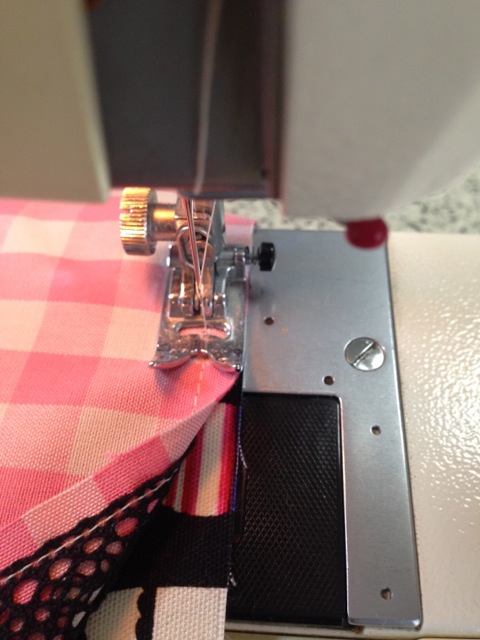
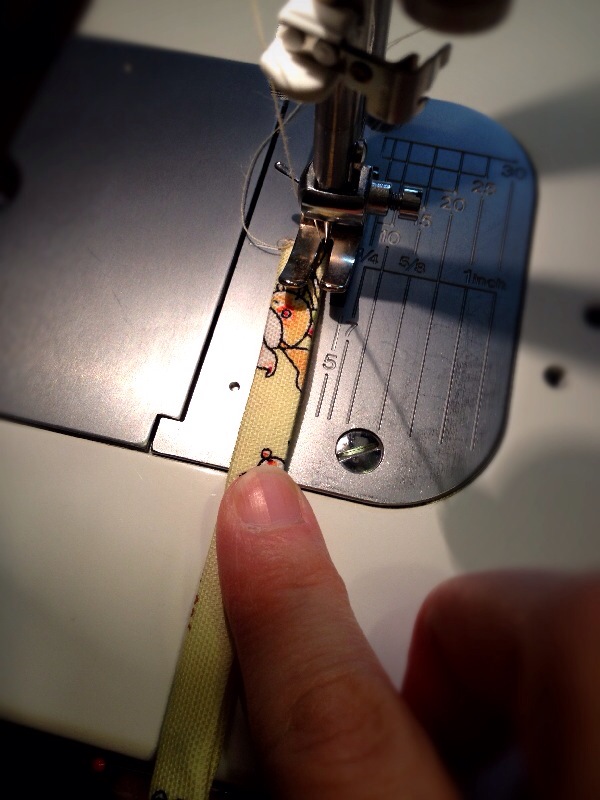
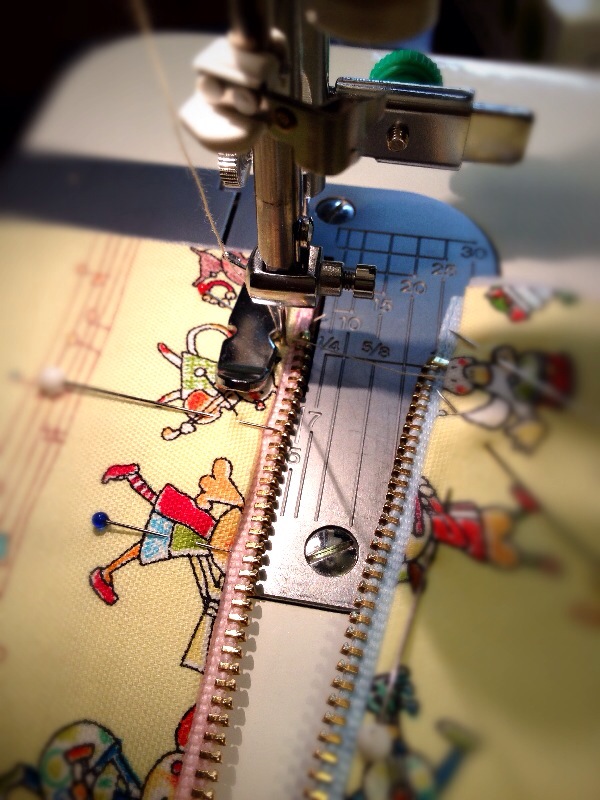
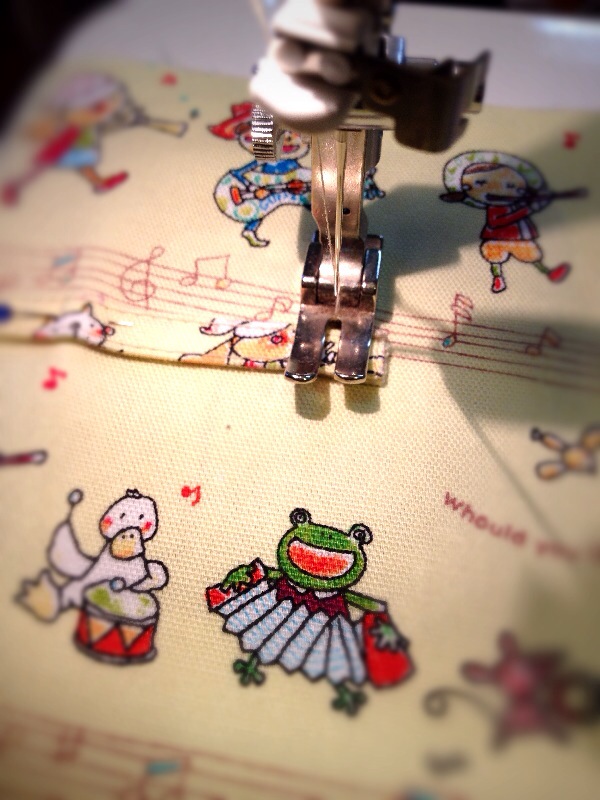
Place the torchon lace at 0.5cm from the edge of the gingham check fabric and stitch over.
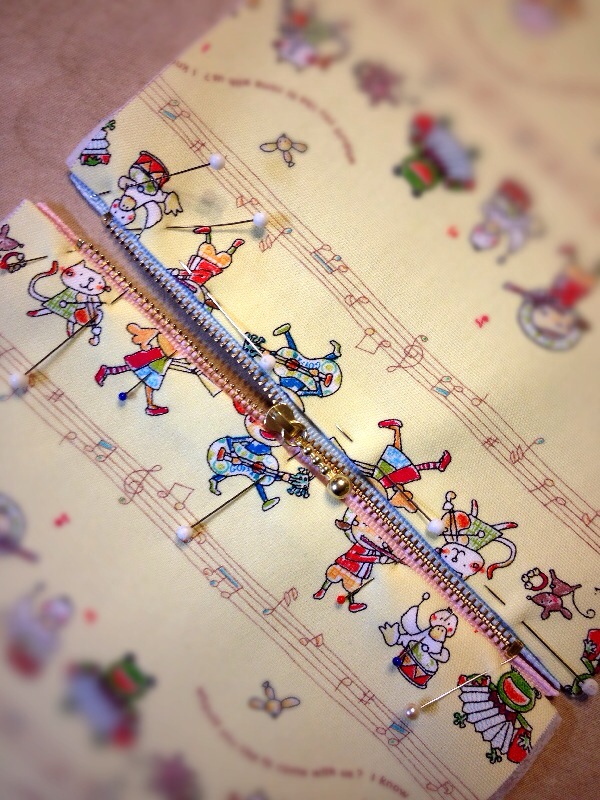
4.

With front/outer sides facing each other, put the check fabric from Step 3 and Kokeshi fabric together. Run a stitch next to the stitch line from Step 3, as close to the edge as possible. (By doing so, the lace will look clean and consistent with maximum areas showing.)
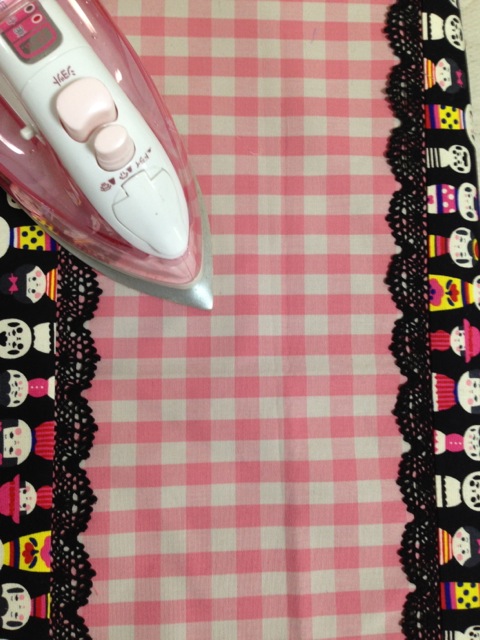
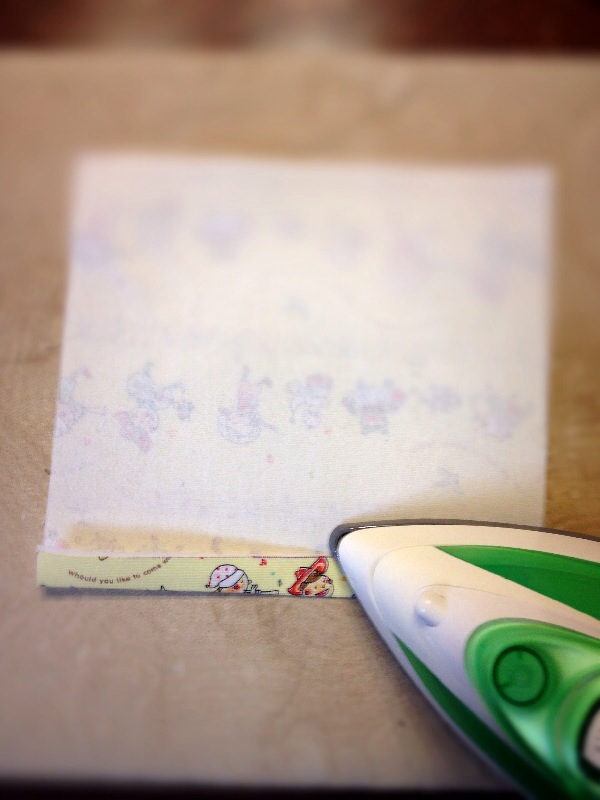
5.

Attach the lace to both edges and press down the seam using an iron. Make sure that Kokeshi design is facing the right direction.
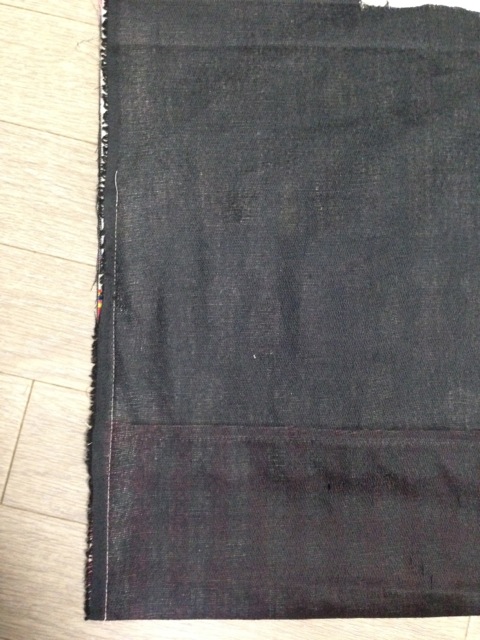
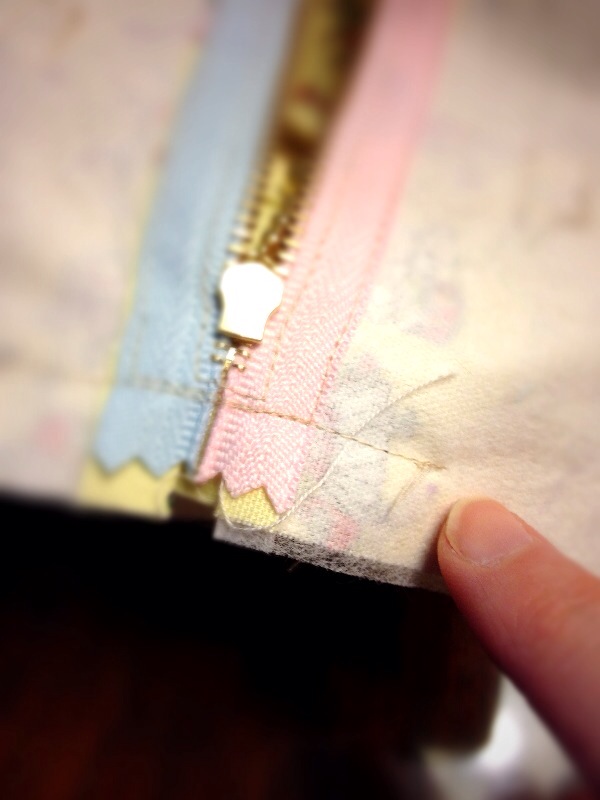
6.
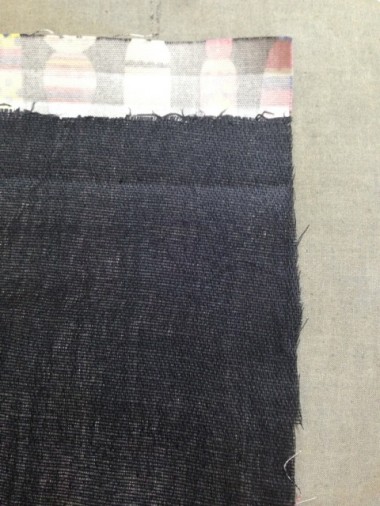
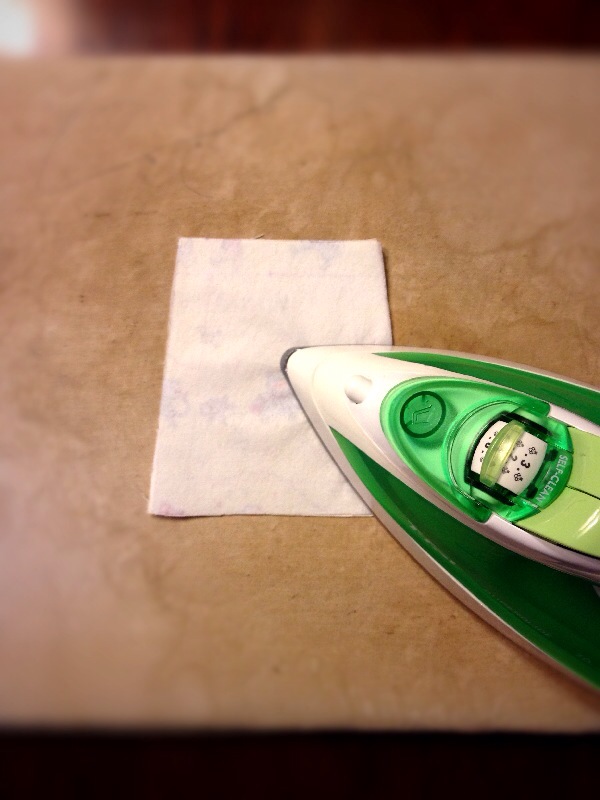
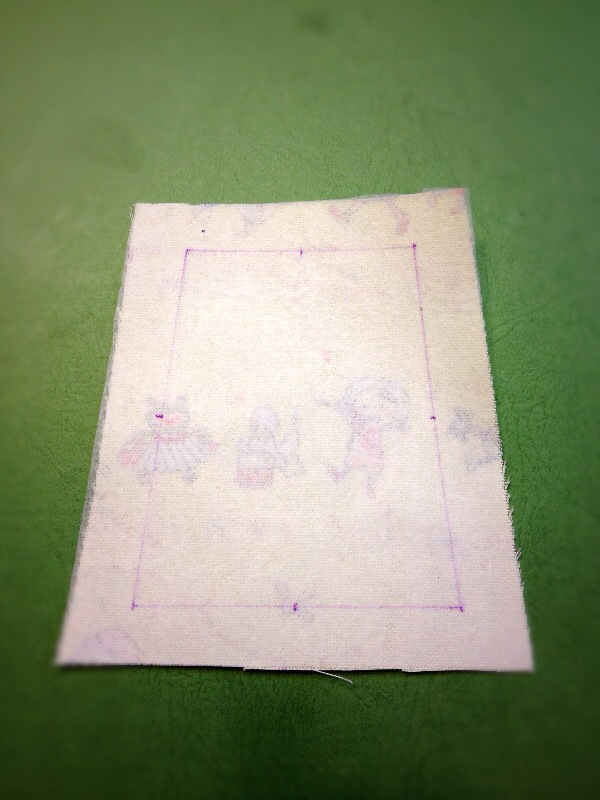
Adhere interfacing on the back of the fabric from Step 5. Make it about 3cm short of the outer side. This will reduce the thickness when attaching the handle.
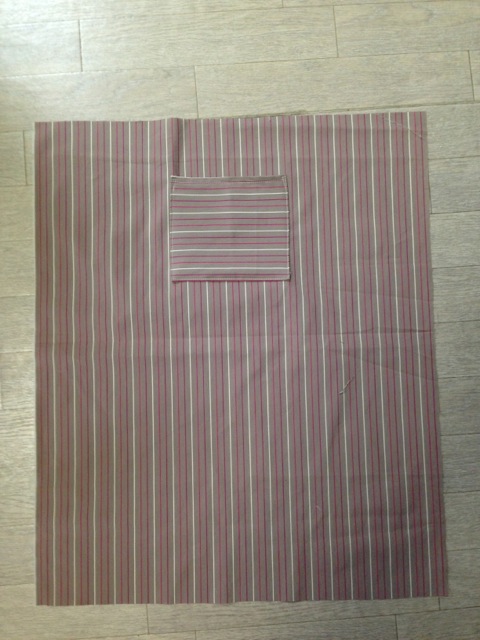
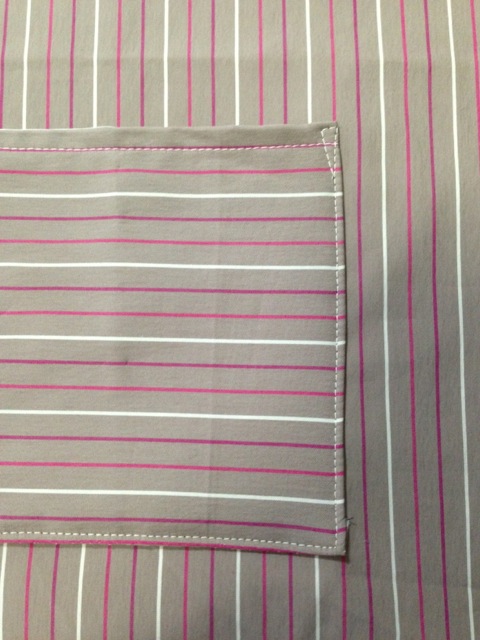
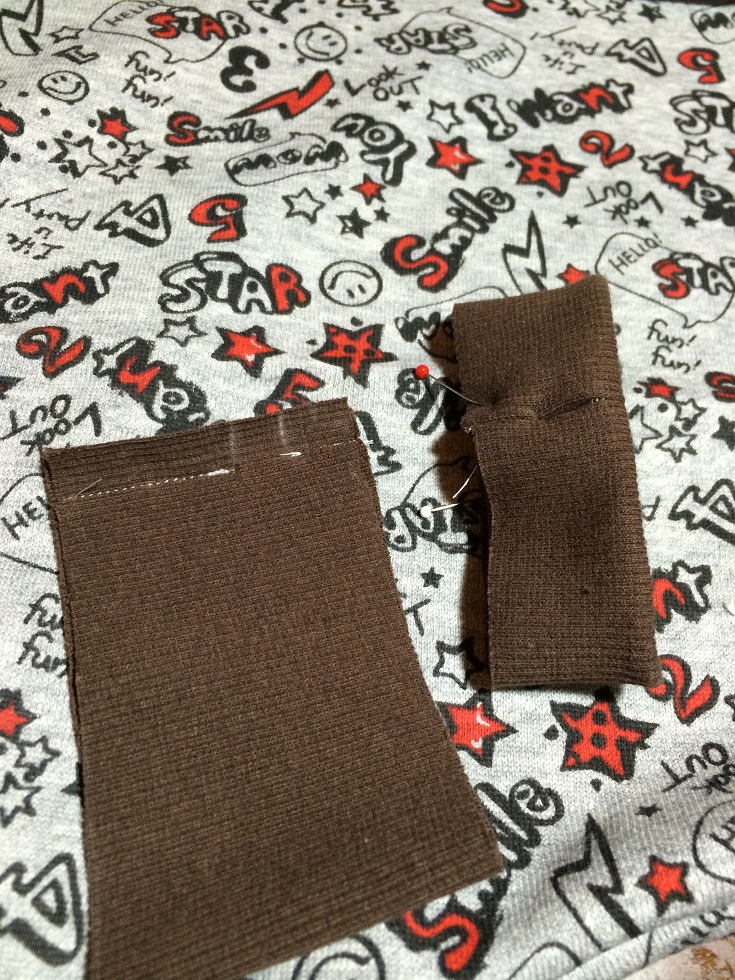
7.

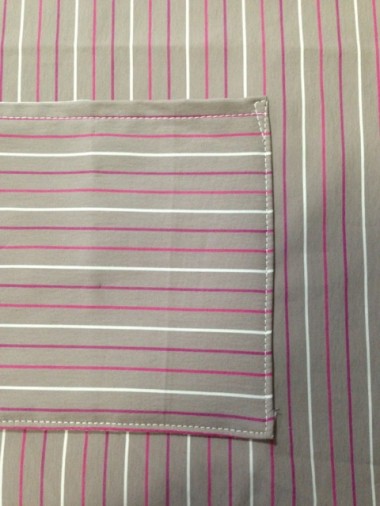
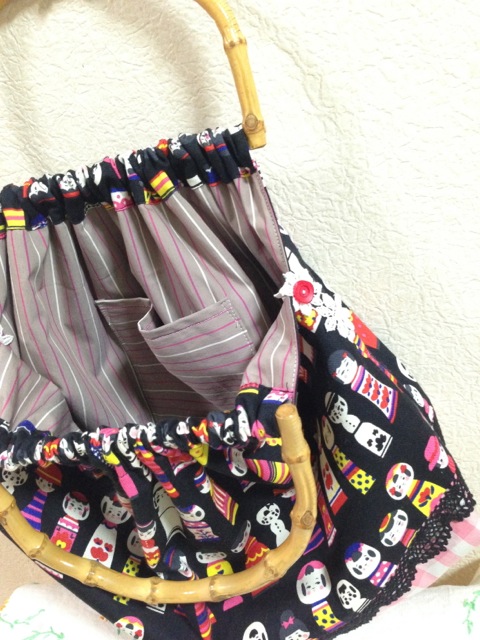
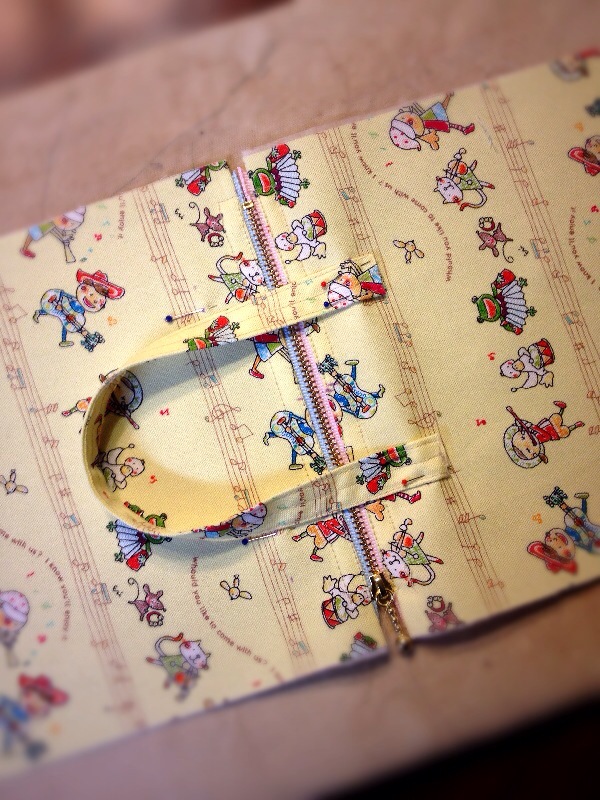
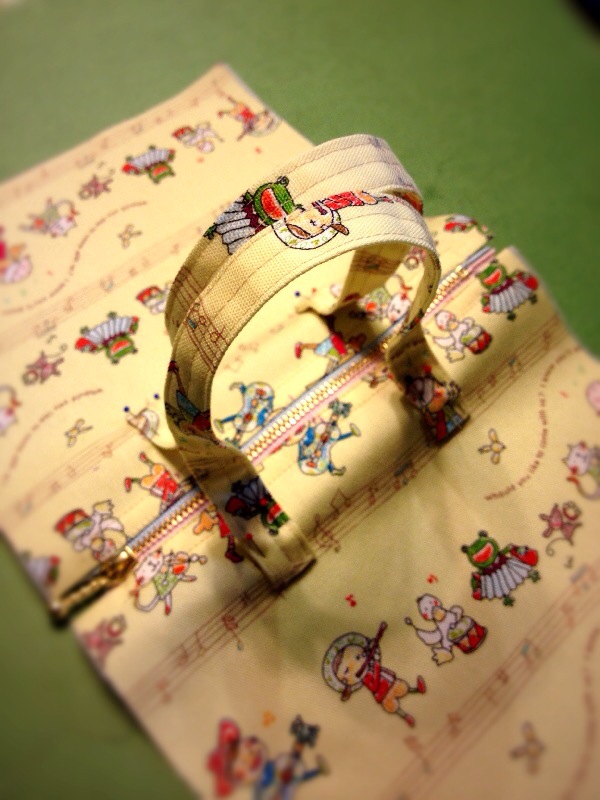
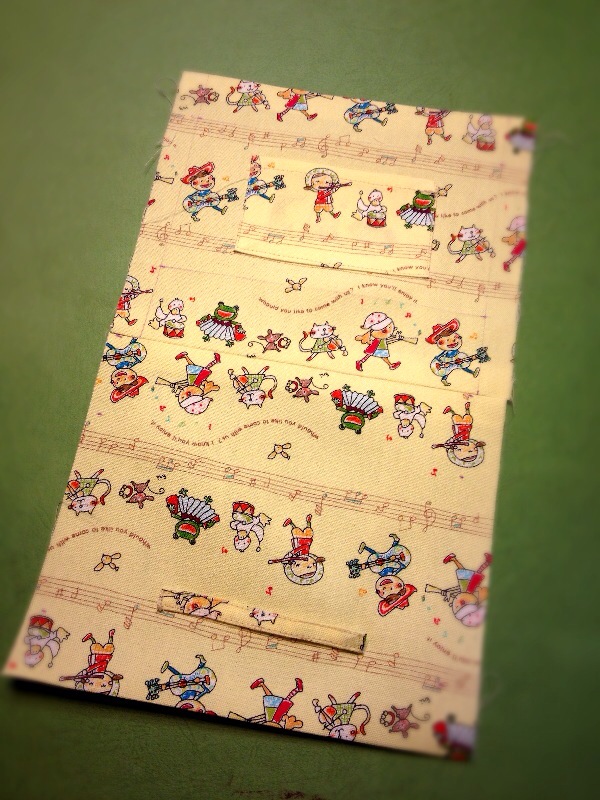
Cut the lining fabric. Cut the pocket sideways. Attach interfacing only to the pocket fabric. To make a loop, fold the pocket fabric in half, fold in the sides and sew onto the lining fabric. The opening of the pocket should be at 8cm from the top edge.
8.

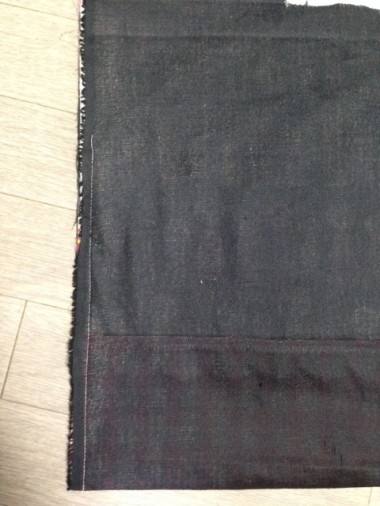
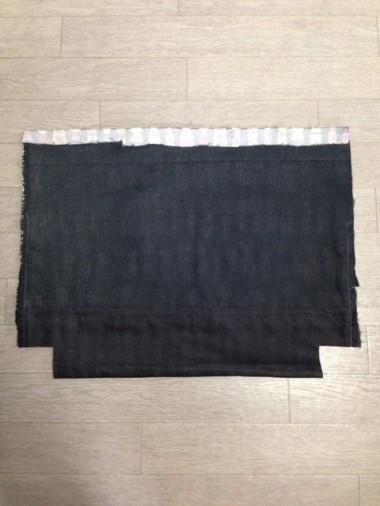
Lining bag fabric is placed over the outer fabric. (Please don’t be concerned that the lining fabric is shorter than the outer bag.)
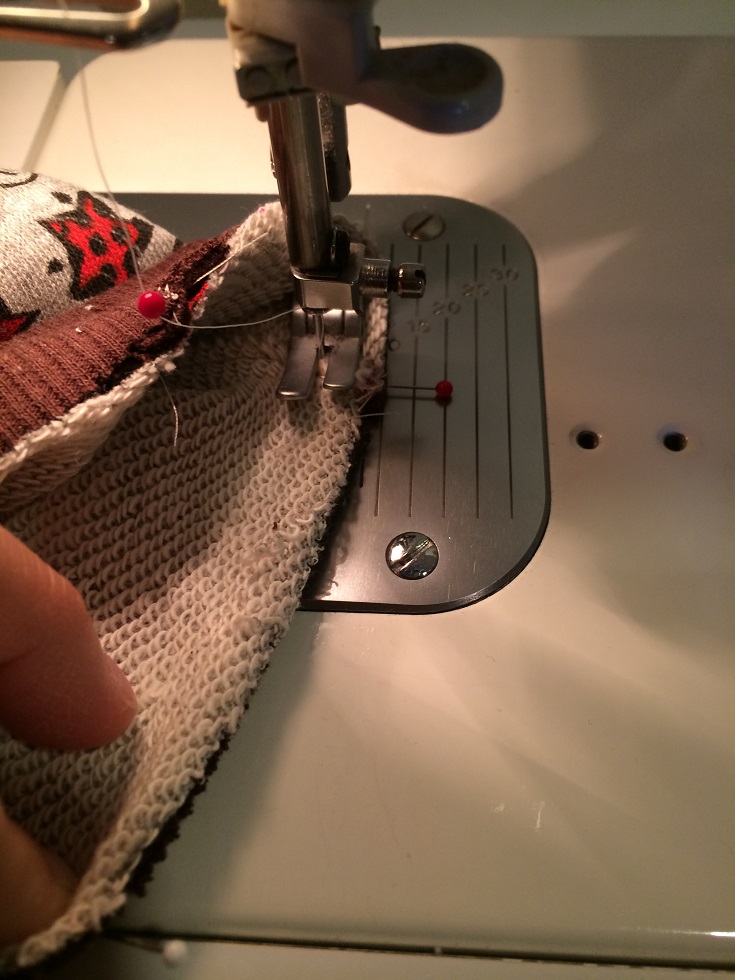
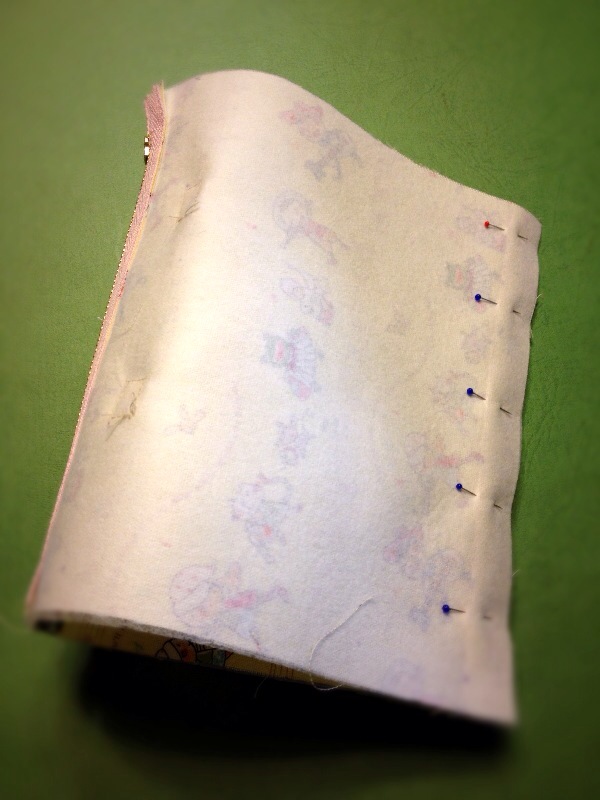
9.
Fold the outer bag in half. From the fold line (at the bottom), sew for 25cm. Leave the top side open without sewing. Sew the other side edge. Repeat the process for the lining fabric, except you only sew 24cm from the fold line (at the bottom). (By keeping the lining shorter, it will fit perfectly inside and have a clean look).
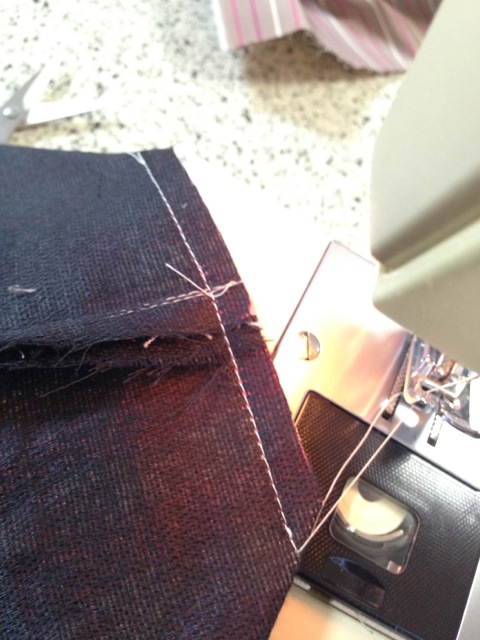
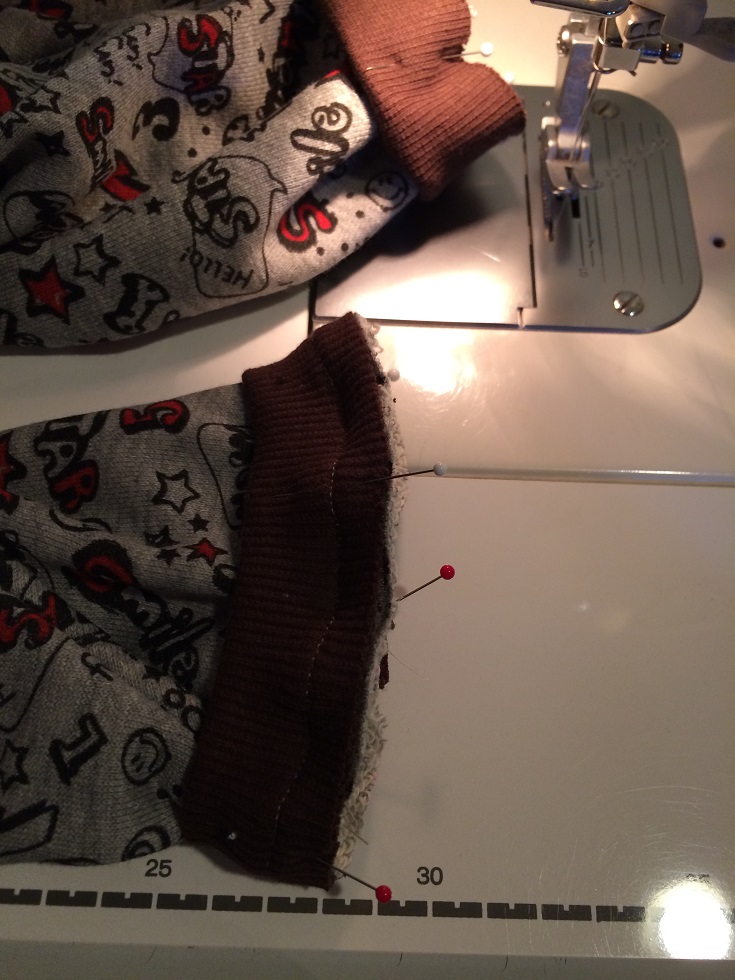
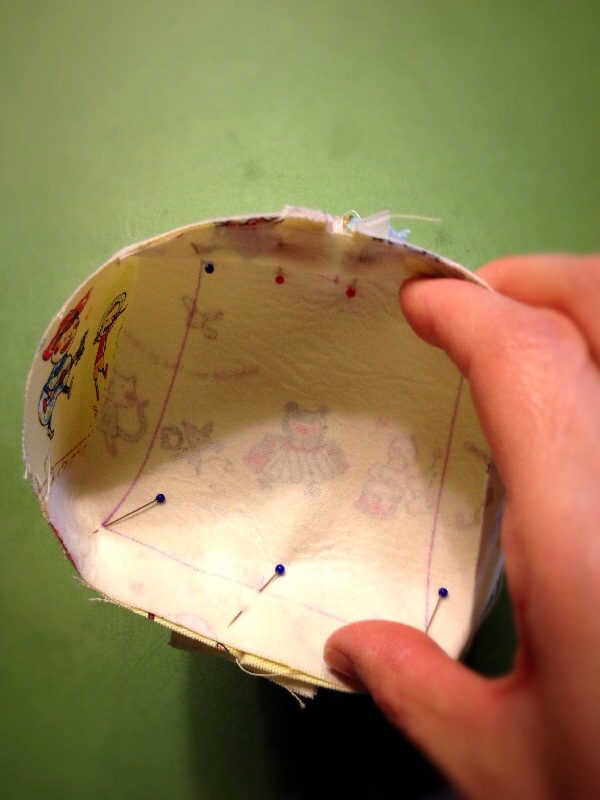
10.
Cut off the corner edge of the bottom fold line in a square (5cm x 6cm). (This will make the gusset). Repeat the process for the lining fabric.
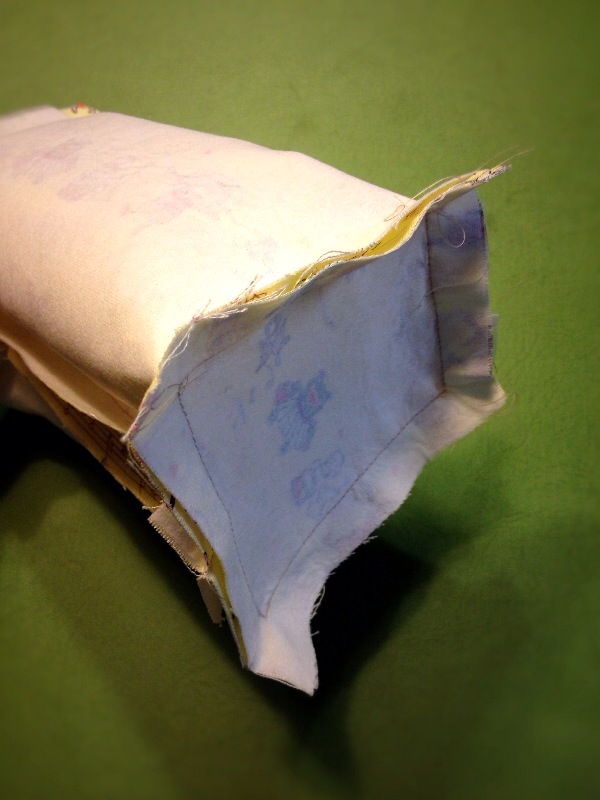
11.

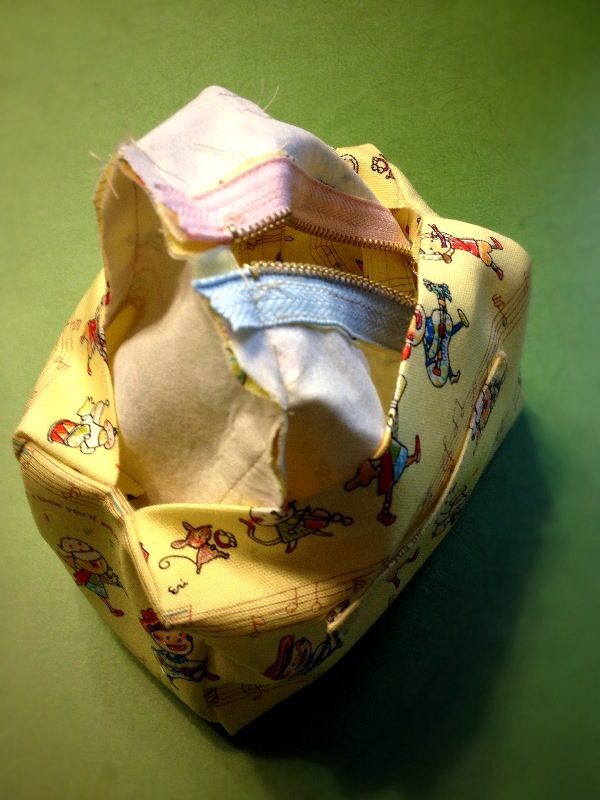
Open the cut area to a triangle shape and sew the gusset. Repeat the same process on the lining fabric.
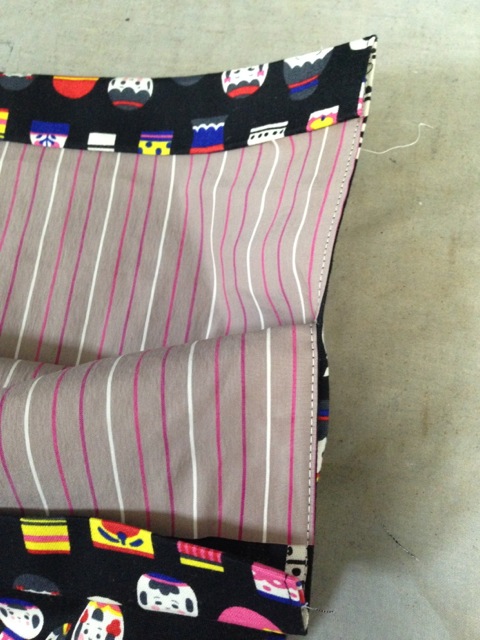
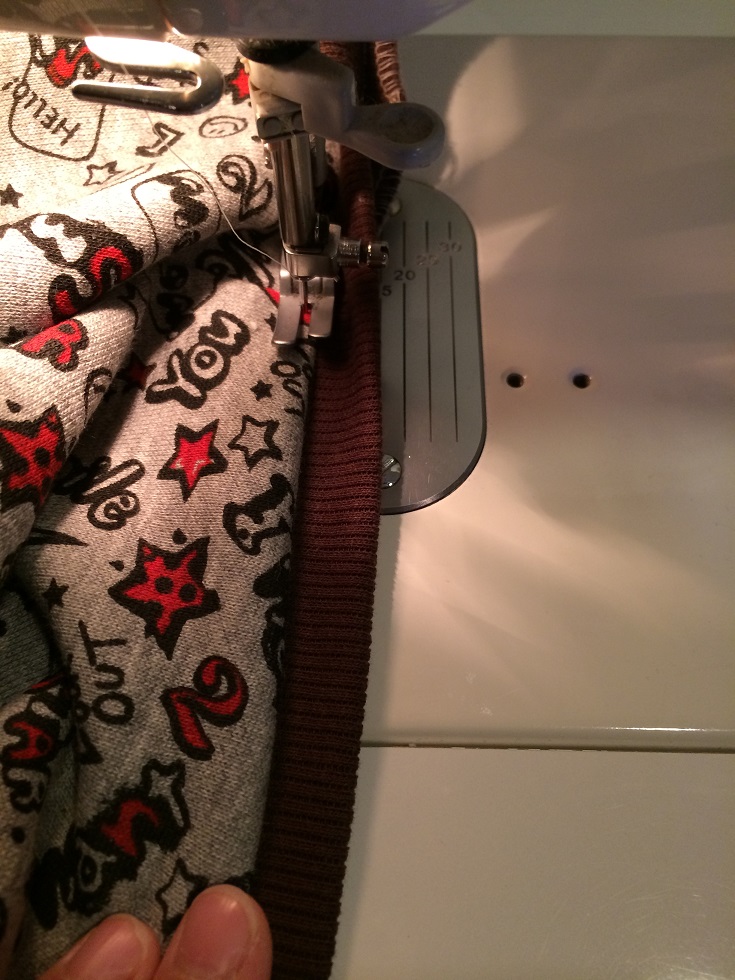
12.
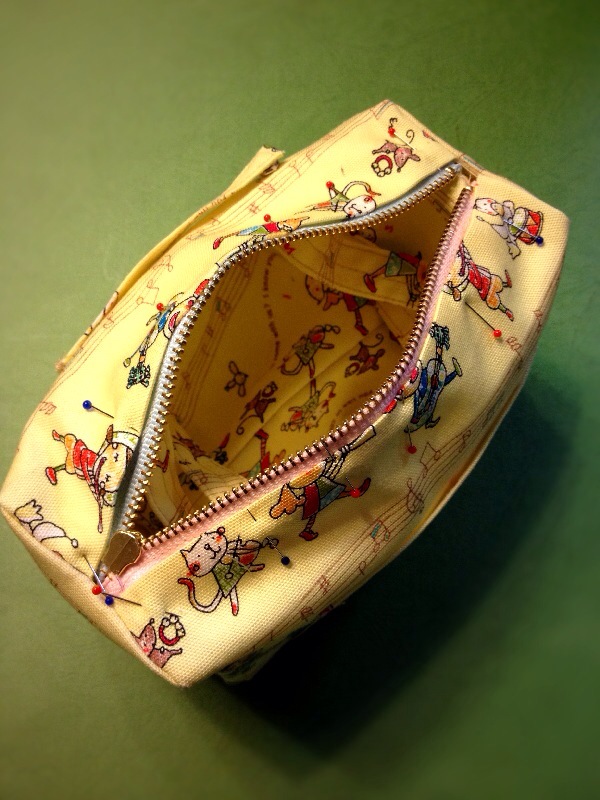
With front/outer sides facing outside, fold the top side opening inside and stitch over to piece them together.
13.
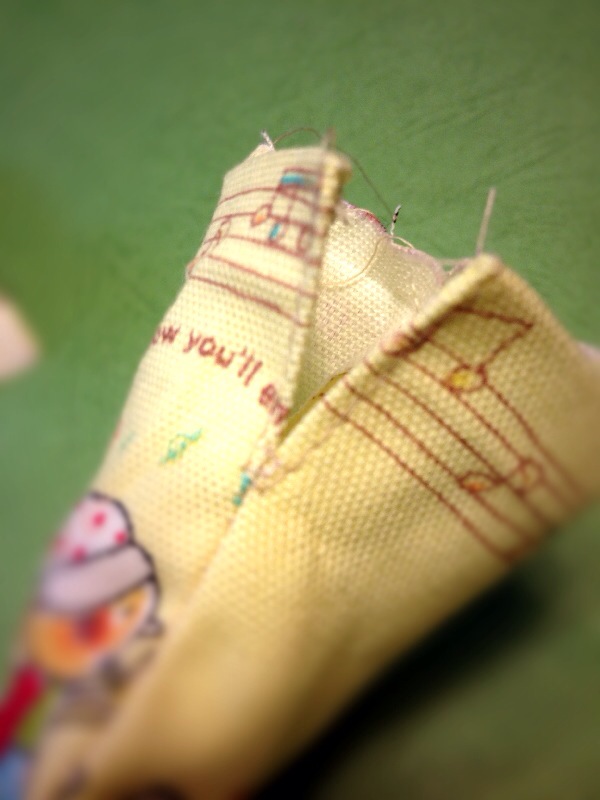
Double fold the top opening at 3cm and press with an iron. (this will cover up the inside lining.)
14.

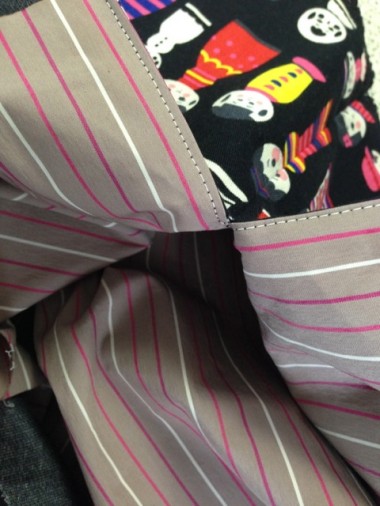
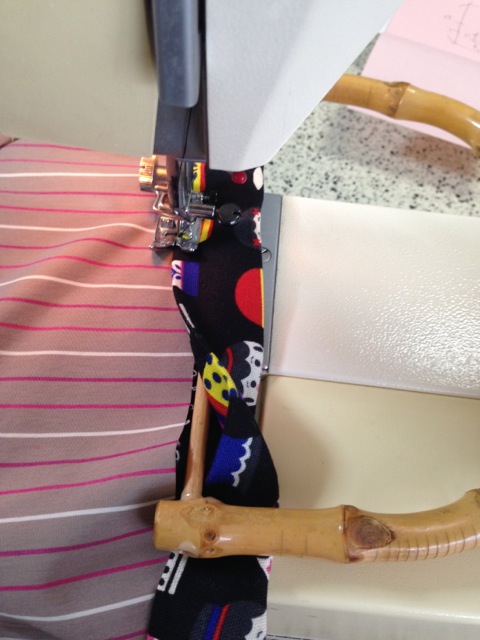
Place the bottom of the bamboo handle at the top opening and wrap around with the folded fabric. Run a stitch over the opening to secure the handle. Since the length of the fabric is a lot longer than the length of the handle, gather the fabric little by little as you run the stitch.
15.

The picture shows when both handles are attached.
16.
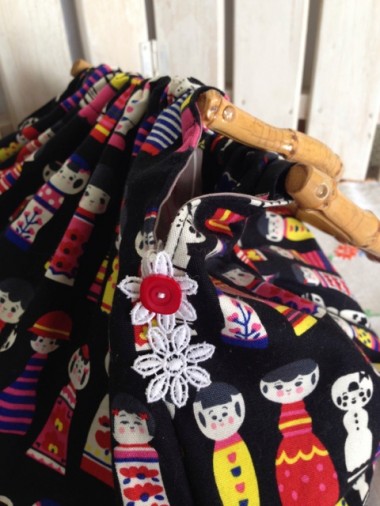
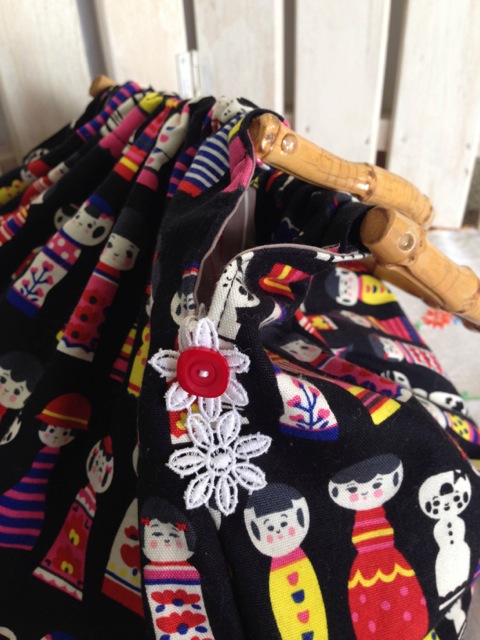
To reinforce and to embellish the base of the opening, attach the motif lace and button to complete.
Click here for Sewing Instructions (PDF format / A4 size)

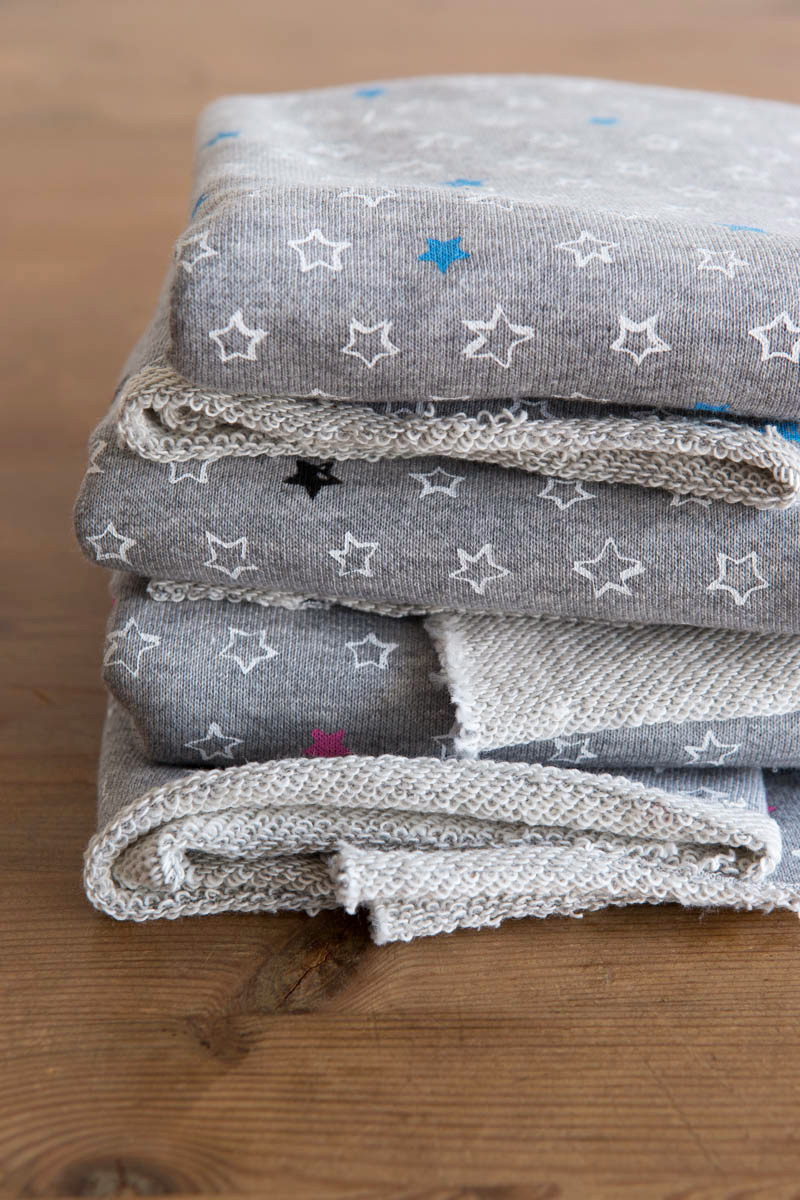

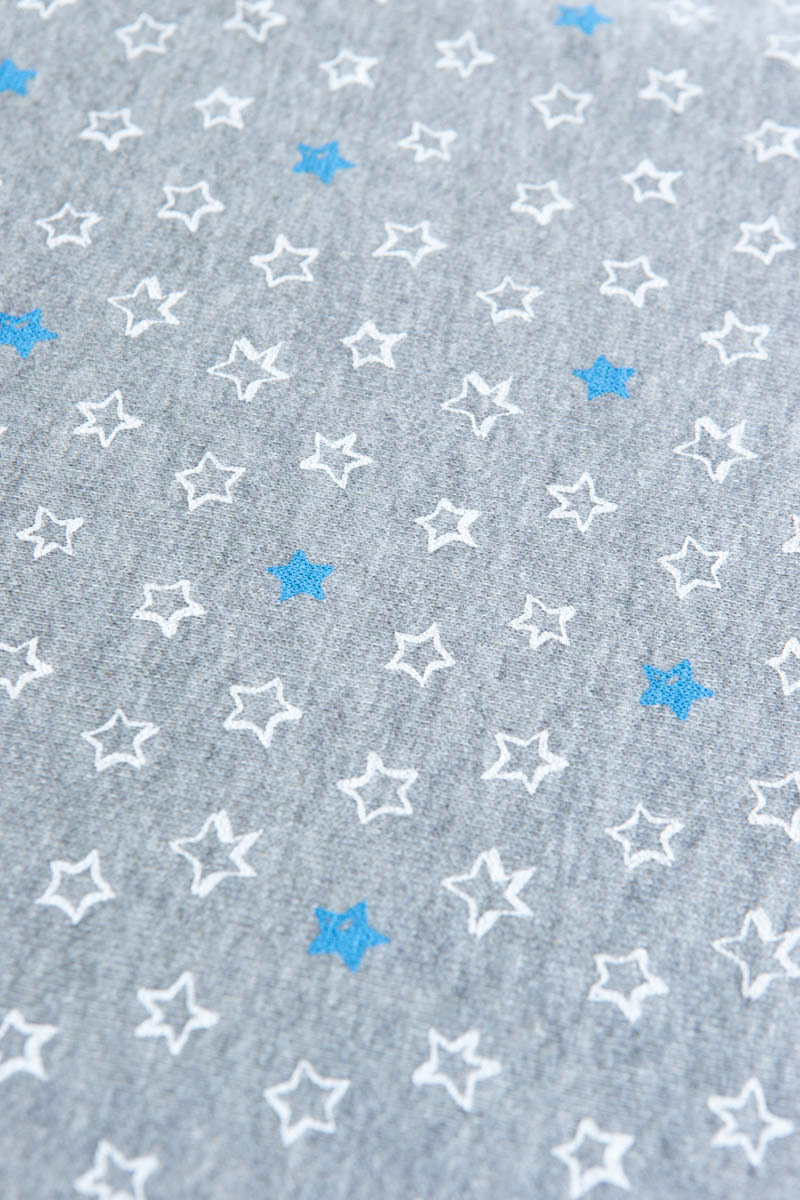
 echino 2016 Knit
 echino Knit Jacquard
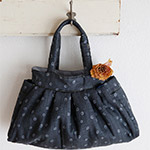 Denim-Like Double Gauze and Trefle-D
 Neko Funjatta (The Flea Waltz)
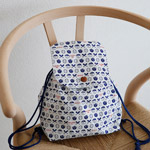 Sports Fabric
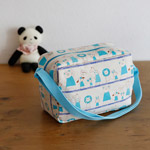 PUTITE ECOLE


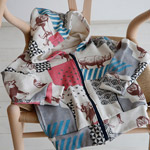
 Lesson bag in kitten design fabric
  Stylish Reversible Bag
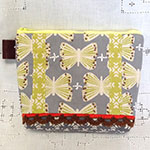 GARDEN Butterfly case
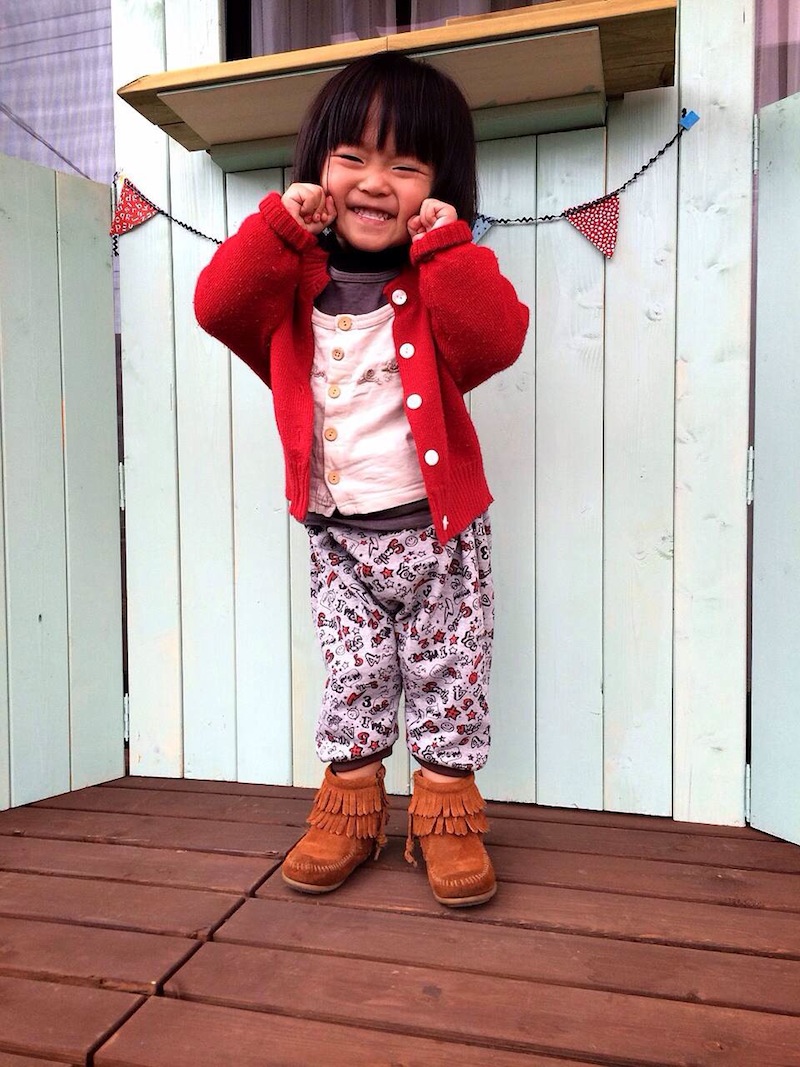

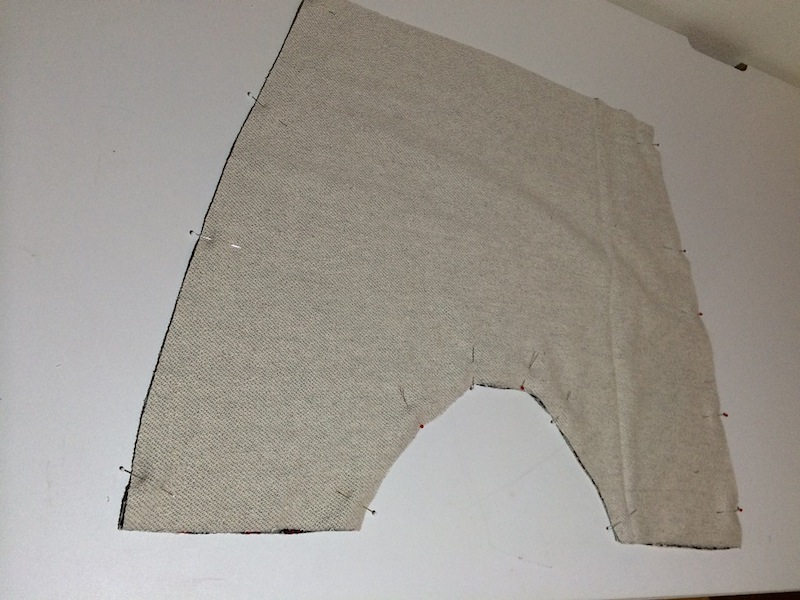


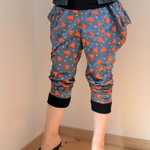 Sarouel Style Pants for a Grown-up
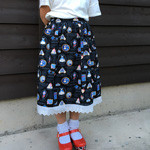 Princess Skirt
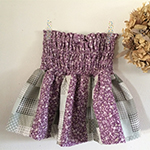 Two-Way Skirt


 TOTE Bag with a Mini Pouch
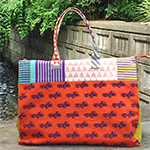 Boston Bag
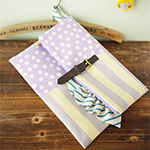 Clutch Bag